SEARCH FINESCALE.COM

Enter keywords or a search phrase below:

Glencoe Oeffag Albatross D.III Finished- More new pics added on page 3

8179 views
88 replies
1 rating 2 rating 3 rating 4 rating 5 rating
  • Member since
    July 2004
  • From: Sonora Desert
Posted by stikpusher on Thursday, November 12, 2015 6:35 PM

Brandon and Jack, thanks for the feedback. Jack I must admit that my knowledge of WWI aircraft schemes is minimal so I pretty much tend to go with what is written in the instruction sheets. And the funny thing about these very cheap Glencoe kits is that they reference a then current magazine "Over the Front" for those who want to know more on this subject area. This project does have the added plus for me of pushing me out of my comfort and knowledge sones and learning new stuff as I do so. And lighting the fuse for a desire to do more WWI builds.


F is for FIRE, That burns down the whole town!

U is for URANIUM... BOMBS!

N is for NO SURVIVORS...

       - Plankton

LSM


  • Member since
    July 2004
  • From: Sonora Desert
Posted by stikpusher on Friday, November 13, 2015 7:13 PM

Well here is today's update. 


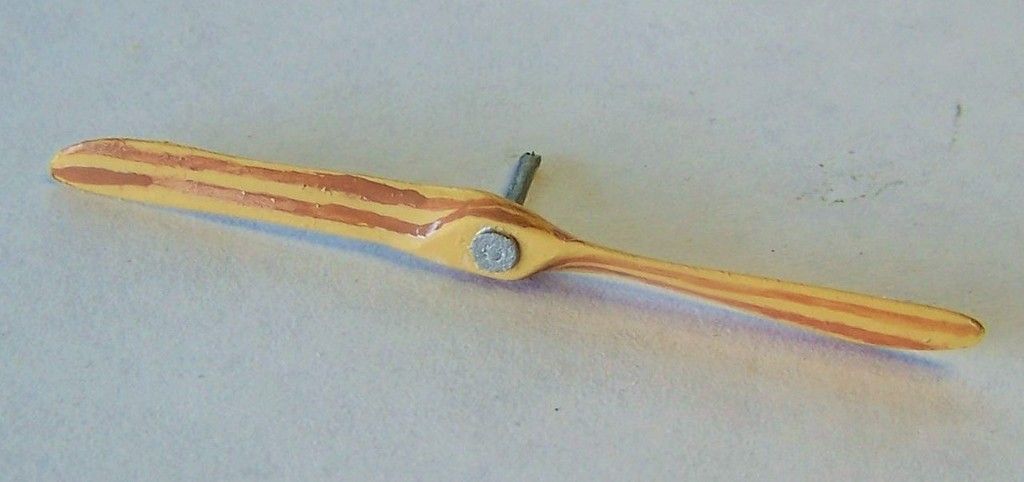
I really did not like the front of the propeller- way too un detailed. But no AM or scratch work allowed... what to do? So I modified an unused kit part to make the front retaining plate. And I painted (weakly) the laminated wood effect of a typical WWI propeller.


finished painting the wheels for the main gear


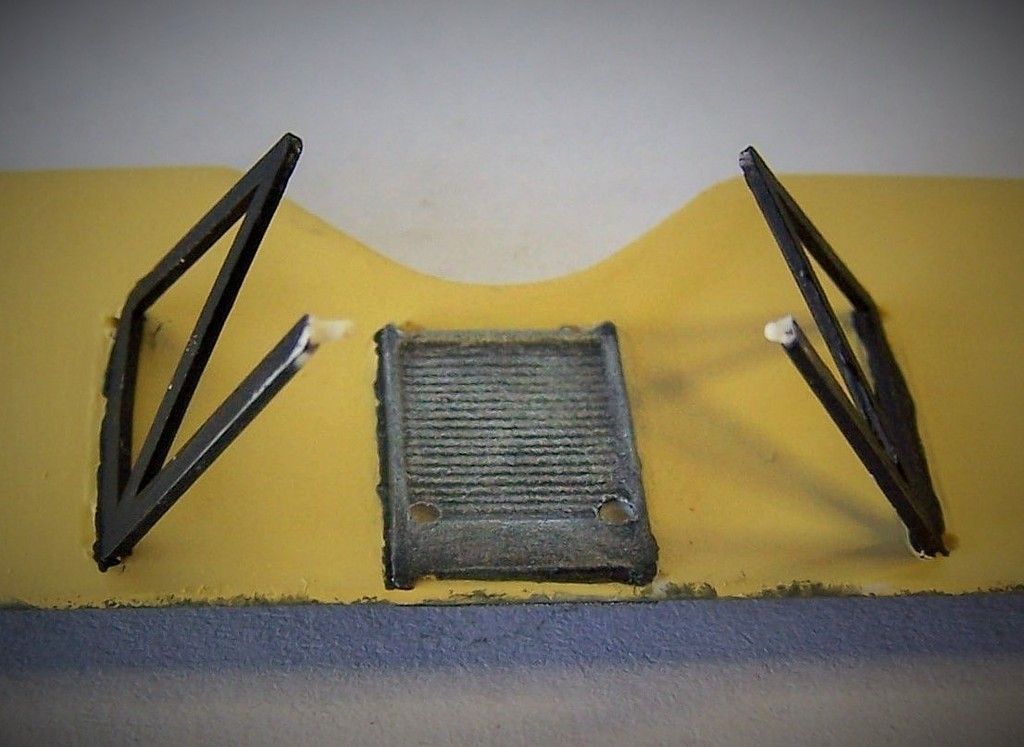
I actually painted the cabane and interplane struts earlier in the week and today was a black base on teh radiator. I still need to dry brush the metalic colors on the radiator now


and finally touch ups on the lower surfaces and painted the metal part of the tail skid black


and touch ups on the engine area


and finally a test of the upper wing and prop in place..


 I'm getting impatient to finish this now...


F is for FIRE, That burns down the whole town!

U is for URANIUM... BOMBS!

N is for NO SURVIVORS...

       - Plankton

LSM


  • Member since
    June 2003
  • From: Cavite, Philippines
Posted by allan on Friday, November 13, 2015 11:16 PM

Nice! I like what you did to the prop. Pretty convincing!

No bucks, no Buck Rogers

  • Member since
    July 2004
  • From: Sonora Desert
Posted by stikpusher on Friday, November 13, 2015 11:48 PM

Thank you allan. I guess we are our own harshest critic. I see a very weak attempt compared to what others have done...


F is for FIRE, That burns down the whole town!

U is for URANIUM... BOMBS!

N is for NO SURVIVORS...

       - Plankton

LSM


  • Member since
    July 2004
  • From: Sonora Desert
Posted by stikpusher on Sunday, November 22, 2015 1:13 AM

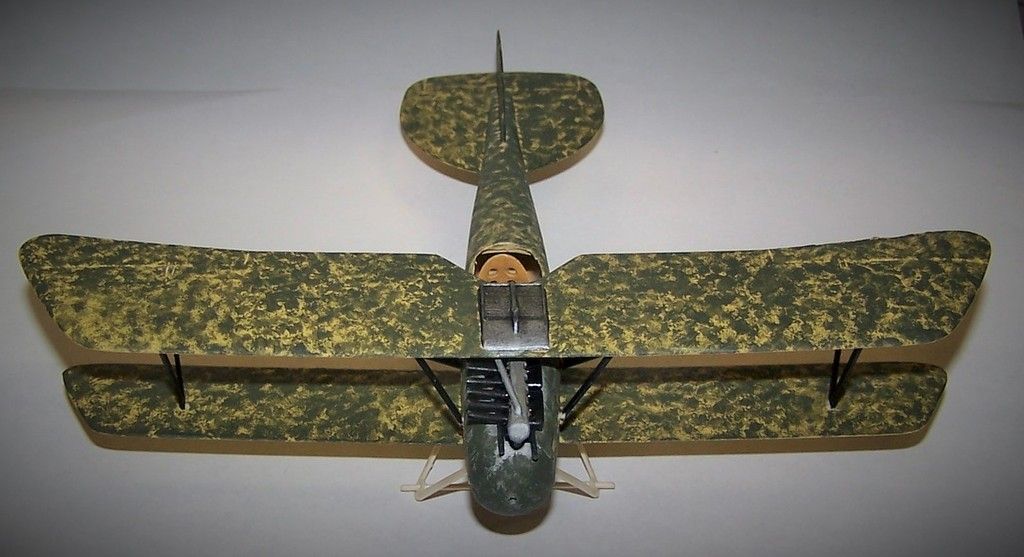
Well, I have been nickle and diming progress on this build over the past week or so and taking photos along the way. This evening I was finally able to get them uploaded... so here we go


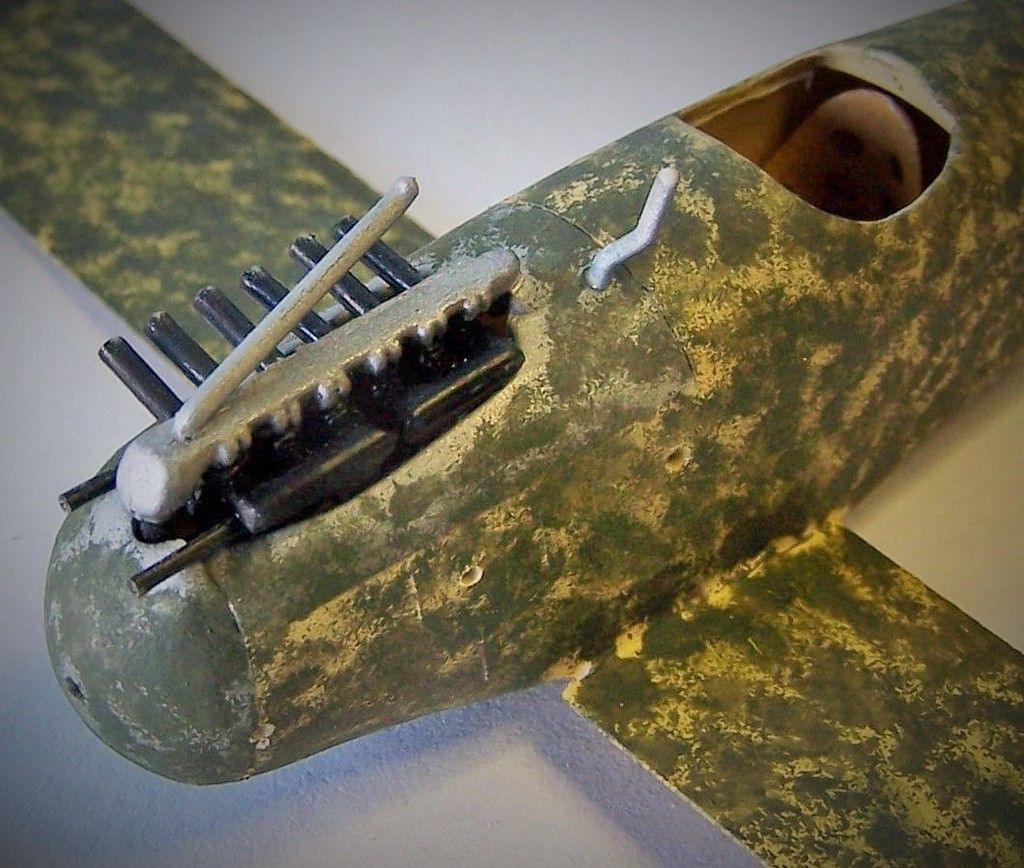
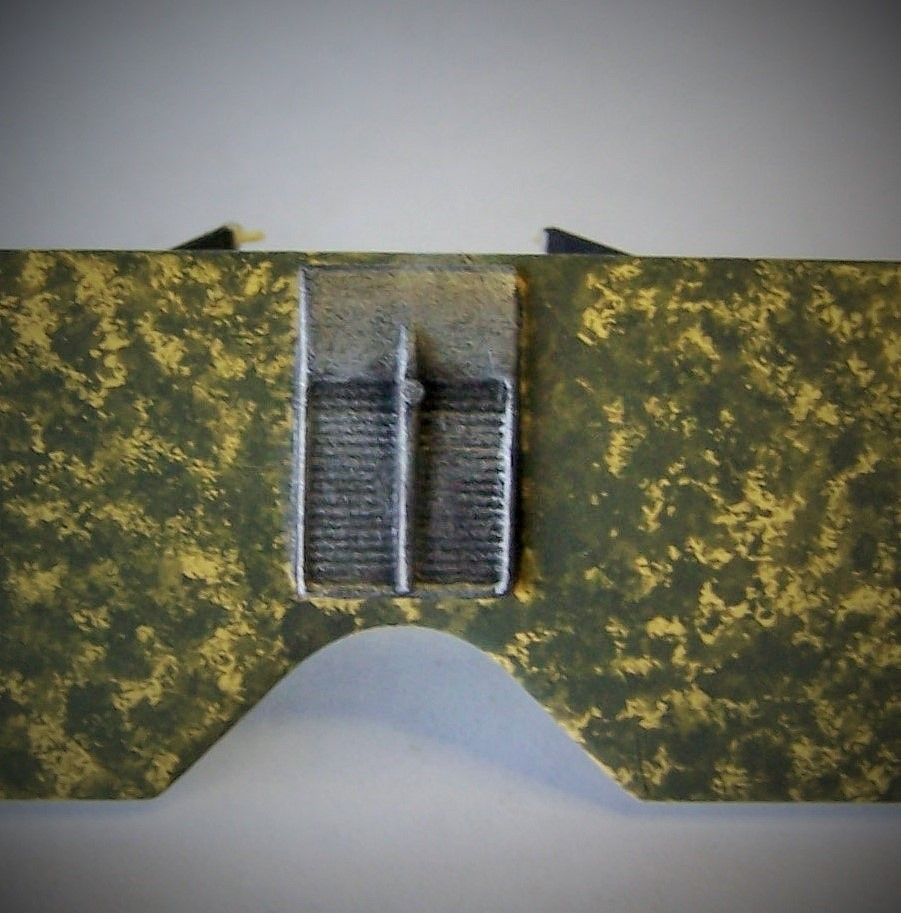
I attached the radiator lines and positioned them so they would sit properly once the upper wing was in place
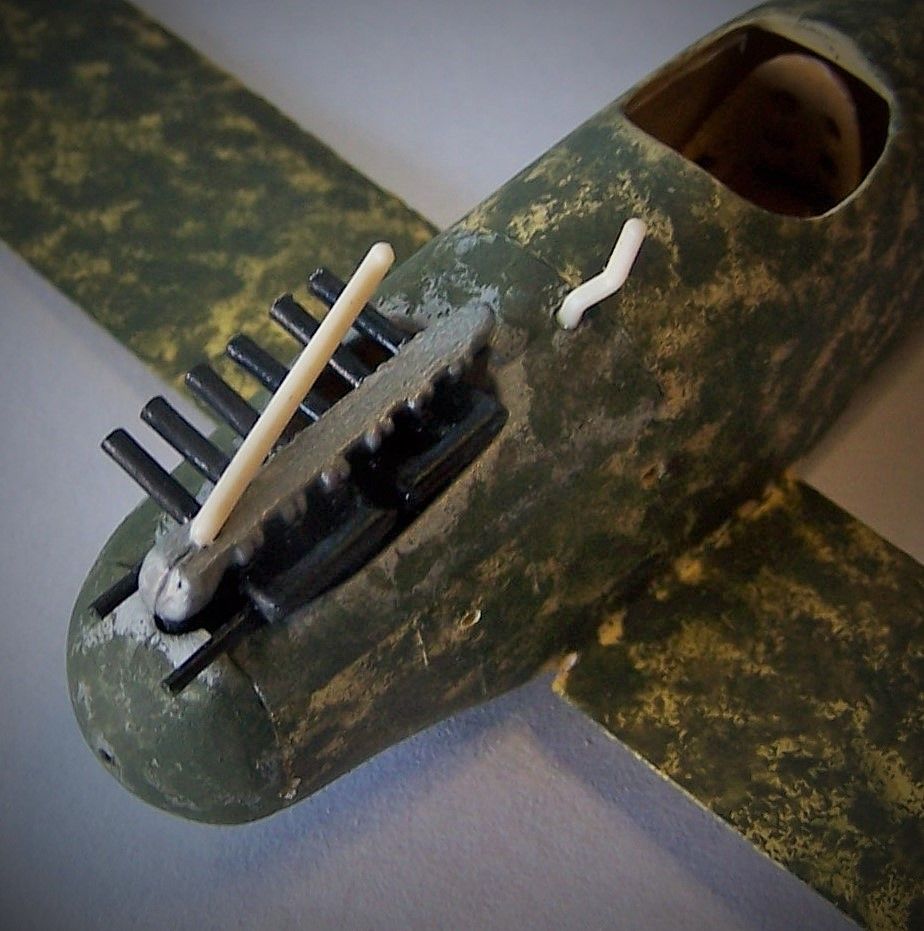
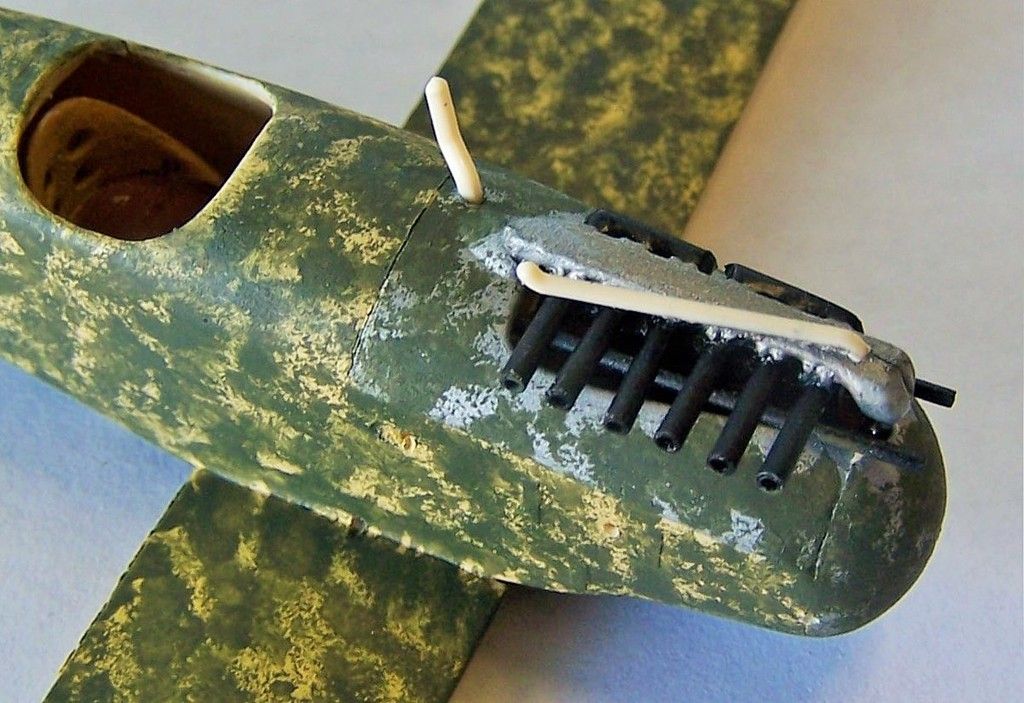


once they had dried overnite, I cleaned up the split seam and painted the lines
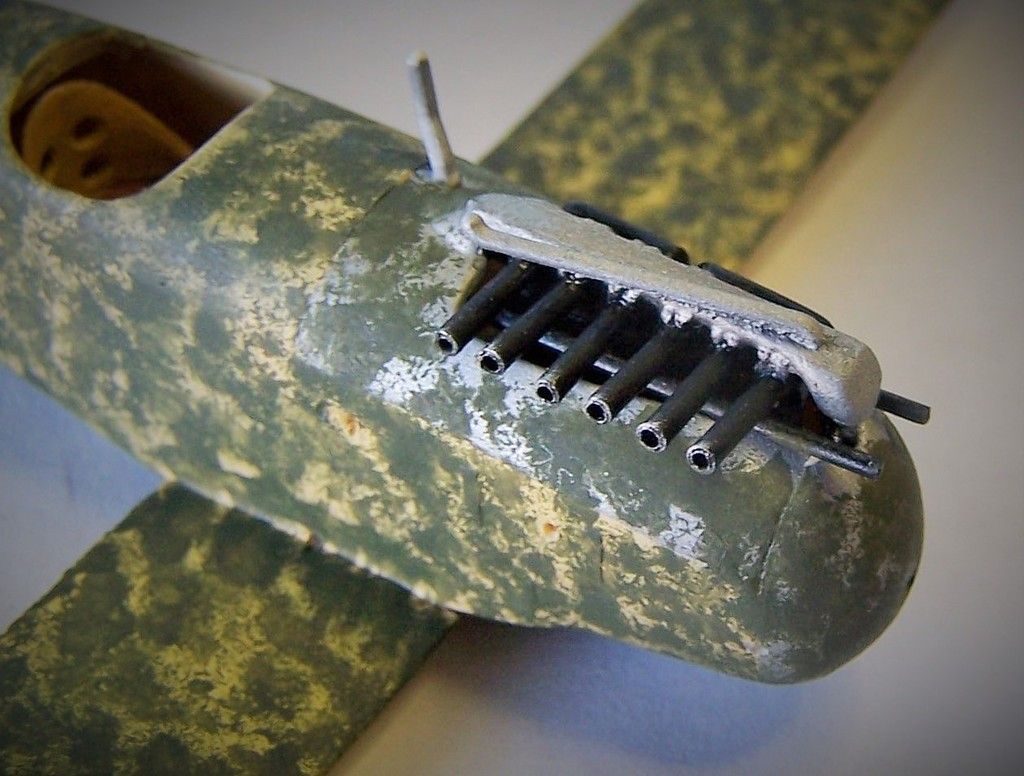


then it was time for a dry brushing of metallic colors over the black base on the radiator


and I painted the prop retaining plate


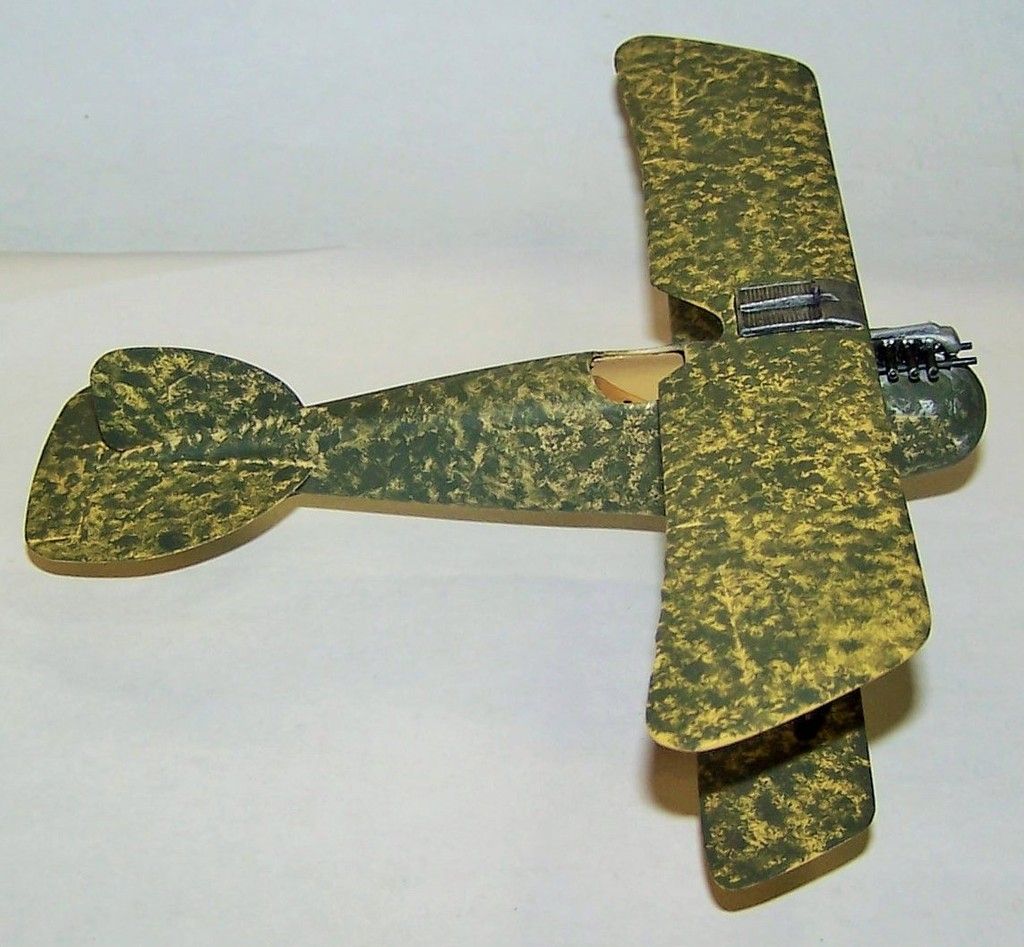
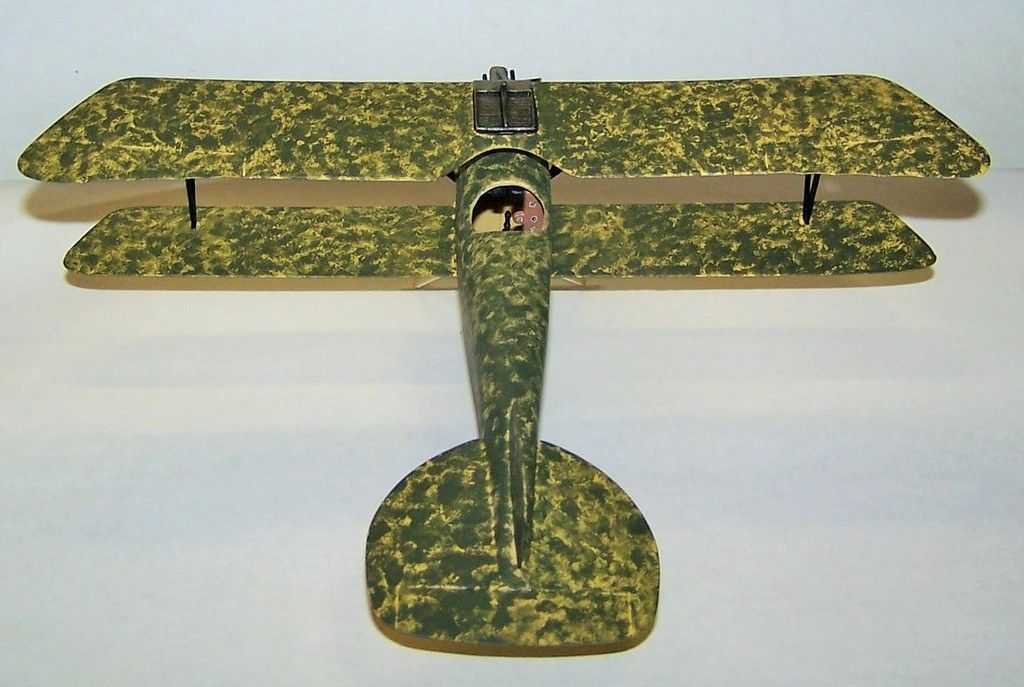
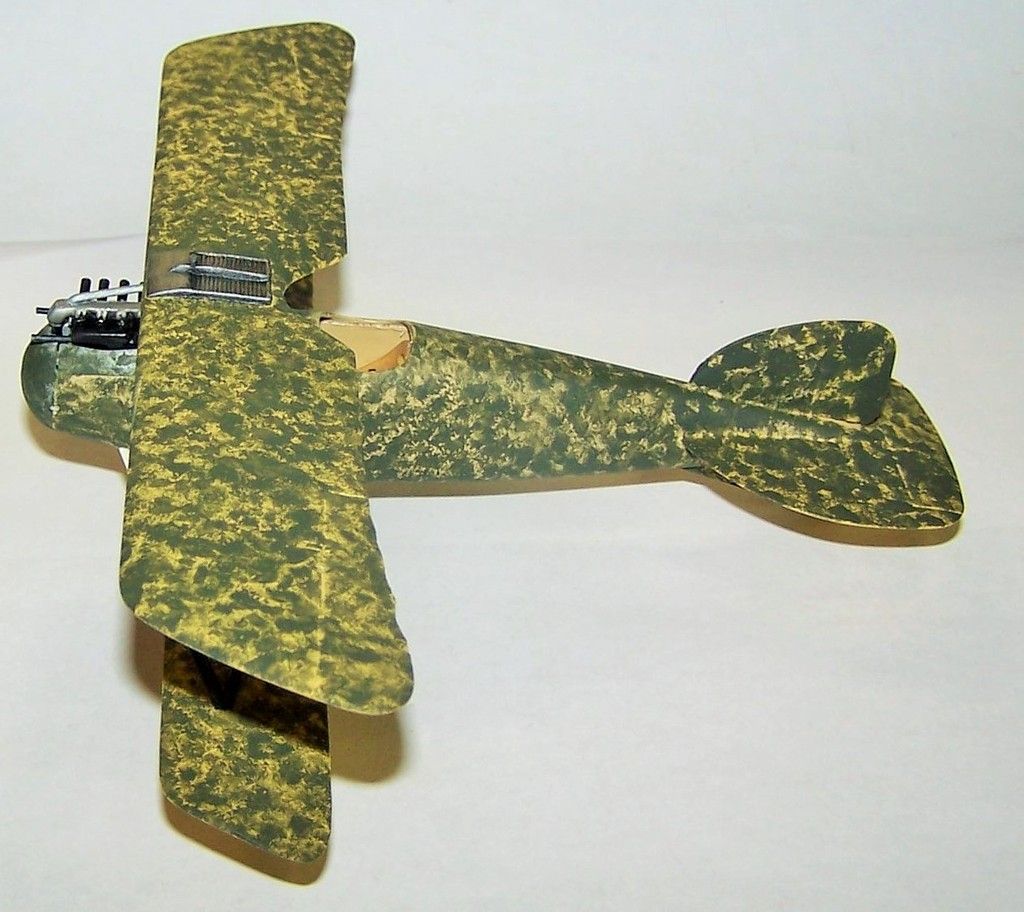
and finally I glued the upper wing in place


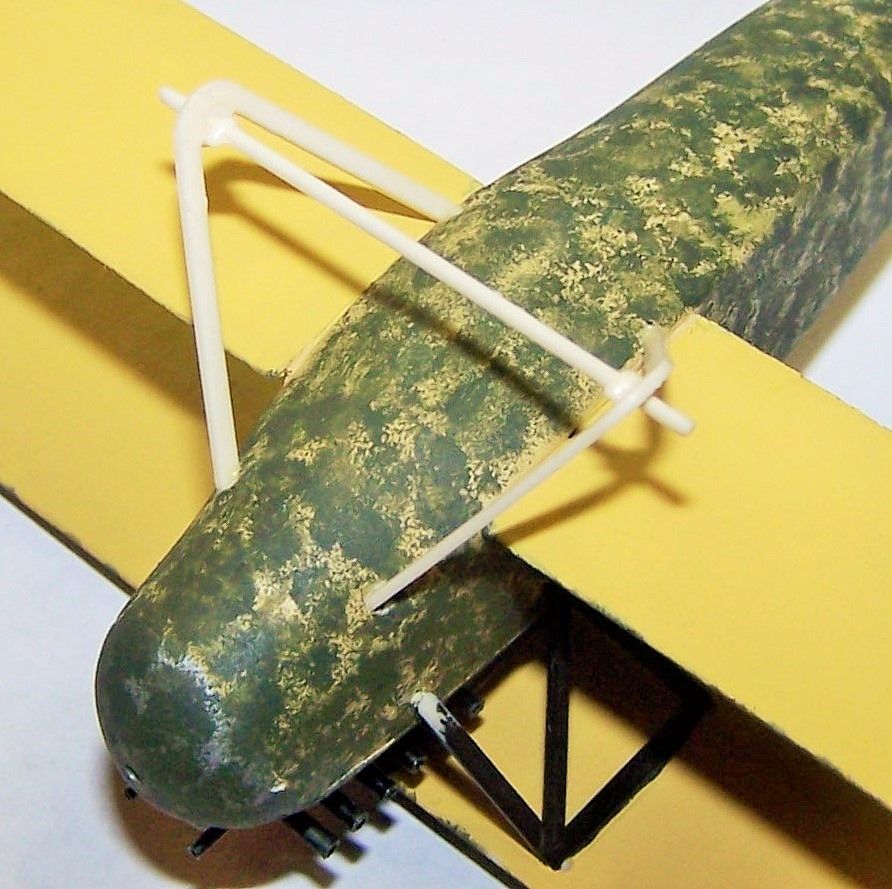
after the wings had dried I added teh landing gear struts


once that had all dried a test fit of the prop and wheels
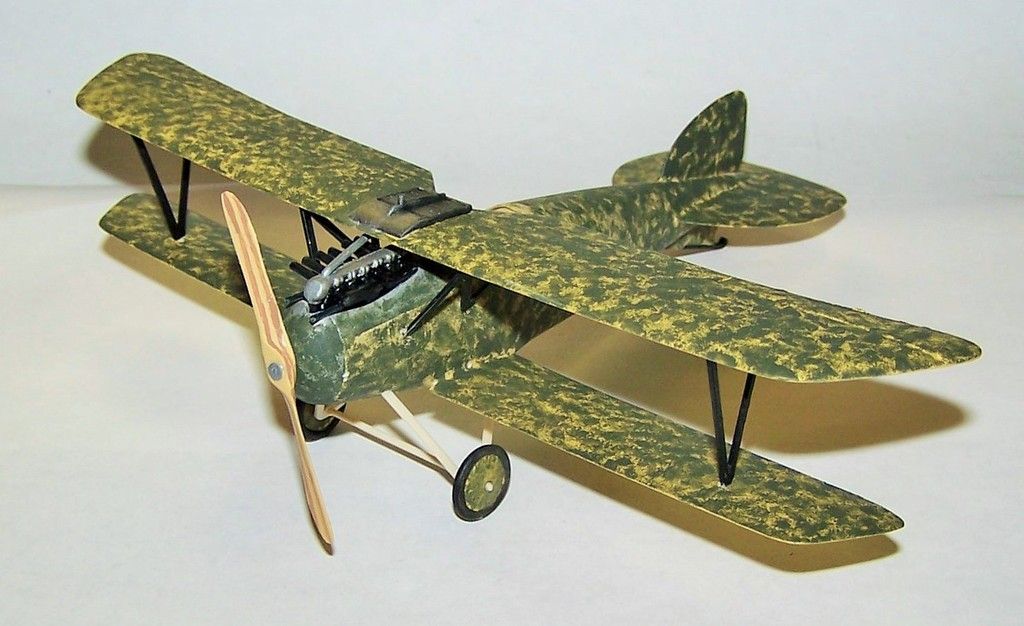


I need to do touch ups on the areas affected by gluing and paint the landing gear struts, then it will be time for a coat of Future for the decals to go on...


F is for FIRE, That burns down the whole town!

U is for URANIUM... BOMBS!

N is for NO SURVIVORS...

       - Plankton

LSM


  • Member since
    December 2002
  • From: Bury St Edmunds, Suffolk, England
Posted by Bish on Sunday, November 22, 2015 7:37 AM
Sorry Stik, seem to have missed this one, not checking the forums properly. That's a really nice looking aircraft and I love the camo. Great job on the prop as well.

I am a Norfolk man and i glory in being so


On the bench: Airfix 1/72nd Harrier GR.3/Fujimi 1/72nd Ju 87D-3

  • Member since
    July 2004
  • From: Sonora Desert
Posted by stikpusher on Sunday, November 22, 2015 11:58 AM

No worries Bish and thanks for looking in and your kind words.


F is for FIRE, That burns down the whole town!

U is for URANIUM... BOMBS!

N is for NO SURVIVORS...

       - Plankton

LSM


  • Member since
    June 2014
Posted by BrandonK on Sunday, November 22, 2015 12:50 PM

I gotta say that you are doing Damn fine work here. I am too intimidated by these WWI birds to attempt any now. And that prop looks the part, nicely done.

BK

On the bench:

A lot !! And I mean A LOT!!

2024 Kits on deck / in process / completed   

                         14 / 5 / 2  

                              Tongue Tied

  • Member since
    October 2004
  • From: Colorado
Posted by StephenLawson on Sunday, November 22, 2015 12:55 PM

The curved edge of the prop should lead.


Stachel...unconfirmed by Armee means unconfirmed!!!!

  • Member since
    July 2004
  • From: Sonora Desert
Posted by stikpusher on Sunday, November 22, 2015 2:11 PM

StephenLawson

The curved edge of the prop should lead.

Aw dang...Black Eye I dont know how I can fix that now... 


F is for FIRE, That burns down the whole town!

U is for URANIUM... BOMBS!

N is for NO SURVIVORS...

       - Plankton

LSM


  • Member since
    June 2003
  • From: Cavite, Philippines
Posted by allan on Sunday, November 22, 2015 7:22 PM

Youd probably have to make a new prop...? I was about to say the prop colors and the camo make for a really nice contrast.

No bucks, no Buck Rogers

  • Member since
    July 2004
  • From: Sonora Desert
Posted by stikpusher on Sunday, November 22, 2015 7:30 PM

I've got a couple of days to stew over this problem before I get some time back at the bench. Maybe I'll think something up that won't be quite so drastic as a new prop. I was thinking mor in line with WWII metal props with the straight leading edge and the curved rear when I mounted this...


F is for FIRE, That burns down the whole town!

U is for URANIUM... BOMBS!

N is for NO SURVIVORS...

       - Plankton

LSM


  • Member since
    October 2004
  • From: Colorado
Posted by StephenLawson on Monday, November 23, 2015 7:02 AM

Pull it out and just flip it over.  If the hub is a bother, I may have an extra prop.


Stachel...unconfirmed by Armee means unconfirmed!!!!

  • Member since
    April 2006
  • From: ON, Canada
Posted by jgeratic on Monday, November 23, 2015 10:36 AM

It still looks good, regardless of the error Stephen has pointed.  That got me wondering if I had made the same mistake on Eduard's Oeffag I had built a couple years, but is alright.

If you are going to redo the prop, you can put together a 3D mask to spray the laminated look.  Made of layers of thin sheet plastic and shimmed at three points, (I think you can even do 4 rows of shims as the whole thing is pretty flimsy).

regards,

Jack

GAF
  • Member since
    June 2012
  • From: Anniston, AL
Posted by GAF on Monday, November 23, 2015 11:24 AM

Stik,

Could you remove the front hub on the prop by sanding, or just popping it off after sitting in the freezer for a bit, and just drill out a new hole for an attachment pin?  Might be impossible, as I don't know what material it is.  Resin?

Gary

  • Member since
    July 2004
  • From: Sonora Desert
Posted by stikpusher on Tuesday, November 24, 2015 2:56 AM

Thanks guys.

Here is the prop of a real one (actually a flying replica made in Austria)

I guess I should have consulted this photo better. I was more arpped around so many other details.

and my kit prop that I modified

Now I had to drill it out to accept a stryene tube/metal shaft that I used to replace the kit prop shaft to ease my assembly sequence. (otherwise sanding the countours of the ill fitting cowl and engine deck would have been even more of a bear than it was with the engine and gun barrels there)  Now to stick to my original project guideline of not using any aftermarket I will have to see if I can somehow remove that shaft and cut another retaining plate face off the kit part that I used to do the original one. I have come up with an idea and will see if I can pull it off.

Jack and Stephen, your Oeffag's are beautiful. Much better than I know that mine will turn out. But as I said early on in this project. This is my crawl stage of biplanes. I have a long way to go. You guys set the standards I want to reach with the better Eduard and Roden kits in my stash.

Very interesting mask Jack. I will have to try that somewhere down the road.


F is for FIRE, That burns down the whole town!

U is for URANIUM... BOMBS!

N is for NO SURVIVORS...

       - Plankton

LSM


  • Member since
    April 2006
  • From: ON, Canada
Posted by jgeratic on Tuesday, November 24, 2015 9:18 AM

You are welcome stik.  The prop mask though isn't my idea (I can only take credit on how to save a few coin).  It actually can be bought as a stainless steel product made by RB Productions.  Here is a link to get a better idea of how it works:

http://www.ultracast.ca/products/RB_Productions/Tools_Scratch-Building/RB-T036/default.htm

regards,

Jack


  • Member since
    July 2004
  • From: Sonora Desert
Posted by stikpusher on Saturday, December 5, 2015 5:44 PM

Well, my idea of using glue to soften the contact surface of the shaft from the prop then pull it out worked. Then I inserted the shaft from the opposite side, made a new retainer face plate from the remainder of the kit part that I originally used, and glued it all together. But the "laminted wood" does not look as good on the new front side as the incorrect front side.... I'll get some photos up later on.


F is for FIRE, That burns down the whole town!

U is for URANIUM... BOMBS!

N is for NO SURVIVORS...

       - Plankton

LSM


  • Member since
    July 2004
  • From: Sonora Desert
Posted by stikpusher on Saturday, December 5, 2015 7:58 PM

Well I am now on the home stretch here... Let it not be said that I do not listen to feedback...  Whistling


afterwards it was touch up painting on the struts and camo mottle from where I attached the upper wing, as well as painting the landing gear struts, and new prop hub face, then I glued the wheels in place...


so now it's gonna dry overnite than tomorrow or Monday I can get on the Future coat and decals...


F is for FIRE, That burns down the whole town!

U is for URANIUM... BOMBS!

N is for NO SURVIVORS...

       - Plankton

LSM


  • Member since
    December 2002
  • From: Northern California
Posted by jeaton01 on Saturday, December 5, 2015 11:49 PM

Looking good, Stik.  I think I built every one of all the old Aurora biplane fighters when I was a flea, but none saw any paint!

John

To see build logs for my models:  http://goldeneramodel.com/mymodels/mymodels.html


  • Member since
    July 2004
  • From: Sonora Desert
Posted by stikpusher on Sunday, December 6, 2015 12:48 AM

Yeah, paint sure helps these old kites.... And thanks...


F is for FIRE, That burns down the whole town!

U is for URANIUM... BOMBS!

N is for NO SURVIVORS...

       - Plankton

LSM


  • Member since
    July 2004
  • From: Sonora Desert
Posted by stikpusher on Saturday, December 26, 2015 8:33 PM

In addition to completing my Ohka this afternoon, I also made some progress on my D.III.


I airbrushed on a Future gloss coat


Then an hour or two later I applied the decals


on the homestretch now...


F is for FIRE, That burns down the whole town!

U is for URANIUM... BOMBS!

N is for NO SURVIVORS...

       - Plankton

LSM


GAF
  • Member since
    June 2012
  • From: Anniston, AL
Posted by GAF on Saturday, December 26, 2015 8:44 PM

Stik,

The DIII is looking sharp!  And the propeller re-work looks good.

I do have a question about the upper wing decals.  Are they silvering or is it just the light refraction?

Gary

  • Member since
    July 2004
  • From: Sonora Desert
Posted by stikpusher on Saturday, December 26, 2015 8:50 PM

Thanks GAF. The decals were still drying when I took the photos. I am hoping that will disappear overnite...


F is for FIRE, That burns down the whole town!

U is for URANIUM... BOMBS!

N is for NO SURVIVORS...

       - Plankton

LSM


  • Member since
    July 2004
  • From: Sonora Desert
Posted by stikpusher on Sunday, December 27, 2015 4:14 PM

And yes, the decals dried well overnite with no silvering. I did have to hit them with a dose of micro sol this morning again though.


F is for FIRE, That burns down the whole town!

U is for URANIUM... BOMBS!

N is for NO SURVIVORS...

       - Plankton

LSM


  • Member since
    December 2010
  • From: Salem, Oregon
Posted by 1943Mike on Sunday, December 27, 2015 11:15 PM

I think you did a really nice build on that Glencoe Oeffag. I'll get to either my Glencoe or Eduard D.III one of these days/weeks/months/years.

Mike

Mike

"Le temps est un grand maître, mais malheureusement, il tue tous ses élèves."

Hector Berlioz

  • Member since
    July 2004
  • From: Sonora Desert
Posted by stikpusher on Monday, December 28, 2015 12:10 AM

Thanks Mike. i still need to do the flat coat and the rigging. I think that I'll tackle the basic Glencoe D.III next year sometime. I got some ideas while working on this thing. And allow myself a little scratch work to improve it. And of course each kit come with a nice multi option Scale Master decal sheet, so a couple of Eduard Weekend it's of these just might happen...


F is for FIRE, That burns down the whole town!

U is for URANIUM... BOMBS!

N is for NO SURVIVORS...

       - Plankton

LSM


  • Member since
    July 2004
  • From: Sonora Desert
Posted by stikpusher on Tuesday, December 29, 2015 1:08 PM

Well, I have started the rigging. I am using fine steel wire so wish me luck. So far so good. Should be all done tomorrow.


F is for FIRE, That burns down the whole town!

U is for URANIUM... BOMBS!

N is for NO SURVIVORS...

       - Plankton

LSM


  • Member since
    July 2004
  • From: Sonora Desert
Posted by stikpusher on Wednesday, December 30, 2015 2:10 PM

Well here is the result of two sessions at the bench today and yesterday, roughly 30 minutes each, adding in pre measured & cut .015 gauge steel wire for the rigging. I would really like to find some .010 wire, but I have yet to come across it in any stores or shops here. Anyways I think it looks the part, although a tad bit too thick. But hey, its my first rigging job on a biplane in nearly 40 years since I tried thread on some old Aurora and Monogram biplane kits back in the day...


and yes, the silvering did go away on the upper wing crosses...


almost done... all ready for flat coat tomorrow...


F is for FIRE, That burns down the whole town!

U is for URANIUM... BOMBS!

N is for NO SURVIVORS...

       - Plankton

LSM


  • Member since
    January 2015
  • From: Tumwater, WA.
Posted by M. Brindos on Wednesday, December 30, 2015 2:31 PM

I almost grabbed a 1/72 Academy Sopwith Camel last night because of the nostalgia you're bringing up with this build, Stik.

Looking cool. Love what you've done to spruce it up the way you have. :)

- Mike Brindos "Lost Boy"

JOIN OUR COMMUNITY!

Our community is FREE to join. To participate you must either login or register for an account.

SEARCH FORUMS
FREE NEWSLETTER
By signing up you may also receive reader surveys and occasional special offers. We do not sell, rent or trade our email lists. View our Privacy Policy.