Hi all,
After my last builds, I fell into a bit of a modelling slump, and real life got in the way of my having more than my lunch hour to be on here, so I ended up putzing around with a SPAD XIII and am now working on Trumpeter's MiG-3, mainly because it seemed like it would be quick and fun, and it is!
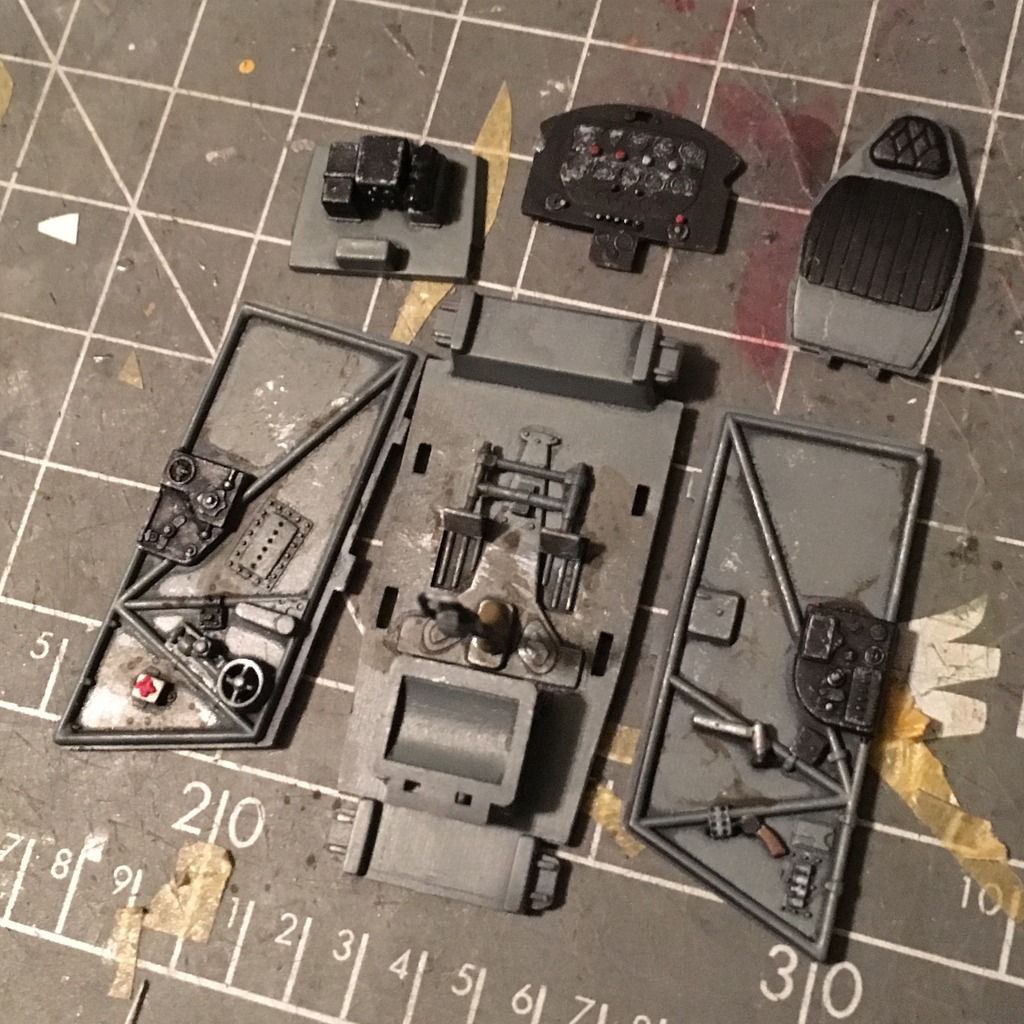
The cockpit fell together easily, and I am not throwing any aftermarket at this one, especially since I read somewhere that you see them without harnesses from time to time, and that (plus an instrument panel) is really all that this one falls short on.

I painted the interior with Mr. Paint Blue Grey (or maybe it was Grey Blue, I can't remember, and yes they are different colors). I then used a Vallejo grey wash on it, did some dry brushing and dirtied it up with a Flory Dark Dirt wash.
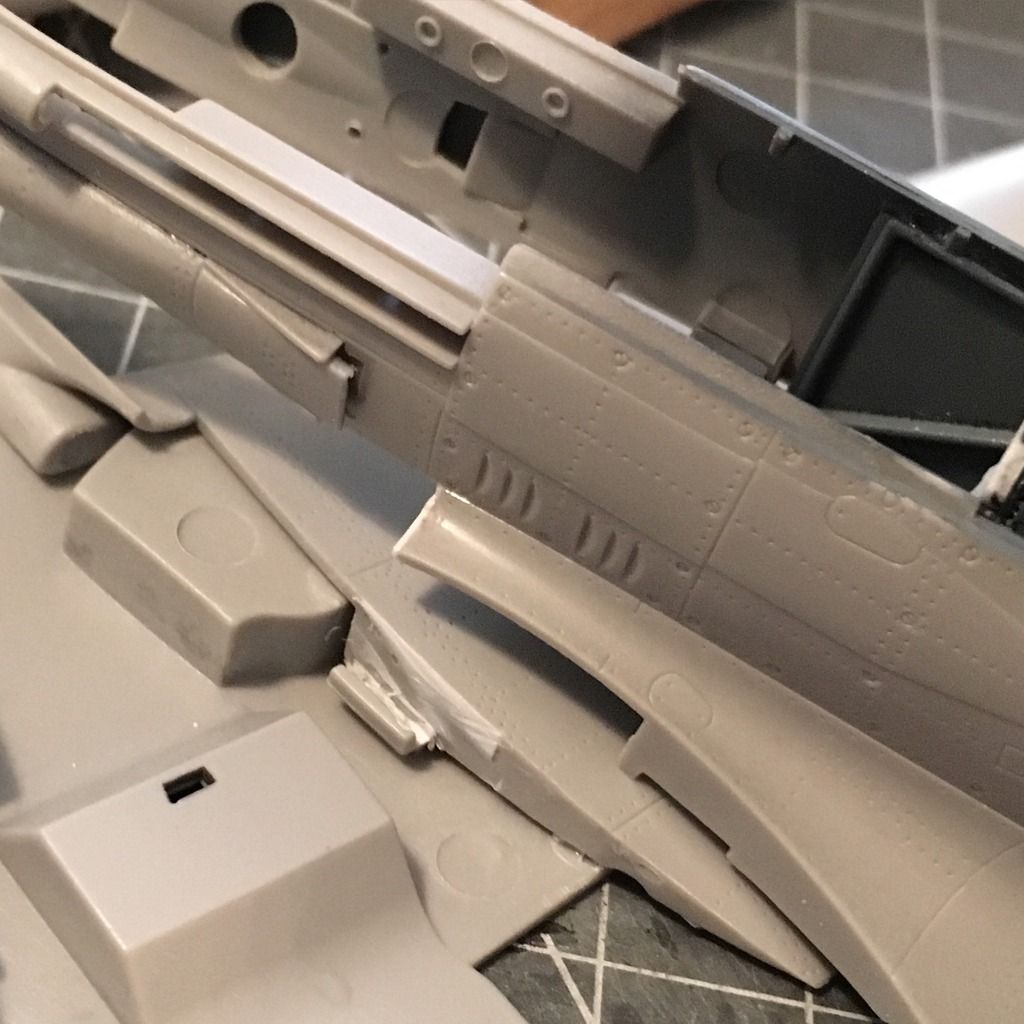
Next up was addressing a couple of issues in the kit. The wing air intakes look great when you fit them to the assembled wings, but they leave a significant gap upon mating to the fuselage. The wings also have a small, rectangular-shaped indentation where they meet the fuselage, so I cut more sheet styrene to fit and then filed it down to size.
That takes me here, and with those two small modifications, I was able to get the wing root seam to be a faint line instead of having two significant gaps to fill. As I am terrible at filling and hate it, this makes me happy.

Trumpeter did something with this kit that I wish more manufacturers would do and molded the front of the plane in four sections (each fuselage half has 1/4 of the engine covering, and there are single pieces for the upper and lower cowlings that fit along actual panel lines, negating any need to fill). The belly scoop housing is also molded separately and almost completely covers the seam where the rear of the lower wing meets the fuselage. Excellent engineering!
The fuselage only has seams behind the cockpit and the wings, and they were easy to fill. The only really questionable thing I've come across so far is the flimsy tailwheel, which must be installed when you close the fuselage. I am sure I am going to break it before all is said and done.
Anyway, I can't wait to finish assembly and get this thing into paint.
-BD-