This is Tamiya's 1/48 He-162 Salamander, or Spatz, which is cool since that's my mom's maiden name.
Anyway, this kit is typical Tamiya awesomeness, and the few problems I've run into are entirely of my doing.
This plane was a sort of last-ditch effort that had a dorsal-mounted jet engine with a metal body and wooden wings. It also had an ejection seat (you had to eject PAST the jet intake!) It's small -- the wingspan is about 2/3 of a MiG-3, which is itself pretty small, and I think it is just a cool-looking airplane. Plus I got to see a surviving one at Planes of Fame a couple of months ago. I will be building this one with a fairly fresh paint job because many of them weren't fully painted in real life (bare metal and putty dominating). But I think if the war had continued, they would have been painting them.
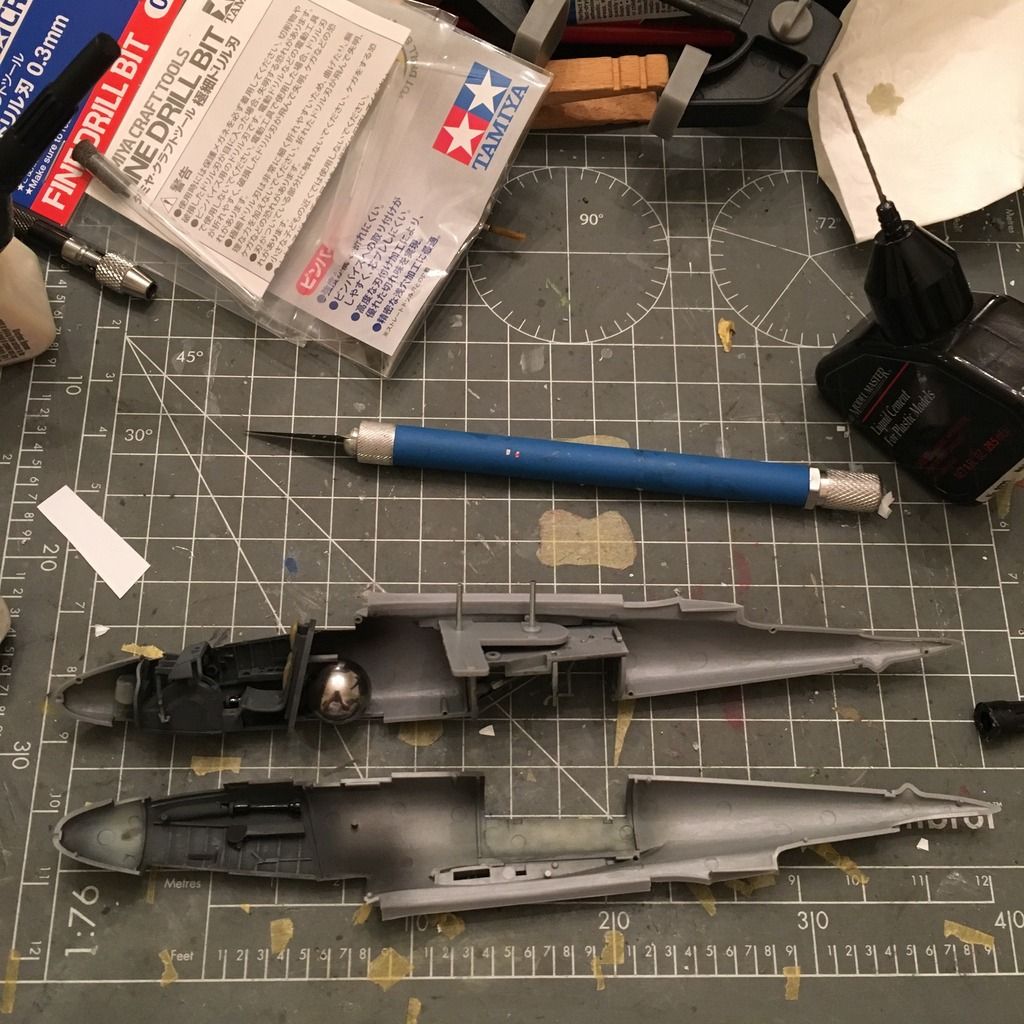
Here is the fuselage. I installed the gear bay and most of the cockpit on one side before closing it up. Bay is Model Master RLM 02 and the pit is Tamiya German Grey.

Tamiya included the weight, which I always appreciate, and plastic tabs keep it in place so it doesn't roll around.
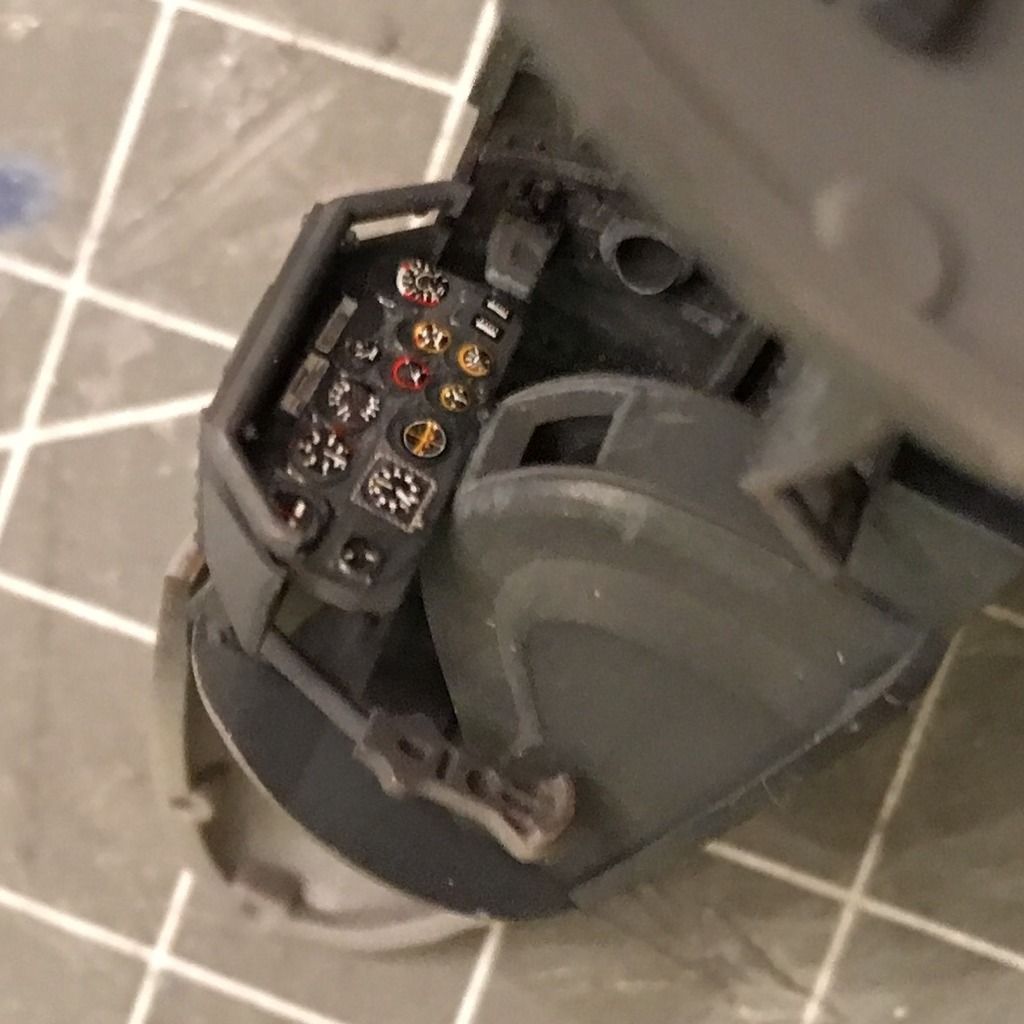
Here is the IP, which is a decal included in the kit. For the markings, I have a Kagero book with Cartograf-printed decals, which I'm looking forward to using.

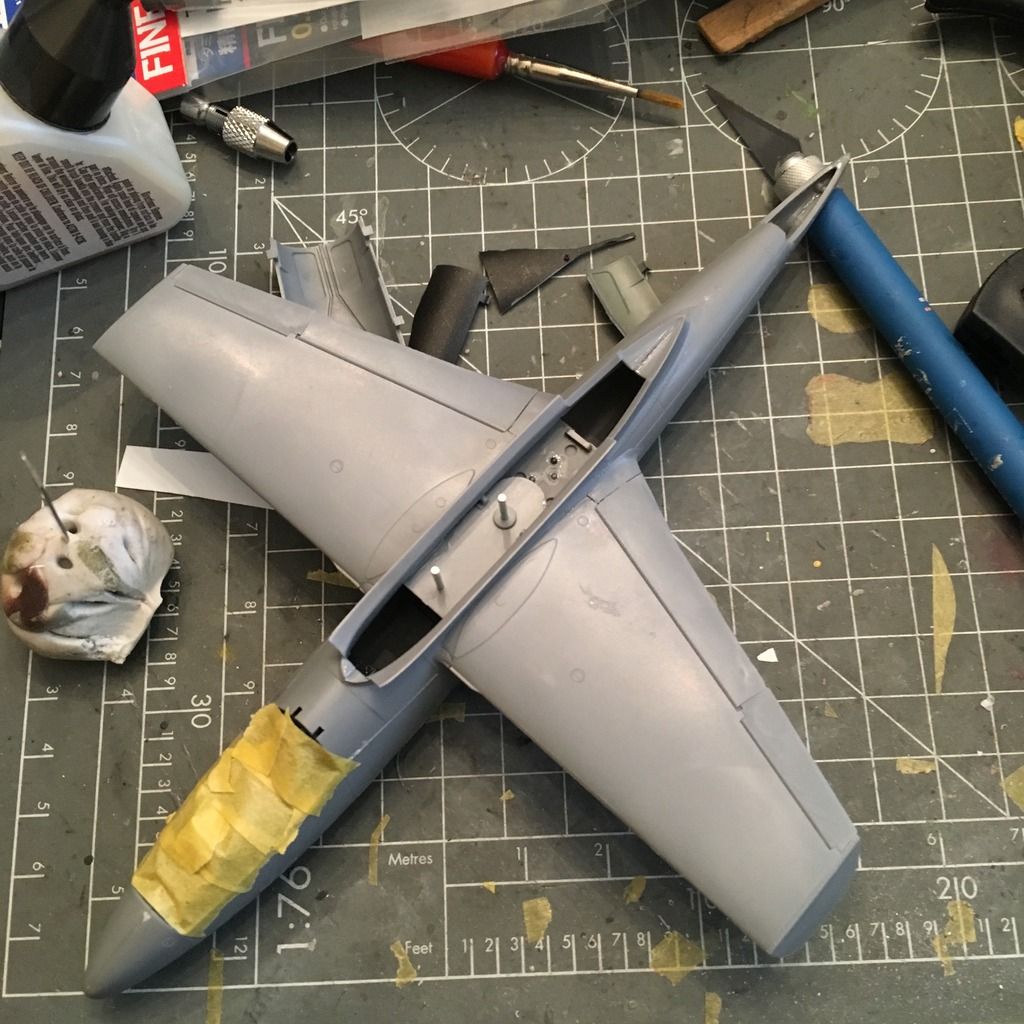
This is really a quick-building kit. In the photo below, I have done some seam work, and masked for primer to verify they are ok. The rear end of the jet mount is actually visible, and I fortunately realized it before installing the engine. So the putty is drying as I type.

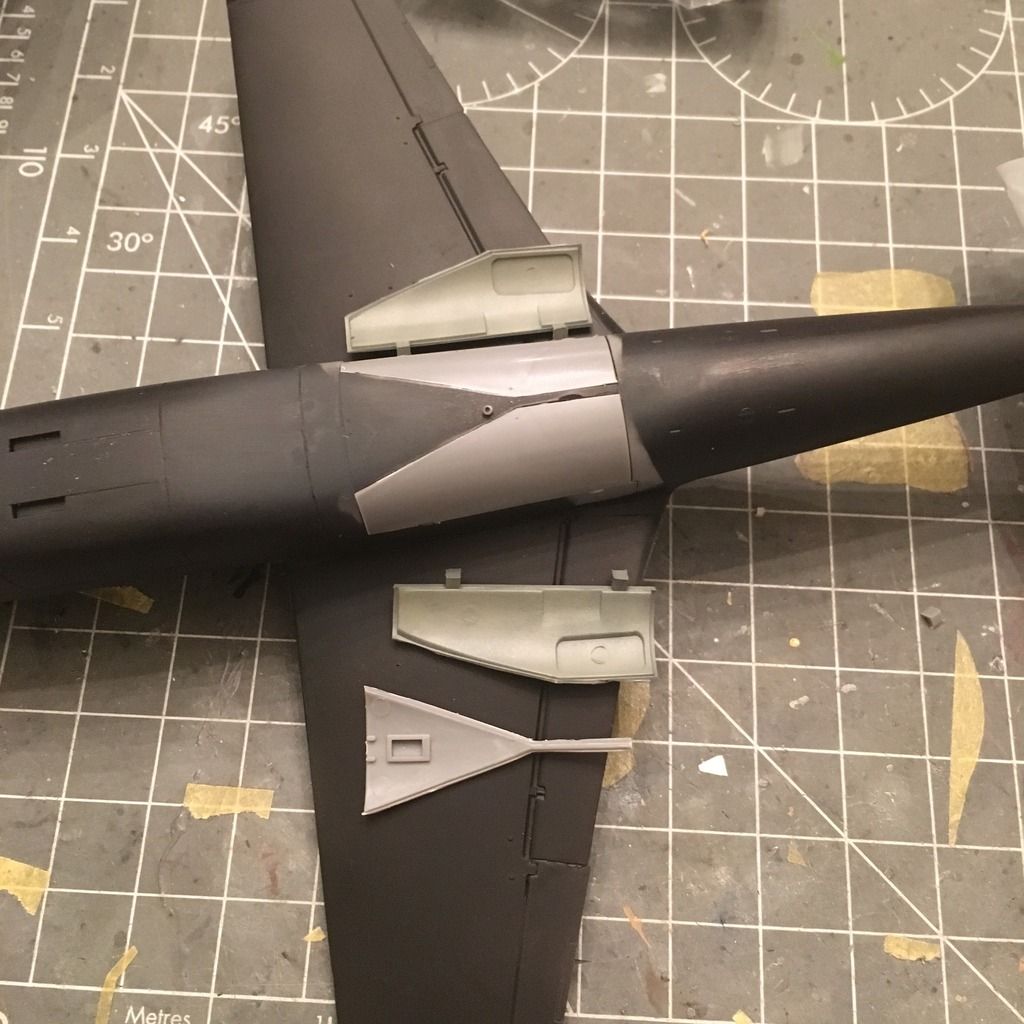
I sprayed primer and fixed theunderside seams. Tamiya has two duplicate prues in this kit, which is nice because I messed up the engine cover with some really bad seam work, so I was able to replace it. It also comes with two sets of gear doors, and each are one piece. So I was able to cut both sets apart and use the extra one as masks. The central (black) part is fixed, and the doors open outward. This just makes masking super easy, and as you see, I've got the spares off it, as the locator tabs prevent them from being installed in the closed position.

I'm hoping to get a final primer coat on it tonight and start painting this weekend.
-BD-