This is my very first build log and only my 3rd build for over 10 years.
My chosen subject is the venerable Vought AU-1 (F4U-6) Corsair by Hasegawa (which has been in my stash for over 10 years). This particular kit, the USN 'Reserve' variant of the AU-1 I intend to alter to a USMC version. It had seen action as a ground attack aircraft during the Korean War. I'm not going to go full description regarding this aircraft as many have a far better knowledge of the aircraft than I.
I intend to do some minor scratch build updates to the P&W R2800 radial, use an updated resin cockpit set from Wolfpack Design, replace the tyres with excellent Ultracast resin and use Print Scale decals for a USMC AU-1.
I will use the excellent range of Mr Paint Primer and Exterior Paint (which shoots super smooth, dries super fast and has a tough finish). Tamiya, Alclad II and Humbrol for interior and detail painting. I will either use Testors Dullcoat or MRP Matt/Semi Gloss or both, and will certainly use Alclad II Aqua Gloss for pre-decaling base as in my part of the world "Future" is a long way off...
Enjoy!

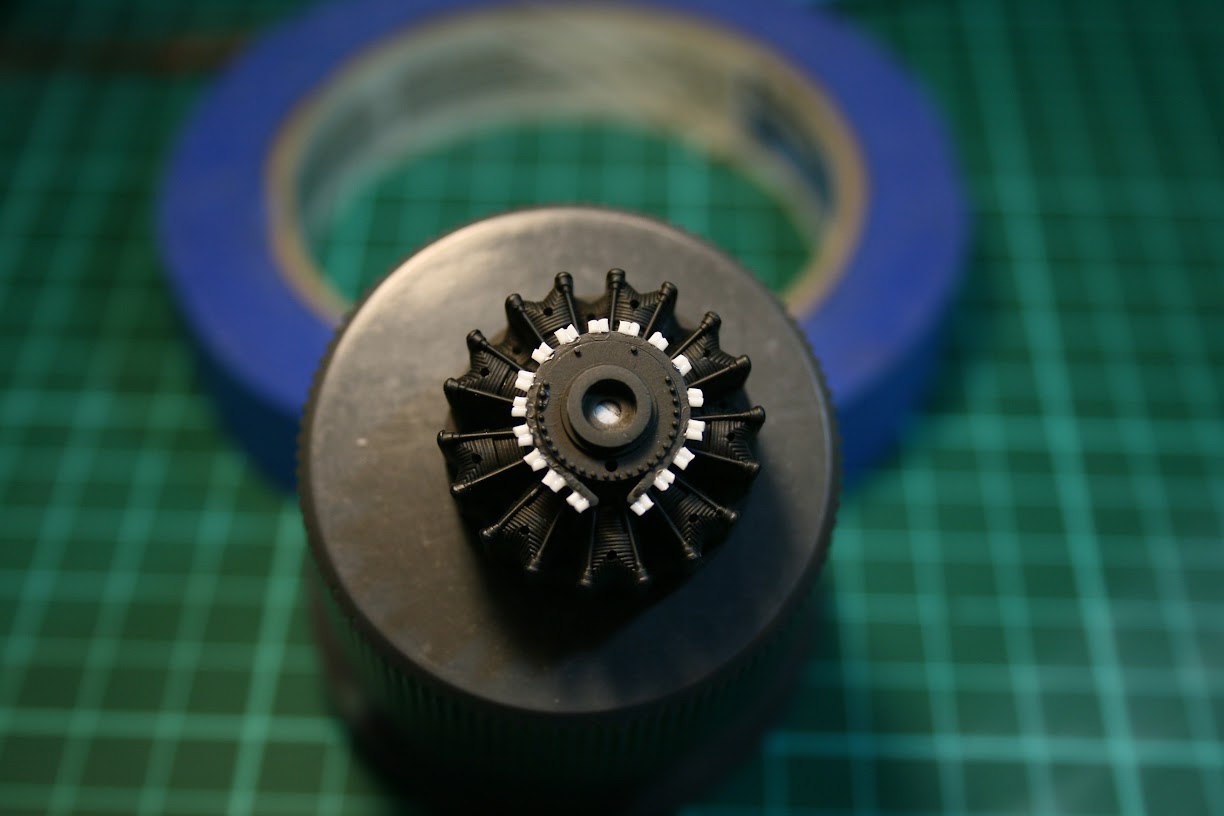
I came across an excellent tutorial provided by lawdog114 that describes a method to give radials more detail than that supplied OOB, so here we go. I started with Stynylrez black primer (This just arrived and it is as good as MRP primer). I added plastic rod cut into 1mm lengths then CA to the Ignition Cable Assembly. I also drilled all the spark plug holes to allow the wire to be pushed through at a later stage.

I painted the cylinder heads with Alclad II Aluminium and the front housing with a Tamiya grey. The cylinder heads had a very diluted wash of Tamiya red and brown paint.

The next part was very time consuming, but the final result will hopefully be worth it. I CA .25mm copper wire to the rear of the Ignition Assembly to depict ignition cables. I spent more time tracking down the correct diameter wire than to actually glue the 34 odd wires to the Ignition Assembly. I now have a great selection of wire for future projects...

And the completed unit ready for what I can only describe as very tedious wiring to the appropriate cylinder heads. This required a delicate touch, more CA and most of all patience.

But the final result turned out OK, I could have done a better job at ensuring the wire to each cylinder was matched, but as the final result is mostly hidden when the engine cowl is on, so I'm not overly concerned.

So, the final power plant needs a coat of Alclad Aqua Gloss, some decals added, weathering and she is done. Then the cockpit construction/painting can commence along with the internal cockpit modifications.
Till then, Happy Modeling.