That's really neat. I went on Google Earth and street view to see if I could spot the location, but no luck. A lot has probably changed in that neighborhood since 1941.
I spend a lot of time picking up and putting down the wrong sprues especially when building a model with as many parts as the Corsair. I know that Hobby Zone makes a commercial Sprue Rack, but I had enough scrap ply and Masonite floating around the shop that I decided to build my own. I measured the smallest sprues in the kit and based the dimensions on something a little bigger, but not too big so small sprues wouldn't get lost.
I settled on 4" X 6" for the separators. I cut it all out using a saber saw and chop saw and then cleaned up the edges with my 1" belt sander. I held it all together with Aleen's Tacky Glue and some thick CA since I am basically impatient.
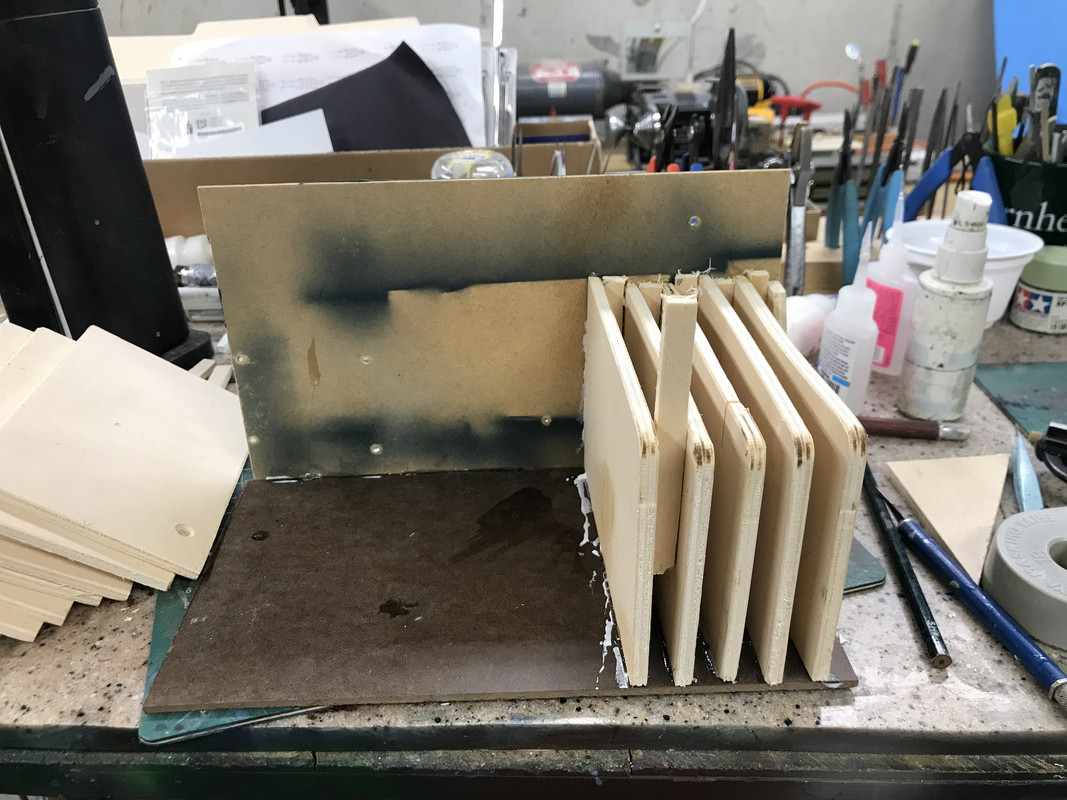
I started it yesterday and finished it today. Of course I only cut 15 pieces (that's all I could get out of the piece of awfully warped plywood) and upon attempting to load the Corsairs sprues I find that their numbers go to the letter "T" and I ended at letter "M". I'll make due. Most models don't have that many sprues. If I have to I'll build an extension. After marking the alpha locations, I loaded it up.
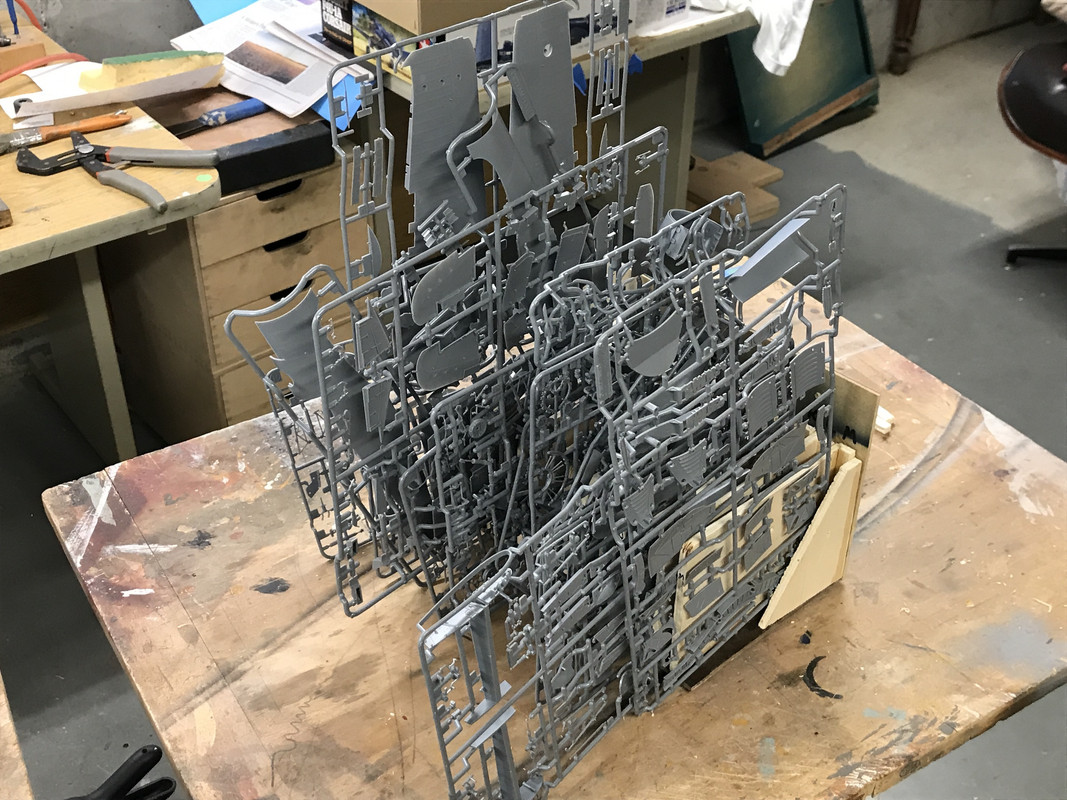
And with that, work officially commenced on the Corsair build.
I've watched some videos about this build and notice that folks like to assemble all the little bits and then airbrush the assembly. Then they go back and do all the detail painting with a brush. I decided to go that route. I already lost one part to the Quantum Rift continuing to uphold my theory that small parts do actually leave this dimension and occassionally grace us with their return (but mostly not).
All of the levers and trim tab wheels are separate parts. I'm not sure why, but Tamiya has two of the wheels in clear parts with their based called out as semi-gloss black. I looked at my color rendition and it shows these wheels to be entirely black. But to entertain Tamiya, I liquid masked the clear rotary knob and will paint the bases.
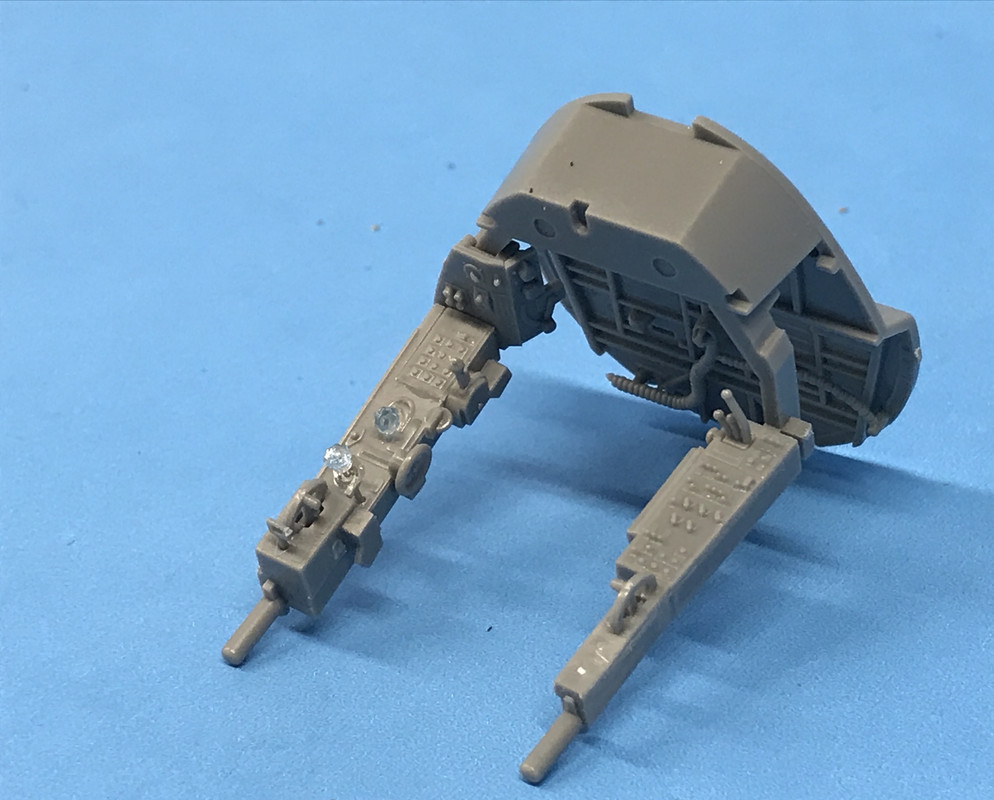
Tamiya calls for their interior green to be a 2:1 mix of Flat Yellow and Flat Green, but I already had some nice zine chromate green from PolyS that I'm going to use. I did want certain parts to show a little wear so I preparinted them silver and used liquid mask that will be removed exposing "bare metal" after the interior green goes down.
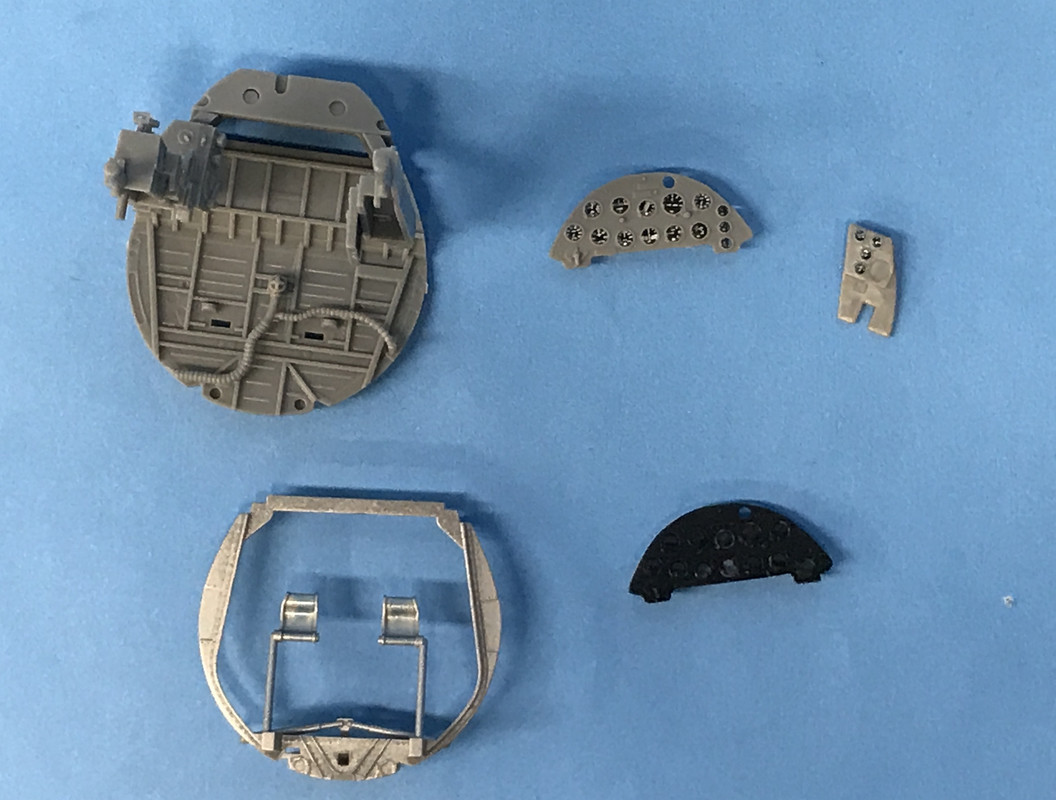
I had a little scare. I started assembling the main instrument panel by gluing the clear gauge lens piece to the back of the gray frontal piece, only to see that the instrument decal had a different gauge configuration. What the...? Upon closer inspection of the instructions I see that there is another sprue "T" that has a different instrument facing with the correct gauge design. So where is the clear part? It's on Sprue "Q". "Where the heck is sprue "Q"? I didn't remember seeing another clear sprue. I searched and searched and then called my LHS to find out how to get missing parts. I was instructed to contact Tamiya USA. I did so and was about to take a picture of my sales receipt as instructed to send off an eMail request, when I noticed the other lens piece on the same fret as the first one that I cut out. Oh... sprue "P" and "Q" and on the same tree. The model obviously has parts for several different iterations of Corsairs. I'd better keep my eyes open going forward. In the above image you see both configurations.
I put the decal behind the right one.
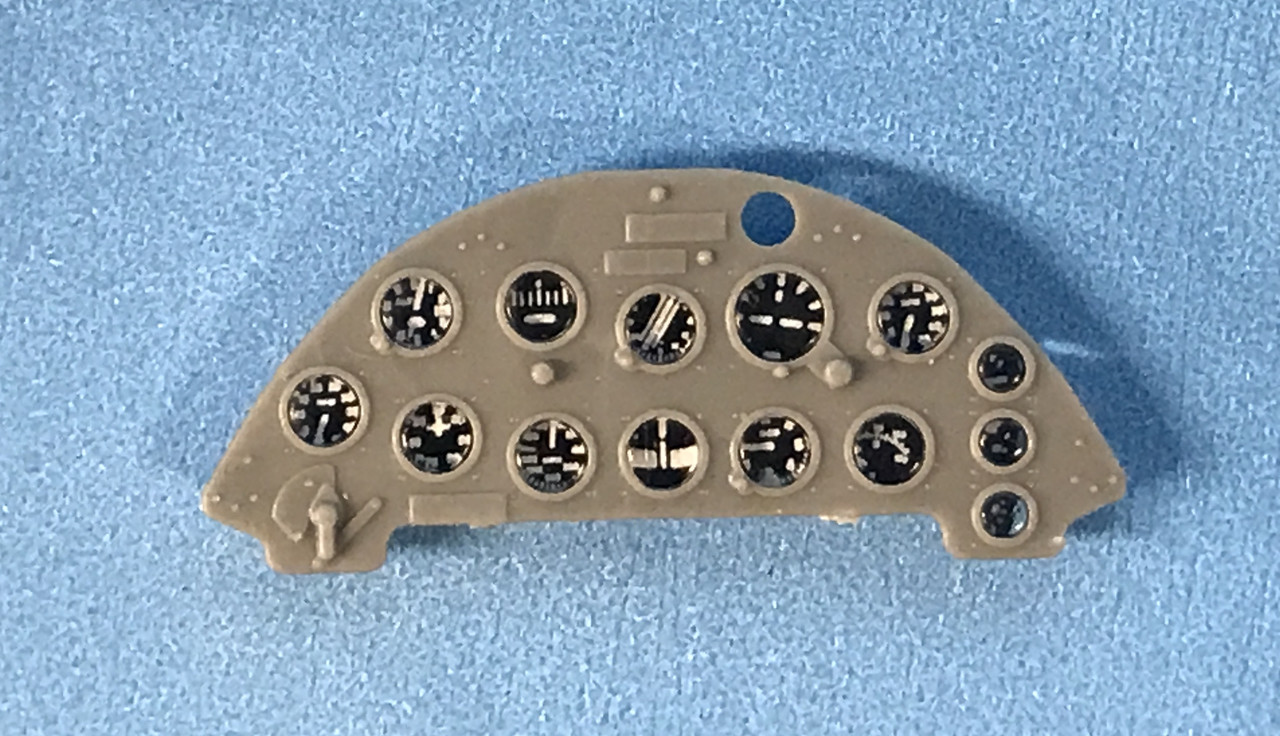
The images are brilliant and in perfect register. My plan is too cover the gauge faces with liquid mask and then airbrush the semi-gloss black. Since I had another gauge cluster I decided to see how this scheme works, so I made a test. There's no decal image behind it, but it does work...sort of. I'll probably have to do some micro-touchup after peeling off the mask.
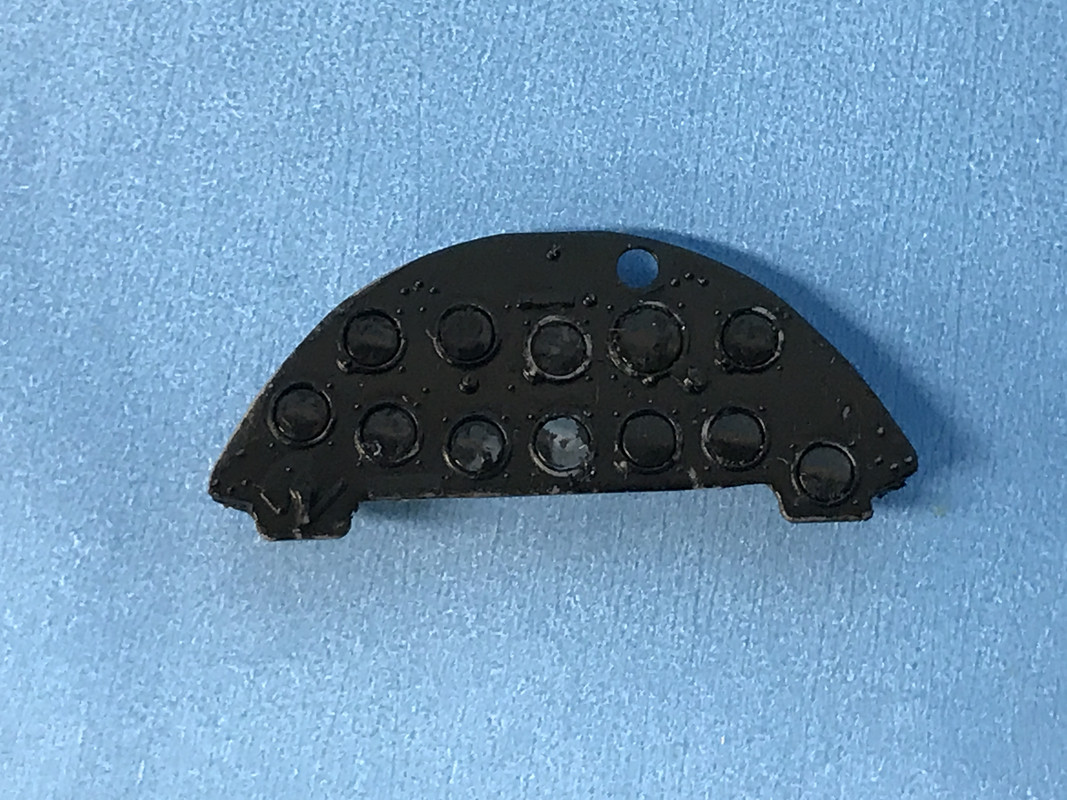
It will work, but I will probably have to make the mask a bit thicker. Next session I'll continue building this beautiful interior. Tamiya has elimated most of the reasons from scratch-building all these little details.