Long post today... a lot happened.
Up first: putting on the main gear. While one of the build videos I watched claimed that the gear fixture was secure, I was totally unhappy with the structural integrity of the kit's method of gluing on the landing gear. Even with the offset joint, it was basically a plastic-to-plastic joint holding a lot of weight. Therefore; I drilled and pinned the joint, followed by gluing with 30 minute epoxy. I used 3/64" brass rod driiled with a #55 drill.
I located the drill spot with the sharp point from a dividers. I then pilot drilled with a 0.022" drill (it was already chucked in one of my pin vises) and then followed with the main drill. Even so, it started to break out on one side. I compensated by drilled in the opposite direction at about 45 degrees until the hold was re-centering and then finished drilling vertically. It saved the job.
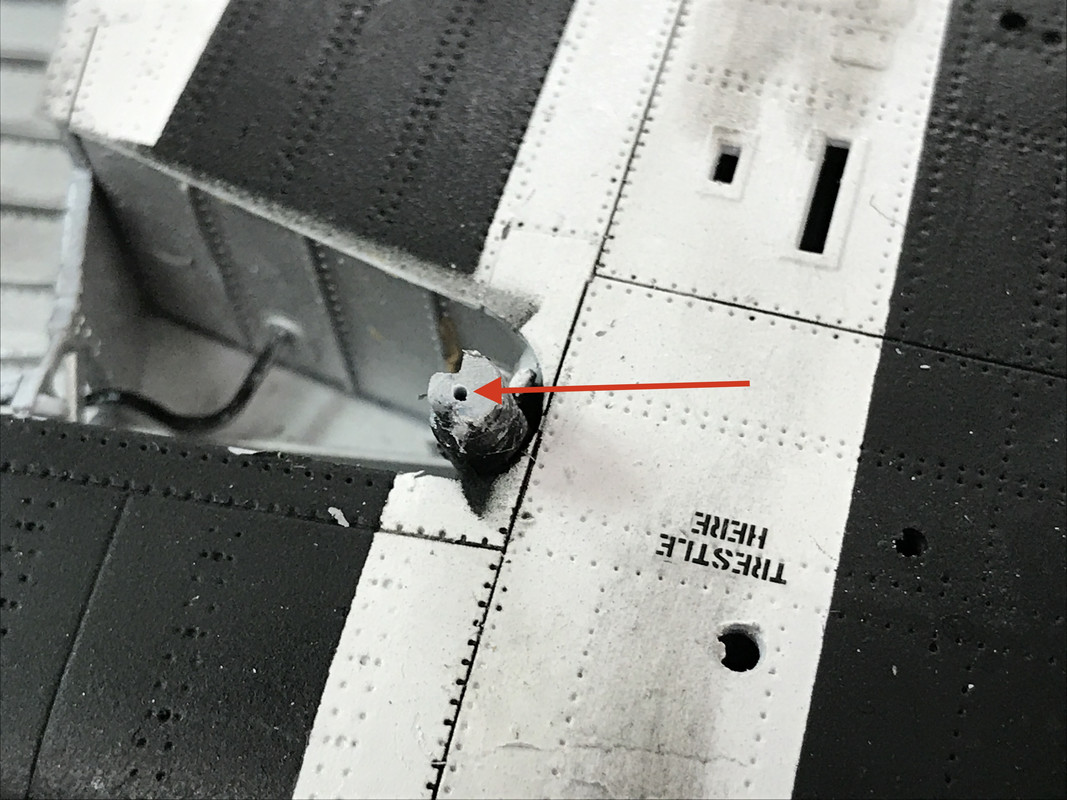
This view shows the pin installed in the hole drilled in the strut. This was the side that started drilling off center.

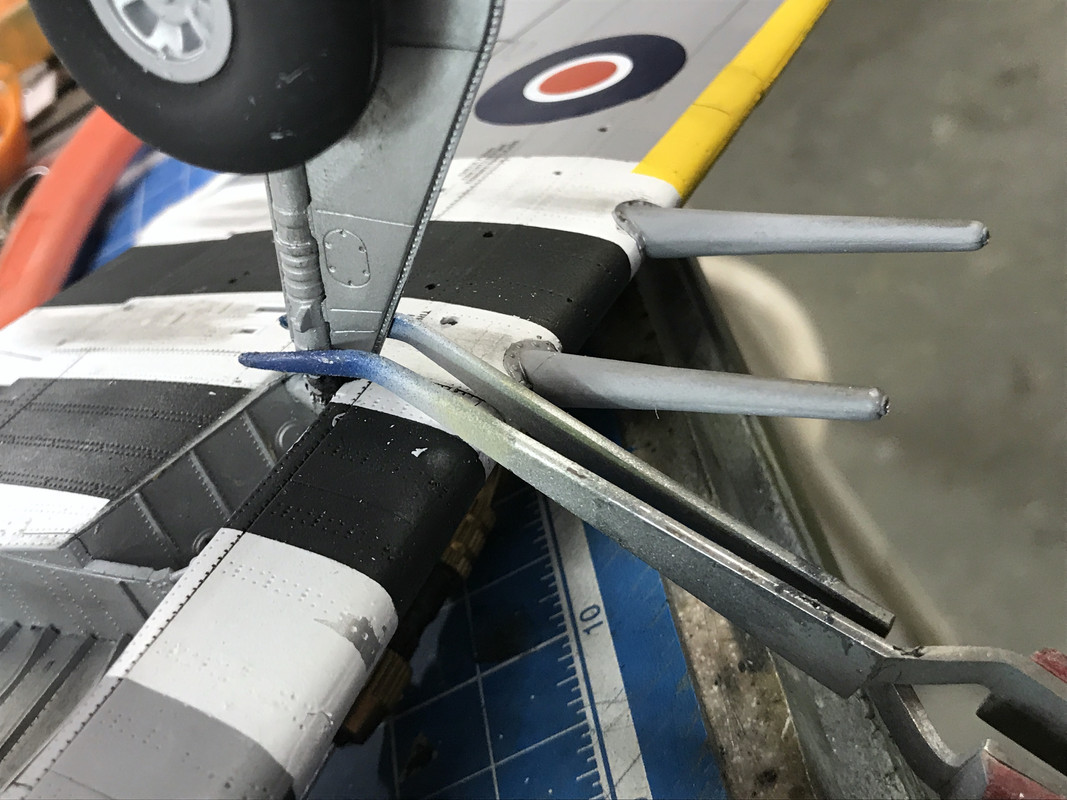
And here are both sides epoxied and stabilized until it cured.
![]()
After the gear was cured I added the inner gear doors, their actuating cylinders and the locking links for the main gear. This highly detailed part did not impart any structural strength. The attachment point was simply too unsubstantial to add strength.
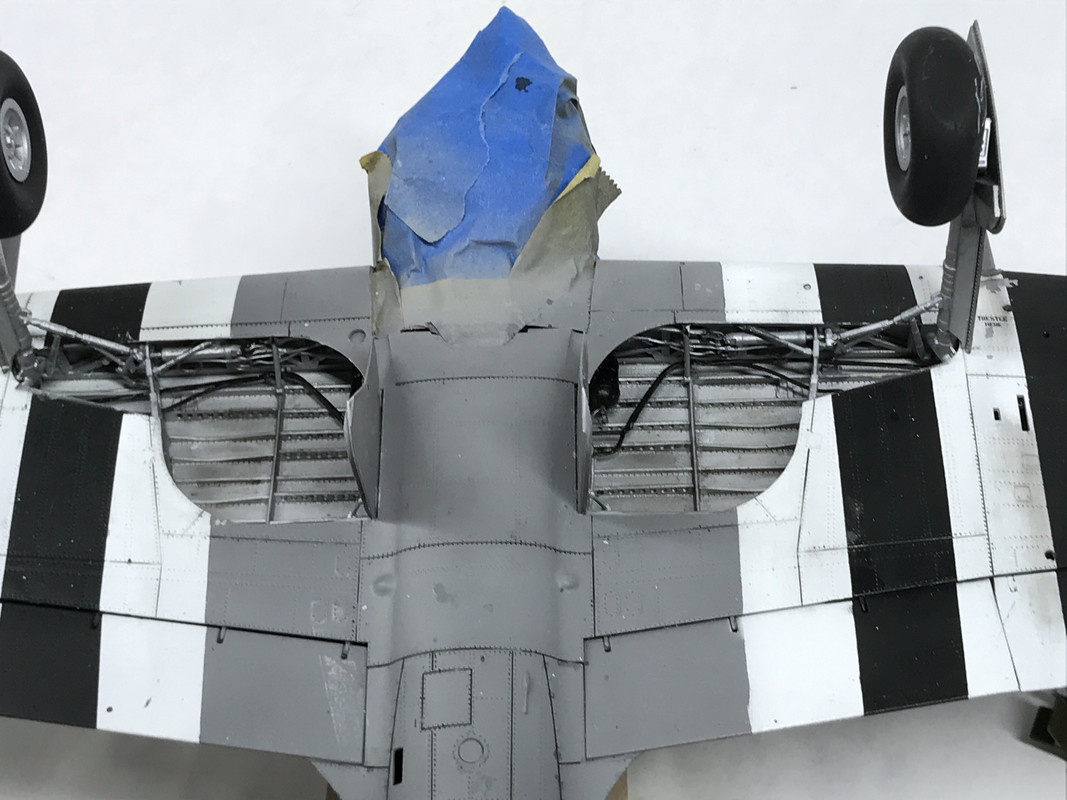
As usual, some of the most insignificant parts cause the most trouble. I had to trim the base of the inner door cylinders to enable them glue without the piston rod bending like a pretzel. I was getting to the point where I was going to make the entire cylinder assemly with brass. Lots of wonderful detail in those wheel wells. If I was a real detail hound I would have run hydraulic lines to those inner door actuators. Overkill! The model has enough problems that it WILL NOT BE A SHOW WINNER, and therefore; doesn't need any more fussing.
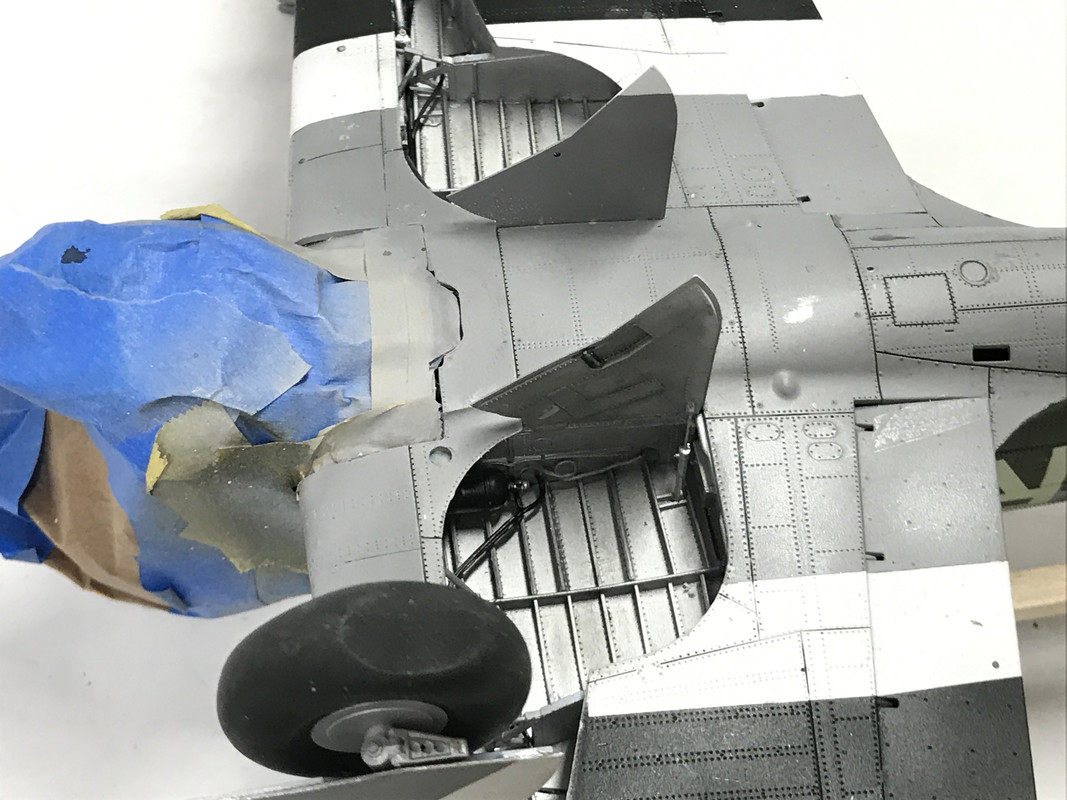
The plane now can sit on its own legs. I also glued in the tailwheel.
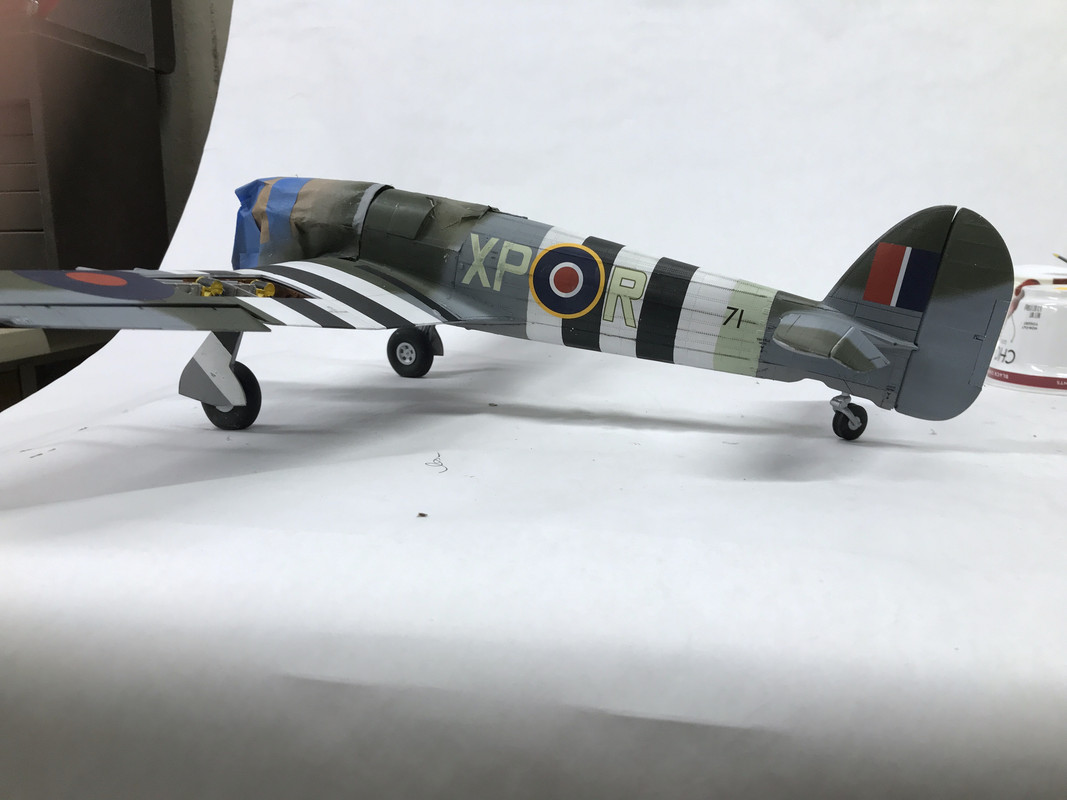
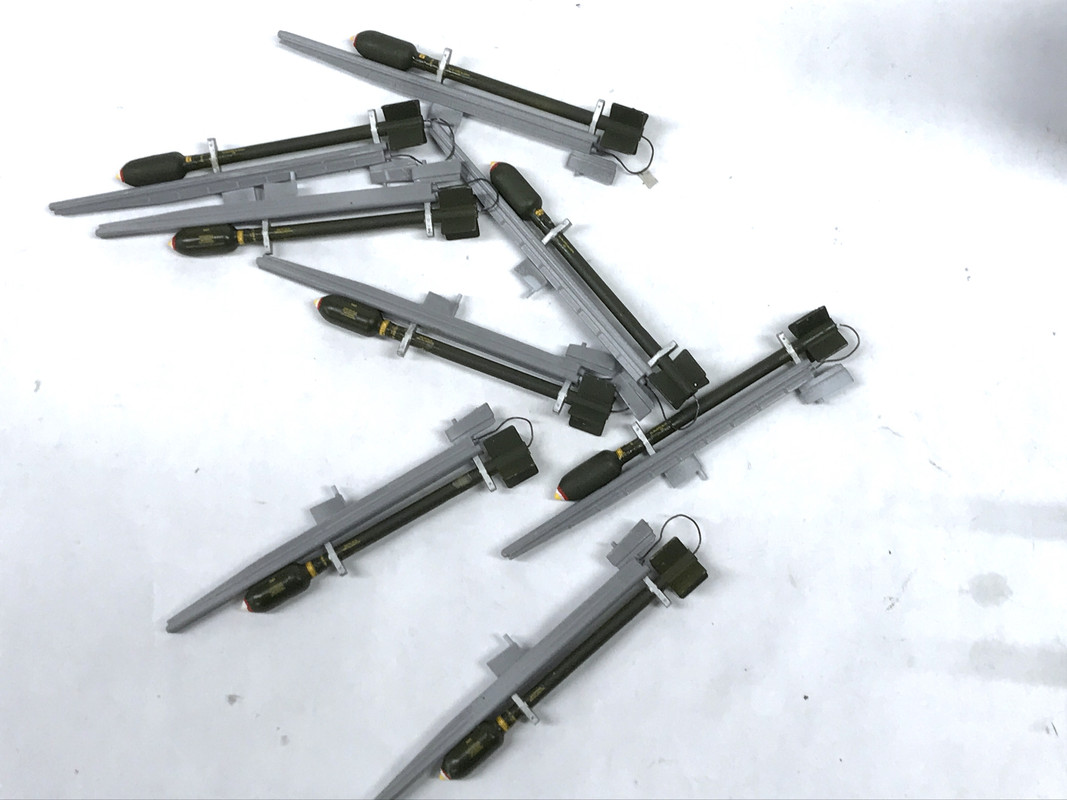
I put some flat clear on the rockets, but it wasn't enough and had to hit it with Dullcoat spray. It basically still wasn't enough, but I had enough. I used some narrow gauge black iron wire to simulate the electricl ignition leads to the rocket motors.
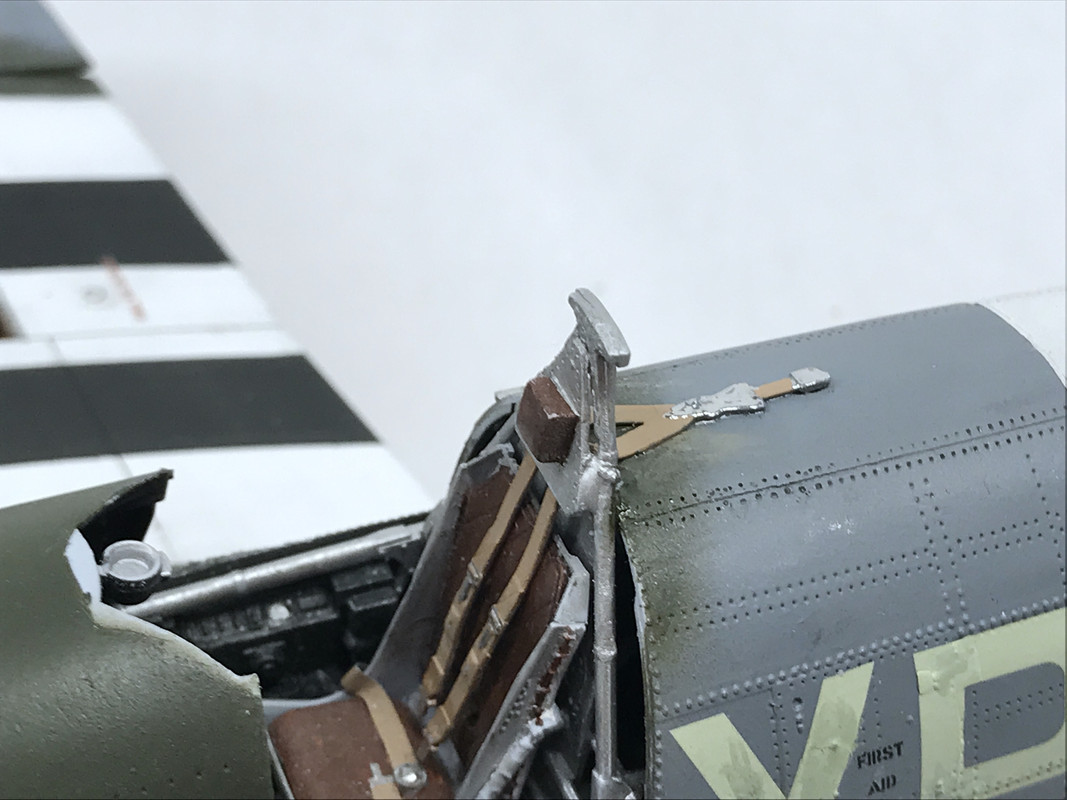
Before I glued these onto the plane, I needed to finally repair the broken roll cage in the cockpit. I was about ready to install the glazing and saw that I hadn't fixed this. Again, I drilled 0.022" for phos-bronze of the same diameter. After installing and using CA, I didn't like how it was holding and added some Bondic UV-Cure filler to strengthen it. It's now strong... not pretty, but strong. Once the glazing is in there's no way to repair this so I wanted it foolproof. It's also another reason the model won't win any rewards. I also paint the upper end of the seat belt harness.
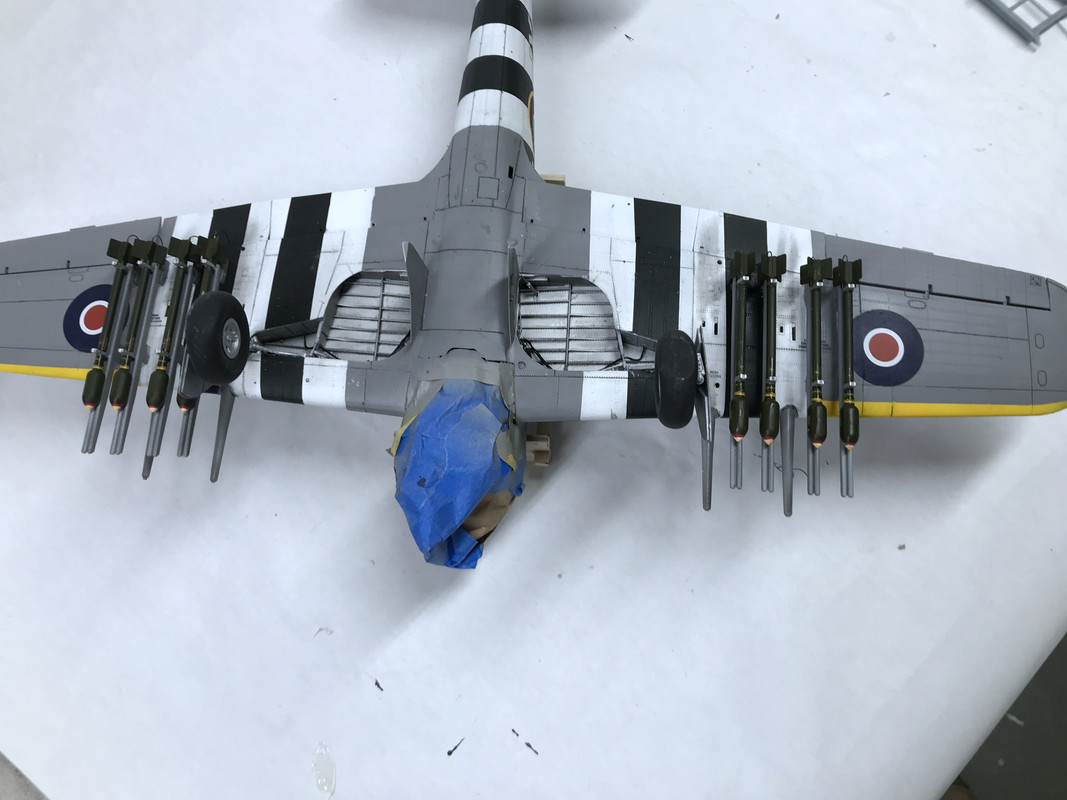
The rocket installation was next. At first I was using liquid cement, but was unhappy how it was curing so I went old school and used Testor's tube cement. This bird now has some talons!
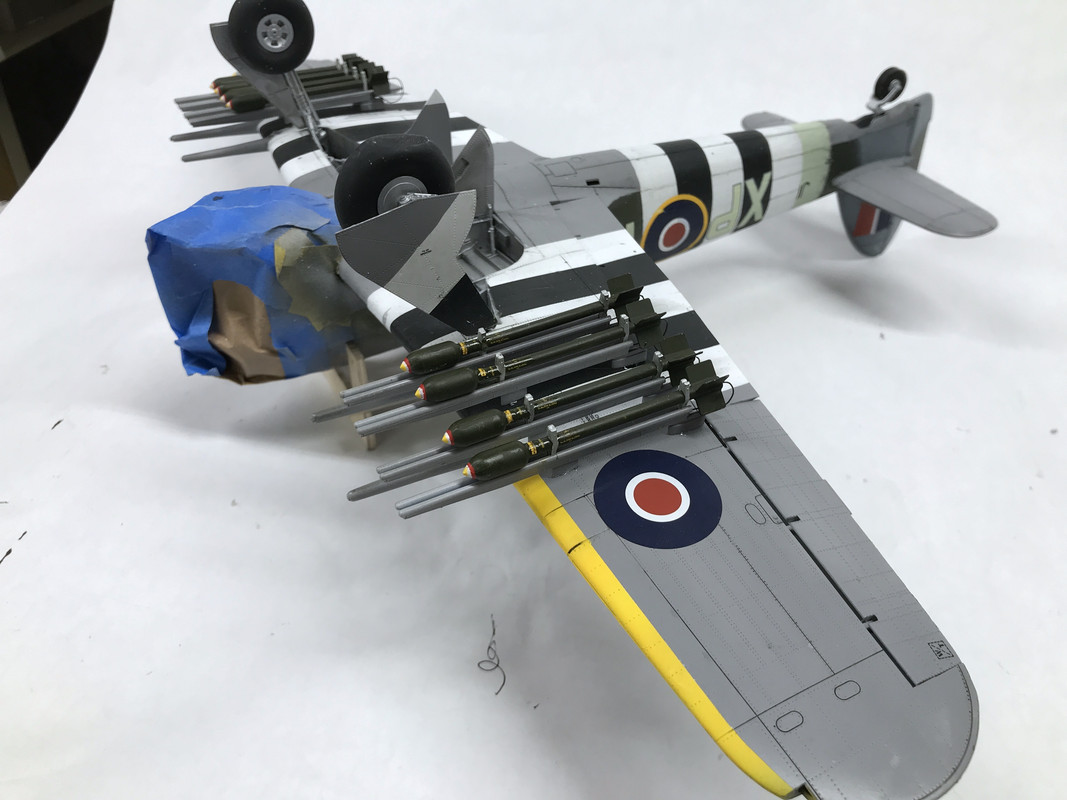
Another view:
Then I was trying on the glazing to see what, if any, paint touch up would be needed. And I found that I blew it. I had camoed the wrong door! When I was planning the glazing paint, the model was upside down and got me a bit confused. I will now have to remask some of the window on the port side to add the ocean gray. This is the closed door and it will be noticed. Then I have to paint the starboard side all deep green. Then I can install them. It was a real DOH! moment. I also have to do something with those awful decals. I chipped another part of the letter when having the model inverted in my little wooden fixture. The model looks like they replaced the door with a part from the junk yard...

I think it will be finished tomorrow, but we won't know that until I do it. You never know if some other weird stuff will rear its ugly head. Just for fun, I glued together some of the forward skin. I can't make an entire covering since the parts of the fuselage sides that I removed are gone in the trash weeks ago. I'm glad I went with the open front. The skin is quite thick and wouldn't go onto the motor with certain parts in place. If Tamiya had designed, the skin would slip on and off like a fancy evening gown. In their 1/32 Mustang and Mossie, the skins are held with magnets. That could have been done here too especially in 1:24