I have completed the second in the Century Series aircraft, the McDonnell F-101B Voodoo. I actually did two in different scales, but will post the smaller Voodoo in a separate post.
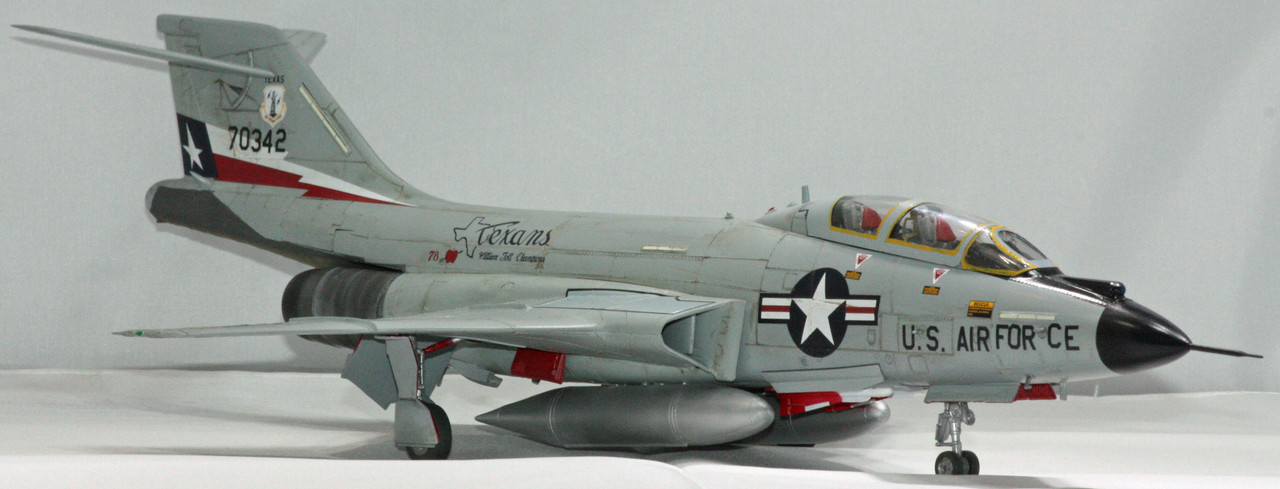
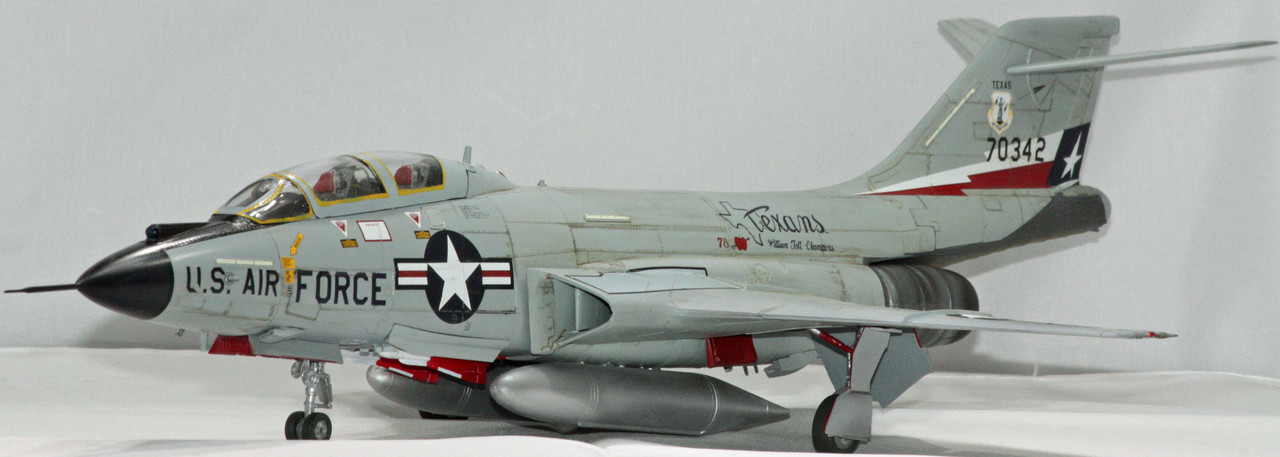
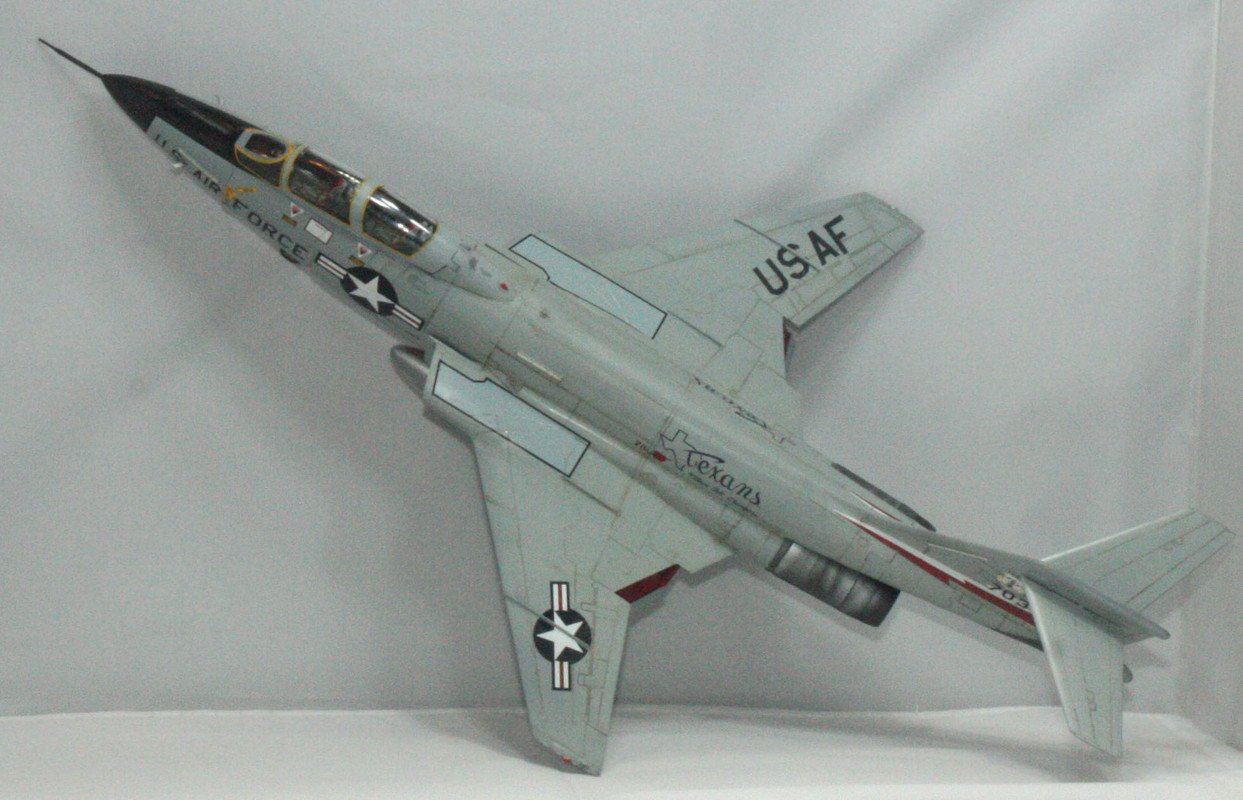
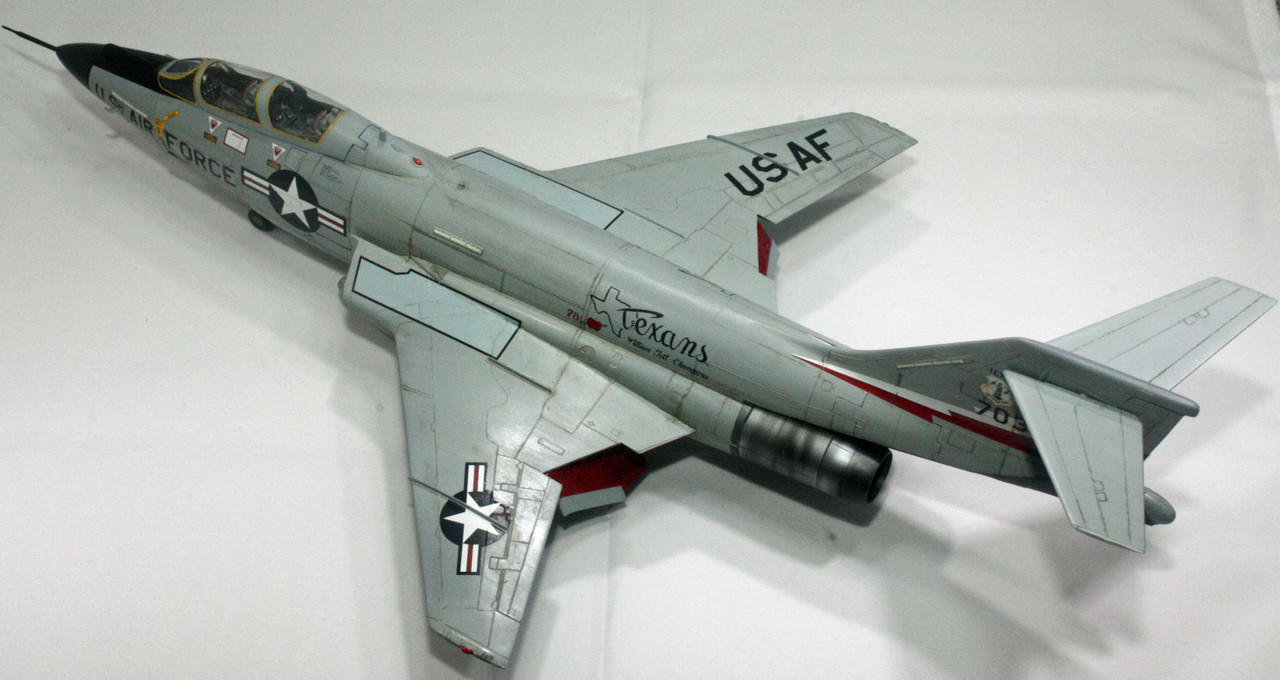
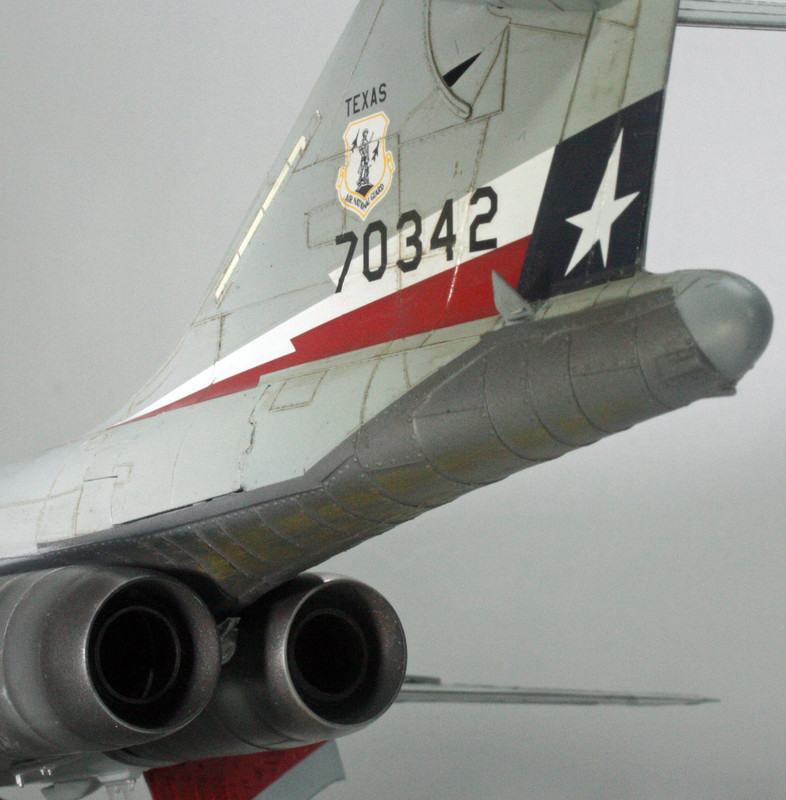
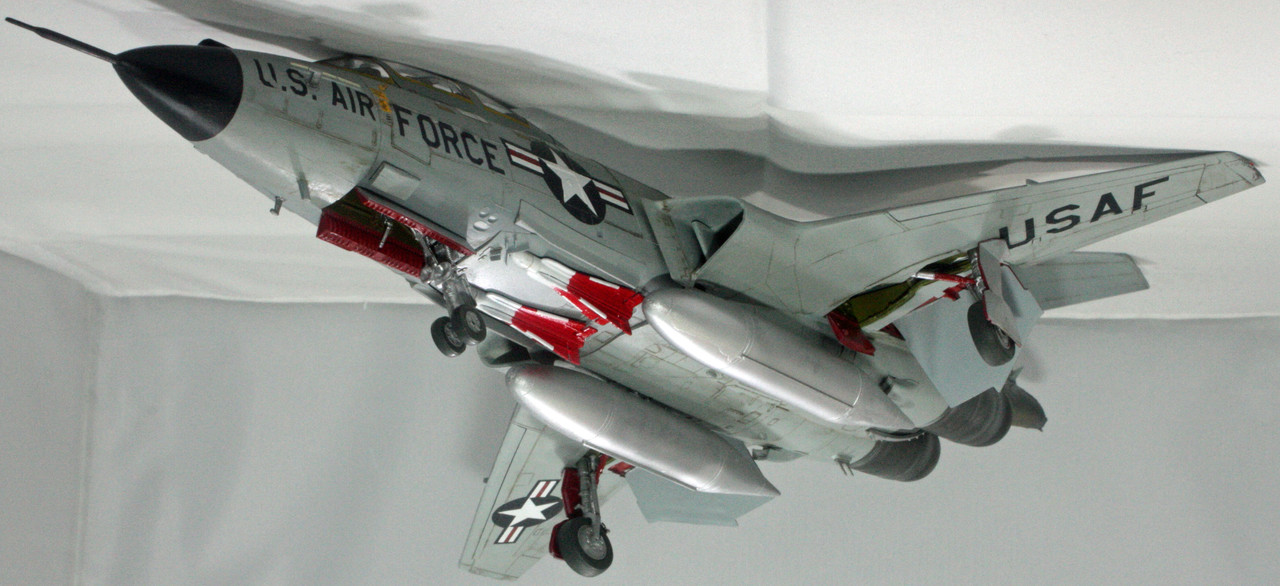
This is the 1/48 kit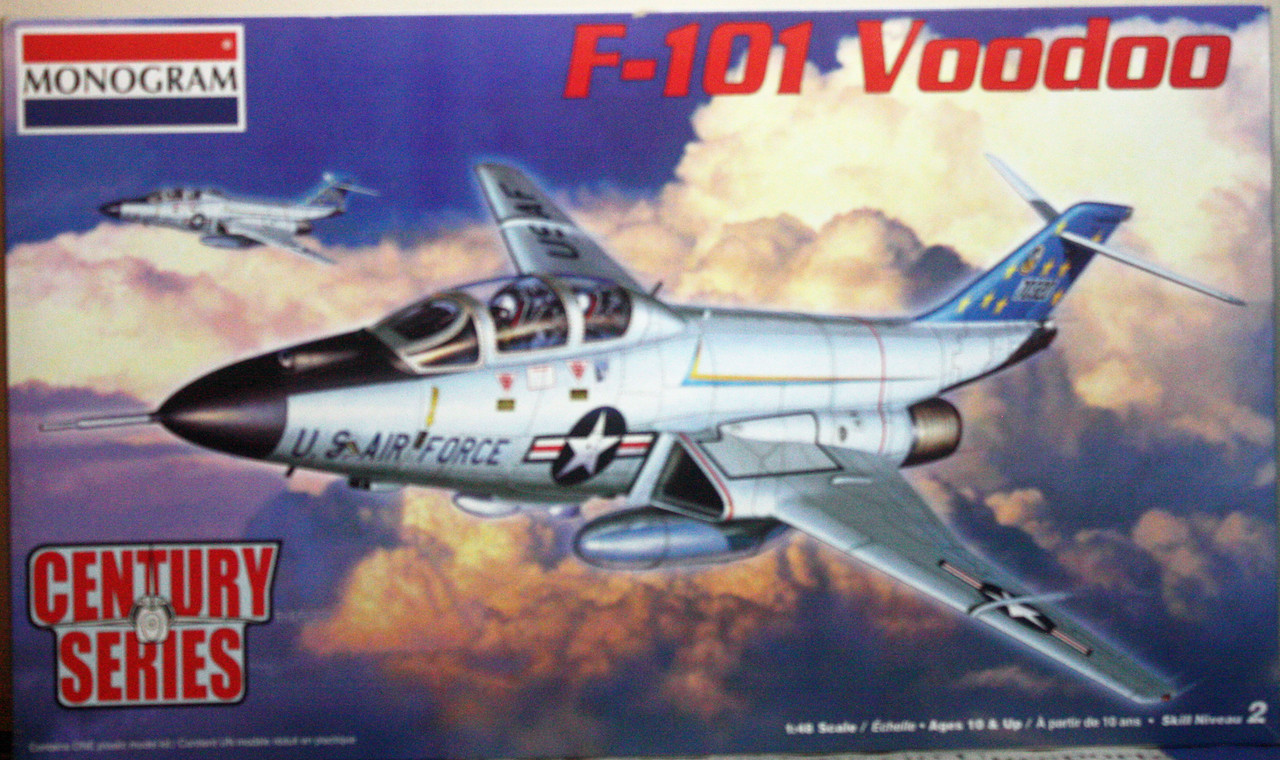 I had built this one many years ago, but as with all the other Century Series interceptors that I built in the past, that build was lost in the shelving collapse I experienced in 2006. Built out of the box with the exception of the decals, which came from a Caracals Decal sheet - F-101B Part 2: Minnesota, North Dakota and Texas ANG. Being a native Texan, obviously I was going to model a Texas Voodoo, so this build represents a Voodoo of the 111th Fighter Interceptor Squadron of the Texas Air National Guard, 1980.
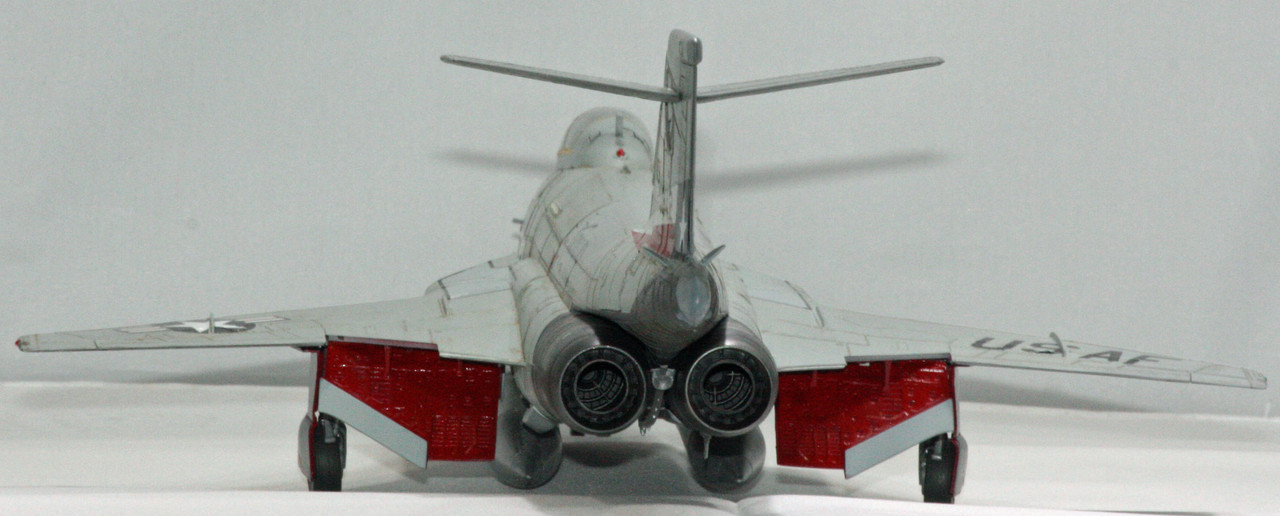
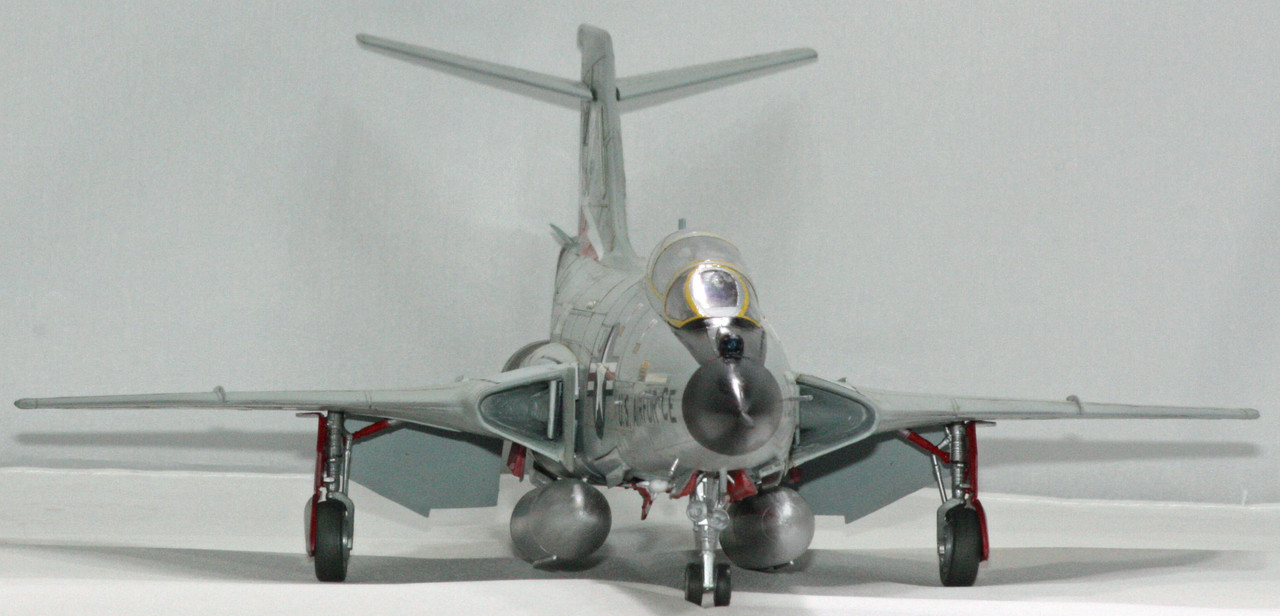
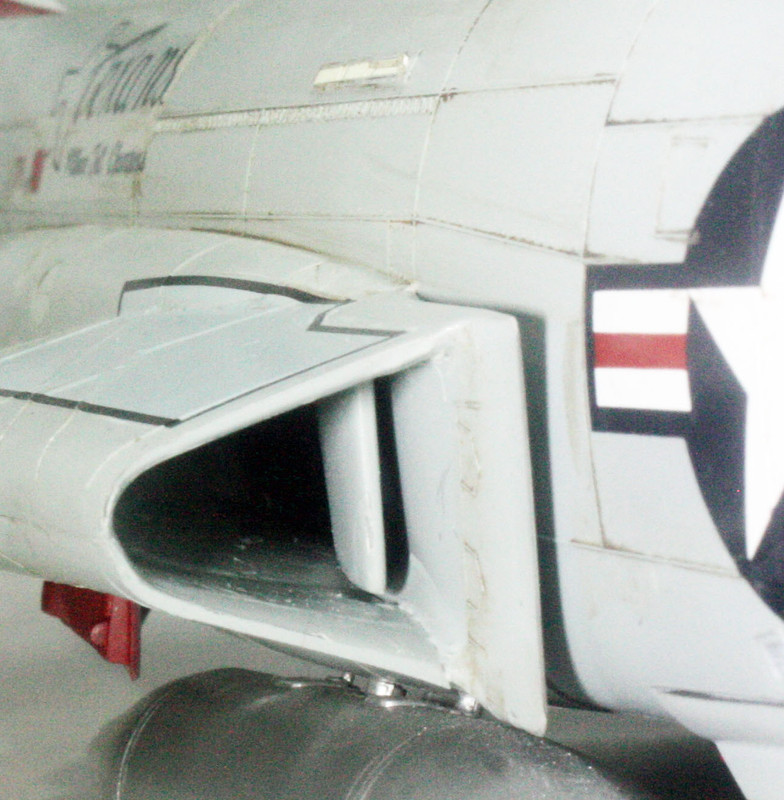
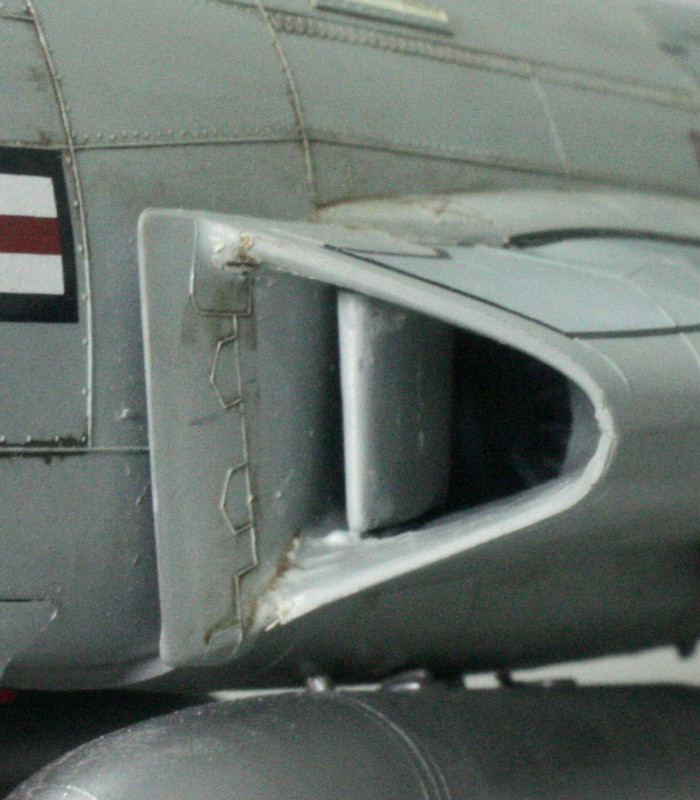
This Voodoo kit is a good one, with great detailing in the cockpit and wheel wells/flap bays commensurate with Monogram kits throughout the years. But the kit is not without its challenges. One of those challenges is in the intakes. John "Jeaton01" here has this Voodoo kit in his blog where he points out that the way Monogram molded the air intake parts will result in a difficult seam to deal with along the wing roots. Dry fitting revealed this to be the case, so I took John's suggestion of cutting away the middle connecting legs between the intakes to eliminate much of the seam. I never could not determine what in the plastic that was removed was causing such a seam in the wing roots, but at the end of the day, the plastisurgery resulted in a much easier to deal with seam that I was able to eliminate fully.
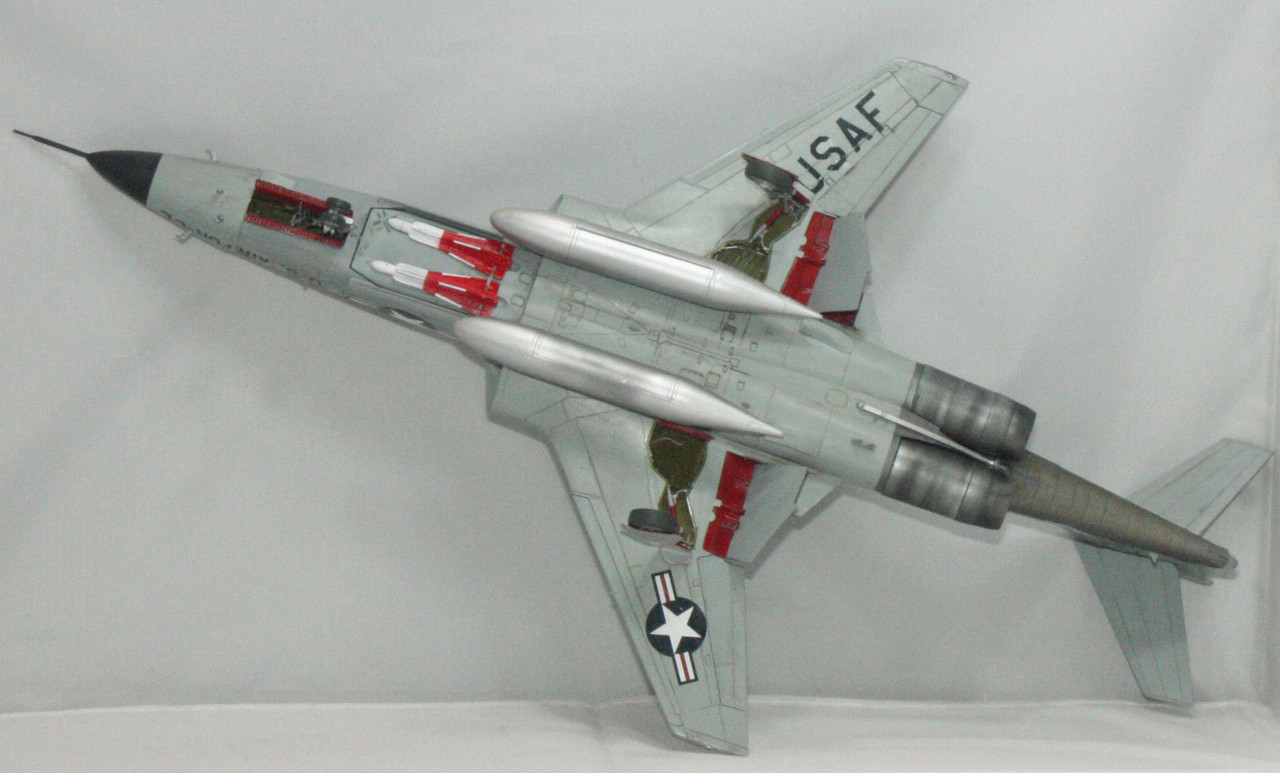
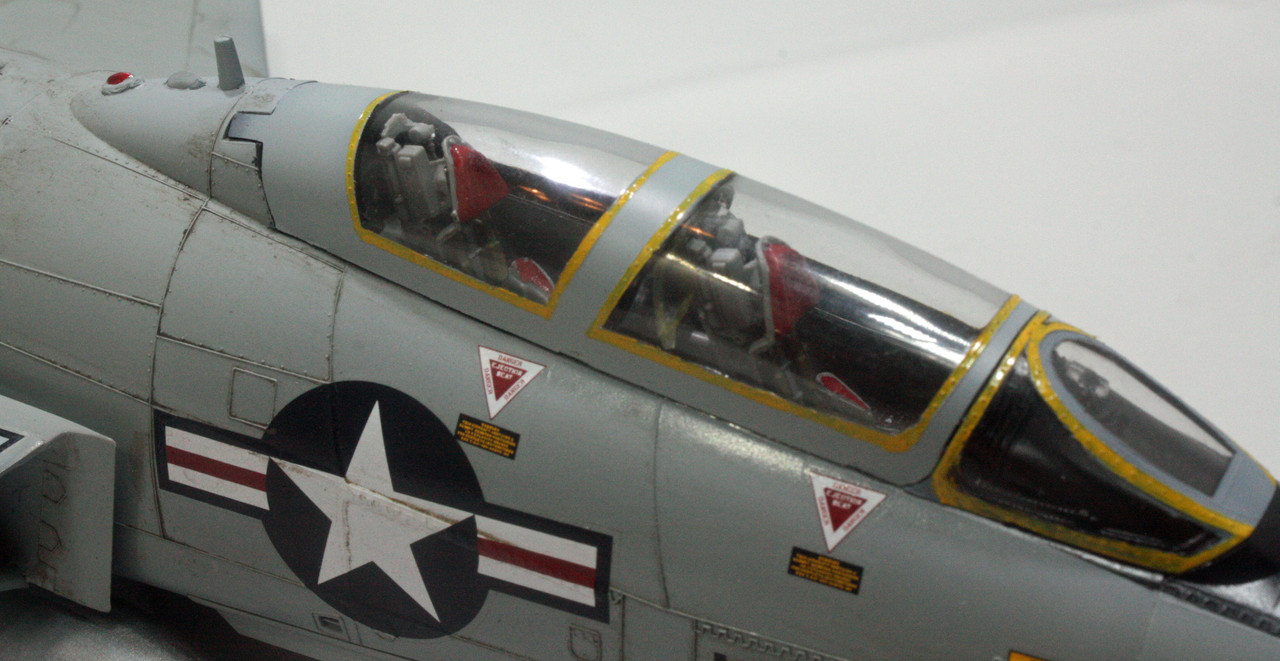
I also struggled to get the weapons bay inserted into the fuselage. The cockpit goes into the fuselage after the fuselage has been assembled, slotted in through the area that the weapons bay occupies. You then slide the weapons bay in. That part did not want to seat properly into the position. I pushed on it with as much pressure as I dared to utilize, but could not get it to line up straight or go all the way in. Then ... snap, it slid all the way in and I was able to line it up correctly.
The primary paint is Mission Models ADC gray, with some Model Master Metalizers for the tail pipes and that area on the underside of the tail. Vallejo flat black and yellow was used on the nose cone and around the canopy. Tamiya red for the flap bays and portions of the wheel wells. Mission Models interior green in the wheel wells. Model Master Acryl ghost gray in the cockpit. I kept the weathering to a minimum, with a wash of Mig neutral wash and some Tamiya weathering pastels.




Next up is the F-102A Delta Dagger (Monogram Pro-Modeler kit that was released in 1995).