SEARCH FINESCALE.COM

Enter keywords or a search phrase below:

2015 Messerschmitt Bf 109 Group Build

181148 views
2798 replies
1 rating 2 rating 3 rating 4 rating 5 rating
  • Member since
    December 2009
  • From: Laurel, MD
Posted by Tucohoward on Sunday, January 11, 2015 7:04 PM

Glad to see you guys got some time to work this weekend. Everything looks great so far. I had a chance to finish up the fuselage riveting. Not trying to be totally accurate, just like the effect it gives you in 1/32 scale.

Jay

The Mighty Mo says no.

  • Member since
    July 2014
Posted by modelcrazy on Sunday, January 11, 2015 8:05 PM

Here's the Avia all decaled up. I just need to apply some weathering and sealer. The kit is pretty nice and the fit is good, I just don't like Academy's decals. They don't stick well and it takes several applications of Micro Sol to get them to conform, which they still don't do very well.

Sorry for the slight blur, I just couldn't get clear pics tonight.

Steve

Steve

Building a kit from your stash is like cutting a head off a Hydra, two more take it's place.


http://www.spamodeler.com/forum/

  • Member since
    November 2003
  • From: Naples, FL
Posted by tempestjohnny on Sunday, January 11, 2015 9:06 PM

Very nice. Always interesting when you see the star of David on a German machine


  • Member since
    July 2014
Posted by modelcrazy on Sunday, January 11, 2015 9:10 PM

Right?

Steve

Building a kit from your stash is like cutting a head off a Hydra, two more take it's place.


http://www.spamodeler.com/forum/

  • Member since
    April 2005
Posted by Thunderbolt379 on Monday, January 12, 2015 1:59 AM

Very nice, Steve, good to see these planes being built. I did the same kit a few years back but used Aeromaster decals as I also didn't fancy the kit sheet. I did #120 in the same unit, I think it was Modi Allon's bird. I couldn't get a straight answer about the colour and later research suggested it was not RLM 02 they were delivered in, but another pale grey. In any case, I painted her as she is in the IAF Museum today, which is another shade again, a kind of biscuit-grey-brown that was easy enough to mix, but, like "Sinai Grey" in Israeli armour, very hard to tie down!

After working all day around the place, I finally got some bench time and have fitted the cockpit to the D. After a great deal of thinning by knife and file, the unit snugged into place, and with the exhausts fitted the fuselage closed up docilely enough and is drying right now, with tape holding things square. I'll see how it looks later on and if I do a session before hitting the hay tonight I might get the wings on, and maybe even the tail.

Cheers, M/TB379

http://worldinminiature.blogspot.com/

  • Member since
    October 2008
  • From: Georgia
Posted by Rigidrider on Monday, January 12, 2015 4:47 AM

Steve...Man you got that oneknocked out quick! Looking good.

Doug

When Life Hands You A Bucket Of Lemons...

Make Lemonade!

Then Sell It Back At $2 Bucks A Glass...

  • Member since
    July 2014
Posted by modelcrazy on Monday, January 12, 2015 7:55 AM

Thunderbolt379
I did the same kit a few years back but used Aeromaster decals as I also didn't fancy the kit sheet. I did #120 in the same unit, I think it was Modi Allon's bird.

This is supposed to be 121 flown by Weizman, however I just could not get the red/white stripe decals on the tail. They were WAY too big and would not stick or conform. Out of frustration I tore them off. I was thinking of masking and painting the stripes. But in the end, the people who will see it won't know the difference. Everything is correct except for the stripes.

Thanks guys.

Steve

Edit: Your right about the color. I think it should have a little more tan.

Steve

Building a kit from your stash is like cutting a head off a Hydra, two more take it's place.


http://www.spamodeler.com/forum/

  • Member since
    September 2011
  • From: Milaca, Minnesota
Posted by falconmod on Monday, January 12, 2015 8:13 AM

I didn't get a lot done this weekend on my 1/72 109 except drilling out the exhausts. I drilled them and then squared off the holes with a very pointy #11 blade,  sorry I forgot to get a photo of the squared off exhausts, but you get the idea.

John

On the Bench: 1/72 Ki-67, 1/48 T-38

1/144 AC-130, 1/72 AV-8A Harrier

  • Member since
    June 2014
Posted by BrandonK on Monday, January 12, 2015 9:16 AM

I have to hand it to you guys that build the 1/72nd scale birds. My hands are too shaky and my eyes not as sharp as they used to be and that stuff is just too small for me now. Kudos to those that knock out these fantastic tiny builds.

"Drill out the exhaust" he says, I can't hardly see the exhaust !!

On the bench:

A lot !! And I mean A LOT!!

2024 Kits on deck / in process / completed   

                         14 / 5 / 2  

                              Tongue Tied

  • Member since
    November 2003
  • From: Naples, FL
Posted by tempestjohnny on Monday, January 12, 2015 10:56 AM

Brandon. I build both 72nd and 48th. It does take a little more focus and eye strain in the smaller scale


  • Member since
    March 2012
  • From: Corpus Christi, Tx
Posted by mustang1989 on Monday, January 12, 2015 11:20 AM

Ok fellas it's finally time for an update here:

Craig: Man that IP looks fabulous and that engine work is right on!

Bish:I hate to hear about your luck on that 605 and hope that the freezer method works out for you. If not I'd be interested in hearing how HPH's customer service turns out.

Handi: It's great having you in here building with us and you sure don't disappoint with how that engine is turning out.

panzerpilot: I hope your engine ordeal is working out in terms of display. It's really hard for me to close a model build up when I have that much detail to work with.

cbaltrin: And he's breakin' out the 1/72nd scale stuff. Gotta let tha big dog eat!!

modelcrazy: Great progress and I agree with Doug and how you got that thing busted out. It's gonna take me the better half of this whole year to get that far. Say what type of camera are you using for your photos?

flyerduke:Glad to hear that the semigloss worked out for you. My first 605 finish was on the flat side so I just had to pass the info on before you got yours all built and regretted not doing it like I did.

falconmod: That's some great tedious work on that 72nd scale build you are doing.

everybody:I have to agree with Brandon and Johnny on that 72nd scale stuff. There aint no way I would tackle that stuff. lol   Lot's of good progress in here guys. It's all lookin' mighty fine!!!

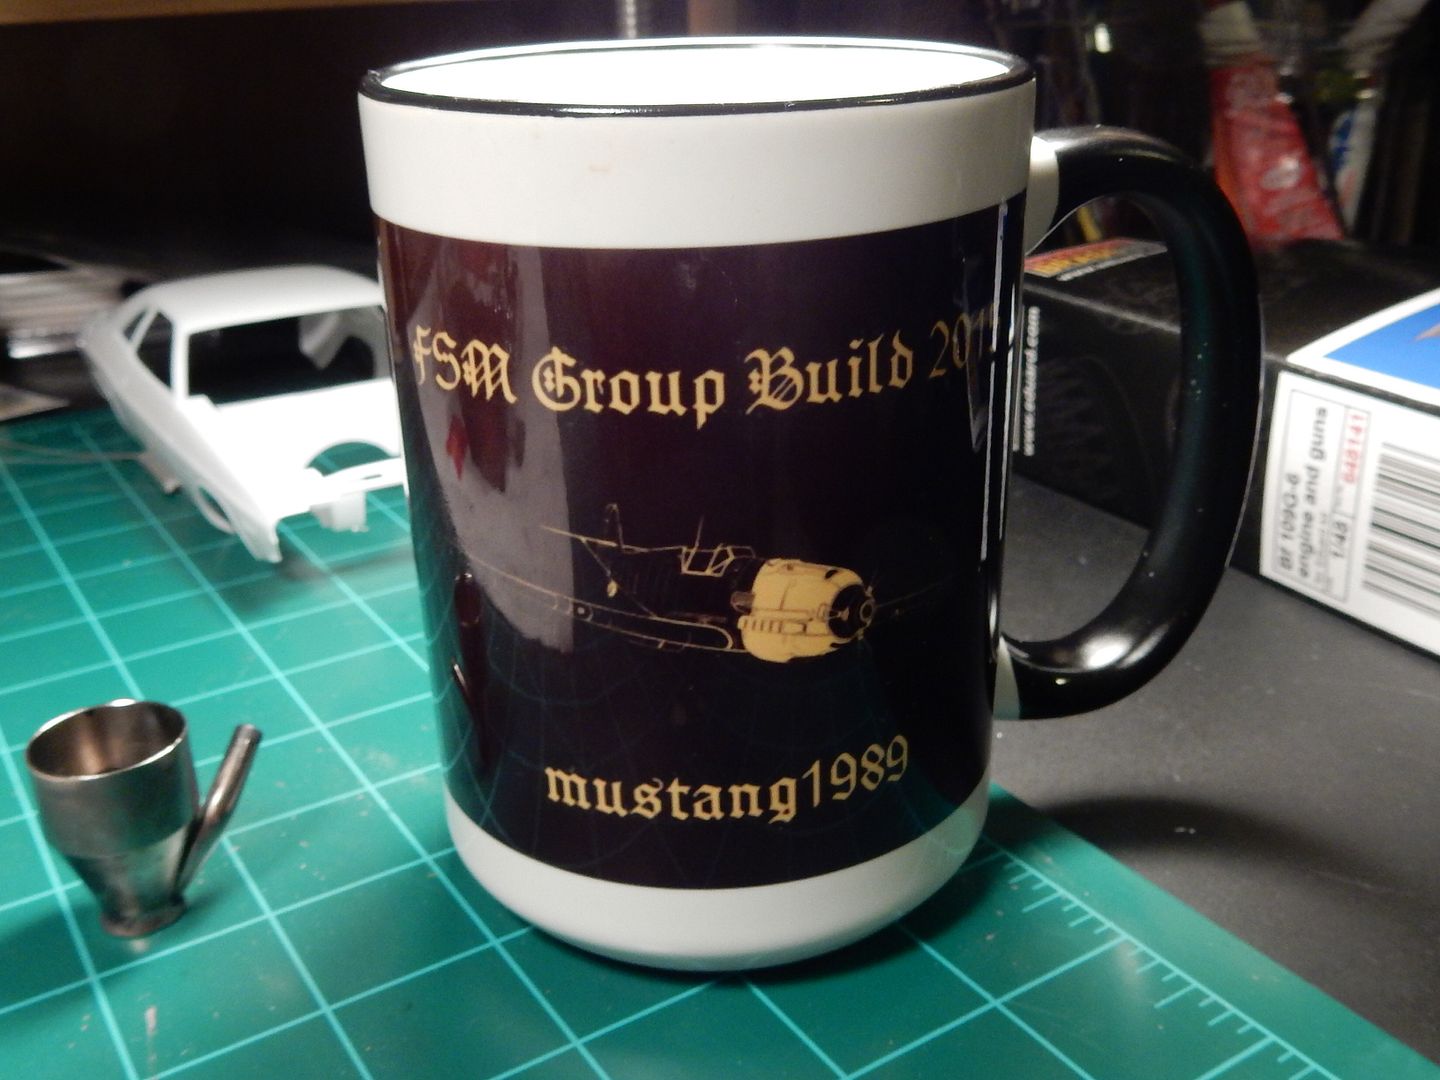
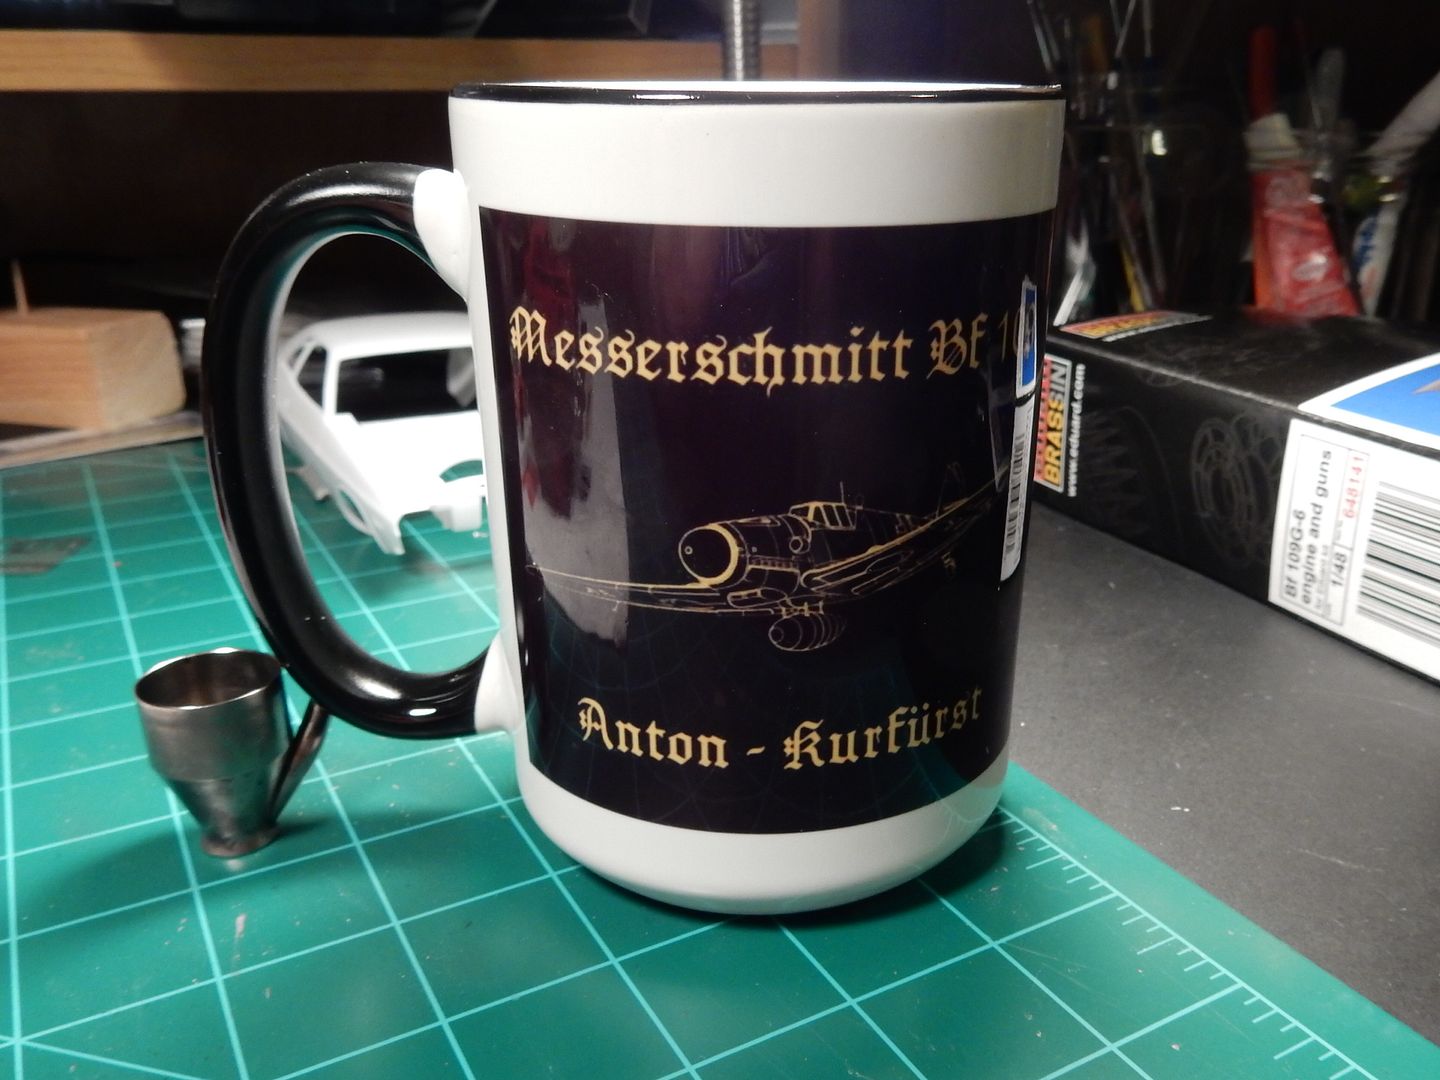
Clemens: Along with Bish I wanted to thank you for the coffee mug wraps. I got mine in the mail Friday and mine was a 15 ounce mug as well. I like that because with the normal 11 ounce mug I make about 50,000 trips to the coffee machine in the morning  . This one saves me a few trips! lol


 Forum | Modelers Social Club Forum (proboards.com) 

  • Member since
    December 2002
  • From: Bury St Edmunds, Suffolk, England
Posted by Bish on Monday, January 12, 2015 11:27 AM

That looks really nice there Steve. I did build a 72nd one of these many years ago, can't recall which kit, but wasn't as good as this. Academy have a bad rap for their decals, but so far I have been lucky, the Academy kits I have built I have used AM decals or ones out of the spares box.

John, nice work on the exhausts. I know how tricky it can be drilling those out. Nice idea for squaring them off as well, had not thought of that.

Well, sounds like HPH are going to help me out. I got an e-mail tonight asking for my address, but no mention of cost. I replied sending the addy and asking how much and how I can pay. Given that these are such large lumps of resin, I would not expect to get them for free. Especially as they already sent me a replacement PE fret after I lost the first one and this again was down to my own clumsiness.

But, of course, if they want to send it for free, I won't complain. These eastern European companies really do have great service.

I am a Norfolk man and i glory in being so


On the bench: Airfix 1/72nd Harrier GR.3/Fujimi 1/72nd Ju 87D-3

  • Member since
    July 2014
Posted by modelcrazy on Monday, January 12, 2015 11:51 AM

mustang1989
Say what type of camera are you using for your photos?

I'm using my Samsung Galaxy 3, which I use for all my pics. This time the lighting was bad so it had a hard time focusing. When I take my final pics I will do it where I have better light.

Steve

Building a kit from your stash is like cutting a head off a Hydra, two more take it's place.


http://www.spamodeler.com/forum/

  • Member since
    November 2003
  • From: Naples, FL
Posted by tempestjohnny on Monday, January 12, 2015 12:35 PM

I missed something here. How to I get the coffee mug wrap?


  • Member since
    March 2012
  • From: Corpus Christi, Tx
Posted by mustang1989 on Monday, January 12, 2015 12:37 PM

Get with brutha Clemens there Johnny!


 Forum | Modelers Social Club Forum (proboards.com) 

  • Member since
    December 2002
  • From: Bury St Edmunds, Suffolk, England
Posted by Bish on Monday, January 12, 2015 12:49 PM

I missed the mug pic joe. Is that from Zazzle as well. I would like to say a larger mug will save me trips to the kettle, but I know it won't.

I am a Norfolk man and i glory in being so


On the bench: Airfix 1/72nd Harrier GR.3/Fujimi 1/72nd Ju 87D-3

  • Member since
    March 2012
  • From: Corpus Christi, Tx
Posted by mustang1989 on Monday, January 12, 2015 1:00 PM

Yes sir.............you sent me the link! lol


 Forum | Modelers Social Club Forum (proboards.com) 

  • Member since
    December 2002
  • From: Bury St Edmunds, Suffolk, England
Posted by Bish on Monday, January 12, 2015 1:03 PM

Look like you did a better job when you added the image to the mug, your writing is a lot clearer. I should have made my image bigger.

I am a Norfolk man and i glory in being so


On the bench: Airfix 1/72nd Harrier GR.3/Fujimi 1/72nd Ju 87D-3

  • Member since
    December 2004
  • From: Houston, Texas
Posted by panzerpilot on Monday, January 12, 2015 1:08 PM

Nice looking mug!

"panzerpilot: I hope your engine ordeal is working out in terms of display. It's really hard for me to close a model build up when I have that much detail to work with."

Thanks. I have run into that. The scheme I am going for will look better with the cowling on so I'm going with that, and to save time. When I can figure out how to to do a diorama someday, that's when I could revisit the "cowl off" idea. The CH E-4 would definitely be an excellent kit for a diorama.

-Tom

  • Member since
    November 2003
  • From: Naples, FL
Posted by tempestjohnny on Monday, January 12, 2015 3:47 PM

Clemens  pm sent


  • Member since
    October 2008
  • From: Georgia
Posted by Rigidrider on Monday, January 12, 2015 4:09 PM

Just a tad bit more done last night, got the pit installed and the fuselage halves together...


When Life Hands You A Bucket Of Lemons...

Make Lemonade!

Then Sell It Back At $2 Bucks A Glass...

  • Member since
    December 2004
  • From: Houston, Texas
Posted by panzerpilot on Monday, January 12, 2015 4:13 PM

Really nice! You even a have a parachute down in there! What did you use for that? Milliput?

-Tom

  • Member since
    December 2002
  • From: Bury St Edmunds, Suffolk, England
Posted by Bish on Monday, January 12, 2015 4:35 PM

Nice work there Doug, the parachute is a nice touch.

I am a Norfolk man and i glory in being so


On the bench: Airfix 1/72nd Harrier GR.3/Fujimi 1/72nd Ju 87D-3

  • Member since
    July 2014
Posted by modelcrazy on Monday, January 12, 2015 5:00 PM

Very nice work Doug.

Steve

Building a kit from your stash is like cutting a head off a Hydra, two more take it's place.


http://www.spamodeler.com/forum/

  • Member since
    October 2008
  • From: Georgia
Posted by Rigidrider on Monday, January 12, 2015 5:35 PM

Thanks guys... The "chute" is nothing but a folded up tissue treated with watered down white glue, mussed up a bit, allowed to set up then painted with an artist acrylic Burnt Seiana (I believe) then washed with dark brown  wash. If you haven't seen or heard of them yet, I'll tell you right now, I LOVE THOSE AIR SCALE INSTRUMENT DIAL DECALS!. They come in 72nd 48th, 32nd, and 24th, scales and in placards, Luftwaffe, RAF, US, and even for jet aircraft. Relatively in expensive and a steet will usually do several kits. HIGHLY RECOMMENDED!!! LOL... Love em...

Thanks again guys.

Doug

When Life Hands You A Bucket Of Lemons...

Make Lemonade!

Then Sell It Back At $2 Bucks A Glass...

  • Member since
    July 2011
  • From: minnesota
Posted by handiabled on Monday, January 12, 2015 6:57 PM

Great looking office RR !!

  • Member since
    October 2008
  • From: Georgia
Posted by Rigidrider on Monday, January 12, 2015 7:33 PM

Thanks Handi... Good to see you here and to hear from you... Your engine by the way looks awesome!

Doug

When Life Hands You A Bucket Of Lemons...

Make Lemonade!

Then Sell It Back At $2 Bucks A Glass...

  • Member since
    March 2012
  • From: Corpus Christi, Tx
Posted by mustang1989 on Monday, January 12, 2015 8:08 PM

Lookin' great in that pit Doug!! As always, you do bring a good show!


 Forum | Modelers Social Club Forum (proboards.com) 

  • Member since
    September 2011
Posted by fightnjoe on Monday, January 12, 2015 11:09 PM
 Re: Trumpeter 1:24 bf109G-10
Reply #43 - Today at 19:38:20
Quote Modify Remove 
Well here I am with just a small update.

The interior aft the pit is now much closer to finished.

The interior is painted Alclad Aluminum but only after the bulkheads had been glued in place.  That is all but two.  The one with the radio equipment and the one with the O2 bottles.

...
...

The details were assembled and painted.  They are the O2 bottles which look rougher in the pics that to the eye.  The radio equipment.  I also fashioned a gyro compass for further aft in the fuse.

...
...
...

All that is left for this area is the plumbing.  I need to string some cables from front to aft, run some lines for the fuel and booster system, install the final two bulkheads, and finalize the places for the cable from the compass and radio antenna wire.

Coming to the close of this stage.  

All comments, critiques, and comments are encouraged.


Joe

Veterans,

Thank You For Your Sacrifices,

Never To Be Forgotten

Where you can find me:

Workbench on FaceBook  Google Plus  YouTube

  • Member since
    April 2005
Posted by Thunderbolt379 on Tuesday, January 13, 2015 12:45 AM

Incredible work happening here as always -- sorry I've not been on in about 24 hours! No bench-time to report :-( .

Steve, I know what you mean about the rudder stripes, the decals are not too inspiring and I didn't try to use them on mine. I painted from scratch -- sprayed the white, then masked with thin strips of tape for the red, and topcoated with clear. Here's the one I did a few years back:

It was the first build I ever tried pre-shading on, and I think it was my first clear-coated project also.

M

http://worldinminiature.blogspot.com/

JOIN OUR COMMUNITY!

Our community is FREE to join. To participate you must either login or register for an account.

SEARCH FORUMS
FREE NEWSLETTER
By signing up you may also receive reader surveys and occasional special offers. We do not sell, rent or trade our email lists. View our Privacy Policy.