Right on with the CANT. As the wings are rescribed and the reference book has arrived, its time to hit the cockpit. My plan was just to add the RCR etched set and that was it. Thats the way i always start these things...With good intentions, but then i have to start throwing extras at it. My problem was the fact that the instructions on the RCR set were photocopied photocopies and they are pictures of the real deal with the etched parts numbers imposed over the real thing. Very very vague. Ah well.
The IP was nicely etched but didnt resemble the kit part at all
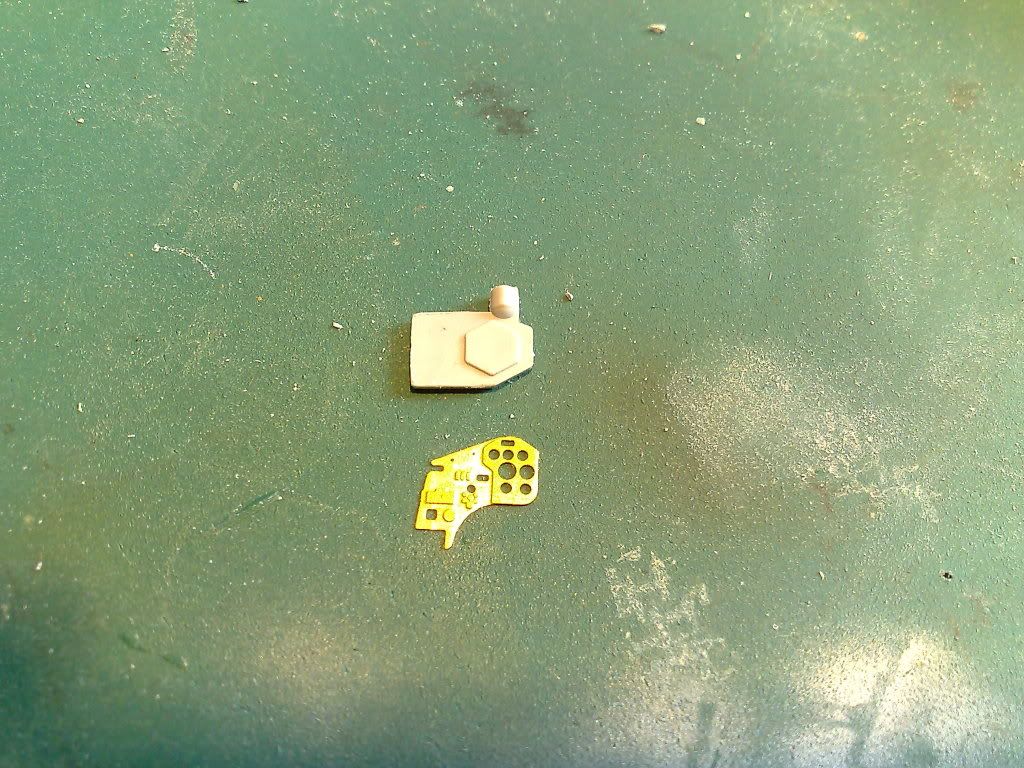
or come with a clear backing. So i placed the etched part over some sheet styrene and cut it to the right shape, I did this with all the IP'S (3),
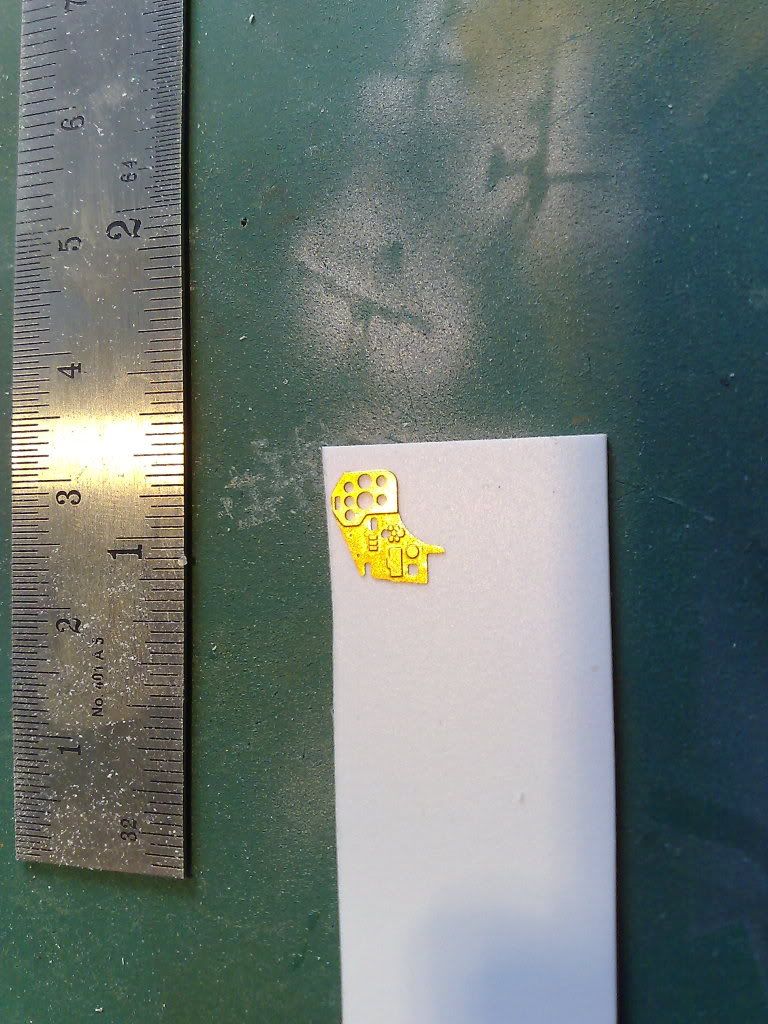
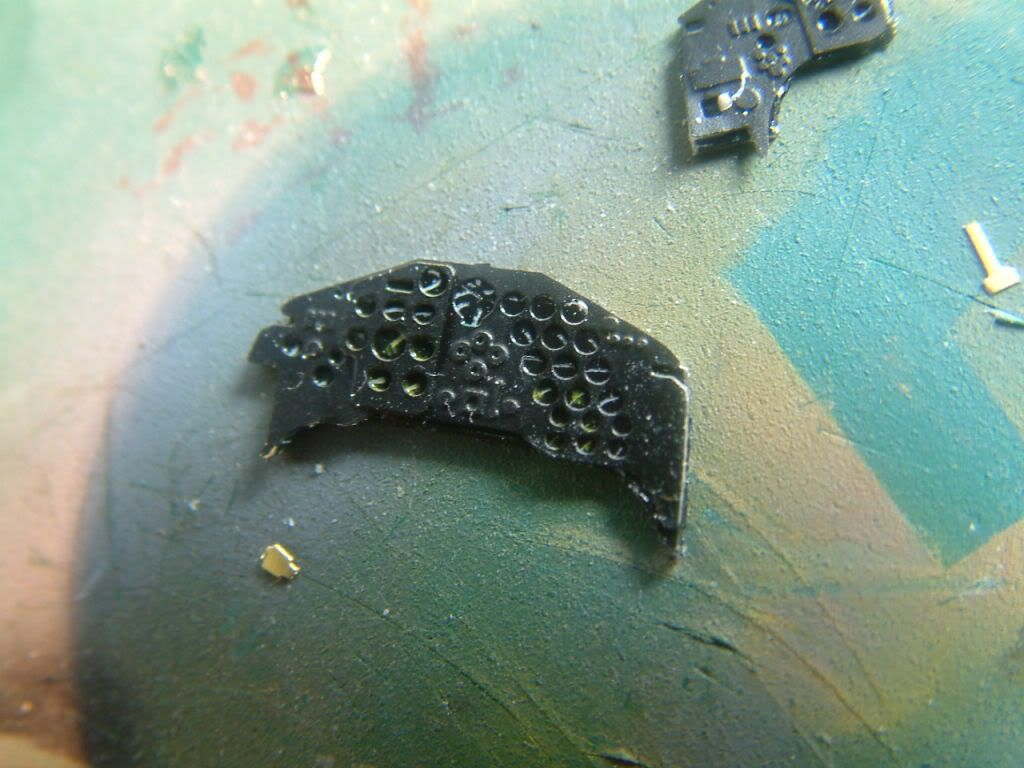
After cutting to the right shape, i glued the etched part to the sty backing and sprayed the lot black,
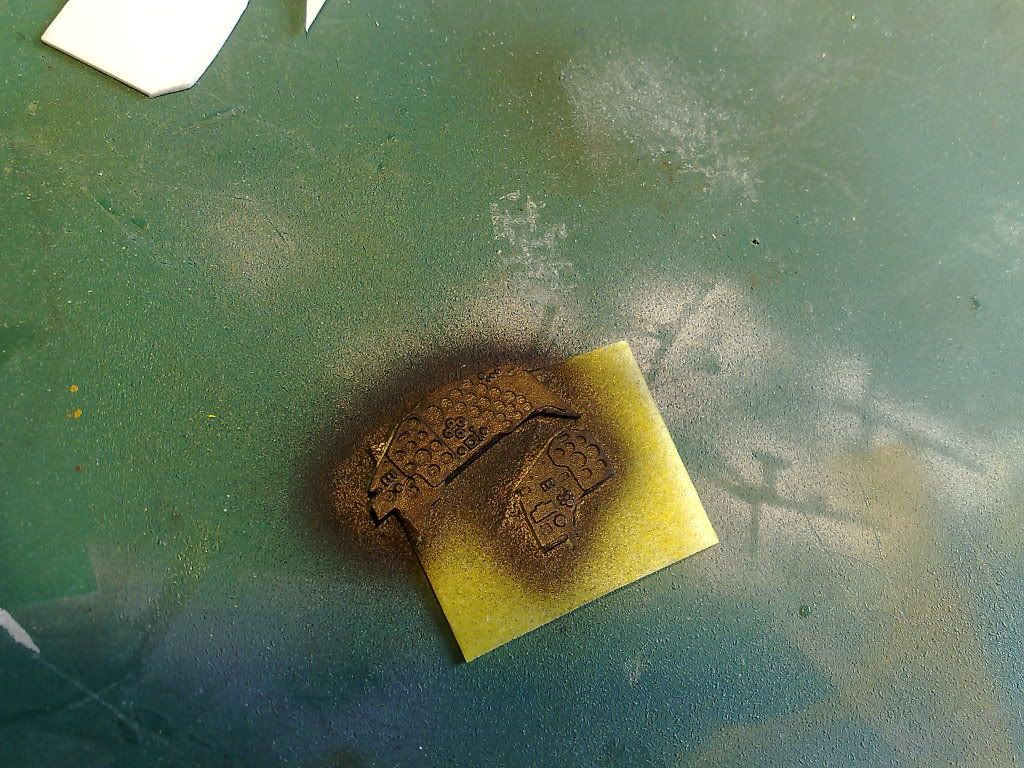
then i parted the pieces (Only used Klear to glue them together) leaving some lovely black dial faces,
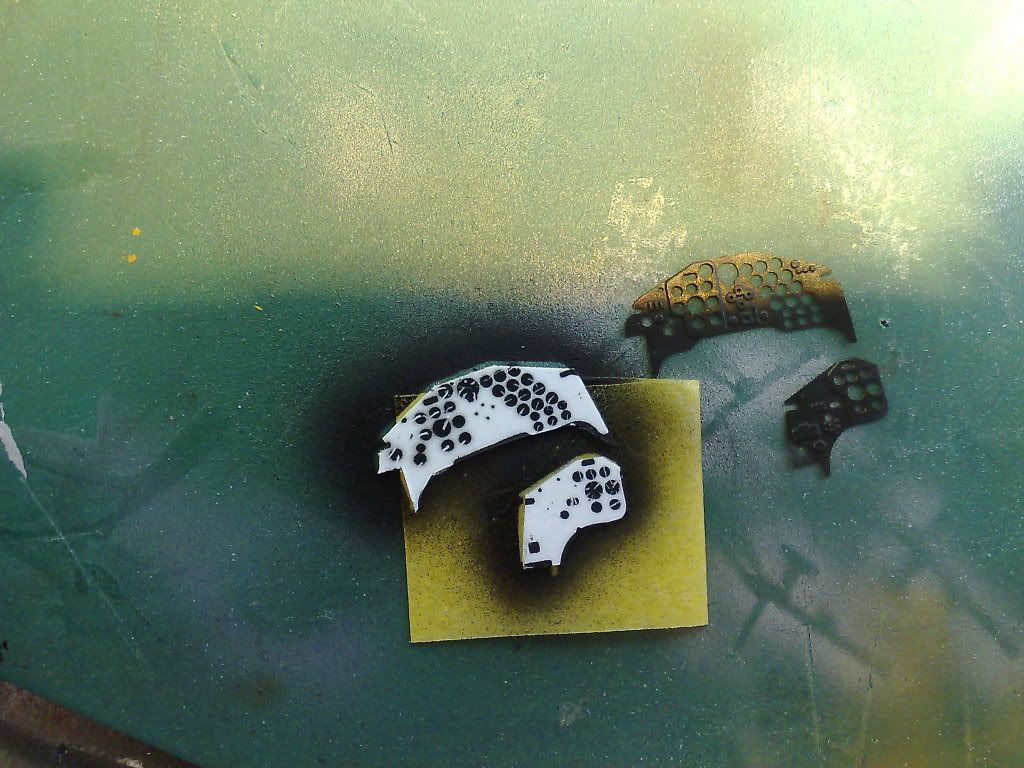
This was then easy to scratch needles and dials on. I reglued the etched part back on and used Tamiya clear in the faces, It looks a lot neater in the real world LOL.
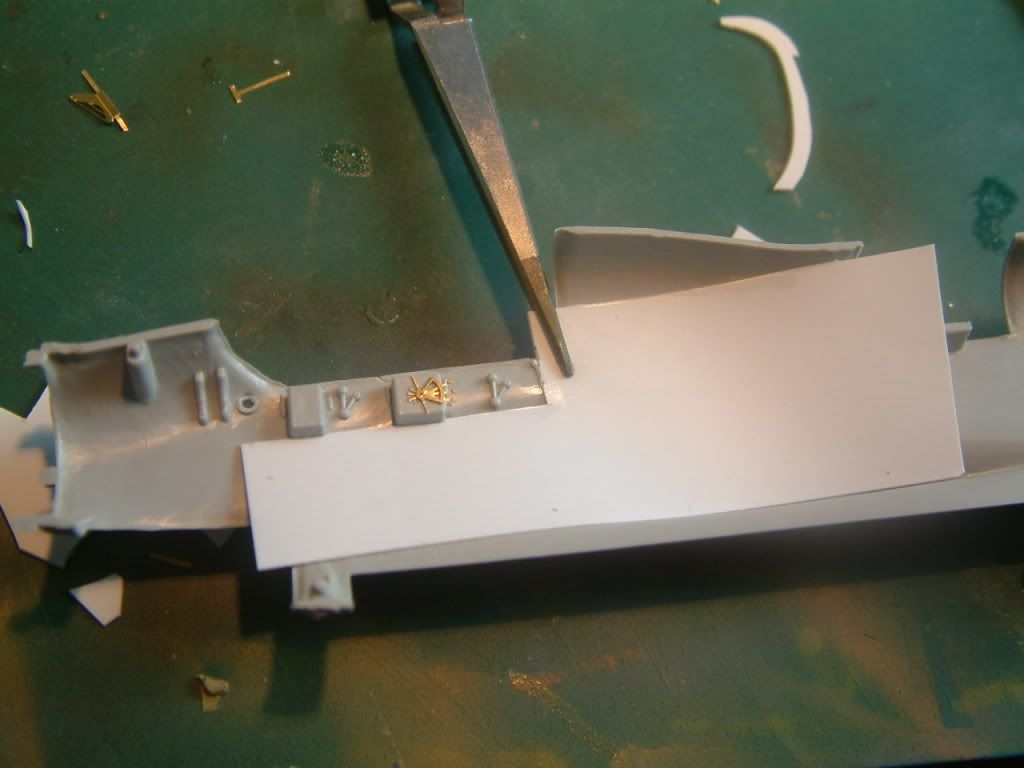
Next up i needed to cover the recess for the wing join inside the cockpit on the R/H/S, (The L/H/S is covered by the Instrument consol) It is very visisible through the huge glass area. This was achieved again with sheet sty,
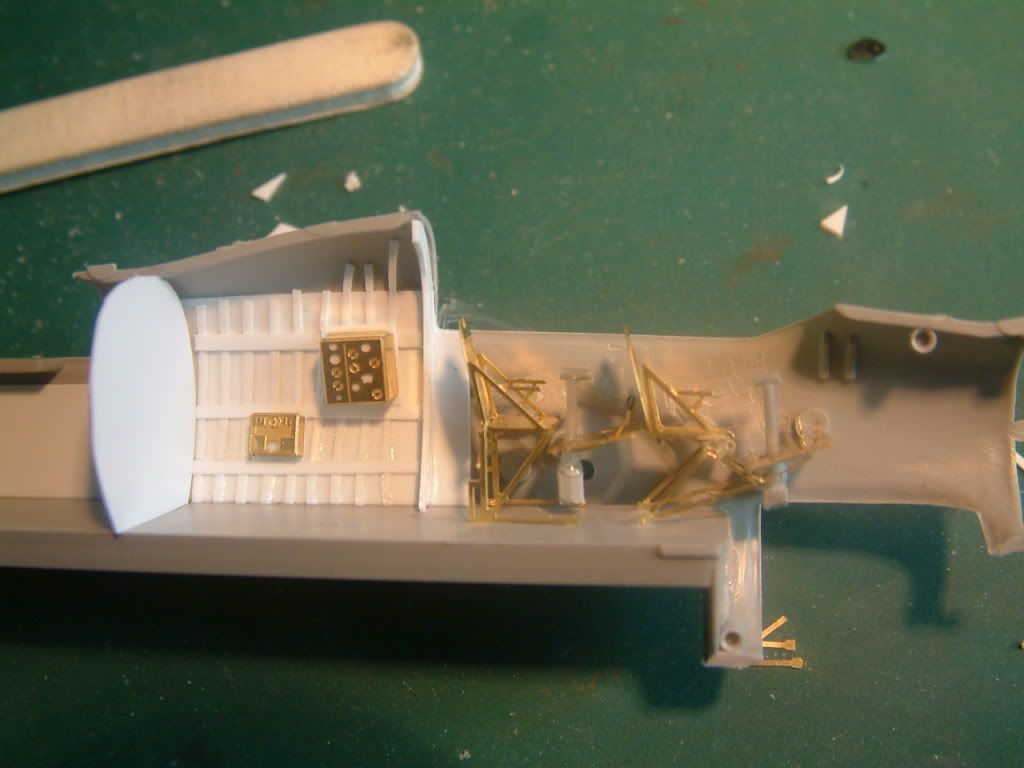
I then added a styrene bulkhead and some styrene ribs for the radio operators bay as im sure this would be visible as well (It damn well better be lol), I also have finished te etched seats and other gubbins,
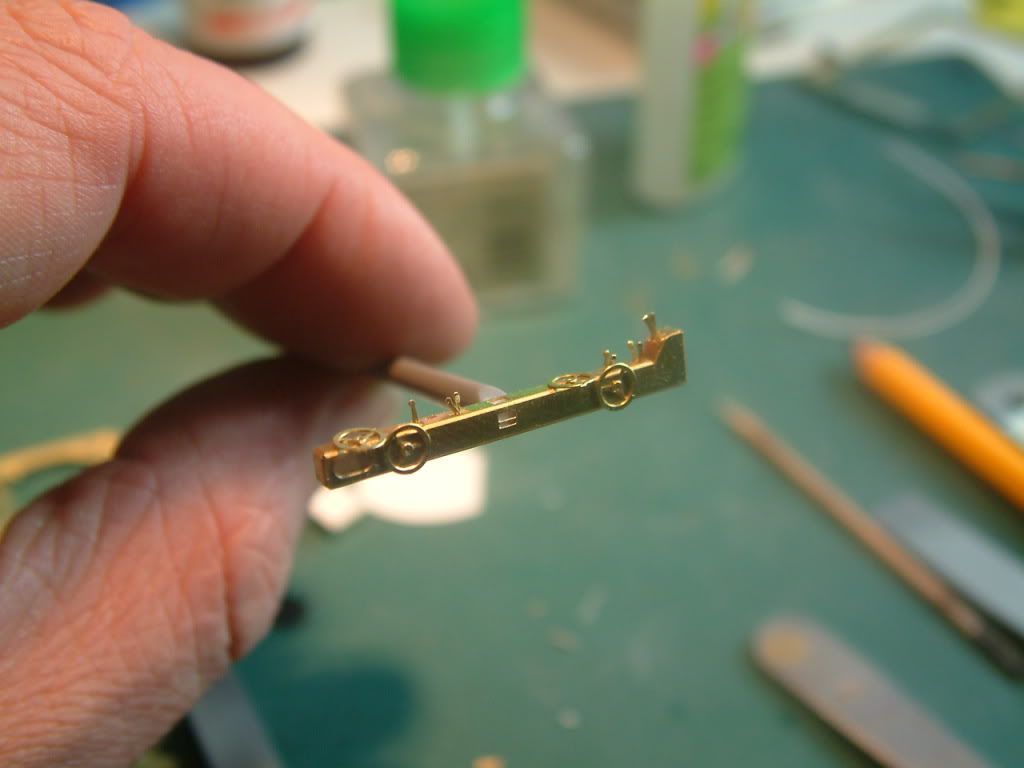
Heres the pilot and navmans consol. It has about 12 pieces in it,
Ive still got a bit of wiring to do and a few other bits and bobs, then its paint time.
...Guy
P.s, I found my wallet.....Yey