. . .and I hope to be finished before the end of November.
Thought I'd post some progress photos of "Our Gal Sal," 100th Bomb Group, based at THORPE ABBOTTS 9 Jun 1943 to 11 Dec 1945.
Photos of the plane are rare, other than the nose, but one I did find seemed to show an enclosed waist gun position, which consisted of a three-piece window, and a canted, bulged position for the guns. These are fortunately offered by Squadron, for both the Hasegawa and Academy/Airfix B-17's. In this case, I used the Hasegawa items on the Airfix kit. Photos show they were attached on the outside of the fuselage (wonder what that did to the drag effect?). I painted the interior color around the edge of the kit windows first, in case anything shows from the outside. I applied superglue to attach them to the top and bottom, and I will fill gaps on the sides with diluted white glue.
[View:/themes/fsm/utility/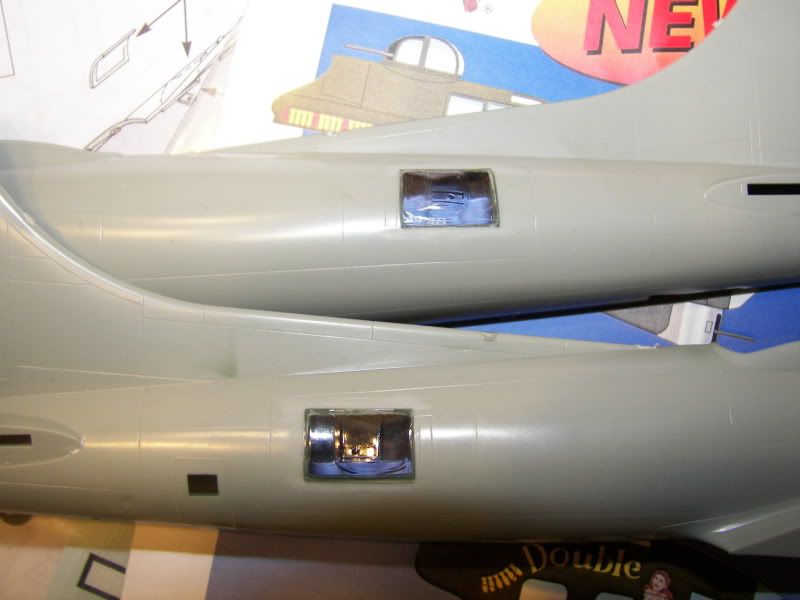 :550:0]
Since the top turret and ball turrets have to be trapped by the fuselage, I painted them up before I close said fuselage. Masking all the little windows in the ball is always tricky. For the center, circular window, I used a paper punch to cut out the circle, then sliced a radius from the center to the cirucumference, and applied it around the frame. For the square-er windows, I outlined with thin strips of masking tape, then filled in the centers with MicroMask. The unmasked ball is there as a reference for trimming the masks, since I couldn't find the panel lines after I put on the masking tape.
[View:/themes/fsm/utility/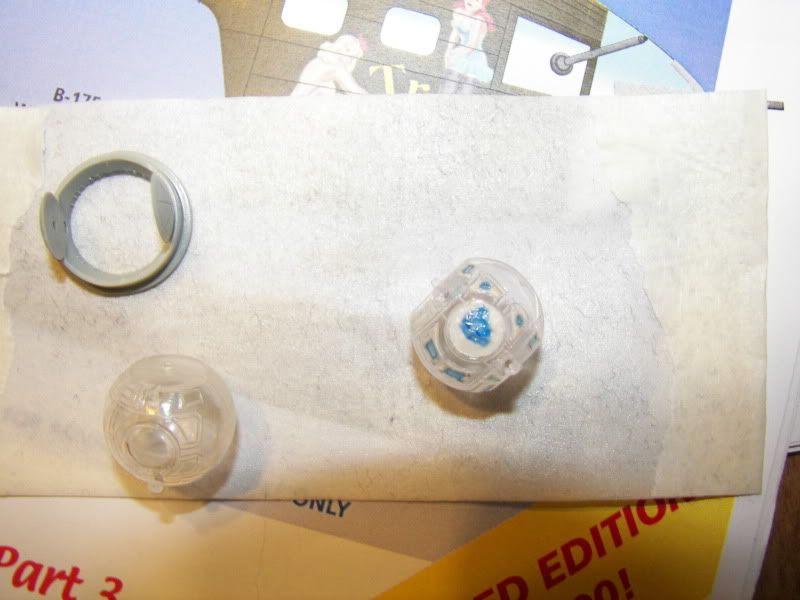 :550:0]
After I had all the fuselage windows installed, I added the horizontal stabilizers. I started doing this after I had a stabilizer come loose, years ago, from trying to glue it on after the fuselage was closed up. First, I slather on tube glue in the mounting slot, put a few dots of tube glue on the mating surfaces of both fuselage and stabilizer, then attach. After the tube glue sets a little and grips, then I baptize the whole conglomeration with liquid glue. Once it cures, the stabilizers are not going to drop off. From the inside, it's not pretty--but it works.
I use a cheap dime-store protractor to set the stabilizers at the right angle. Most of the time it works, so long as the fuselage/tail isn't warped. If it doesn't work, then the stabilzers sort of resemble the ears on my dog.
[View:/themes/fsm/utility/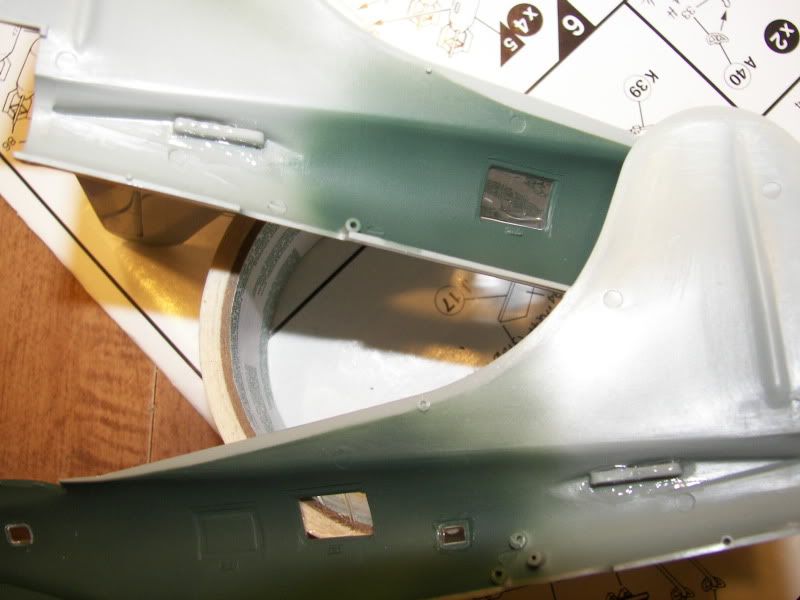 :550:0]
Here's the view of the cockpit from the pilot's side. I used figures collected from various kits, cut the head off and transplanted heads from Airfix's air force personnel set (the soft plastic kind).
[View:/themes/fsm/utility/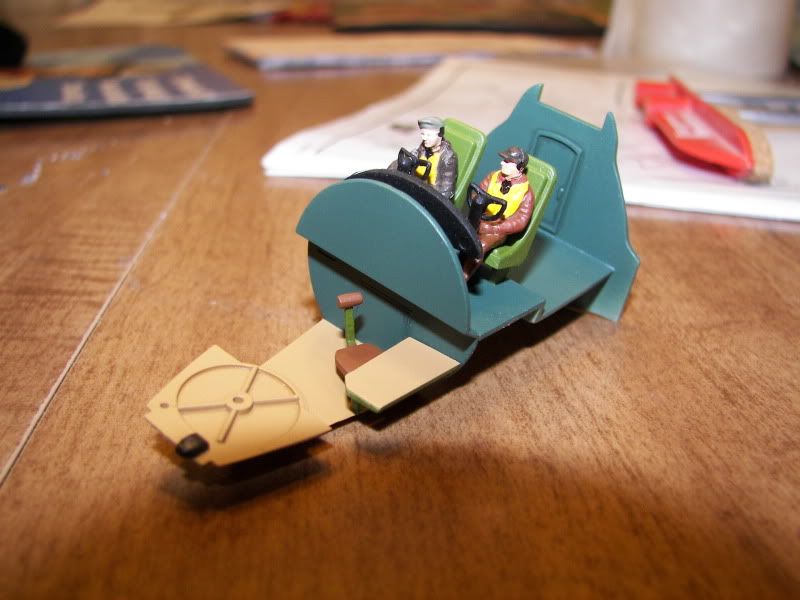 :550:0]
The cockpit from the co-pilot's side. On this figure, I also cut off the arms and replaced them with arms from the aforementioned Airfix personnel set. He's supposed to be holding the wheel, but the arm came out too long--now he's grabbing onto the control column. His other hand was supposed to be working the throttles. I have a little touch up to do, since some of the paint flaked off his arm while I was struggling to get him into his seat. Paint does not stick well to that soft Airfix figure plastic.
[View:/themes/fsm/utility/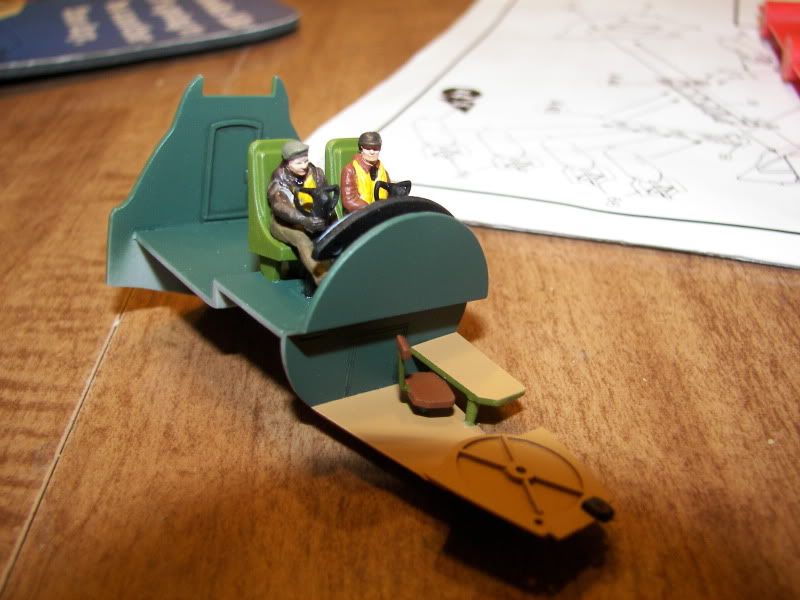 :550:0]
Airfix included a nice instrument panel decal with plenty of gauges and dials--better than some after-market decals I've used.
[View:/themes/fsm/utility/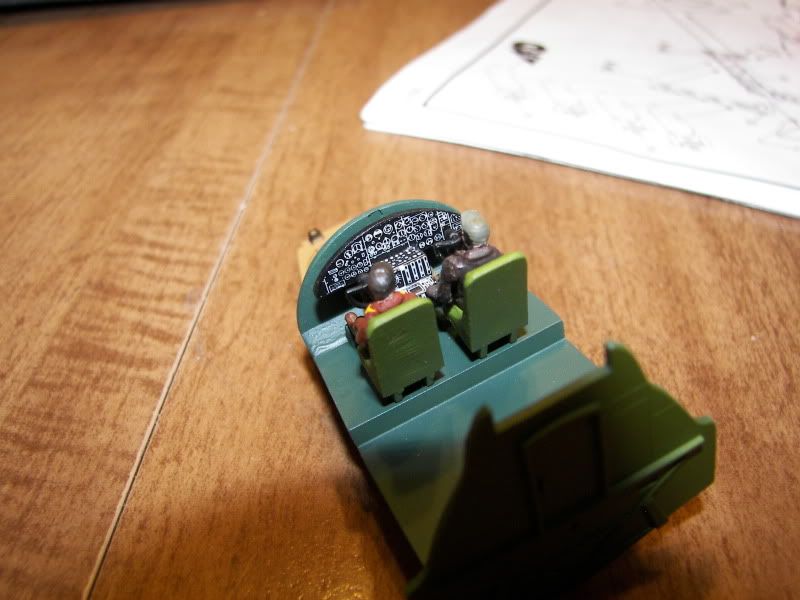 :550:0]
Hopefully progress will go well, and I'll get this finished up by the time our grace period ends.