Trey , awesome WIP and fix on the Hobbycraft F4U-2 
I've made some more progress on my Stinger
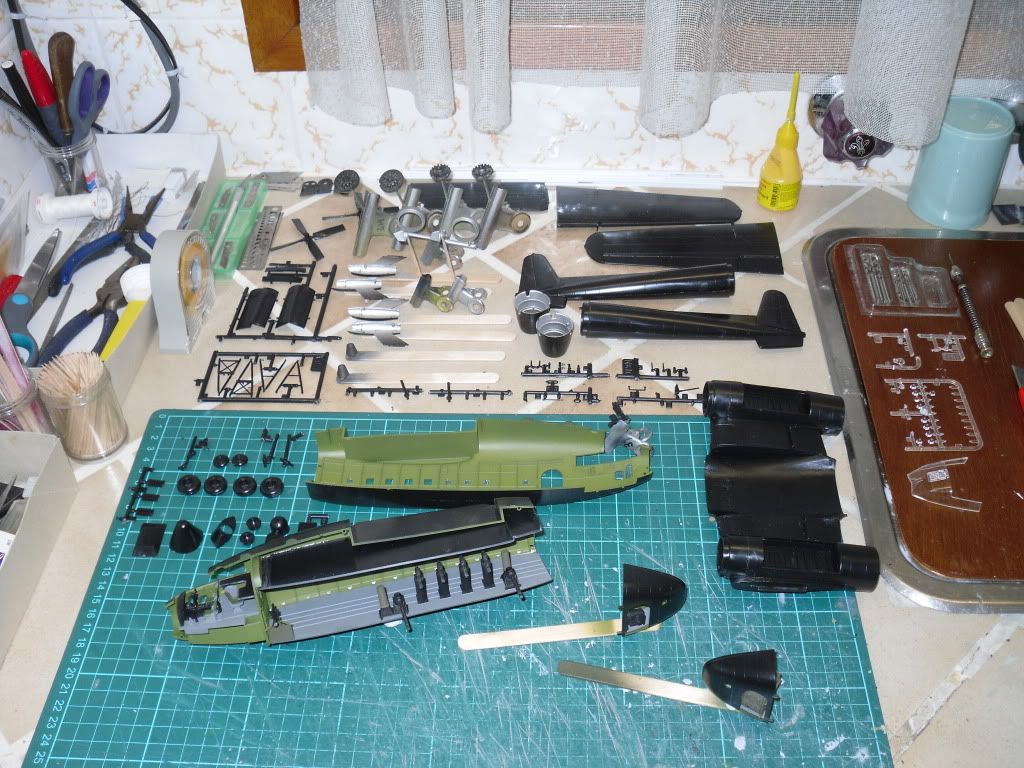
The cockpit and guns are glued in place , so the fuselage halves are ready to glue together .
There are a couple of issues with the cockpit , firstly the table at the rear of the cockpit sits too high and the edge of the table can be seen through the right side of the fuselage cockpit window . I originally discovered this while building the C-119C and G models recently and here's a pic from my files as to what i did to fix the error
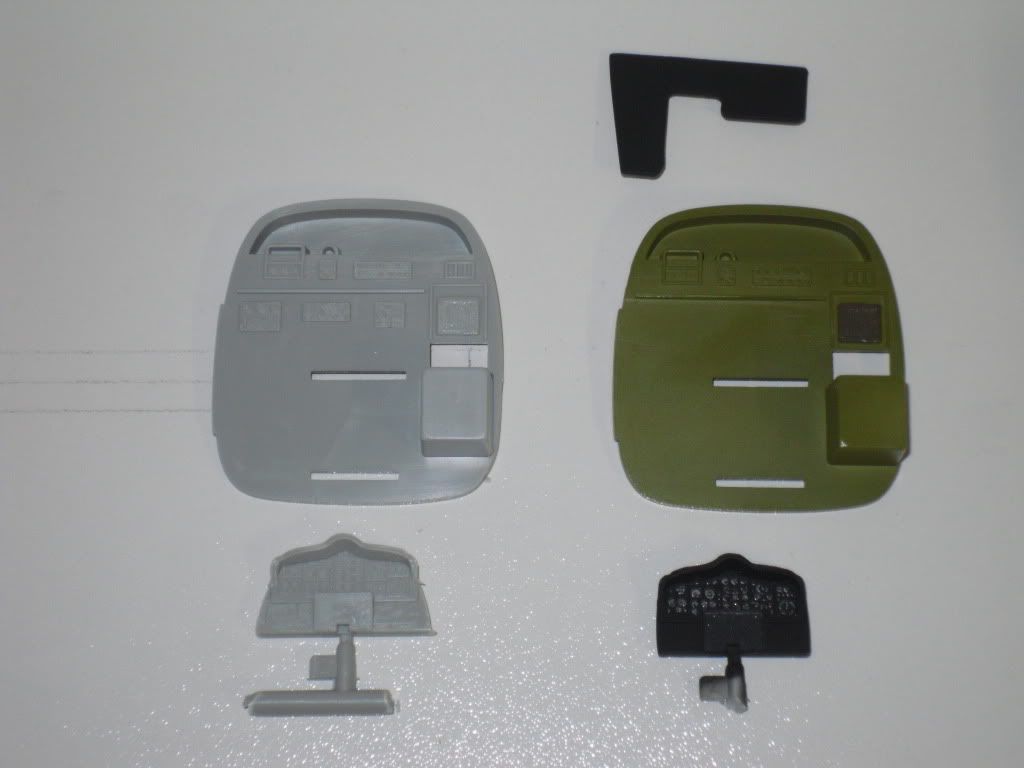
I filed down some of the raised detail on the rear cockpit wall so I could lower the table and aslo you will notice that I filed the sides of the main instrument panel . I had difficulty trying to close the nose section on my first C-119C build and the join kept opening up until I realised what the problem was and pulled the instrument panel out . So those two issue's seem to be standard fix's with the C-119 build and I did accordingly with my Stinger build
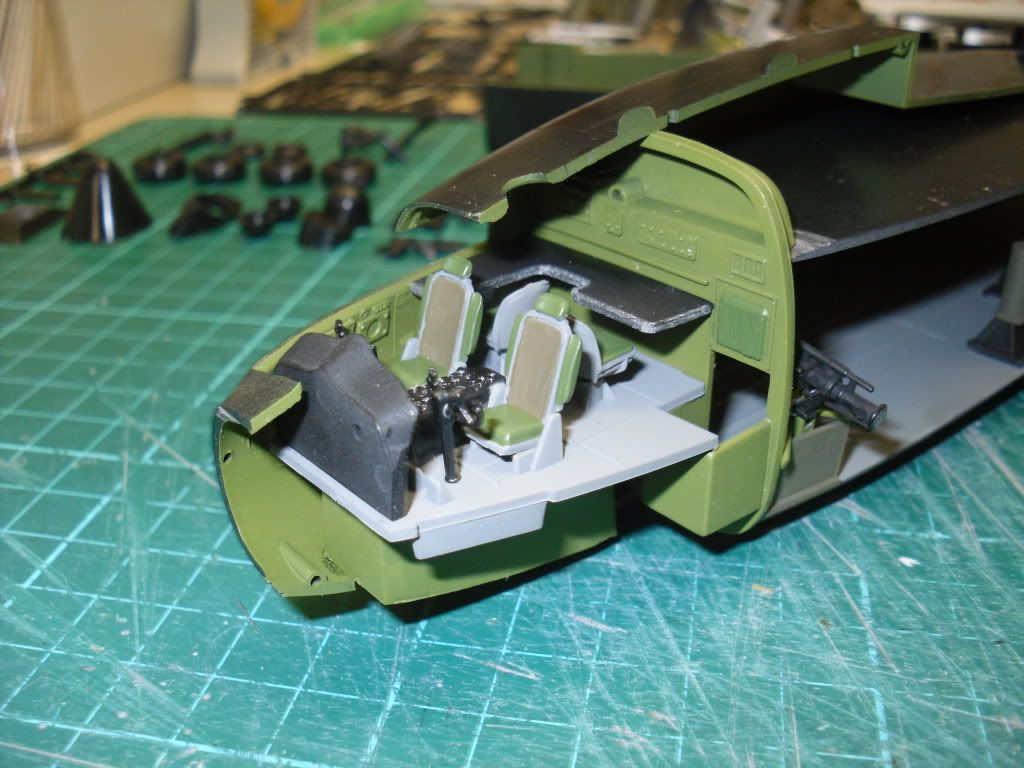
The guns look okay glued in position
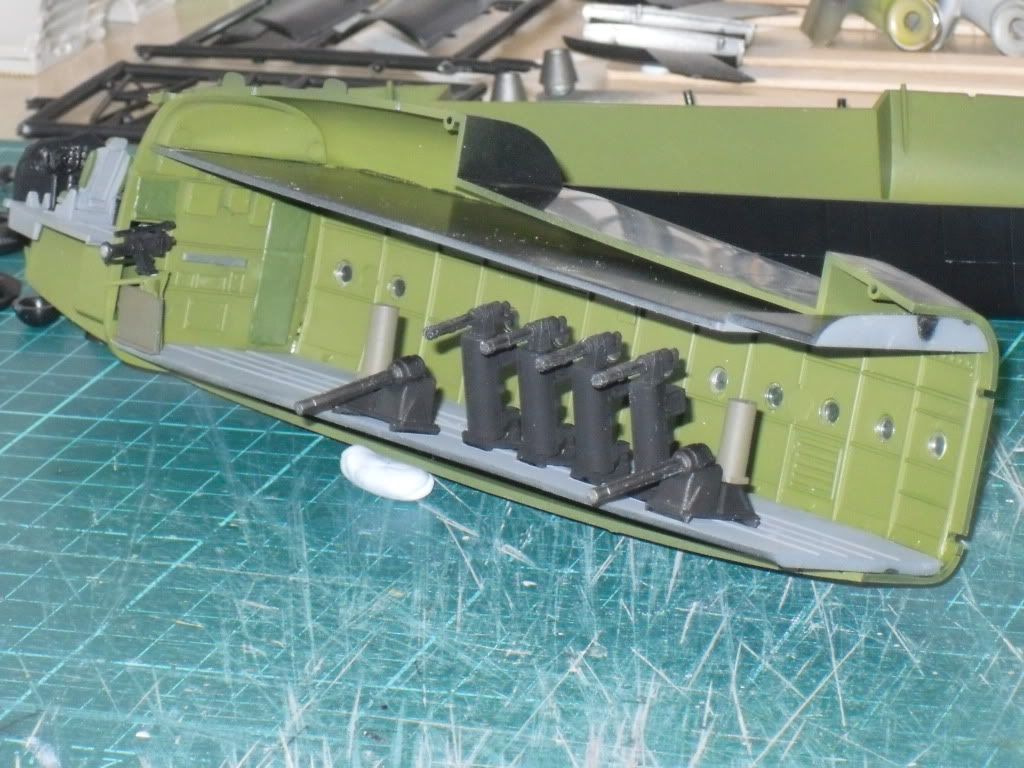
And the Flare Launcher and xenon light seem to fit in place okay
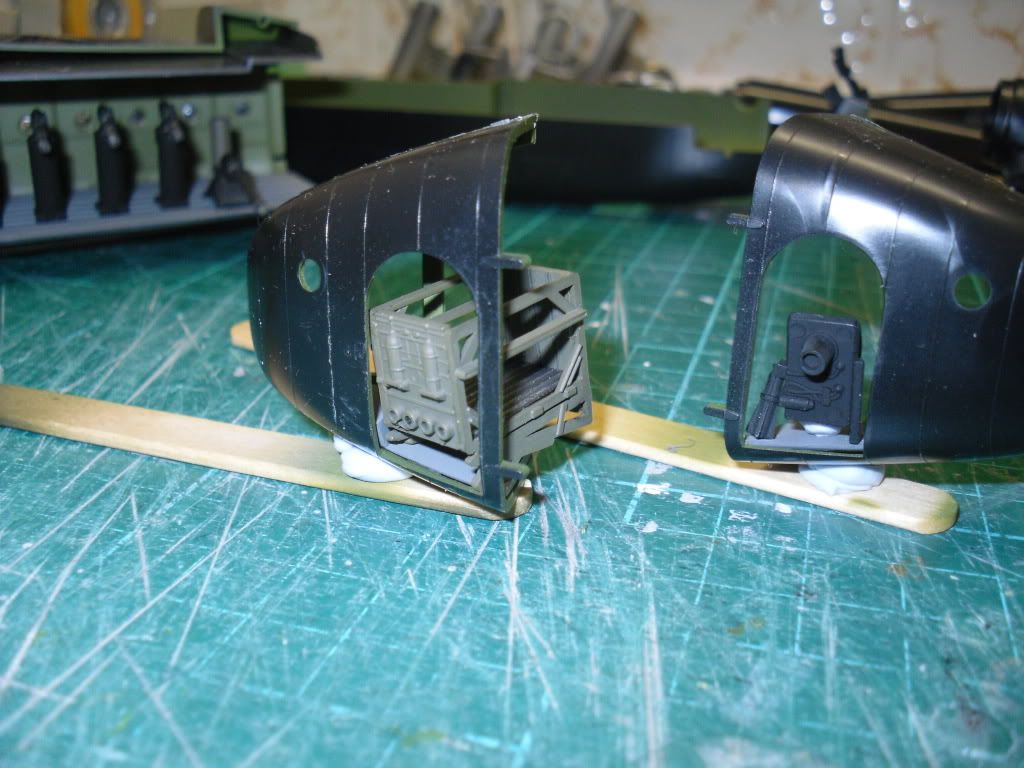
I'm not sure as to leave the rear clamshell doors off and paint them seperatly ; I will have them in the close position once finished . The Flare Launcher is a tiny bit wider than the door opening and it can't be fitted in from the outside , so painting the rear doors seperatly might be the way to go .
I'll glue the fuselage together next followed by the center wing section , tail booms and outer wings .
I was looking at the Zoltz decal sheet and have taken a liking to the AP-2H Neptune "Naplam Nellie"
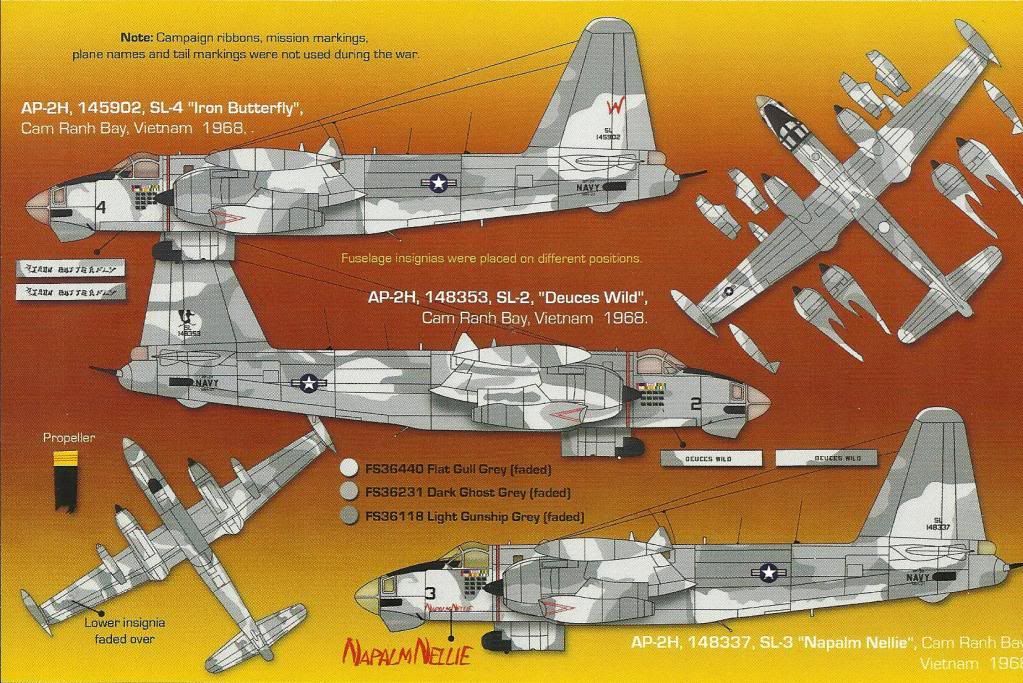
I have the Facon vacuform conversion set for the Hasegawa P2V-7 neptune kit , It looks a fairly straight forward conversion . I'm just not sure if the AP-2H was used extensively at night ?
Anyway , I'll continue on with the Stinger .
John .