Jack, that's a great example of texturing. With the fabric being a fairly coarse surface, it would collect dirt, oil, and such in a very irregular pattern, and in some areas more than others. Thanks for finding that!
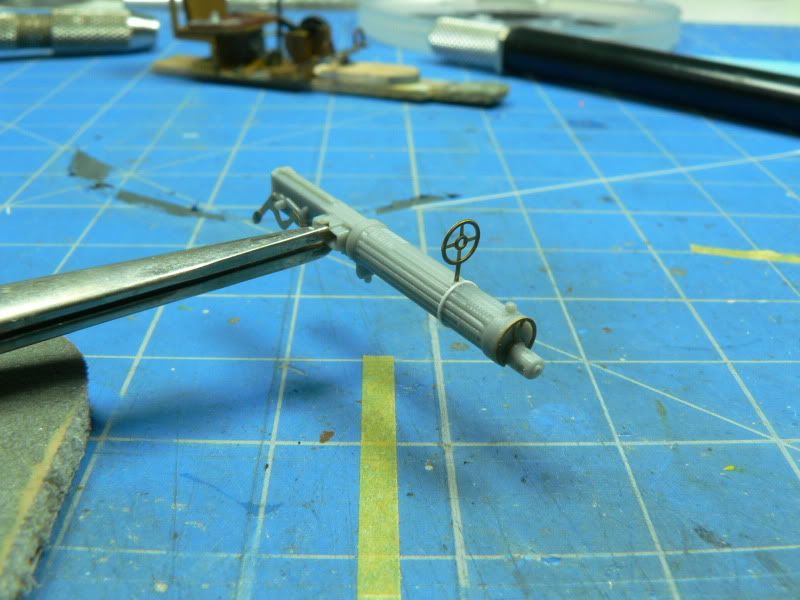
OK gents, been hot & heavy at the SE.5 for quite a while and finally have some worthwhile pics to share. First, the kit gun. They provide just enough PE to beef 'er up a bit.
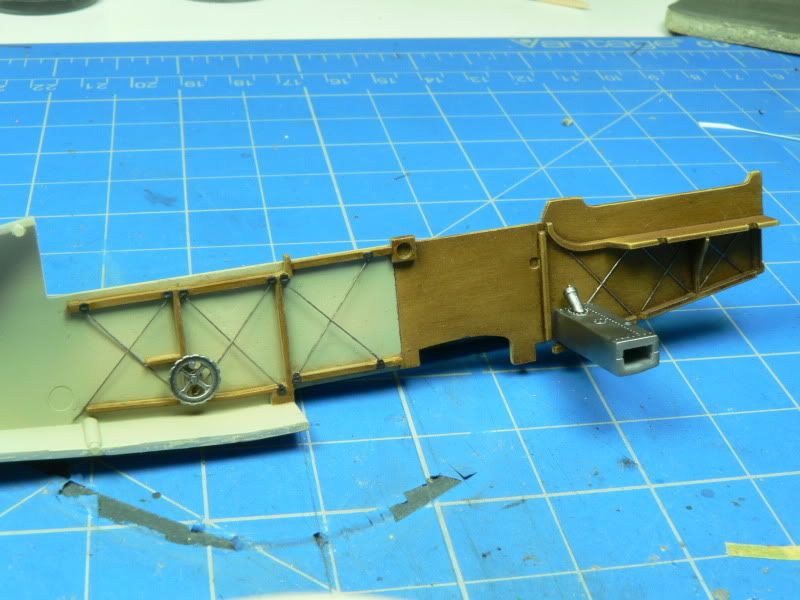
Inside the fuselage halves - the small Reheat PE bits worked out great as attachment points for the interior bracing, which was done with .003" EZline. The oil tank and trim wheel were painted with Alclad II dark aluminum and given a black enamel wash.
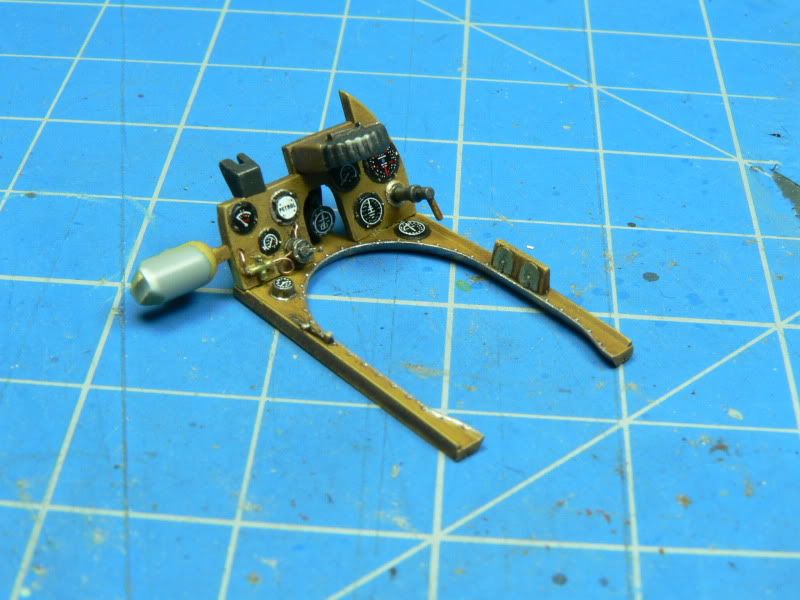
For the cockpit deck/IP panel, I scratchbuilt the detail on the lower left of the panel (the molded-on stuff wouldn't have cut it here). The ammo cannister was painted flat black and buffed with powdered graphite.
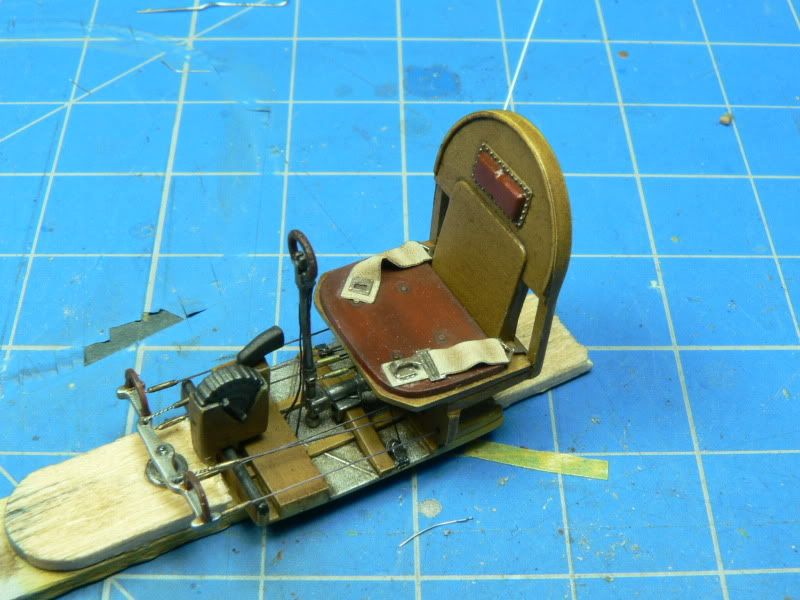
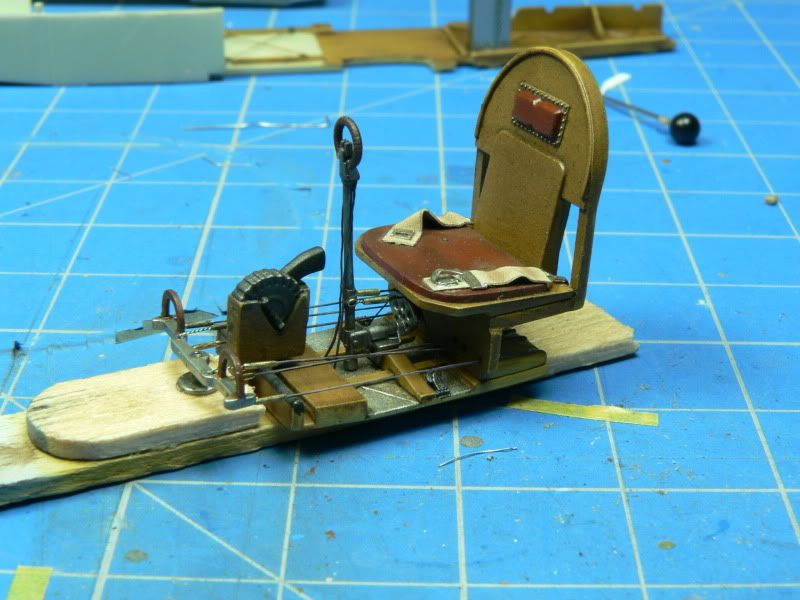
Whereas the 'pit for the Pfalz was completely modular and could be entirely assembled as one unit prior to installation, for the SE.5, I had to rig up a simple jig to "pre-rig" the rudder pedals. Their attachment point is located on the lower main wing piece, seperate from the rest of the 'pit floor, which mounts between the fuselage halves. The cabling is EZline with 0.5mm brass tubing for the buckles. For the belts, it was easier to replace the strap sections with lead foil, textured by pressing on them with a flat file. The kit's metal 'buckle' parts were retained however. I went with Marc's technique for replicating the leather on the seat & headrest, and while extremely happy with the results, I see I still need more practice to master it as he has (great tip, buddy!  ).
).
The fuselage halves should be buttoned up at some point today, with the 'pit and engine installed and lower wing attached. I also want to offer a huge "Thank you!" to my lovely wife for correcting my camera settings and providing me with much better pics to share with you guys. Love ya, sweetie!