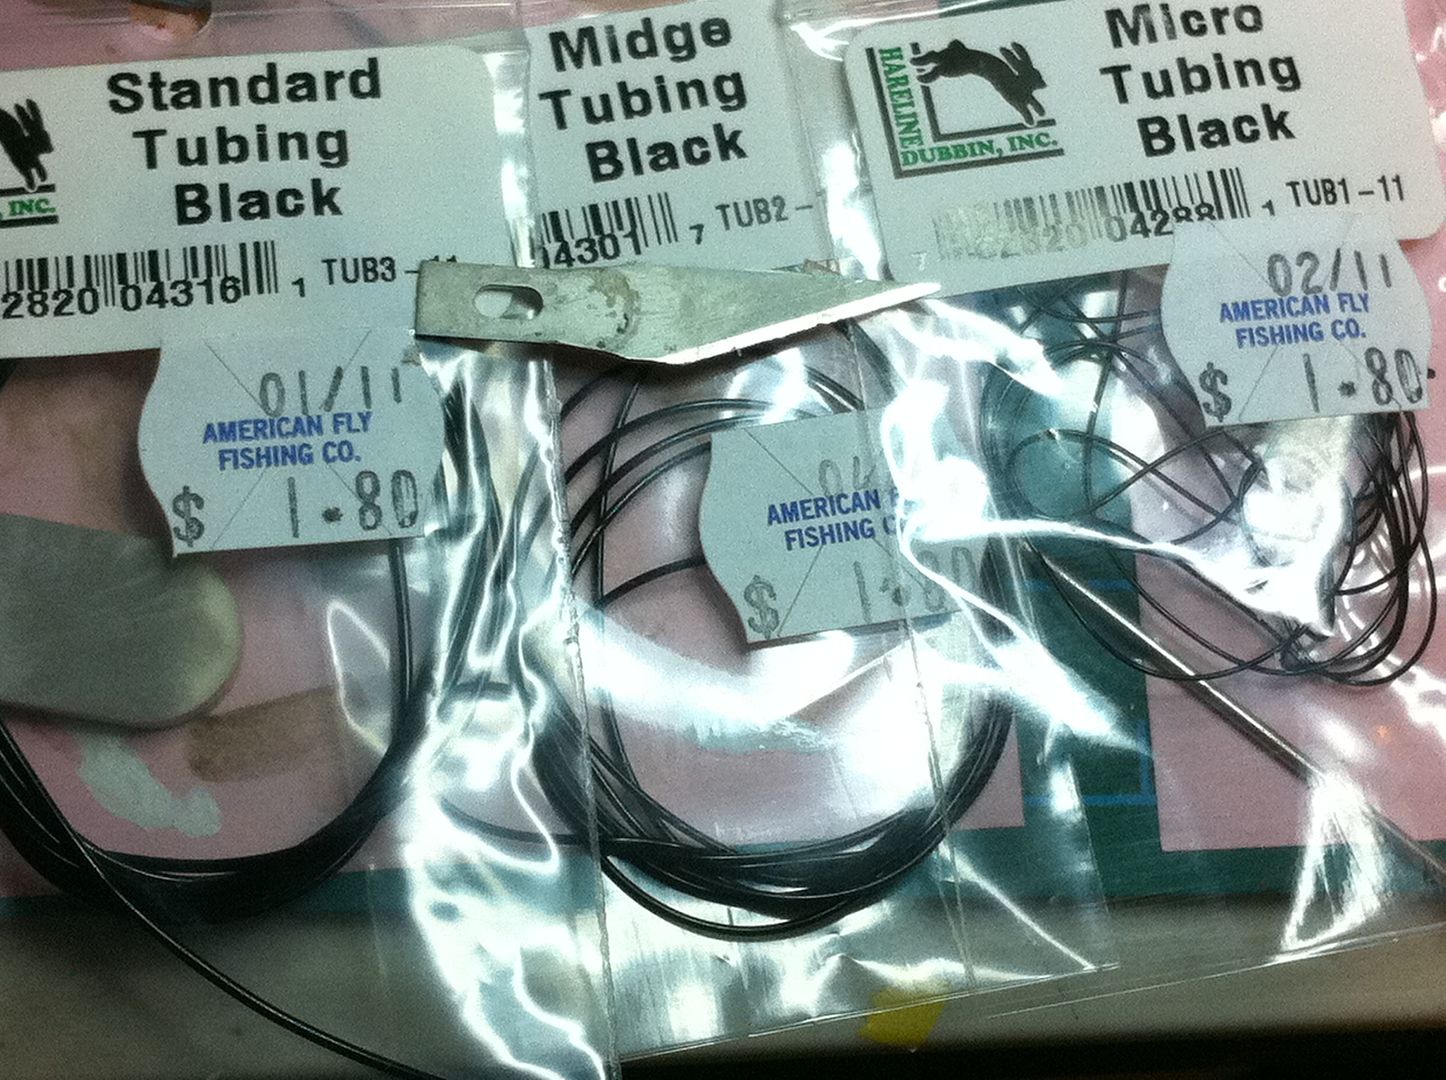
First thoughts, without really having much chance to play with any of it? This stuff is SMALL. Even the standard size (1/32") is tiny. The micro tubing, at .01" (.25mm or thereabouts), is ridiculous.
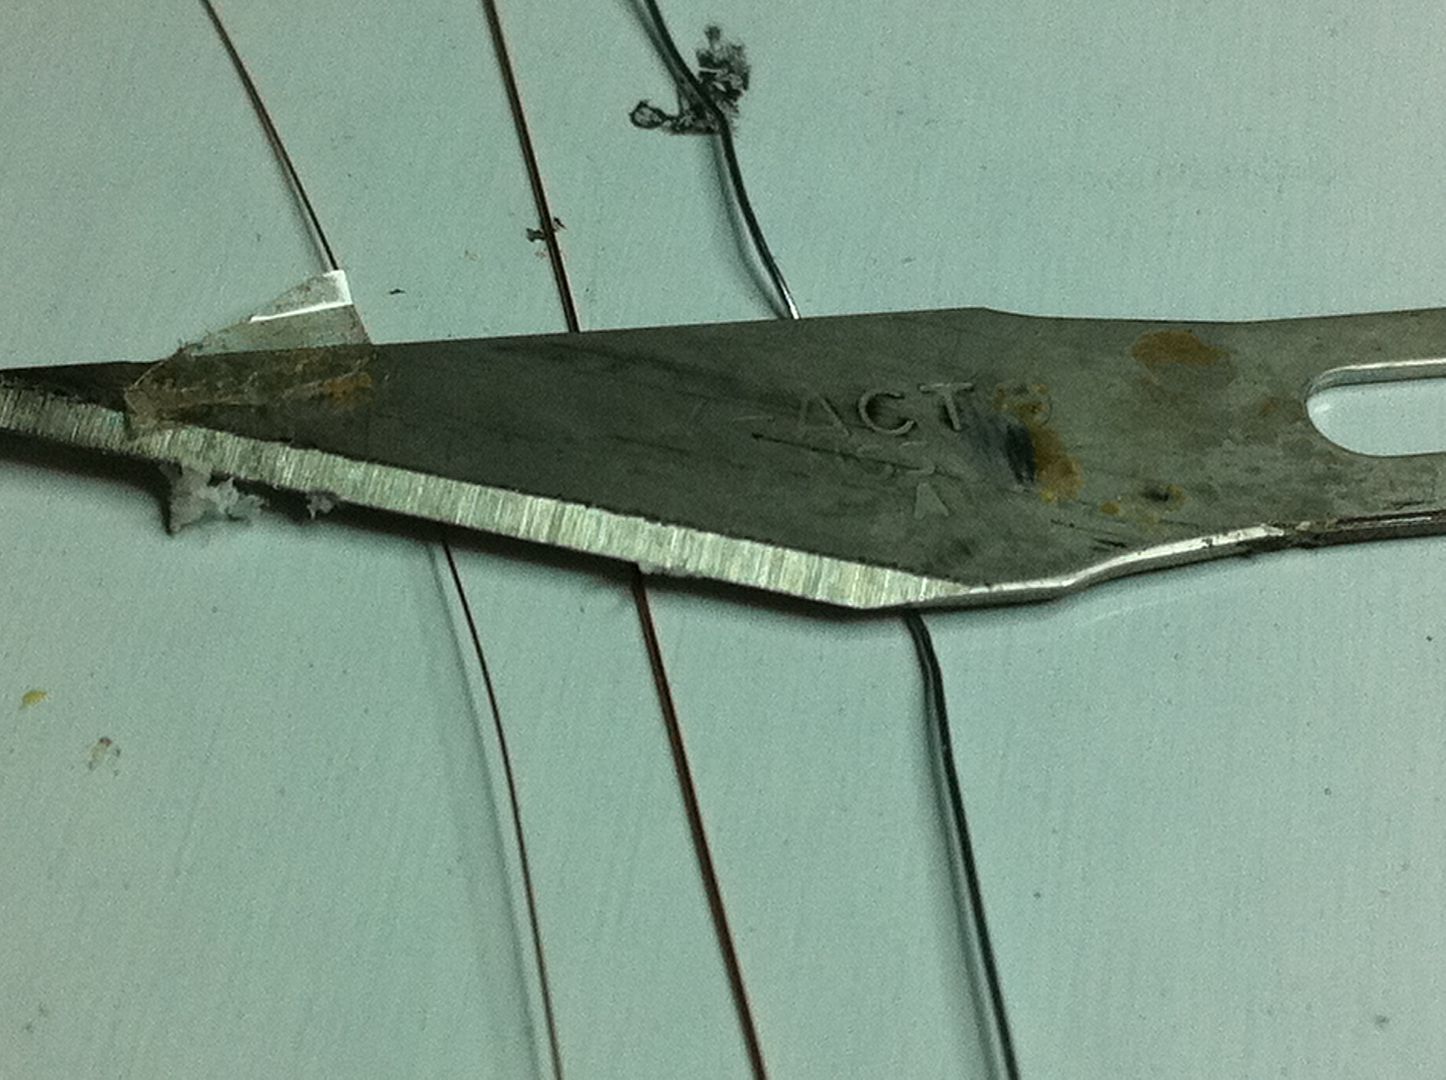
Lastly, the ultra wire. I ordered small and extra small, no idea what the size meant. Here are the wires next to a 32 gauge wire, the smallest I've been able to find readily available. This stuff looks fantastic for wiring engines...
Arrange, left to right, x-small, small, and 32 ga.