Wow what an awesome GB. This is a cool experience guys thanks for letting me be a part.
Potchip: Ships! It blows my mind to even think of a ship project but would love to try one. What would be your all time add glue and shake cool ship build?
Hercmech: That Dinah is one of the best looking builds on here. Really, Really Great Job. What was the mix on the IJA Brown?
Trey: Good times with you and your son. Mine is four and he loves to go through the stash and is learining all sorts of WW2 trivia! lol. Great pics.
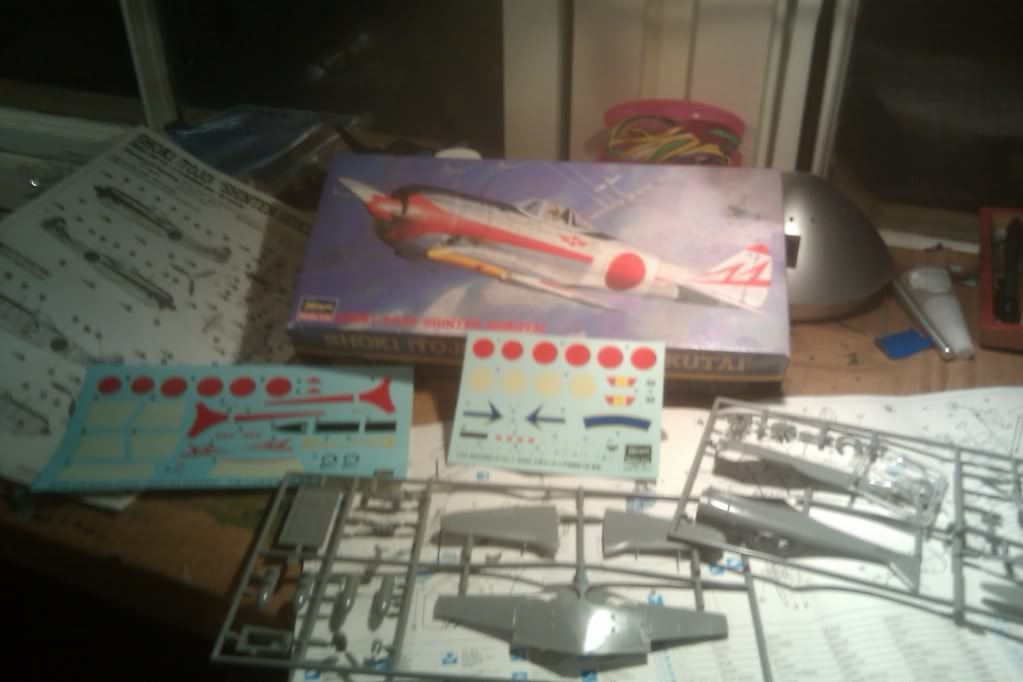
Gamera: yeah i wussed out on that zero trainer. Too bad too, I got a jar of reefer orange and saw the post of the pink primar. That blew my mind! Great thinking there. So here is my progress on the Tojo. This has been a very crisp build. Highly reccomed the kit.
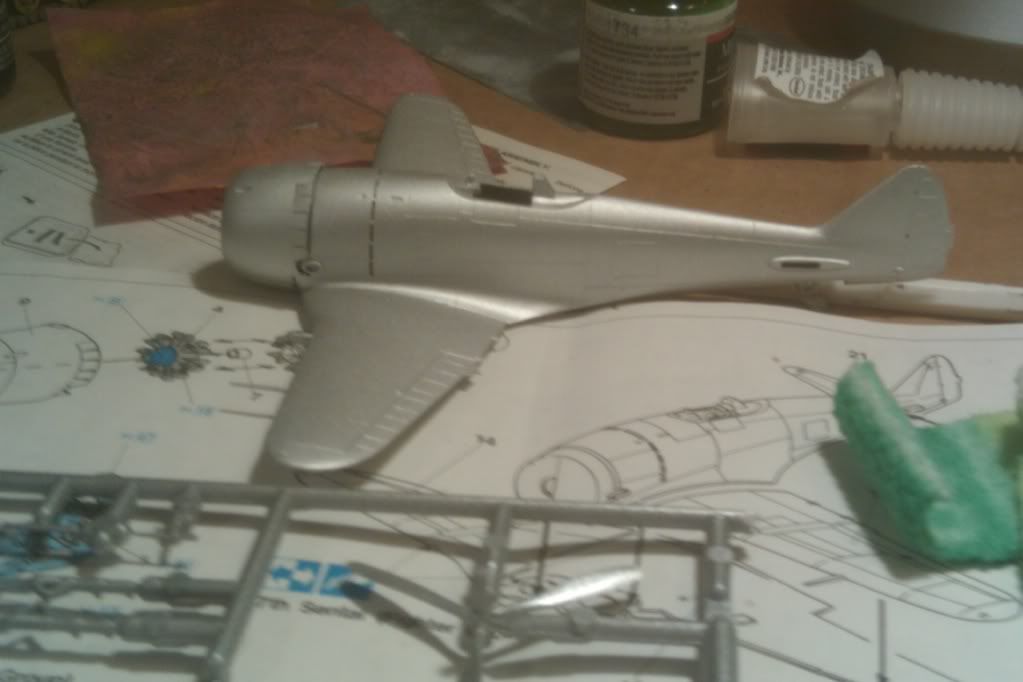
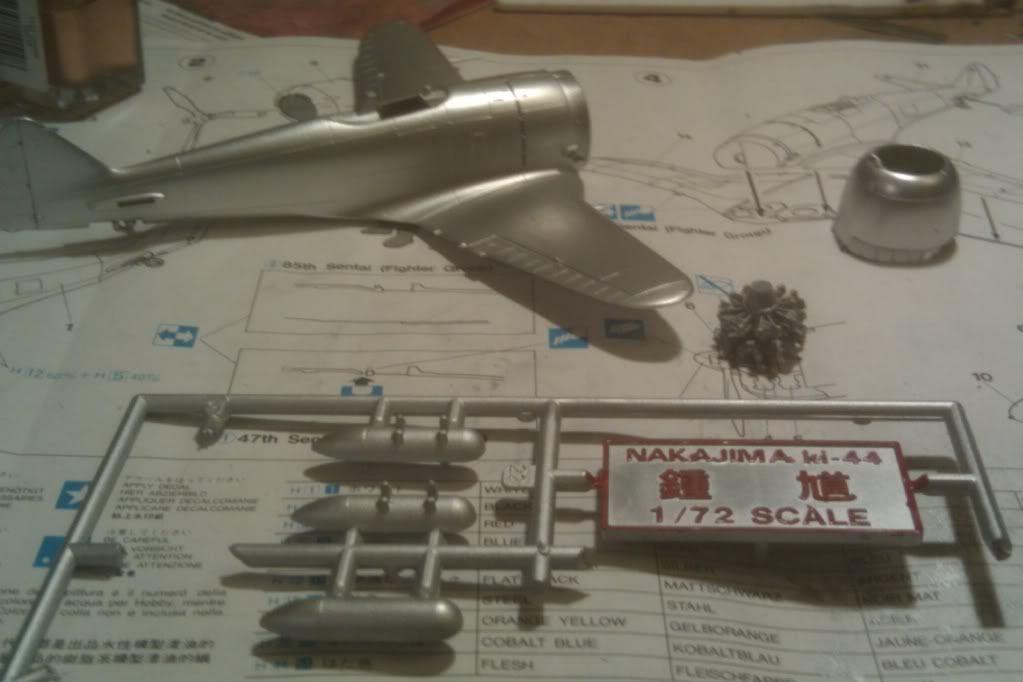
Boy when they said silver shows your sins they were right! First time using the MM Al plate buffing spray. Put two coats on, and then buffed it up with a worn piece of thick flannel. Came off much brighter with a lot of almost peral to its shine. Used the metalizer sealer afterwords.
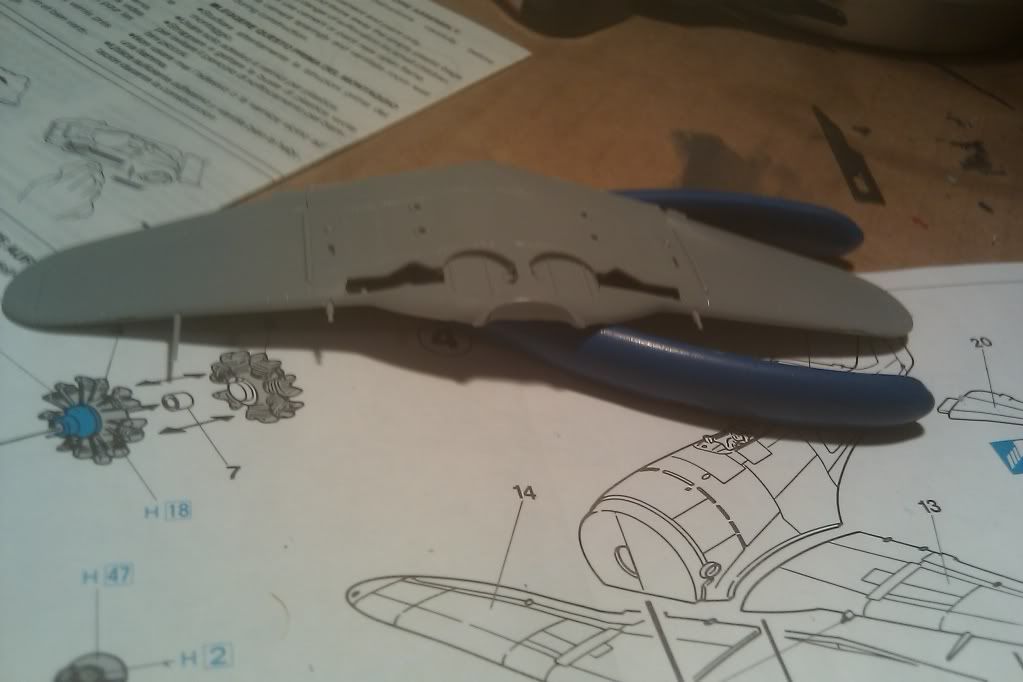
This thing has a interesting amount of large decals that may overlap ceratin large viz areas. The instructions dont give an order of operations. Im doing the Shinten Sekutai, gears down, with both drop tanks.
I put this next to some other which are compete, this thing seems tiny.
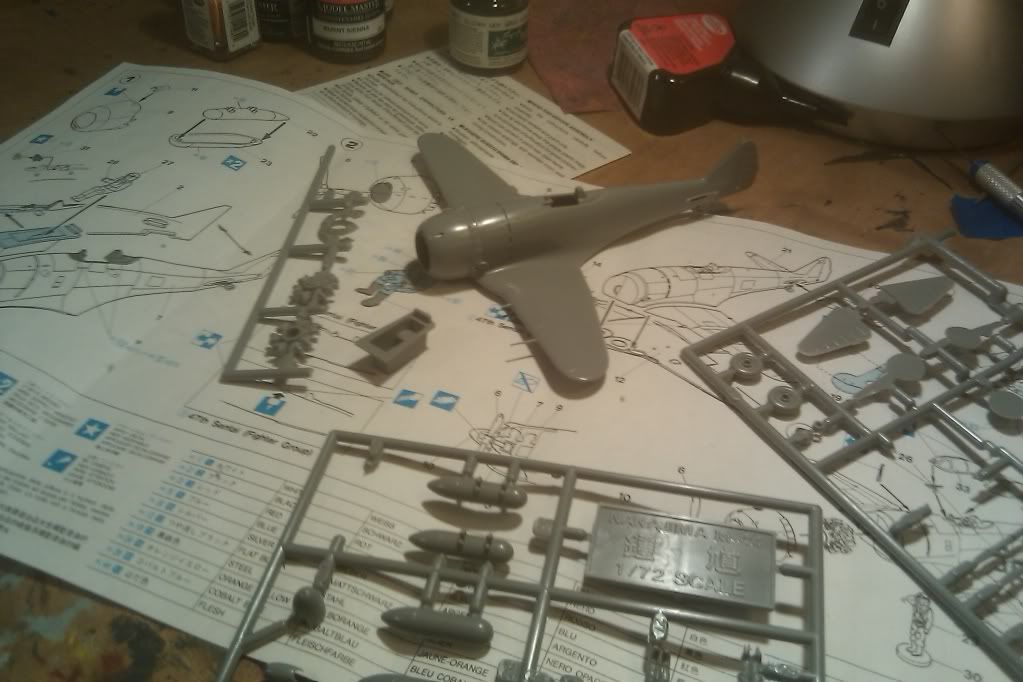
On the bench: 72nd scale P51D, P47D Razorback
---Everything Is What It Is, And Not Another Thing.---