Hi Guys
I've been quite for a while on this GB. Did the first coat on the Pete a couple of months ago then got side tracked with various other unrelated projects like work, family, summer vacations, etc, not to mention clogging up the nozzle on my new airbrush which has taken over a month to resolve
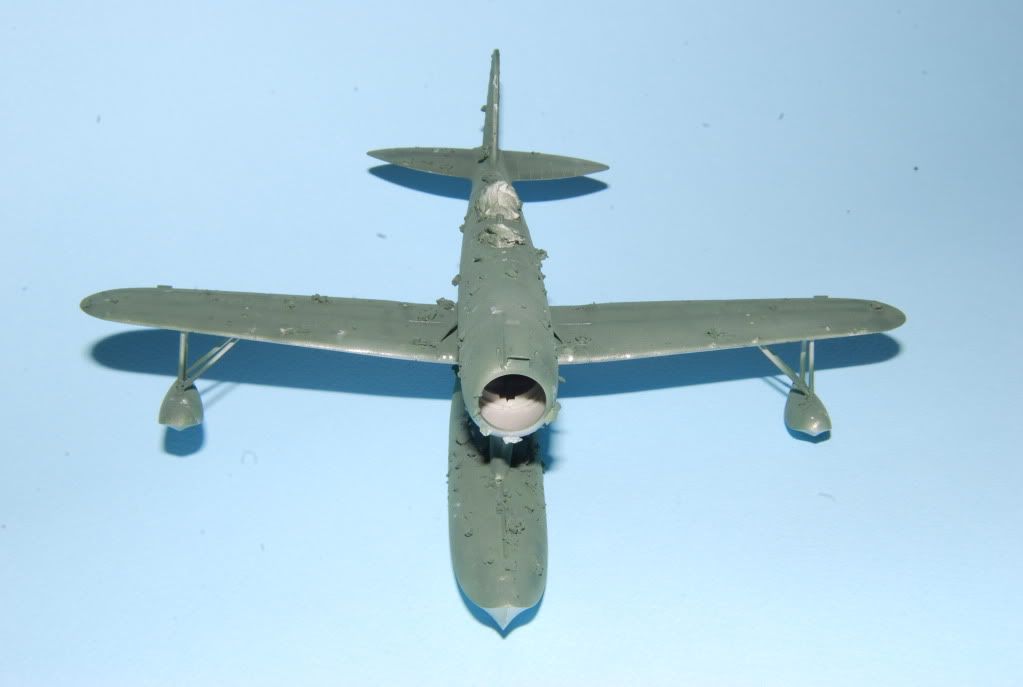
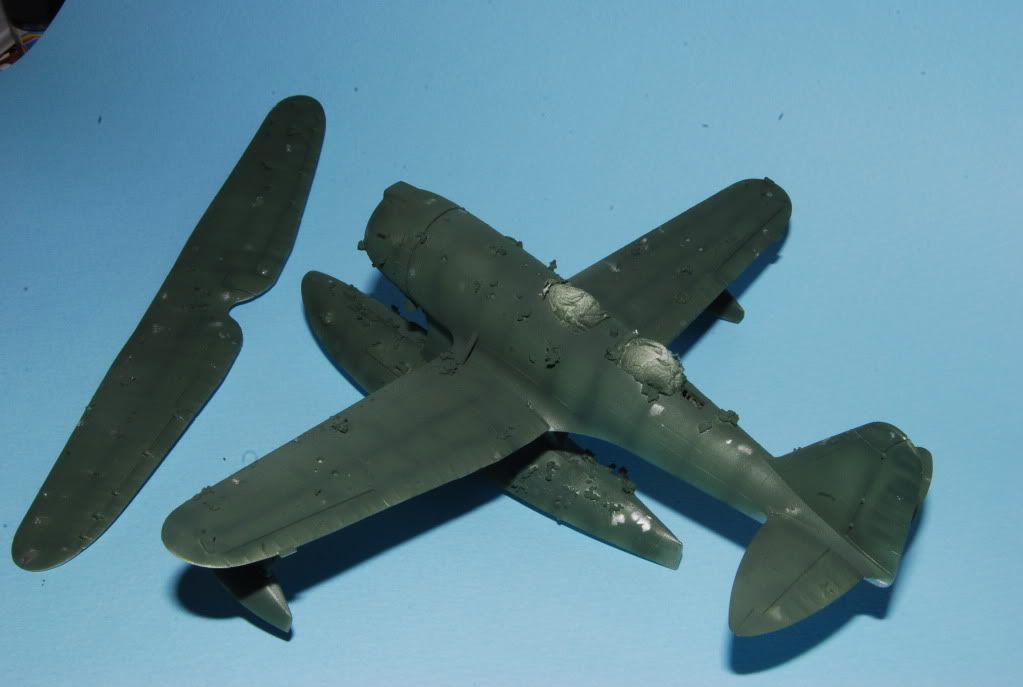
Put a light coat of IJN Green over the metallic surface with salt (my first attempt at this method). Was hoping to do the second coat with the top wing attached but thats proving to be problematic. The struts on the wings are fine but then struts attaching to the fuselage are too short & there's not so much bend in the top wing so it looks like I'll have to trim & modify the wing struts, maybe scratch build new ones
Here are the pics so far ........