What a good time to come back... lots of questions I can answer or put you into the right direction. As far as the painting aspect goes.... You`ll have to get those answers from someone else as painting isn`t my thing. Now as to the City of Ft Worth...... Here`s some " News you can use."
I`ll do a multiquote of all your posts rather than do them one by one. :
I have a few questions.
1. What is the best color to use for the cockpit? I've visited the Virtual Tour of cybermodeler online and the green almost has a blue cast. Is this real or is it just a bad white balance during the photo shoot or band rendering on my monitor (I know cameras and monitors tend to lean towards the blue). I would suspect the color should be olive drab. If so, any particular Testor color?
The walls, floor, & seat frames should be OD Green with the seat cushions either some sort of red or blue. The panels, consuls, equipment should be black. There should be plenty of pictures in the resources links.
2. Should the landing gear bays and landing gear doors (insides) be olive drab too, zinc chromate green, or something else?
The were OD Green in real life... How new or weathered & used you want them to look is up to you.
1. Did the B-36 have a white light mounted on the vertical stab? I know they had port and starboard wing lights (at least I think I knew that).
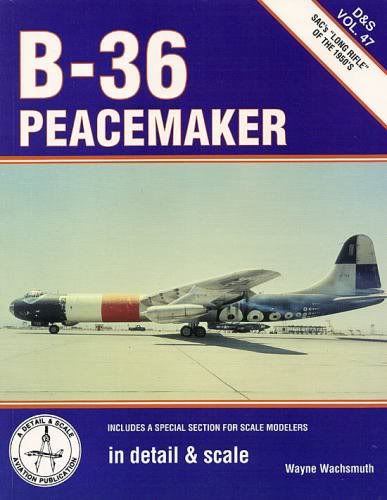
The 4 tail navigation lights had two each on both sides of the horizontal stabilizers. White inner, and Amber outer. The complete USAF technical drawing of the B-36`s exterior lighting is found on p.62 of B-36 Peacemaker in detail & scale by Wayne Wachsmuth. I cant repost the page on here due to copyright issues. You can find this book used fairly cheaply on ebay

2. I read in this post about some wing sagging in the model. Is this common and has anyone come up with a good solution? I was thinking of epoxying some brass U-channels in the wing and trying to figure out how to meld those up to the wing spars during assembly of the wings. I'm open to any suggestions.
Some have said it is a problem, and others have said they didnt have a problem. I think it comes down to certain kits and production runs. Considering this is a plastic model, any kind of support is going to give it help. On mine I simply found some # 2 pencils and used epoxy to attach them. A bonus is the lead stick is going to help as well. The biggest issue with this kit however is the center of gravity issue which needs to be fixed by putting some sort of ballast behind the cockpit to keep it from tilting back when sitting it on the table.

4. Has anyone super detailed the landing gear bays? I'm going bomb bays closed, but most gear bays look really devoid of detail, even though in real life they have a fair amount going on. The only shots I've seen are two photos on the cybermodeler site of the B-36J walk around (my plane). At a minimum I thought I could fake in some picture frame-type wire to duplicate hydraulic lines inside the bay.
The Wachsmuth book has the pictures you need in it.
Four more things.
1. My kit had only one broken propeller blade. The plastic gods must have been on my side.
You havent tried to build it yet, and you have insulted the plastic gods whom will teach you a lesson when it comes time to do the delicate work. 
2. On the www.planesofthepast.com/b36-pima-air-museum.htm site there is a photo of the port side of the plane near the pitot tube. There is some stenciling that says:
B-36-J-111-10-CF-52-2027
SERVICE THIS AIRCRAFT WITH GRADE
I 15/145 FUEL. IF NOT AVAILABLE T.O
NO. 06-41-1 WILL BE CONSULTED FOR
EMERGENCY ACTION.
SQ1
AUG-0
Unfortunately, some of the words are clipped off in the photo and I can't guess what is missing. I wanted to print out some of these types of decals, but needed the rest of the words.
Scratch what I posted earlier, there`s more too it and it`s going to take alot more squinting than I can do. You might want to send an email to PIMA and ask them to send you a copy of the text.
Here is another site that might help you
http://www.angelfire.com/dc/jinxx1/B36/B-36.html
3. Are there any other notices on the aircraft in addition to the ones included in Warbird decal sheet no. 72 003? The Warbird sheet has the "no step," "do not walk between lines," "fuel tank" and "oil tank" notices.
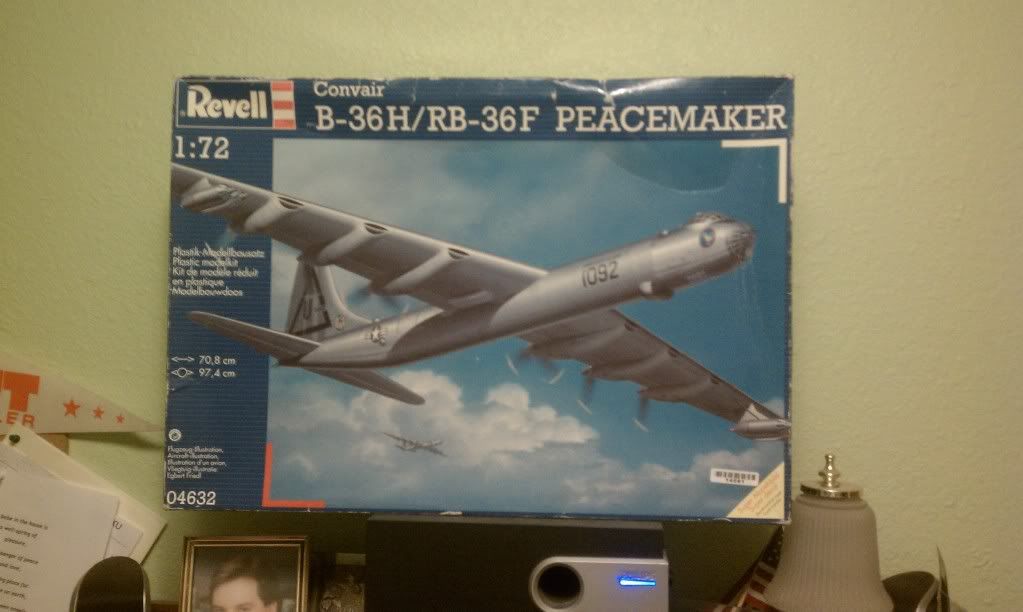
There are more such as plug indiacators, emergency exits, cut here in case of emergency, etc. There is no way to get these other than getting ahold of a 2002 Revell-Mongram Germany Kit with the decal sheet intact and in good useable condition. Expect to pay $75-$150 for this kit in that condition when it comes up on ebay. Also included will be the servicing & seriel stencils for the two craft the kit will produce. You can modify them or use them as templates to make your own

4. Where can one find some additional seated figures to augment the four that come with the model? It would be nice to fill out a few more of the seats.
Simple... They dont exhist unless you make them. If you will notice the seats in the lower bay are much smaller than the cockpit and the figures included. Thus, that is why I dont use the figures due to the scale issues with the lower nagation/radio deck. Ive got about 10 kits worth of figures if you want any of them.
Geez, more questions. The "City of Forth Worth" is a B-36J-III (Featherweight). I understand that the nose turret and internal turrets were removed, and the six blister windows were replaced with flush windows. However, looking at the photos of the plane parked at the old GD-FW site shows at least the top blisters in tact (can't say for sure about the bottom ones, although they appear to be flush). Is this a case where they couldn't find flush windows during restoration and used blisters, or something else?
Keen the eyes are with this one! All of your questions there are correct. You have also probably noticed that the craft as it currently sits at PIMA has even more blisters on it than were ever on it when it was in actual serice. Most of the blisters were removed during the Featherweight program, and the J`s came out of the factory built on the Featherweight III standard with only the lower rear blisters so the engines could be monitored from the aft compartment. What happened happend was over the years as the plane was moved from Amon Carter, to outside the gates of Carswell, and later into a storage hangar to undergo restoration was that the blisters were added to replace the flush ones until the flush ones could be restored/repaired/replaced. As you know, the museum in Ft Worth never happened, and it was carted up to PIMA where it was reassembled with the blisters on it. I`m told the actual flush pannels were sent with it, and PIMA never bothered to correct the issue when they put it back together.