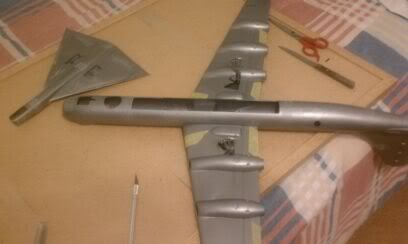
Part 1
How to turn a 1/72 stock RB mold into a 4 bay bomber version..
For detailing in part 2, I`ll find Lucien`s old post on how he detailed his XB-36 bays and link to that
You will need the following important things and to read the warning before proceeding:
Patience
Time
more Patience
alot more Patience
Did I mention you`ll also need LOTS of Patience?
Note: If you are additcted to caffiene, nicotine, or any other substance, then it is highly suggested that you get you fill of that before attempting this. Also, remove any annoying spouses, children, or pets from the premisis before begining. Failure to do so will cause the builder to speak in jibberish, slang French, and could lead to property damage and or injury to the model or builder leading to arrest, divorce or possible deporture by authorities.

Now that the inconsequentials are taken care of, let`s proceed with the items and materials you will need:
1 Xacto knife with an assortment of blades you like to cut with
1 large can of play-dough or 2 small cans... Clay is not recommended as it will break the prongs inside of the fuslage whe being applied
1 roll of electrical tape - any color
1 cheap jewelers necklace box - or light piece of wood the same size
1 metal ruler with Centemeters marked on it
sandpaper or file to smooth out the bay opening cuts
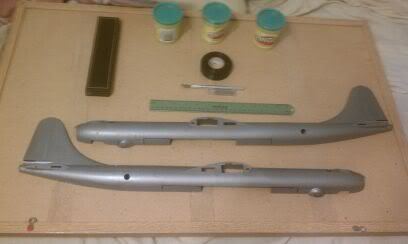
Note: In the pictures being presented this is from by B-36 carrier plane that took the B-58 airframe to Wright Patterson "piggy back" style. Your build will not involve the removal of the lower radome and Bay 1 will be more forward & just aft of the lower radome
http://www.youtube.com/watch?v=Pxrwpur_Op8
The cutting measurements are as follows:
To cut out Bay 1.. measure forward 6.8 CM from the opening of Bay 2 of the fuselage half
To cut out Bay 4 measure back 7.4 CM form the opeing of Bay 3 of the fuselage half
Using the ruler very carefully draw on your cutting lines on the fuselage halves
Insert playdough in the fuselage half you are going to be cutting in what will become Bay4, and in Bay 1. I also recomend based on experience to fill the cockpit area with playdown to avoid breaking any of the support tabs that will be used later when the cockpit assembly is added.
This picture shows the ruler being mounted... Ignore that ( for now ) and use the picture as a guide for play dough application... and remember to fill in the cockpit area with play dough as well
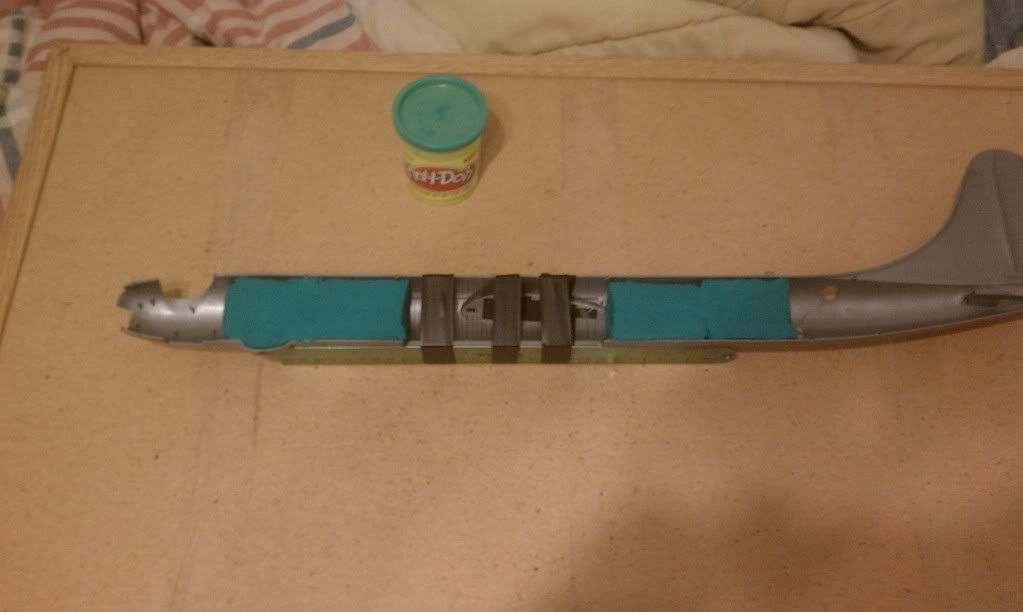
In the next step you will need to mount the support block for the ruler that will be used as a cutting guide... If you are 100% confident you can cut a straight line without help... then skip this step
You will need to mount the support so the ruler can be placed on it to cut a straigh line on the cutting lines... use the stock opening to mount the support block with the electrical tape as shown:
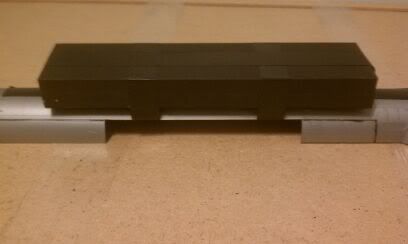
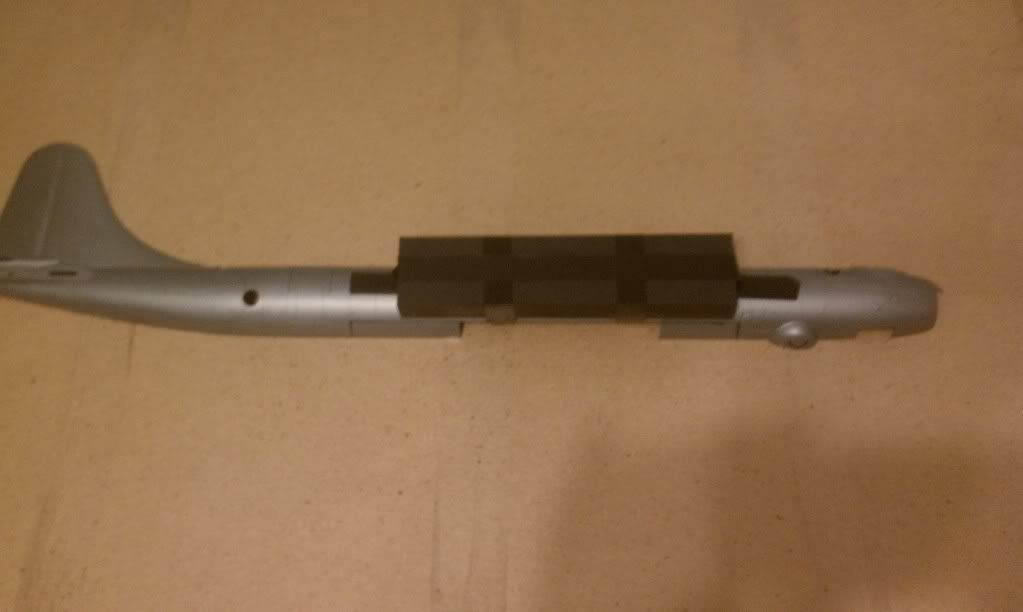
After the support block is in place... Useing the electrical tap... Install the metal ruller so it is in position to allow you to make striaght cuts on the cutting lines
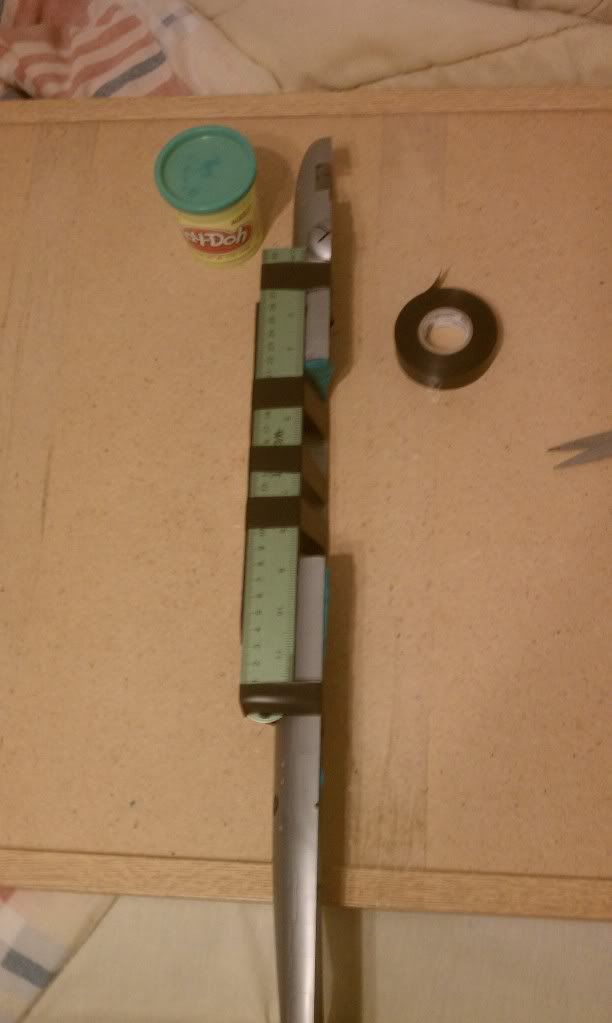
Using the ruler as a guide run the Xacto blade over the cutting lines until you have cut deep enough to snap the pieces off
Repeat other side of fuselage same as above
Suggestion: Save those pieces as later they can be used to contruct the division pannel between the fore & aft bays
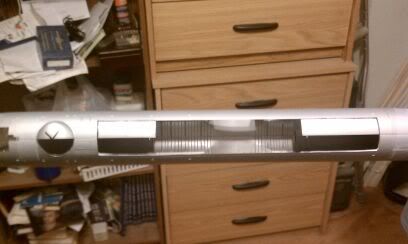
When finished put both havles together and use Xacto blade to make both sides look even and sand/file edges to a smooth finish
Again... the model being demonstrated is for the B-36/B-58 combo build and a bomber build will not involve the removal of the lower radome and Bay 1 will be slightly more forward by using the proper measurements of 6.8 CM for forward Bay1 & 7.4 CM for Aft Bay 4 as well
