Marc - Lookin' good man... got any tips for getting the paint to stick to the aluminum or steel parts better? I had a heck of a time with those steel side skirts... even primed they wanted to flake big chunks off when handled just a little roughly.
Well guys, you sure know how to put the pressure on... LOL  I hope I don't disappoint. I plan on using a fair amount of the vast amount of extra parts supplied in my last CH kit. I can't believe how much is left over. Barrel, cupola, tools... I want to add detail, but I really don't want to spend much money on this one. I'll see where I can get creative.
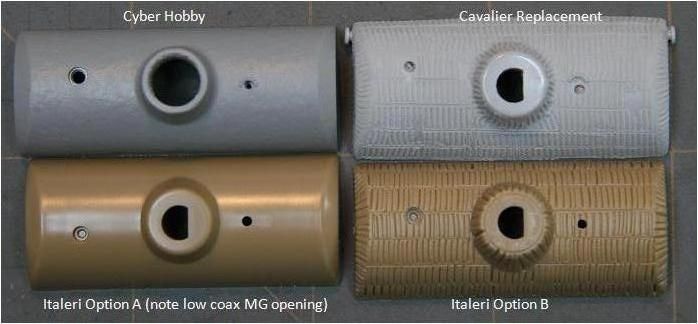
Here's a start - As mentioned previously, the replacement part (mantlet) that came with the Cavalier zimmerit set is a little warped. I am hoping to get it straightened out enough that I can use it since it is so much better looking than the others.


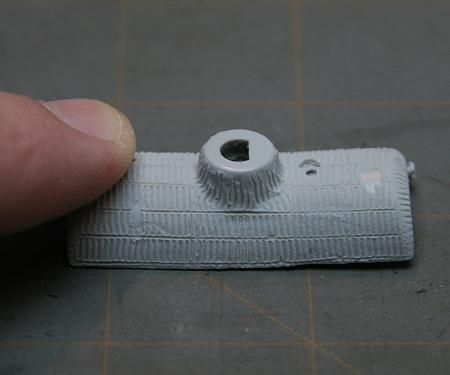
Second option is to add putty zimm to the original part. I'd have to correct the MG opening though. Not sure why it's like that since the replacement zimm'ed part seems to be correct. (Added the CH part to show dimensional difference in kits.)
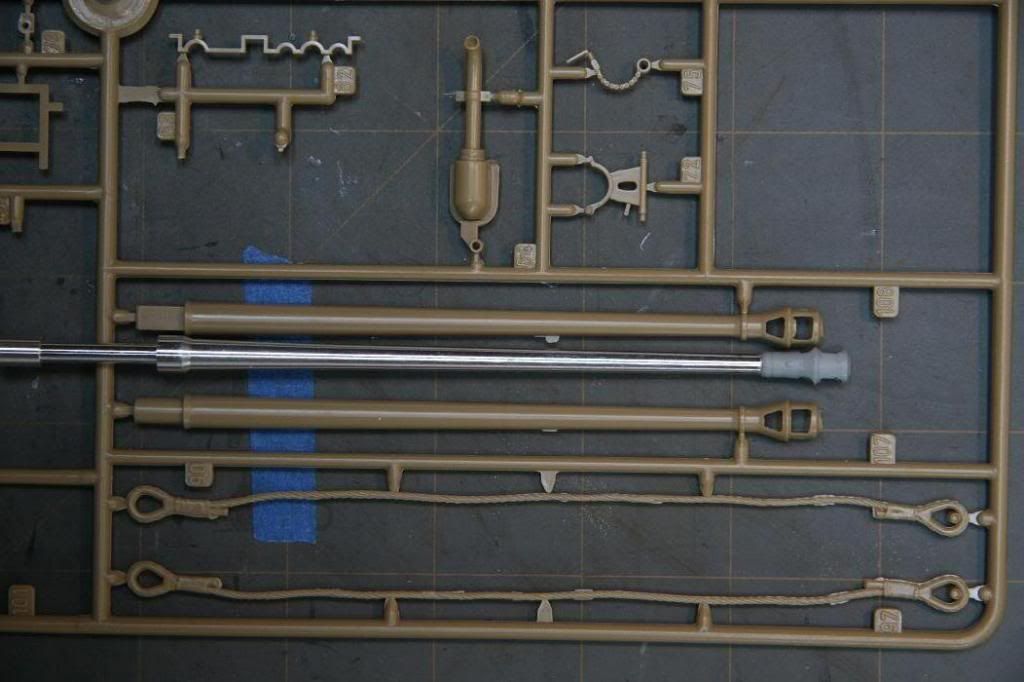
Here is the left over barrel I plan on using with some modification to the mantlet opening to accommodate. (Compared to Italeri kit part which is considerably shorter.)

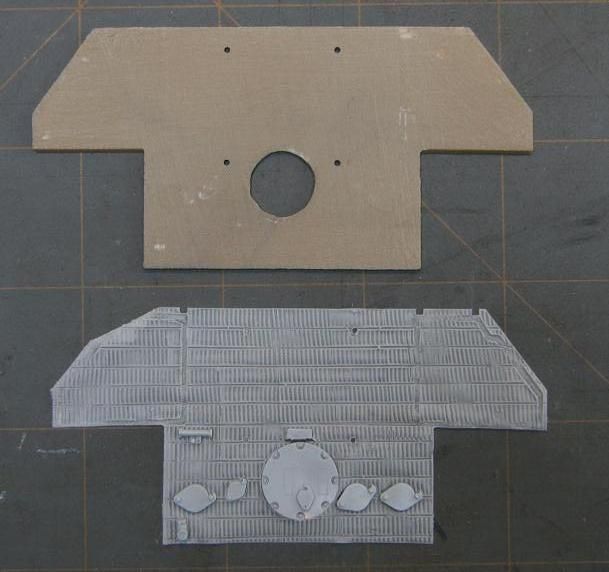
Here is a shot of what is required to use the Cavalier zimmerit here. All of the raised/molded on detail must be removed as it is included on the resin addition. Here is the rear hull plate with the detail removed and sanded. It left a hole where the main access cover was. I had to fill that in with some sheet styrene and putty as the replacement cover was located a little lower. The raised detail was also removed from the rear turret plate (rain shield and hatch retainer latch) for the Cavalier part.
(Upper left corner of Cavalier part came folded over... arg...  )
)

So - progress to date... lower hull started with some zimm applied. I like the thickness of the Cavalier zimmerit. It required less preparation of the actual part to be applied... but that was replaced by having to cut off raised detail/filling/sanding on the kit part - which can be a real PITA. Looks pretty darn good when it's finally on there though.
