SEARCH FINESCALE.COM

Enter keywords or a search phrase below:

Imperial Japanese Group Build Part II

93224 views
746 replies
1 rating 2 rating 3 rating 4 rating 5 rating
  • Member since
    July 2004
  • From: Sonora Desert
Posted by stikpusher on Thursday, November 7, 2013 5:35 PM

From what I have read, there was no standard camo pattern. You can pretty much go to town on the pattern just follow the style of large blotches of the three colors and use a hard edge. Only unit markings identified them to a group. And not all units had markings. Tamiya Olive Green is a good choice for the green color on IJA takns, at least as compared to the Gunze IJA paints that I have.


F is for FIRE, That burns down the whole town!

U is for URANIUM... BOMBS!

N is for NO SURVIVORS...

       - Plankton

LSM


  • Member since
    January 2013
Posted by jibber on Thursday, November 7, 2013 5:23 PM

I don't know Stik, I've been researching individual tanks with little luck, and I still haven't locked into a camo pattern, but I primed it black and gave it a base coat of Olive Green XF58. I've tested a few browns and came up with that Hershey color brown and of course the yellow stripe. This works for almost any unit. Anyway I'm heading out for a few days and I'll get it painted next week.  

  • Member since
    July 2004
  • From: Sonora Desert
Posted by stikpusher on Thursday, November 7, 2013 5:20 PM

Well Jibbers work inspired me to get back and there and finish mine up. I am not to happy with the tracks'upper run as photos show them having sag. I did not think that merely super gluing them to the return rollers would give the proper look so I decided to try drilling holes in the hull side and using small lengths of brass rod to achieve teh look. Four holes and pins per side. Drilling went fine, no problems there, as did measuring and cutting the pins. But installing them...Seven went easily enough but one blasted pin would just not co operate and got my temper and blood pressure up... I had to shut down my bench session and walk away...


F is for FIRE, That burns down the whole town!

U is for URANIUM... BOMBS!

N is for NO SURVIVORS...

       - Plankton

LSM


  • Member since
    April 2013
Posted by SchattenSpartan on Thursday, November 7, 2013 3:21 PM

Nice work, Jibber!

I wish you much fun and a save trip, Cliff!

  • Member since
    July 2004
  • From: Sonora Desert
Posted by stikpusher on Thursday, November 7, 2013 2:33 PM

Jibber, it sure builds up nice and quick, doesn't it? It's a fun little kit. What markings are you planning for yours?


F is for FIRE, That burns down the whole town!

U is for URANIUM... BOMBS!

N is for NO SURVIVORS...

       - Plankton

LSM


  • Member since
    November 2009
  • From: SW Virginia
Posted by Gamera on Thursday, November 7, 2013 10:49 AM

BTW: I'm leaving for vacation/holiday this weekend and will be gone for two weeks. I can follow stuff here on my cell phone but I'm horrible with typing on a touch screen. I'm going to see if I can rent a laptop if possible.

"I dream in fire but work in clay." -Arthur Machen


  • Member since
    November 2009
  • From: SW Virginia
Posted by Gamera on Thursday, November 7, 2013 8:46 AM

Looking good so far Jibber, really love how the pigments on the tracks came out.

"I dream in fire but work in clay." -Arthur Machen


  • Member since
    January 2013
Posted by jibber on Wednesday, November 6, 2013 12:39 PM

Sorry I had trouble loading my WIP pics.

  • Member since
    March 2010
  • From: MN
Posted by Nathan T on Tuesday, November 5, 2013 11:09 PM

Sure could. Any angled edges or raised detail, turret sides/fender edges could be painted black, or a color darker than the base color. Then start slowly building up your base color while trying to leave the preshaded areas less heavy.


  • Member since
    January 2013
Posted by jibber on Tuesday, November 5, 2013 6:06 PM

I do very few planes, but that process really could be modified for armor. Thanks Nathan, we learn all the time here.

  • Member since
    March 2010
  • From: MN
Posted by Nathan T on Tuesday, November 5, 2013 11:39 AM

Thanks guys. Jibber- its not the pre-shading thats hard, its trying not to obliterate it! Using highly thinned Mr. Color paint really helps with that.


  • Member since
    November 2009
  • From: SW Virginia
Posted by Gamera on Tuesday, November 5, 2013 11:01 AM

Yeah Nathan, both the metallic paint on the underside and the pre-shading on the upper look perfect!

"I dream in fire but work in clay." -Arthur Machen


  • Member since
    January 2013
Posted by jibber on Tuesday, November 5, 2013 10:58 AM

Very nice Nathan, I think you have pre-shading down.

  • Member since
    April 2013
Posted by SchattenSpartan on Tuesday, November 5, 2013 10:56 AM

Fantastic work, Nathan! I love the blotchy look of the olive paint!

  • Member since
    March 2010
  • From: MN
Posted by Nathan T on Tuesday, November 5, 2013 8:57 AM

Then I sprayed the whole aiplane Aluminum for some chipping later on:
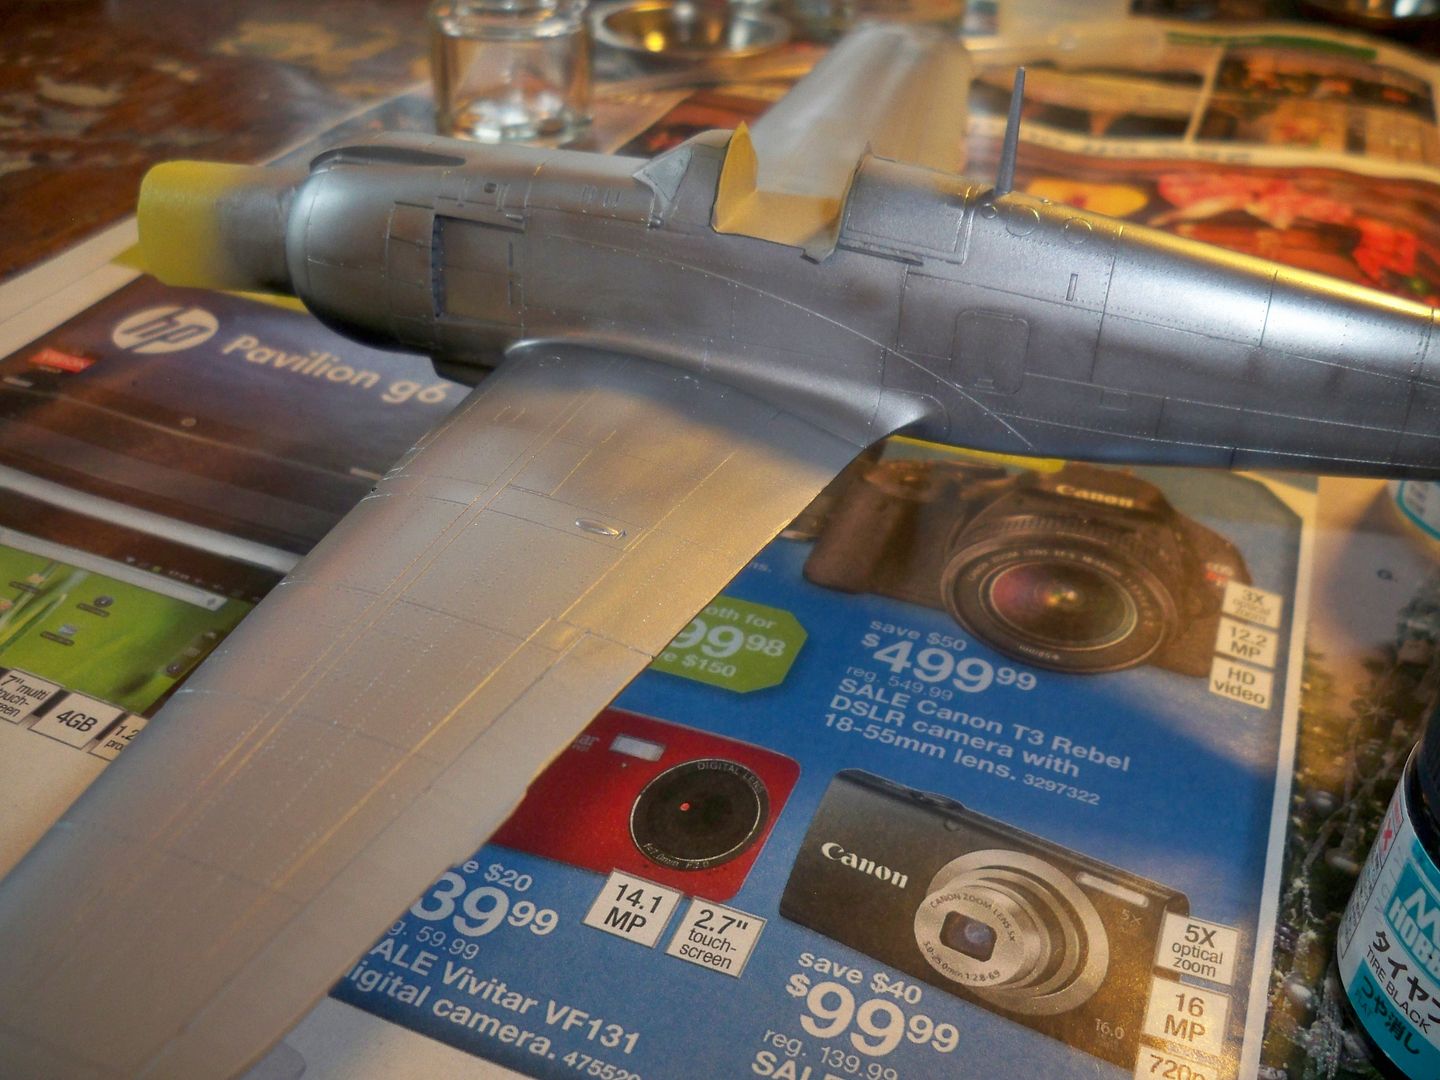
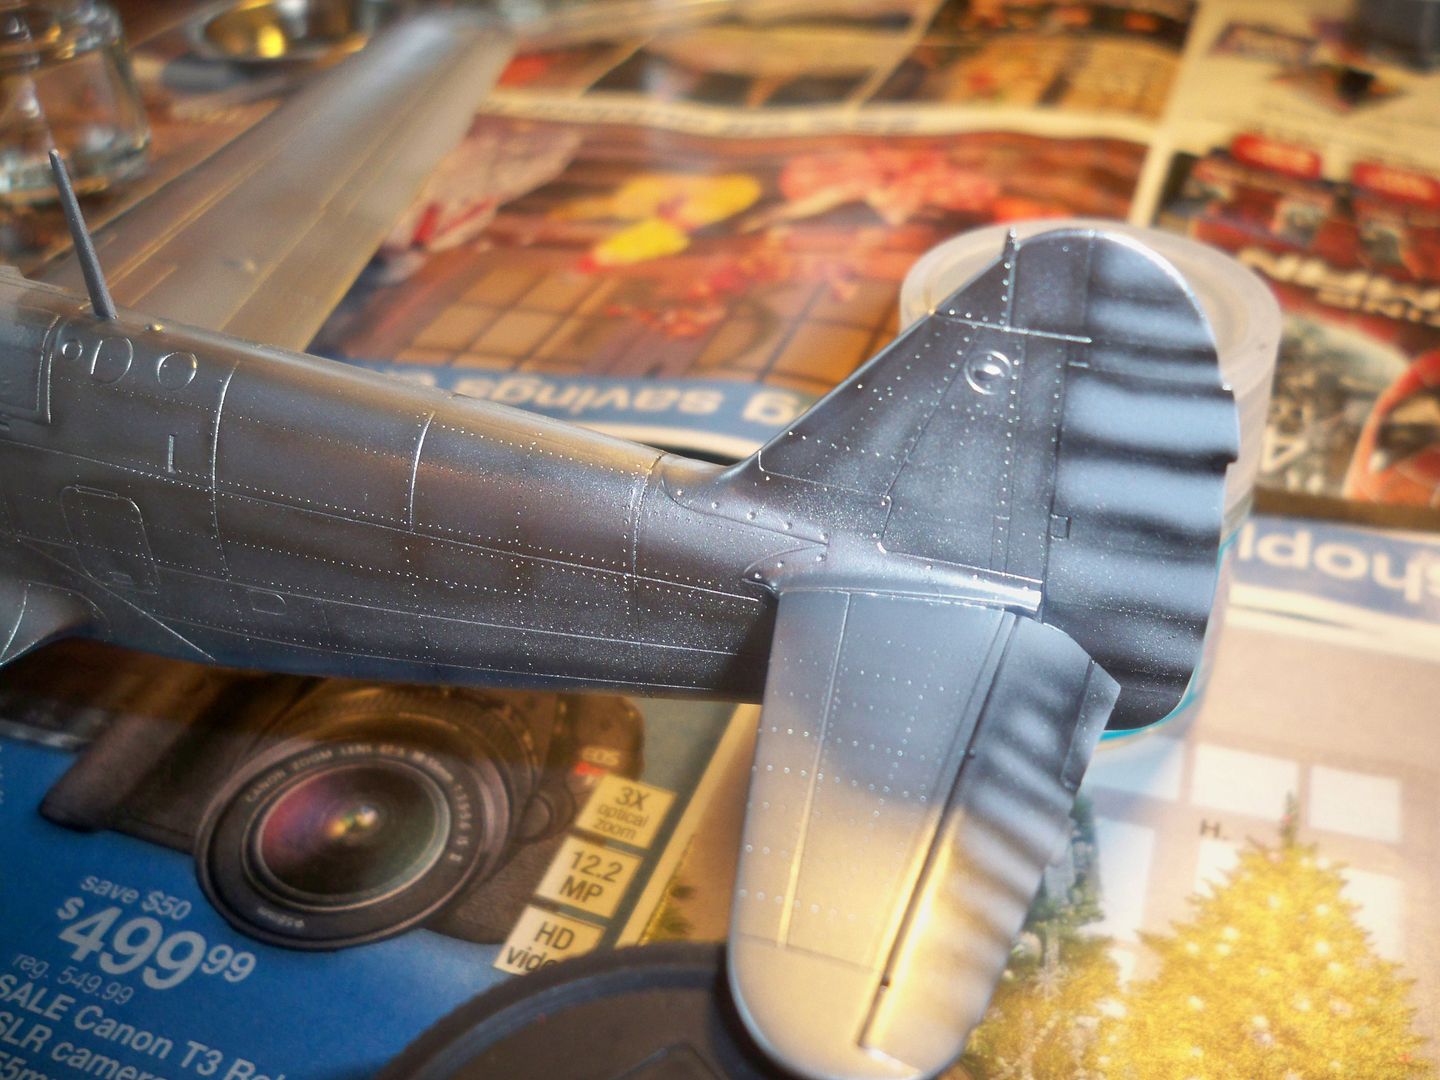
Then I finished pre-shading. Black lines, anyone??
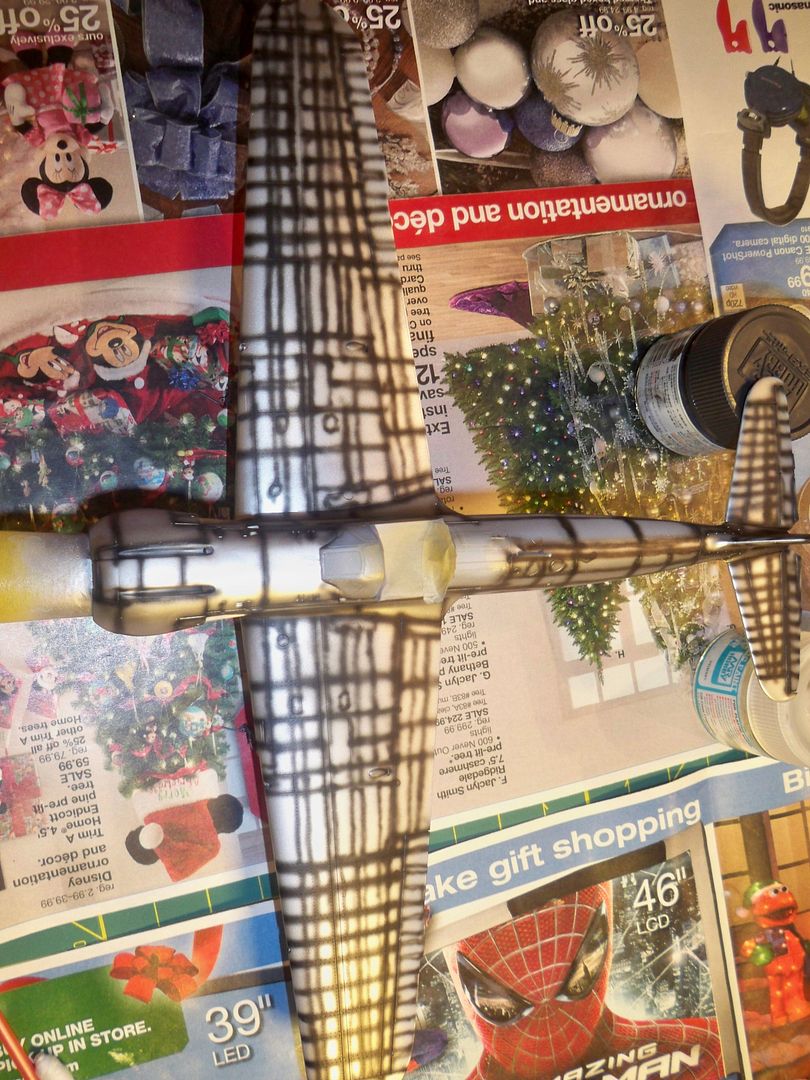
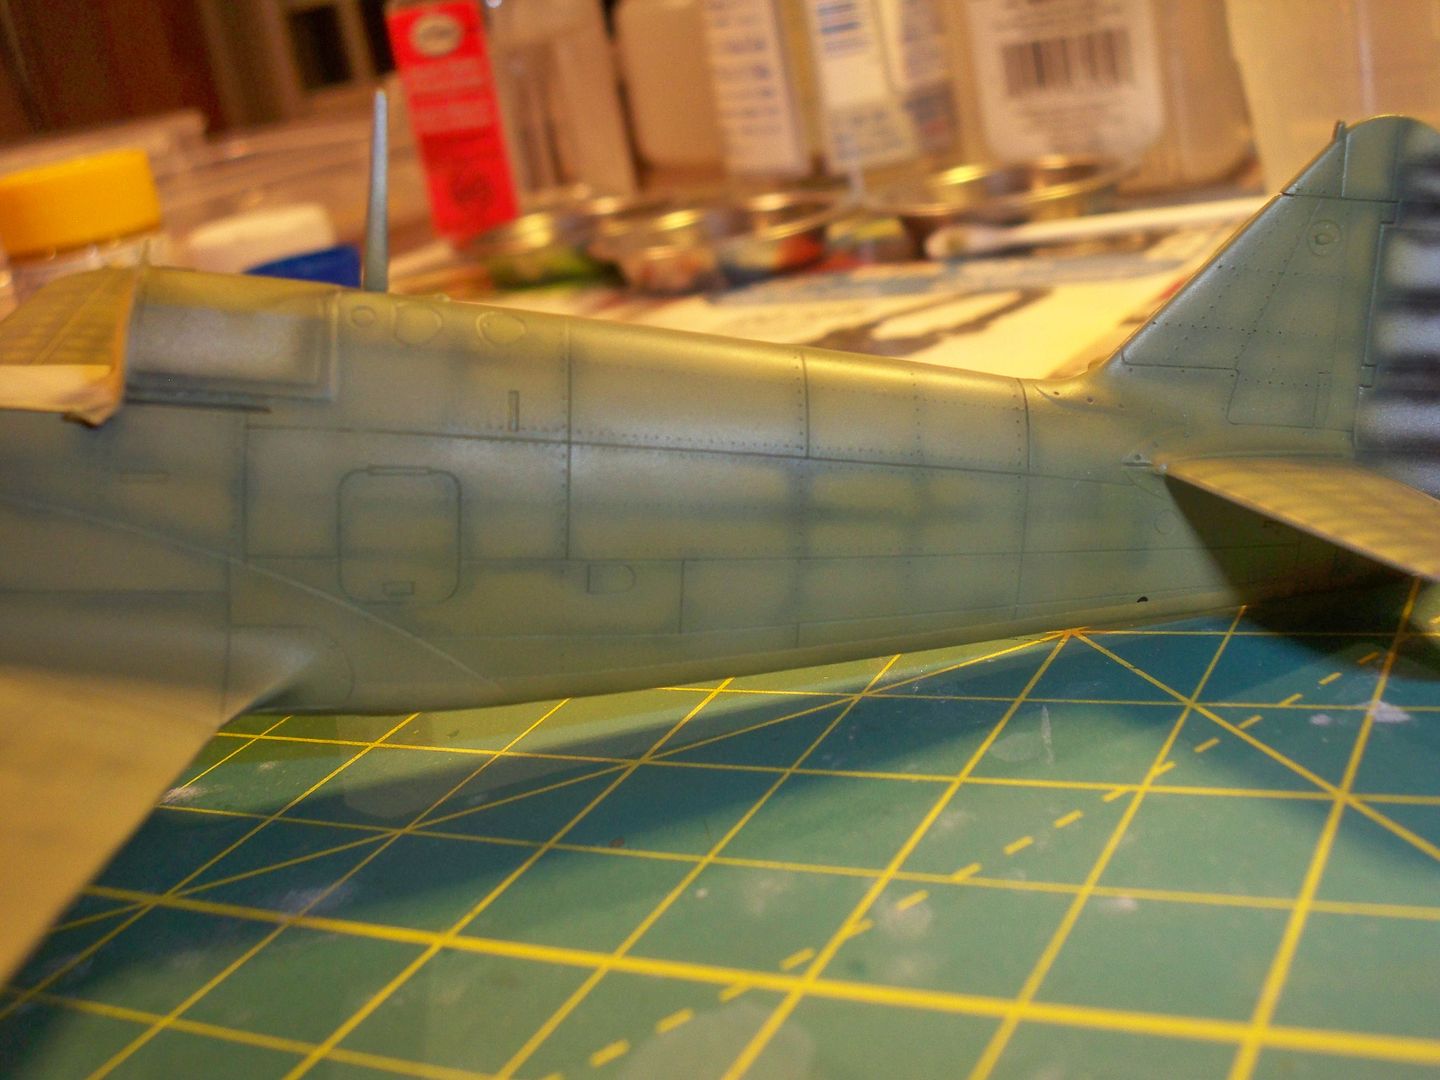
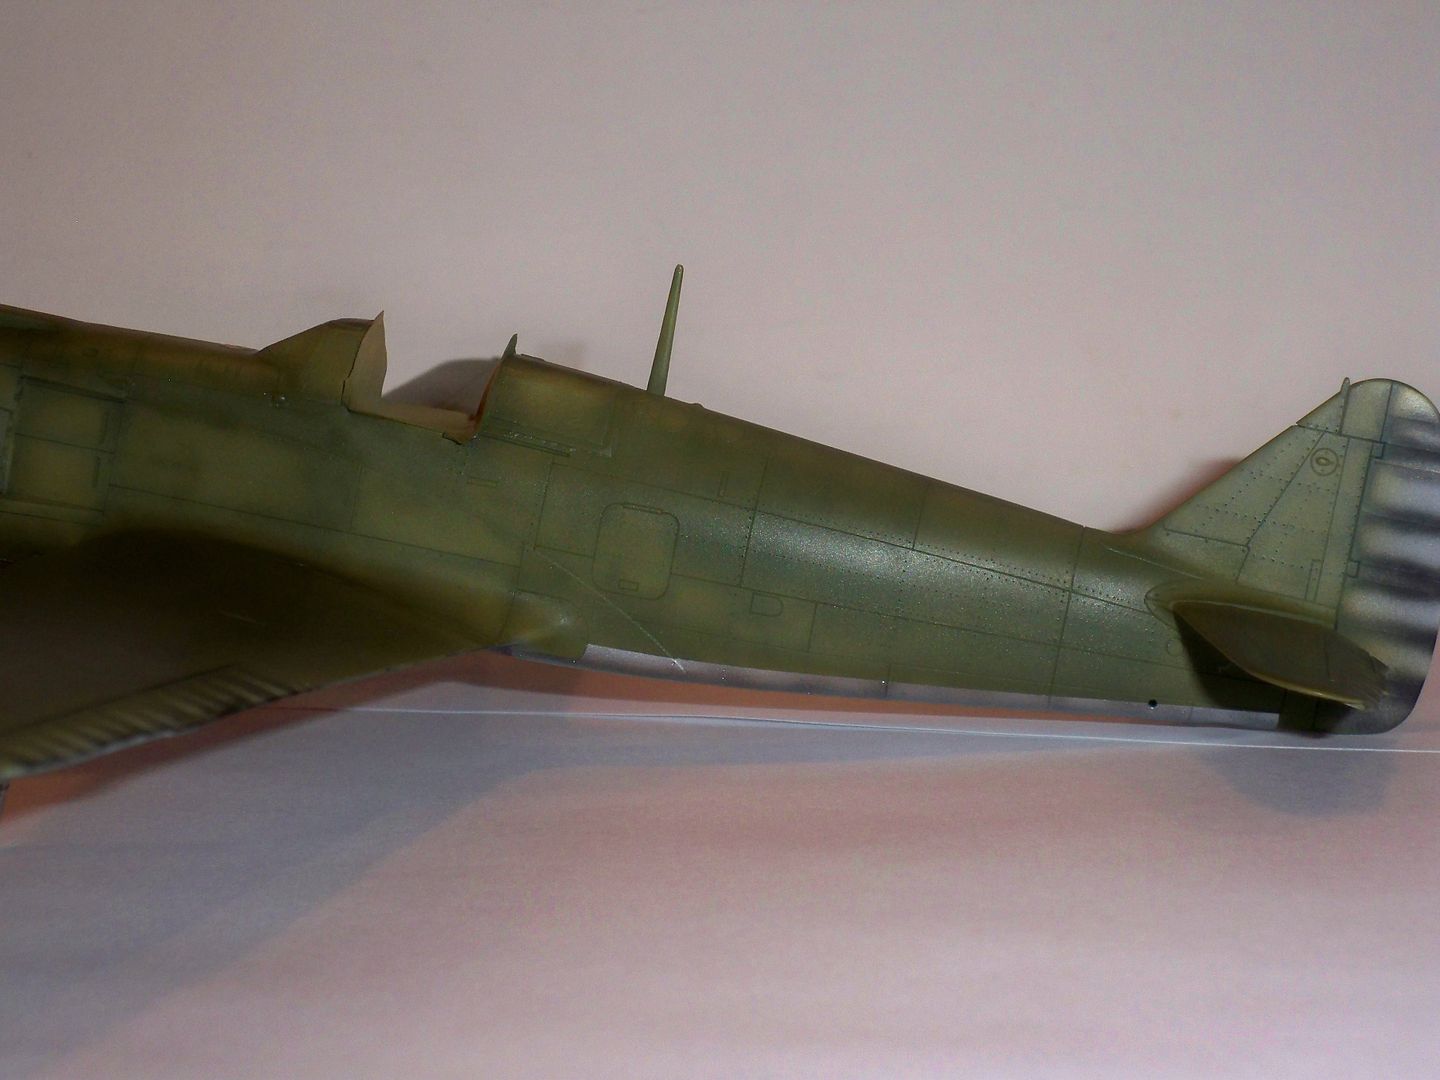
Then came the green. I started by lightening Gunze C130 with yellow and white and sprayed inside the preshading. I then lightened it further and faded along the wing roots and fuselage side near the exhaust panels:
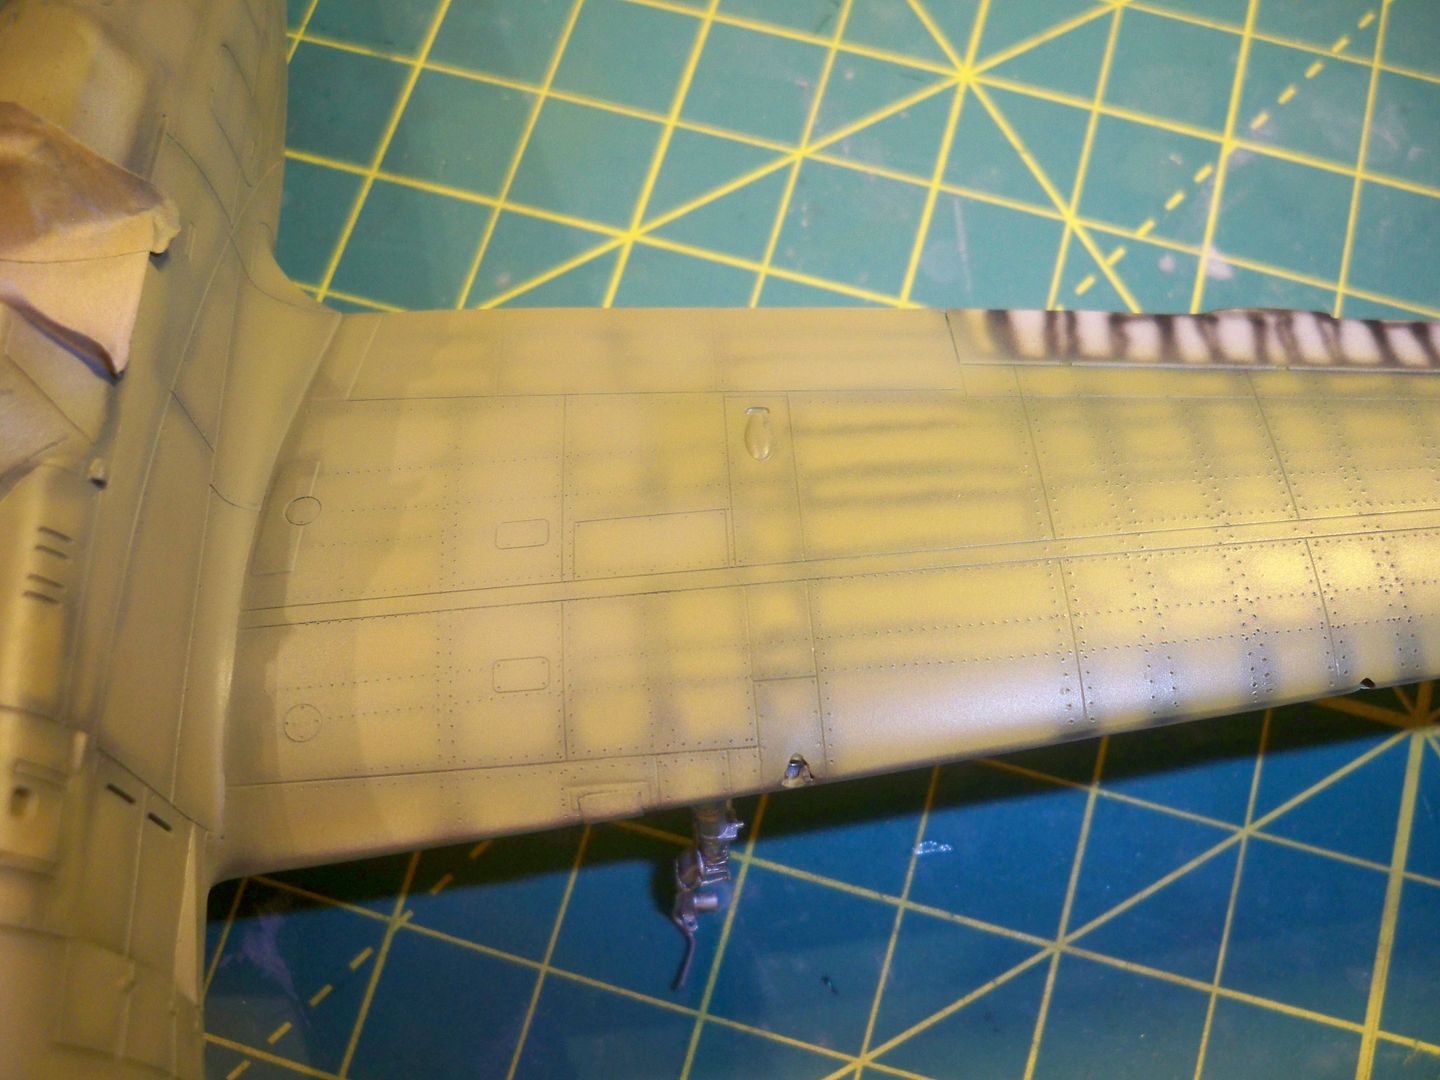
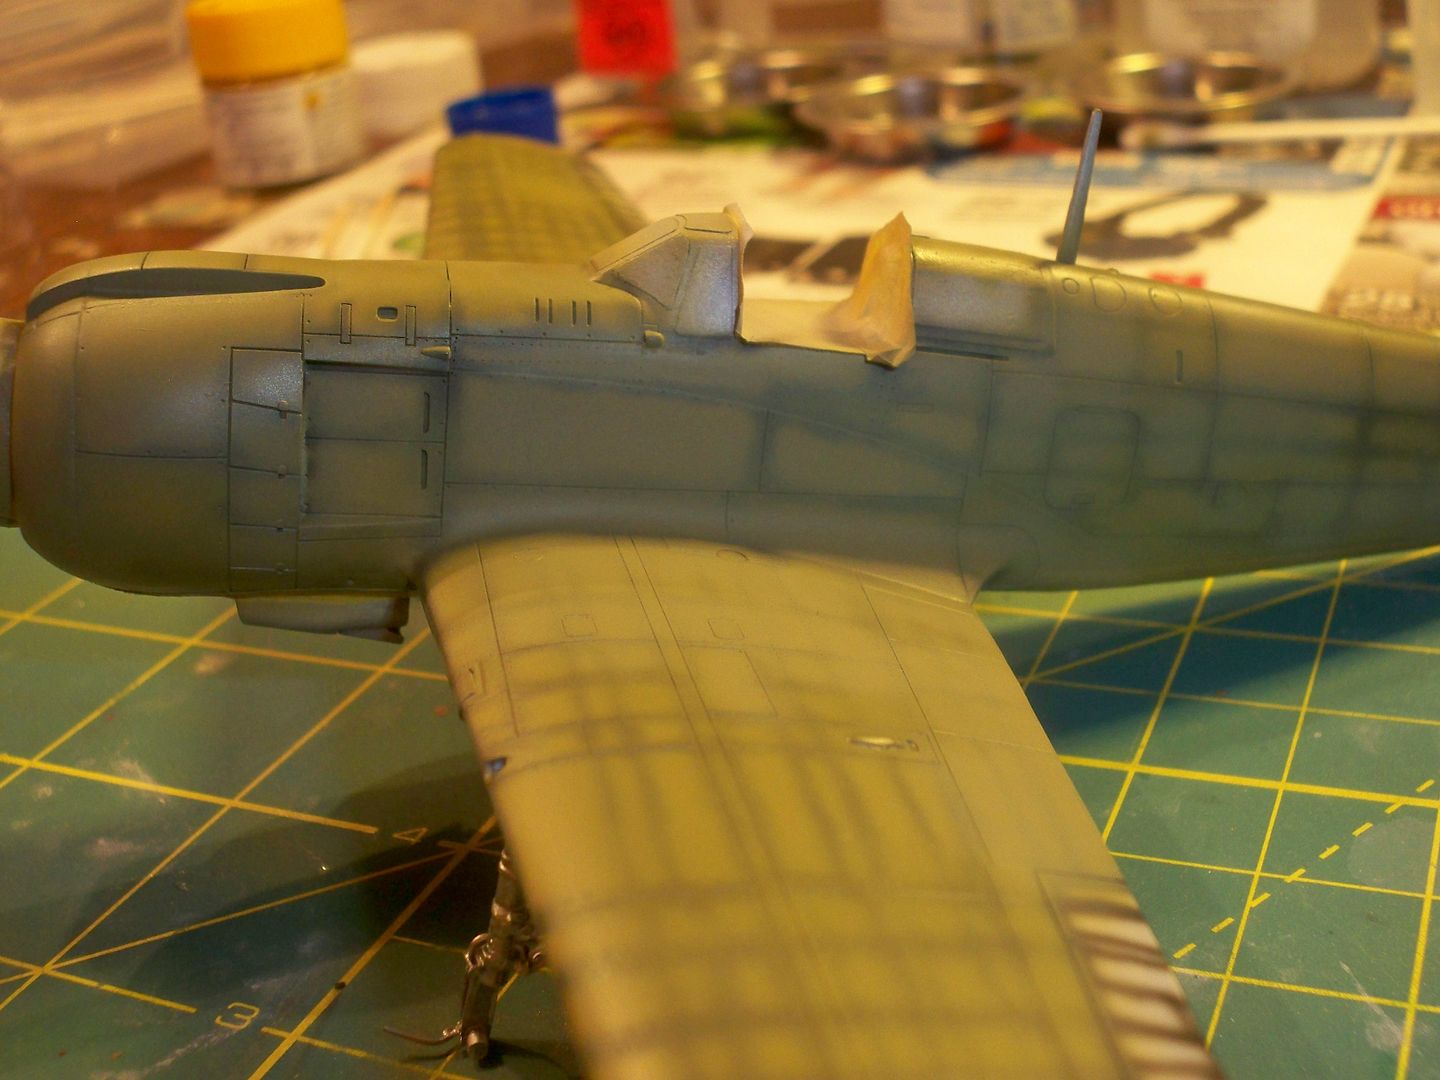
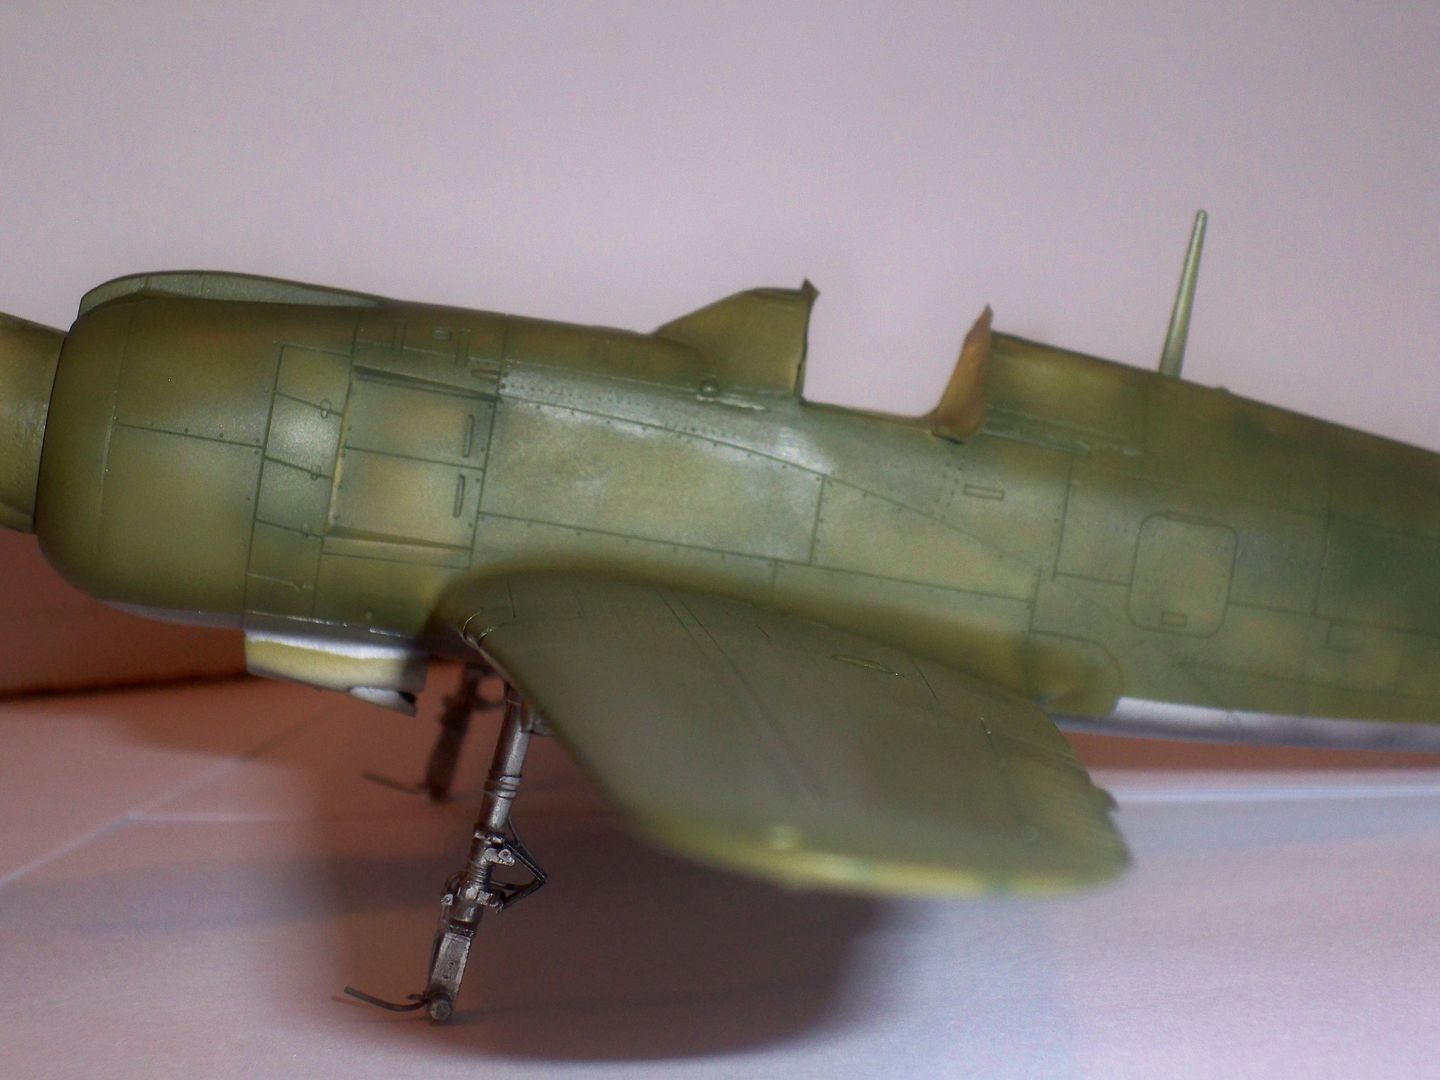
I then took the paint straight from the bottle and started blending things together. This is how it looks when finished:
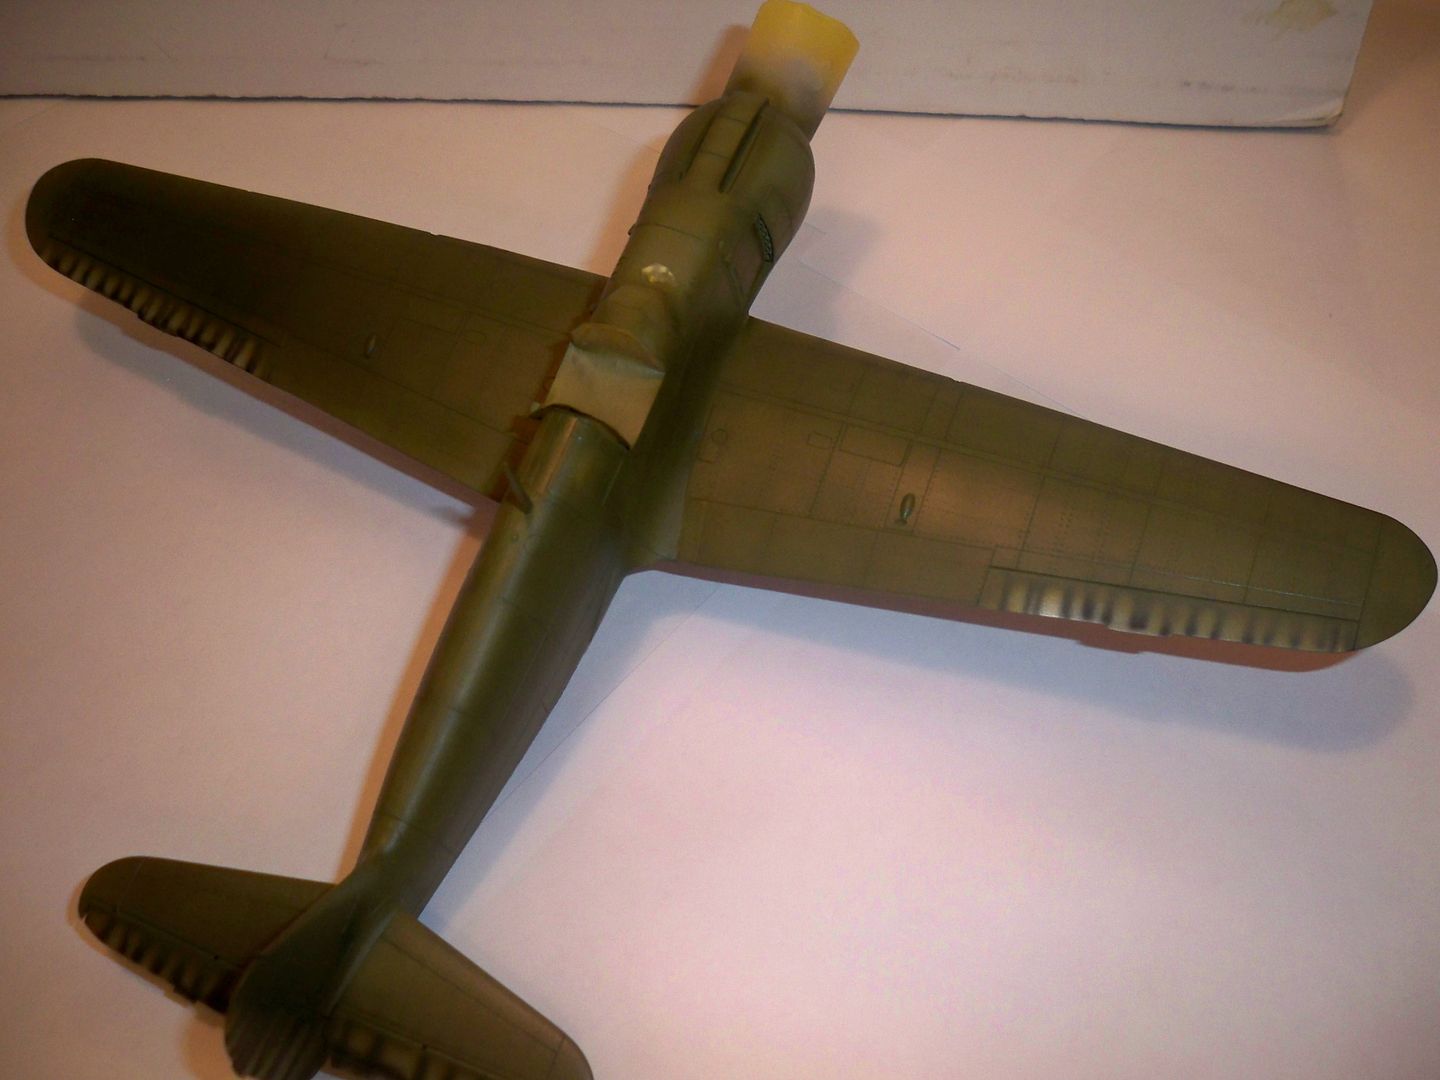
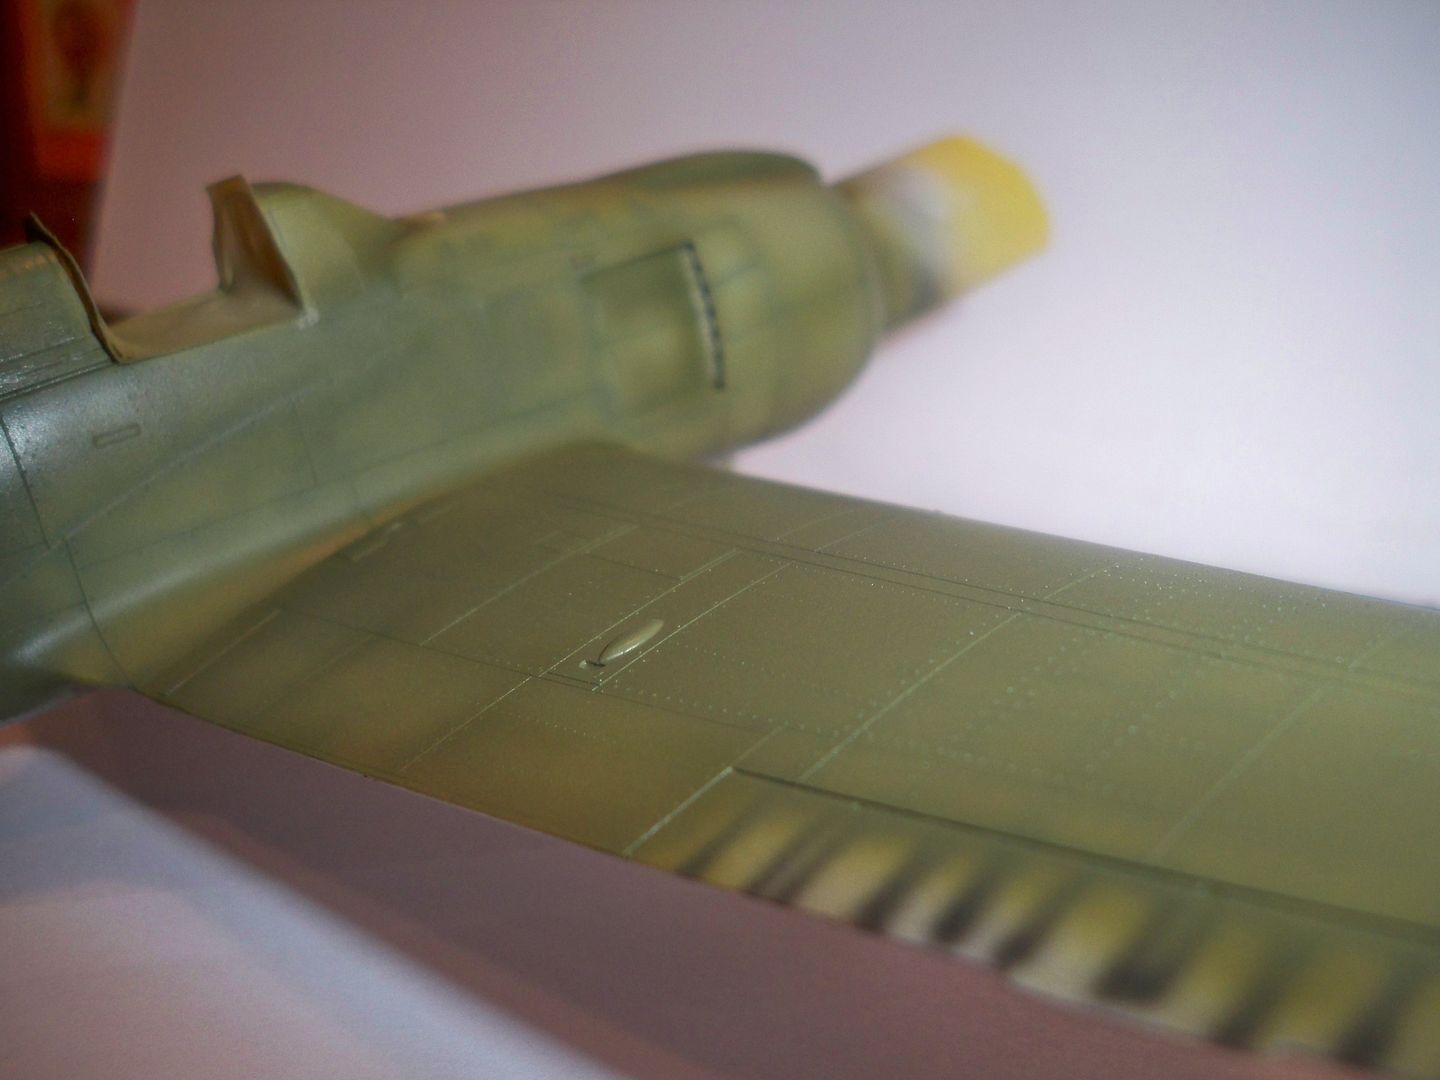
I'm pretty satisfied overall. It might have came out too faded looking...?? But i suppose weathering will darken it some.

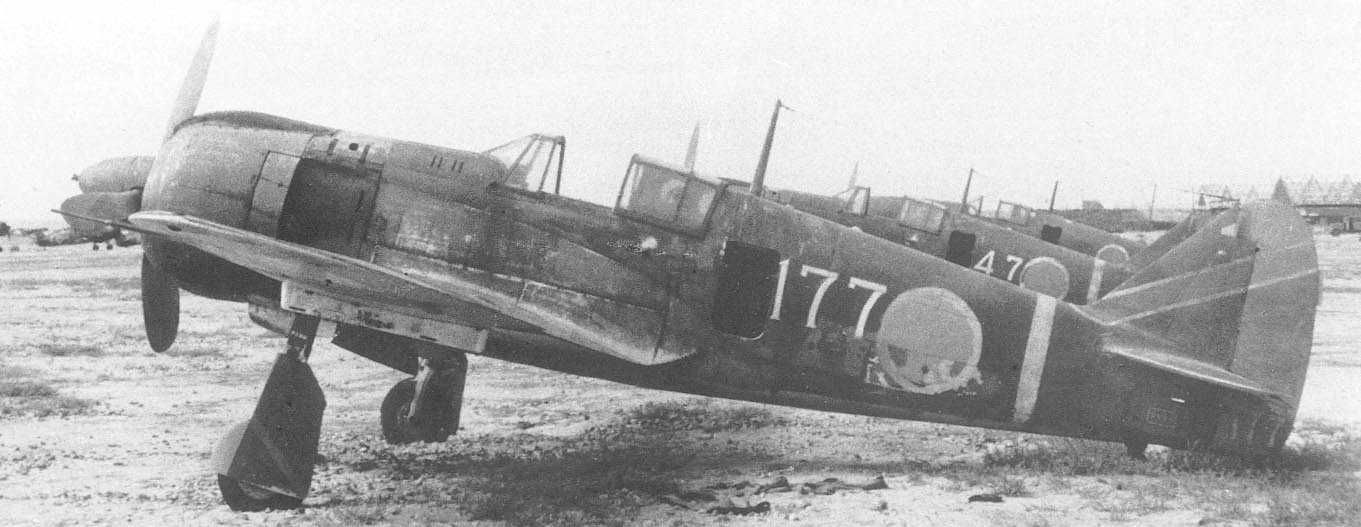
Of course, the real 177 was a pretty wore out bird herself:


  • Member since
    March 2010
  • From: MN
Posted by Nathan T on Tuesday, November 5, 2013 8:46 AM

Well, I'm getting along with Alcald. I started by priming with Surfacer 1200 in the airbrush. I like how the the rivets courtesy of RB tool and my shaky hand popped out:

Then I sprayed a gloss black base on the undersides:

Then I sprayed Airframe aluminum and masked off some panels. I found I could mask over the Alclad after about 4-5 hours with no probs:

Followed by Aluminum and Duraluminum:


  • Member since
    March 2010
  • From: MN
Posted by Nathan T on Monday, November 4, 2013 10:30 PM

Nice Raiden! I like the fading on the green. Decals make it looke even more sleek and fast.


  • Member since
    November 2009
  • From: SW Virginia
Posted by Gamera on Monday, November 4, 2013 6:18 PM

Looks good Bsyamato- almost there now!

"I dream in fire but work in clay." -Arthur Machen


  • Member since
    October 2008
  • From: italy
Posted by bsyamato on Monday, November 4, 2013 4:35 PM

Almost finished.. decals, last glossy layer and starting to paint wells with silver

tomorrow the homemade clear aotake :) 

  • Member since
    November 2009
  • From: SW Virginia
Posted by Gamera on Monday, November 4, 2013 1:23 PM

Jibber: Ok, you're on the list!

"I dream in fire but work in clay." -Arthur Machen


  • Member since
    January 2013
Posted by jibber on Monday, November 4, 2013 11:10 AM

Gamera, I'll have it done and thanks.

  • Member since
    November 2009
  • From: SW Virginia
Posted by Gamera on Monday, November 4, 2013 7:15 AM

Maybe I should change Japanese Group Build III to the Chi-Ha Build!?!

Jibber: You're welcome to enter at any time! If you can't meet the deadline you can always finish it under Part III.

Clemons: I normally start with a shade somewhat darker than I want and do everything. Then I pre-shade from the top down with the colour I want to use.

Nathan:  I think it says a couple of hours on the bottle but I normally leave it to dry overnight. I too have Alclad seem slightly tacky even after days or weeks of drying. If it's a problem you can spray a gloss coat over it, you probably don't want a matte coat, I've never liked the results when doing this.

"I dream in fire but work in clay." -Arthur Machen


  • Member since
    March 2010
  • From: MN
Posted by Nathan T on Sunday, November 3, 2013 5:42 PM

I'm painting the metal under wing on my Tony with Alclad. How long should you let the alclad dry before masking over it? It seems a bit tacky yet after 3 hours.


  • Member since
    July 2004
  • From: Sonora Desert
Posted by stikpusher on Sunday, November 3, 2013 5:31 PM

LOL! You guys are bad!


F is for FIRE, That burns down the whole town!

U is for URANIUM... BOMBS!

N is for NO SURVIVORS...

       - Plankton

LSM


  • Member since
    April 2013
Posted by SchattenSpartan on Sunday, November 3, 2013 5:00 PM

Wait, I should have a Type 97 in my stash as well... Just kidding, I won't copy you, Stik (and I don't have a Chi-Ha anyway...)

  • Member since
    April 2013
Posted by SchattenSpartan on Sunday, November 3, 2013 4:59 PM

LOL.

I just completed building all the cockpit subassemblies and they are ready for paint now. Just a quick question: What is the best painting approach for such large cockpits? Spray in base color and post-shade, pre-shade or paint black and then build up the base color in very thin coats?

  • Member since
    January 2013
Posted by jibber on Sunday, November 3, 2013 4:55 PM

I seen you have one up, That makes mine a lot easier. LOL.

JOIN OUR COMMUNITY!

Our community is FREE to join. To participate you must either login or register for an account.

SEARCH FORUMS
FREE NEWSLETTER
By signing up you may also receive reader surveys and occasional special offers. We do not sell, rent or trade our email lists. View our Privacy Policy.