I've been behind in checking in, but the progress and artistry of the builds are very impressive.
Eric: that's great looking weathering on your Wildcat.
SSpartan: your Wildcat is building up nicely; I like the black and white touch on the landing gear. Looks sharp.
John: the S-3 is looking good; looking forward to seeing the paint go on after the sanding
Dre: that is excellent detail and painting in the bays; very sharp!
MA: what you're doing with the interior is outstanding; well-done!
Ghostrider: haven't worked much with PE but what I have done makes me sympathize! Fiddly is the right word for it
I enjoy seeing everyone's progress.
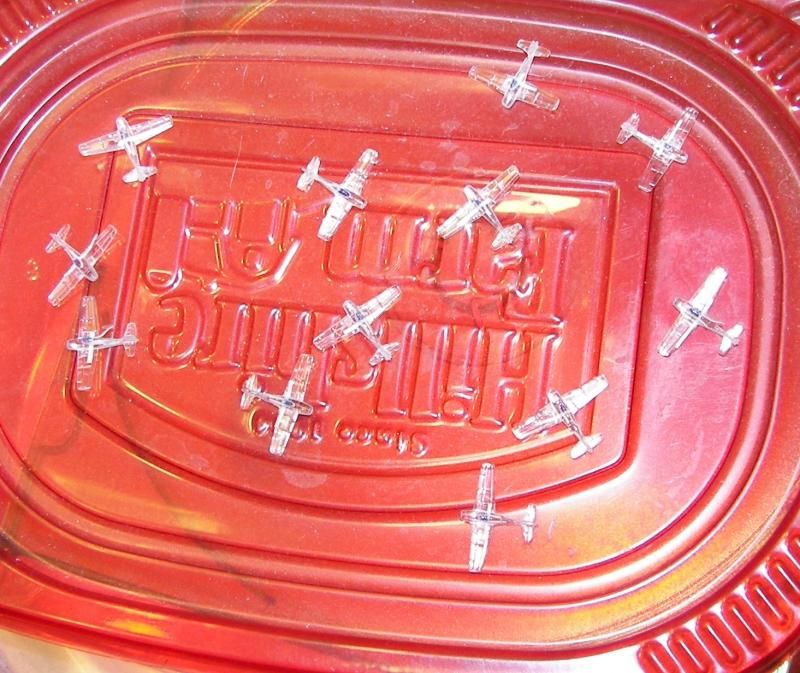
Now for some of my progress:
here are my Wildcats, with the canopies masked. I settled on doing 12 of them.