SEARCH FINESCALE.COM

Enter keywords or a search phrase below:

Abrams II Group Build

18986 views
117 replies
1 rating 2 rating 3 rating 4 rating 5 rating
  • Member since
    April 2005
Posted by Thunderbolt379 on Saturday, January 25, 2014 3:56 PM

No worries, Klik -- updating page 1 right away! Thanks for taking part and adding a most unusual kit!

Cheers, Mike/TB379

http://worldinminiature.blogspot.com/

  • Member since
    January 2010
Posted by Klik on Saturday, January 25, 2014 9:49 AM

Thunderbolt379

Klik -- very fiddly work, and amazing stuff! Well done! Shall I hold off posting it to Page 1 until you've done the dullcoat?

Cheers, Mike/TB379

No, no reason to wait for the dullcoat. Dug out a lamp for some "glamour shots":

I'll let you pick the best one.

Also, in my rush to post pictures, I left out an overall top view:

and a last, final picture showing the lenses that I painted:

So, that seems to be it for this kit.

Yes, it still needs dullcoat to tone down the glossiness, but all that is nearly invisible in the right lighting.

To recap on this kit, it had almost no detail, which is why I added add-on armor and stowage, but that wasn't all. I also added a machine gun to the commander's(?) hatch, and front lights (from a spare track link). In all, although I had troubles with the paint, I greatly enjoyed this kit. Simple tank models are a great way to take a break.

Even though this was a very quick addition to the GB, I'll still be lurking and following everyone's builds.

Keep up the great work,

Klik

oneyearwar1

The hardest part of flying isn't flying...it's landing.

  • Member since
    April 2005
Posted by Thunderbolt379 on Friday, January 24, 2014 7:10 PM

Klik -- very fiddly work, and amazing stuff! Well done! Shall I hold off posting it to Page 1 until you've done the dullcoat?

Cheers, Mike/TB379

http://worldinminiature.blogspot.com/

  • Member since
    January 2010
Posted by Klik on Friday, January 24, 2014 6:25 PM

Ok, Back with pics.

To recap, this was intended as a test-bed for me. I tried several weathering techniques, but none worked to achieved was I hoping to go for, except dry-brushing. I haven't actually sprayed with dullcoat yet, so it seems a bit "shiny" for a tank at this point.

After construction, the odd camouflage scheme went on. I tried to mask unusual, random shapes, but the tape insisted on peeling off the base color, so I abandoned that approach and applied random strips of two colors over the attempt, instead of repainting it completely. It kind of gives it a "field applied" look, like a late-war Panzer. (on a side note, I am calling this scheme an "After-America" post war-type rebel scheme).

Note that I had to change the background because it was blending into my workspace. I also painted the "stowage" and add-on armor panels. With that all done, weathering began (and took a couple days to get right).

Sorry if the following pics are a tad dark, I couldn't use my flash because it was washing out the pics, and I was in a bit of rush to get these on here, so I didn't have time to find a better light source.

Now, compare that with a flash (that was taken waaay far away to dilute it a bit).

and, until it is "dulled" with a quick shot of Dullcoat, and unless it needs something further, I'm calling it done.

It will join the (ever-expanding) 1/100th Tank Brigade:

If you want more and/or better pics, just ask.

Klik

oneyearwar1

The hardest part of flying isn't flying...it's landing.

  • Member since
    April 2005
  • From: Australia
Posted by taxtp on Thursday, January 23, 2014 6:18 PM

That's all happened quickly Klik. Looking forward to the photos.

Here's some progress on my 1/72 one. I had the idea of brush painting the camo pattern, then softening the edges with the airbrush.Lots of weathering to go. I've seen a few photos of some very dusty KFOR Abrams.

Cheers

Tony

I'm just taking it one GB at a time.

  • Member since
    January 2010
Posted by Klik on Tuesday, January 21, 2014 7:47 PM

Hey, I've just about finished the Abrams. All it needs is a bit more weathering to "tone down" the paint.

As for how to do that realistically, I could use some tips.

Will post pics when I'm all done.

Klik

oneyearwar1

The hardest part of flying isn't flying...it's landing.

  • Member since
    April 2005
Posted by Thunderbolt379 on Friday, January 17, 2014 7:25 PM

Thanks for sharing this with us, it's almost bizarre!! Will update p! for this project.

M/TB379

http://worldinminiature.blogspot.com/

  • Member since
    January 2010
Posted by Klik on Friday, January 17, 2014 7:08 PM

Alright, back with pics for Y'all. Thank you, Thunderbold379 for letting me join in on this GB.

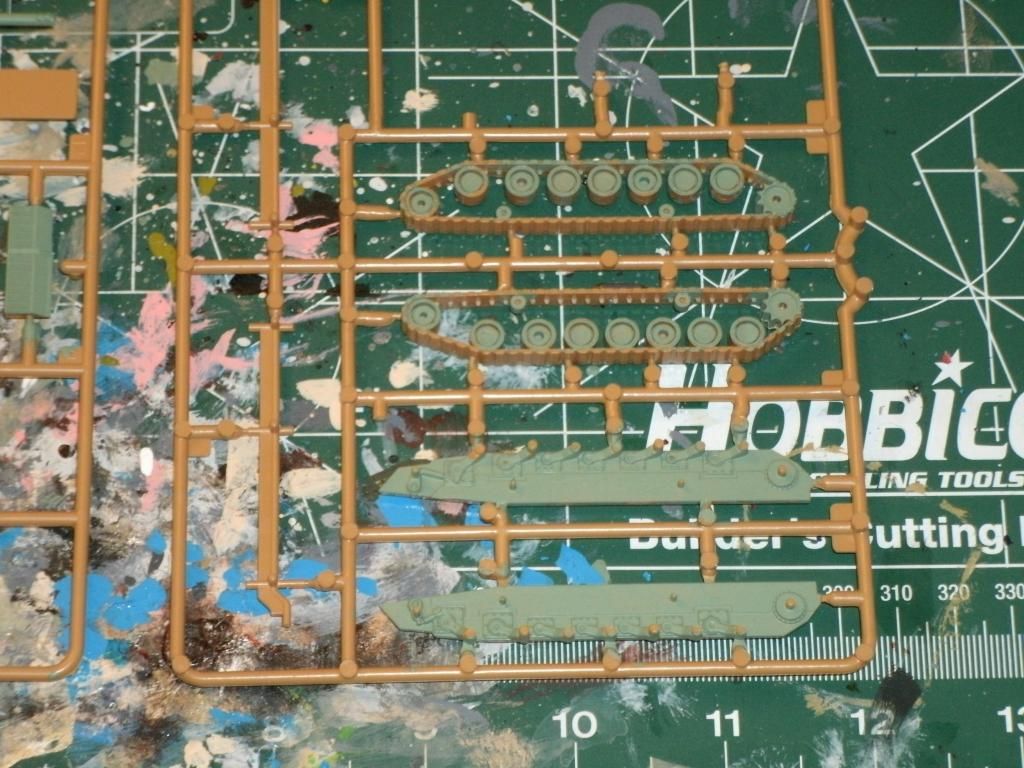
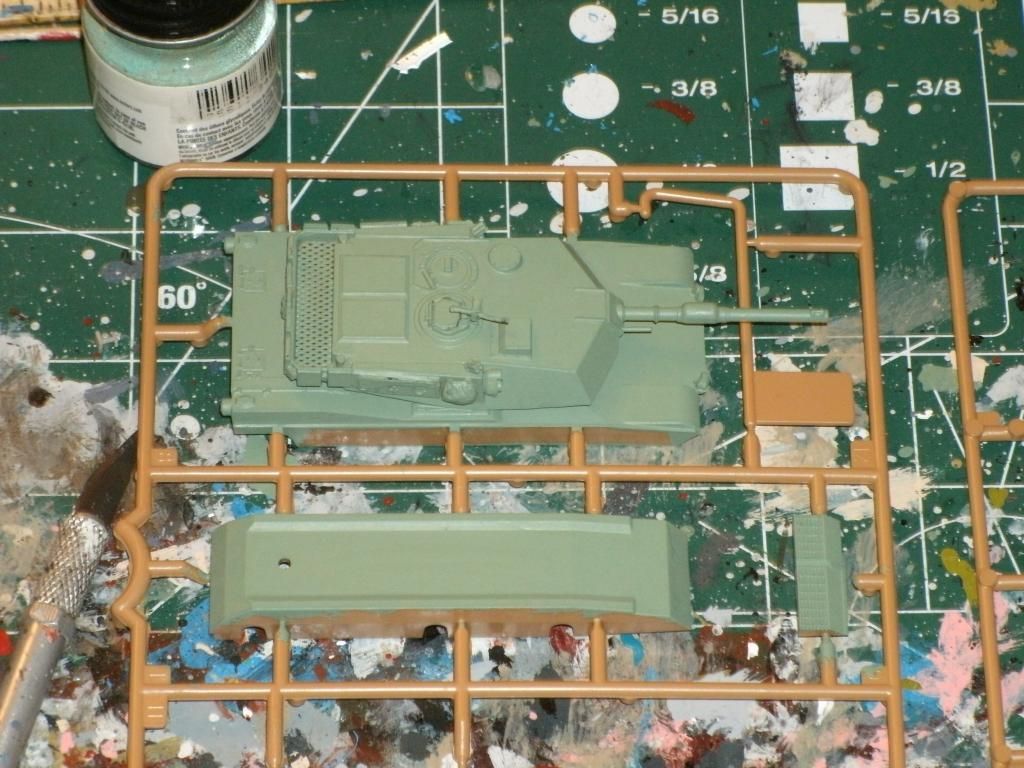
First off, this is, in fact the "Flames of War" Zvezda game piece. I don't play the game, and don't know anyone who does. I just happened across these little kits at my local hobby shop, and found them an affordable, if easy, fun and quick model to make my own (and experiment with new techniques without fear of ruining a $50+ model). At only 15 parts a tank, this is my third one. (the other two being T-72B's.)

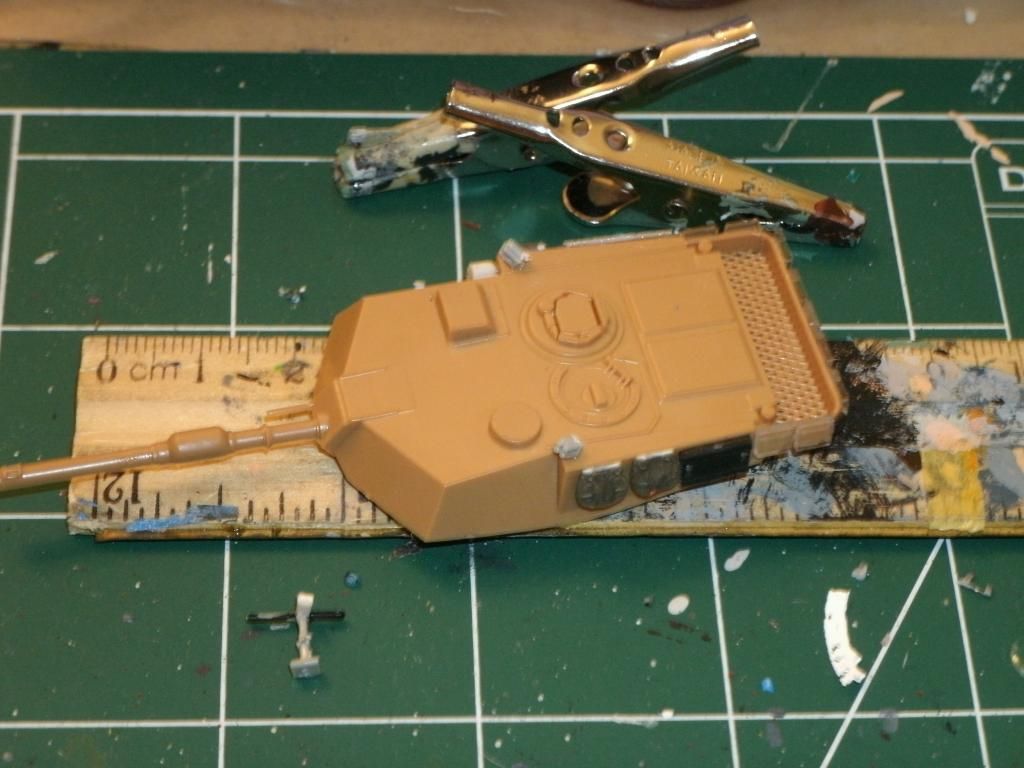
Right out of the box, I found that the Abrams did not have as much detail as the T-72's did. Instead of a clever way to make the metal frame on the turret basket, it was solid, as are the side skirts. 

No matter, I just raided my spares box and attempted to cover up the lack of detail with 'stowage'.

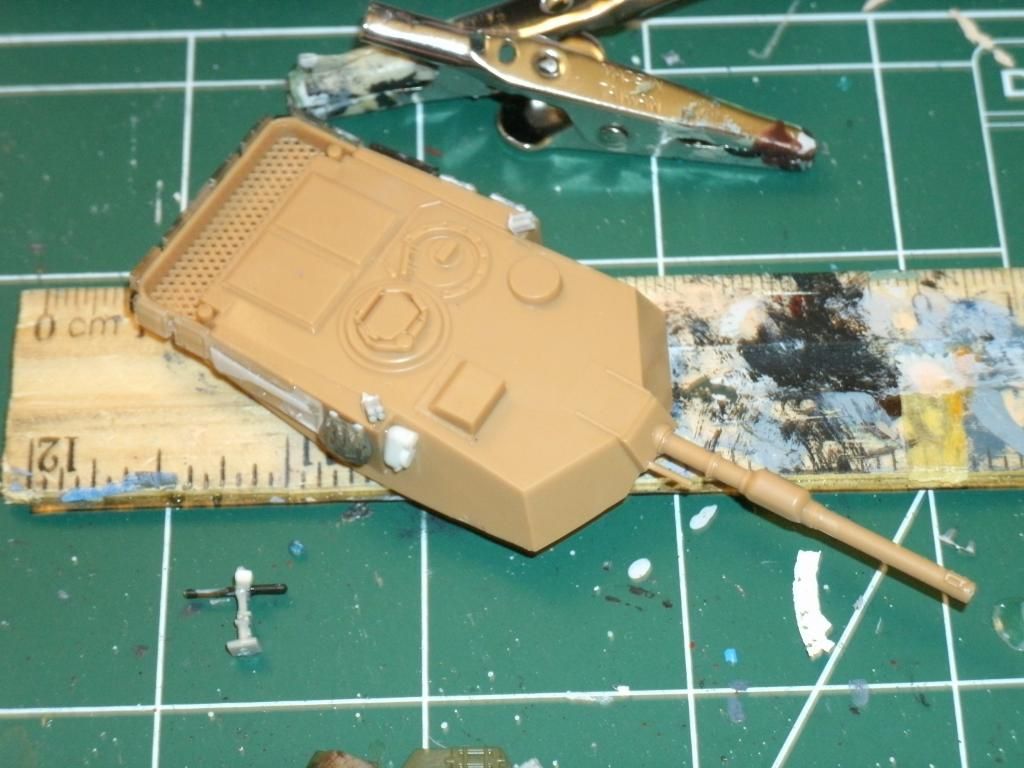
If the smoke grenade launchers look a tad out of scale, it's because they were left over from a 1/72nd scale kit. They look a lot more "in scale" on the T-72. 

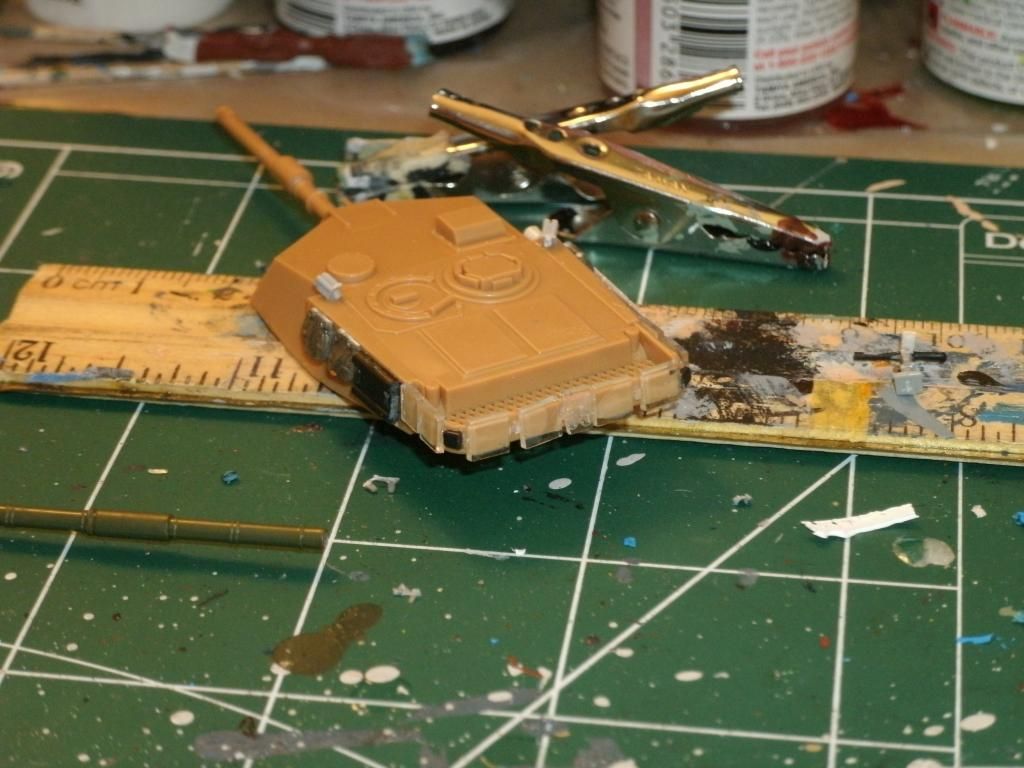
In the bottom Left-hand corner, you can see my attempt to scratch a 1/100th 50-cal. machine gun for the commander's cupola, using a "barrel" from a spare piece, a 1/144th fighter jet's nose gear, and a chunk of spue shaved to shape.

First coat of paint (and the base color for the camouflage) was Model Master Acryl Pale Green. I'll be honest, an Abrams in this color looks sickly and ill.

Then, I painted the machine gun:

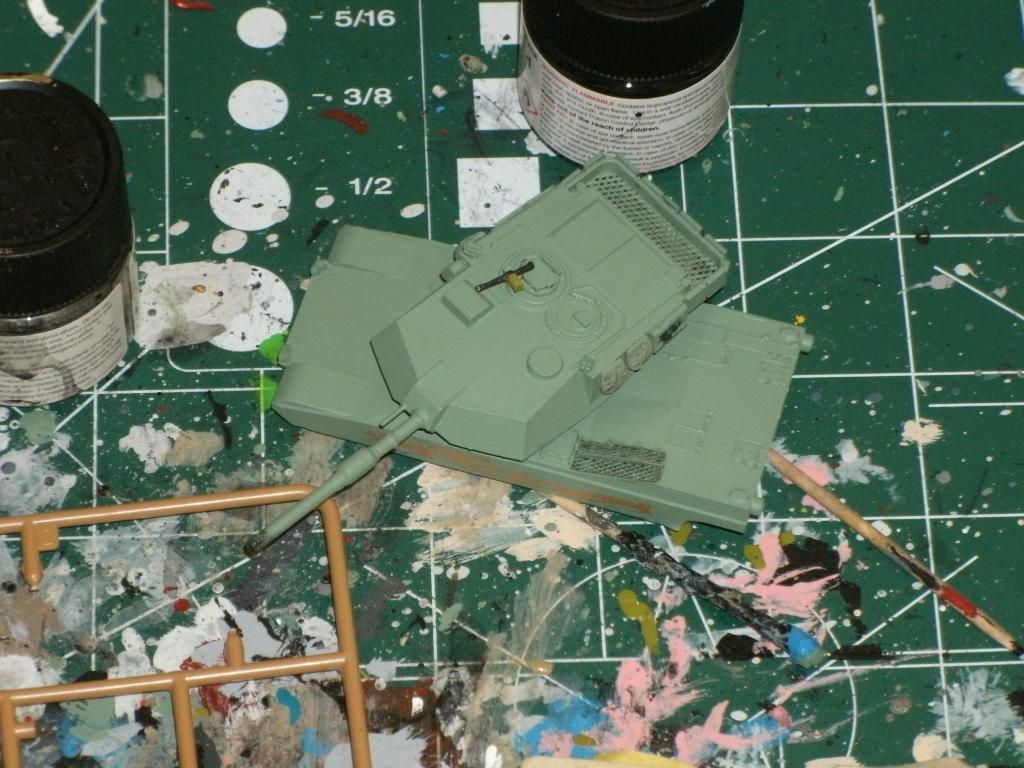
Heck YES! It looks almost perfect (not as good as if it had actually been included, but still...)

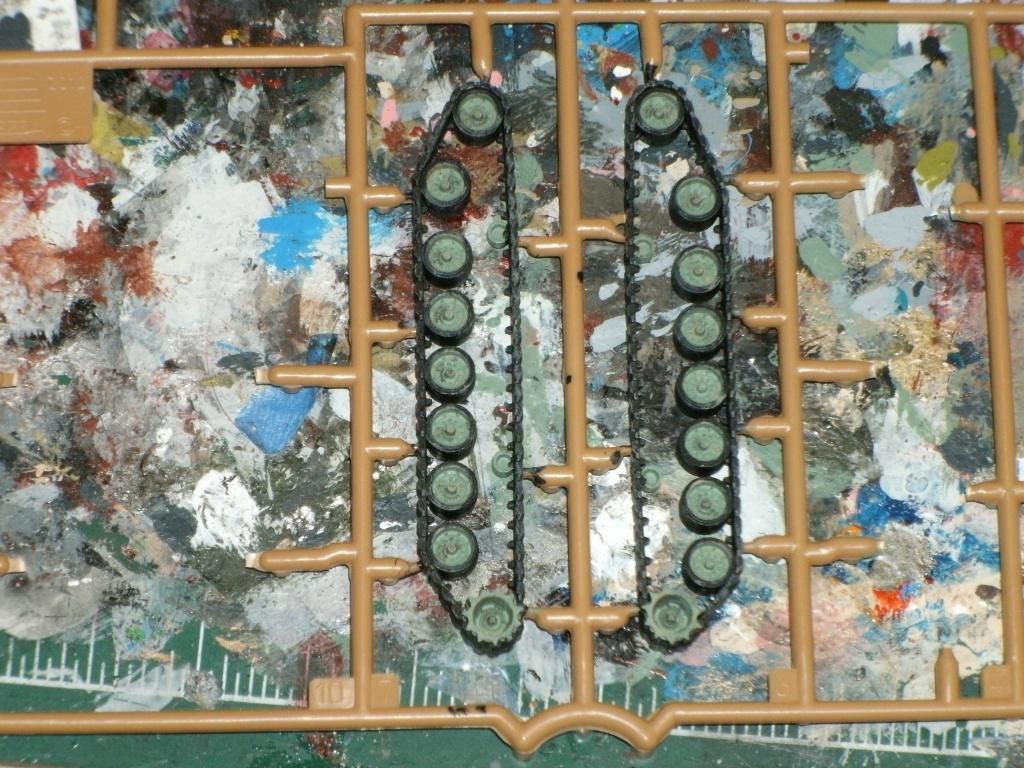
Then, the completed lower hull and tracks got painted:

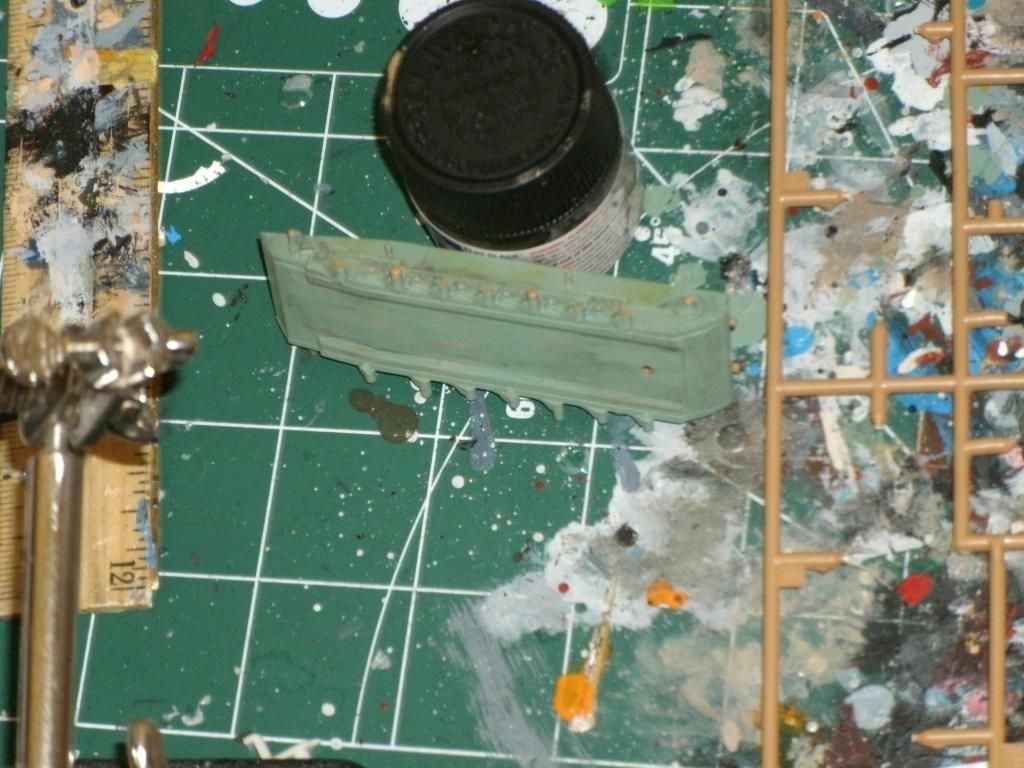
Finally, to cover up the lack of detail on the side skirts, I manufactured some "add-on armor" from "logs" and "metal brackets".

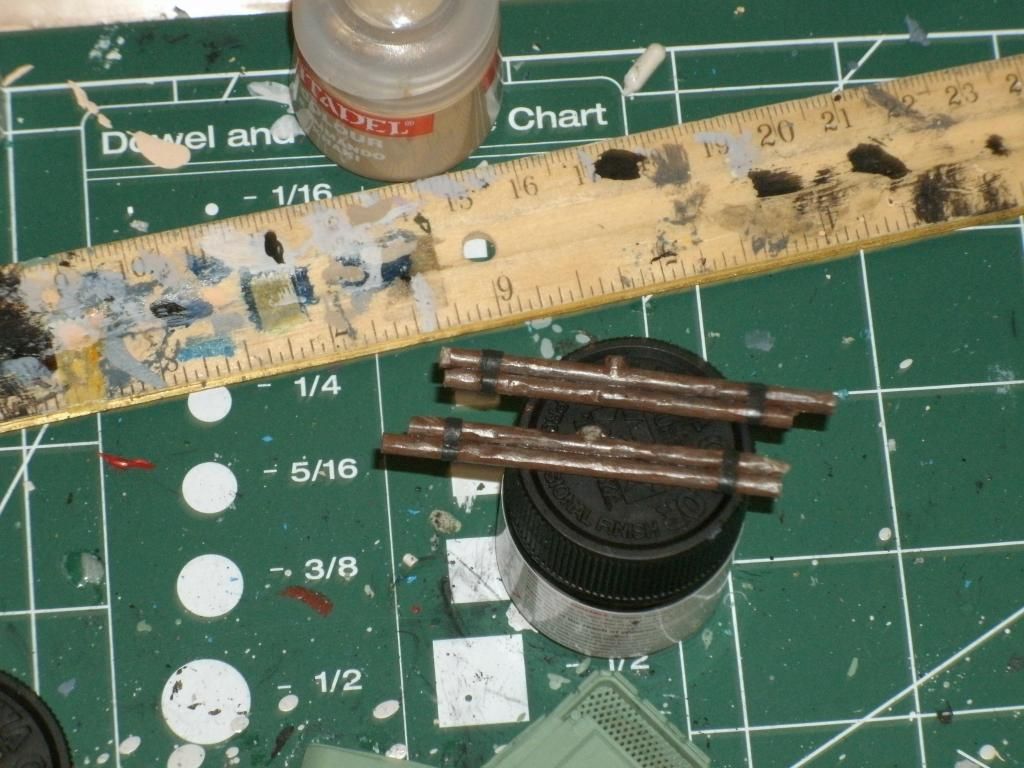
I'm not sure how they are so glossy, because they aren't in real life.

Aaaand, that is where it sits right now.

Keep up the great work,

Klik

oneyearwar1

The hardest part of flying isn't flying...it's landing.

  • Member since
    January 2010
Posted by Klik on Friday, January 17, 2014 8:12 AM

Sweet! I'll get pics up this afternoon, then.

Klik

oneyearwar1

The hardest part of flying isn't flying...it's landing.

  • Member since
    April 2005
Posted by Thunderbolt379 on Thursday, January 16, 2014 11:51 PM

By all means, the more the merrier!

M/TB379

http://worldinminiature.blogspot.com/

  • Member since
    January 2010
Posted by Klik on Thursday, January 16, 2014 11:33 PM

Sure, although at this point, it is nearly 1/2 done! At only 15 pieces, these little dudes go fast. I do have "in-progress" pics I can post up tomorrow, if you'll let me.

Klik

oneyearwar1

The hardest part of flying isn't flying...it's landing.

  • Member since
    April 2005
Posted by Thunderbolt379 on Thursday, January 16, 2014 5:53 AM

Klik -- if you'd like to come aboard with the 100th scale model, by all means -- this GB runs until July 31st!

Cheers, Mike/TB379

http://worldinminiature.blogspot.com/

  • Member since
    May 2005
Posted by pyrman64 on Wednesday, January 15, 2014 7:24 PM

1/100 is the scale used for the 'Flames of War' game.

Greg H

"There is many a boy here today who looks on war as all glory, but, boys, it is all hell." Gen. Wm T. Sherman (11 April 1880, Columbus, Ohio)

  • Member since
    January 2010
Posted by Klik on Wednesday, January 15, 2014 6:45 PM

I know it's waaaay too late to join in on this GB, but I thought I'd mention that Zvezda put out a 1/100 th Abrams. (It is intended as a game piece for a sort of table-top game, but is very detailed, though it could be better, and is fun and easy to build and upgrade.) I've got it sitting at my workbench right now.

Klik

oneyearwar1

The hardest part of flying isn't flying...it's landing.

  • Member since
    April 2005
  • From: Australia
Posted by taxtp on Tuesday, January 14, 2014 4:30 PM

Thanks Mike. I have the brown and black, but not the green. Guess I'll pick some up next time I'm in a store.

I tried a Dragon Abrams a couple of years ago, but made some mistakes and junked it. I'd really prefer 1/48, but the 1/48 kits of modern armor aren't too crash hot.

Cheers

Tony

I'm just taking it one GB at a time.

  • Member since
    April 2005
Posted by Thunderbolt379 on Tuesday, January 14, 2014 4:14 PM

Tony -- it's Tamiya XF-67. 68 is the brown and 69 the black, very nice paints indeed.

Your "palmtop panzer" is coming along nicely as well -- I have a Dragon 1:72 Abrams, I might have to dig it out at some point!

Cheers, Mike/TB379

http://worldinminiature.blogspot.com/

  • Member since
    April 2005
  • From: Australia
Posted by taxtp on Tuesday, January 14, 2014 3:03 PM

Getting there Mike. What do you use for Nato green ?

Here's a progress shot of my little M1A1. I'll probably leave it now until the weather cools down and I can paint.

Cheers

Tony

I'm just taking it one GB at a time.

  • Member since
    April 2005
Posted by Thunderbolt379 on Sunday, January 12, 2014 2:01 AM

Quick update, wheels stencilled into NATO Green and assembled, extra paint appllied to the lower hull...

More later...

M/TB379

http://worldinminiature.blogspot.com/

  • Member since
    April 2005
Posted by Thunderbolt379 on Sunday, January 5, 2014 11:11 PM

Good idea, but I think they're too solidly attached -- if they won't budge, I'll let them be...

M/TB379

http://worldinminiature.blogspot.com/

  • Member since
    August 2005
  • From: Sydney, Australia
Posted by Phil_H on Sunday, January 5, 2014 11:04 PM

Hi Mike,

If I may make a suggestion, if possible, lose the CIP's on the turret front faces and replace with thin plastic card. At the moment, they have all the appearance of slabs of applique armour.. In reality, they are quite thin. Those raised corners are actually strips of Velcro in real life.

  • Member since
    April 2005
Posted by Thunderbolt379 on Sunday, January 5, 2014 10:51 PM

Further update, the wheels are off the sprues, cleaned up and touched up, and today I used the template method to blow the hubs into NATO Green. It'll take another session to get them up to speed, there are thin spots on many sidewall areas to touch up, but hopefully I'll be taking another shot at them tomorrow, after which I'll be ready to assemble the wheels and maybe even do the pinwash weathering and metal scrapes...

Mike/TB379

http://worldinminiature.blogspot.com/

  • Member since
    April 2005
Posted by Thunderbolt379 on Saturday, January 4, 2014 1:26 AM

Okay, minor update. After soaking the #1 and #3 tip and nozzle units from my AB in thinner for a good long time, I reassembled it and gave the #3 a shot this afternoon and it seems to be working normally -- I was ready to buy new parts if need by, these are 24 years old so I've had a good run out of them! Anyway, I got the tire black onto the wheels of the Trumpeter -HA and will let them dry overnight, then with any luck get them off the sprues, cleaned up, touched up and stencil the hubs into NATO Green tomorrow.

Cheers, M/TB379

http://worldinminiature.blogspot.com/

  • Member since
    April 2005
Posted by Thunderbolt379 on Friday, January 3, 2014 5:47 AM

Thanks! Have been masking the wheel hobs and mating surfaces for spraying, masked the axles, and looking around at other tanks needing the same sort of attention to possibly spray in one batch... I must see if my airbrush is working properly after soaking the tips for a long time, if not I may need to send it away for heavy duty servicing...

M/TB379

http://worldinminiature.blogspot.com/

  • Member since
    April 2005
  • From: Australia
Posted by taxtp on Friday, January 3, 2014 5:39 AM

Looks nicely detailed Mike.

I've made a start on my 1/72 Revell offering. Here we go...

I'm just taking it one GB at a time.

  • Member since
    April 2005
Posted by Thunderbolt379 on Wednesday, December 18, 2013 7:04 AM

Hi guys, the Trumpeter -HA is moving along quite nicely, only a few details to go before she's structurally done to the prepainting stage:

The bustle rack is weak and hit-or-miss engineering, it's hard to see how it could be forced to line up any better but it certainly does not sit anywhere near the alignment seen on the real deal, possibly due to the side frames mounting too low. It's the most accurate and richly detailed M1 this side of Dragon, and I sure can't complain about the price, but it makes me miss Tamiya's engineering!

M/TB379

http://worldinminiature.blogspot.com/

  • Member since
    April 2005
  • From: Australia
Posted by taxtp on Wednesday, December 4, 2013 11:06 PM

Thanks Rob, I think I'll stay with the 1/72 one that I originally planned.

Cheers

Tony

I'm just taking it one GB at a time.

  • Member since
    December 2002
  • From: Fort Knox
Posted by Rob Gronovius on Tuesday, December 3, 2013 10:59 AM

Unfortunately, the rubber band tracks on the 1/48 scale Abrams kits aren't even close to actual Abrams tracks. There is a resin company that makes some for the Arii/Aoshima kit or the Zhengdefu/Kitech kits.

www.propaganda-kompany.com/.../90425-wheels-a-tracks-for-m1a2-abrams-arii--aoshima.html

www.propaganda-kompany.com/.../90384-wheels-a-tracks-for-m1-abrams-zheng-defukitech.html

  • Member since
    April 2005
  • From: Australia
Posted by taxtp on Monday, December 2, 2013 9:25 PM

Interesting start Mike. I'll enjoy this. Do you know where I can get some good photos of M1A1 tracks ? I want to find out whether I can make do with the rubber bands in my 1/48 kit.

Cheers

Tony

I'm just taking it one GB at a time.

  • Member since
    April 2005
Posted by Thunderbolt379 on Saturday, November 30, 2013 1:13 AM

Hi guys,

My Trumpeter M1A1HA arrived from China last week and I got into it a couple of days ago. (I ordered another one because the others are buried so deep in my stash it's not funny...)

Here's the well-known boxtop:

The kit is highly detailed, with far less to scratchbuild that on a Tamiya, but unfortunately Trumpeter's engineering back in 2000 was not very good, there's a long list of niggling problems to be corrected or put up with -- a Tamiya would have been built by now, but this one is being uncooperative with the fit all round.

Here's where I'm up to:

I'm not sure what kind of result I'll get, but hopefully it'll be a good one. It's not going to be a long build. Oh, the wheels at top right in the picture above belong to another project.

Cheers, Mike/TB379

http://worldinminiature.blogspot.com/

  • Member since
    April 2005
Posted by Thunderbolt379 on Saturday, November 16, 2013 5:01 PM

Rob -- thanks for the info! Amazing, all these years we've been squeezing parts and plastering in filler, and accusing the kit companies of having lousy fit in that area! Ahem!

:-)

Mike/TB379

http://worldinminiature.blogspot.com/

JOIN OUR COMMUNITY!

Our community is FREE to join. To participate you must either login or register for an account.

SEARCH FORUMS
FREE NEWSLETTER
By signing up you may also receive reader surveys and occasional special offers. We do not sell, rent or trade our email lists. View our Privacy Policy.