My wife watched a chick-flick last night so I went to the cave, yay!
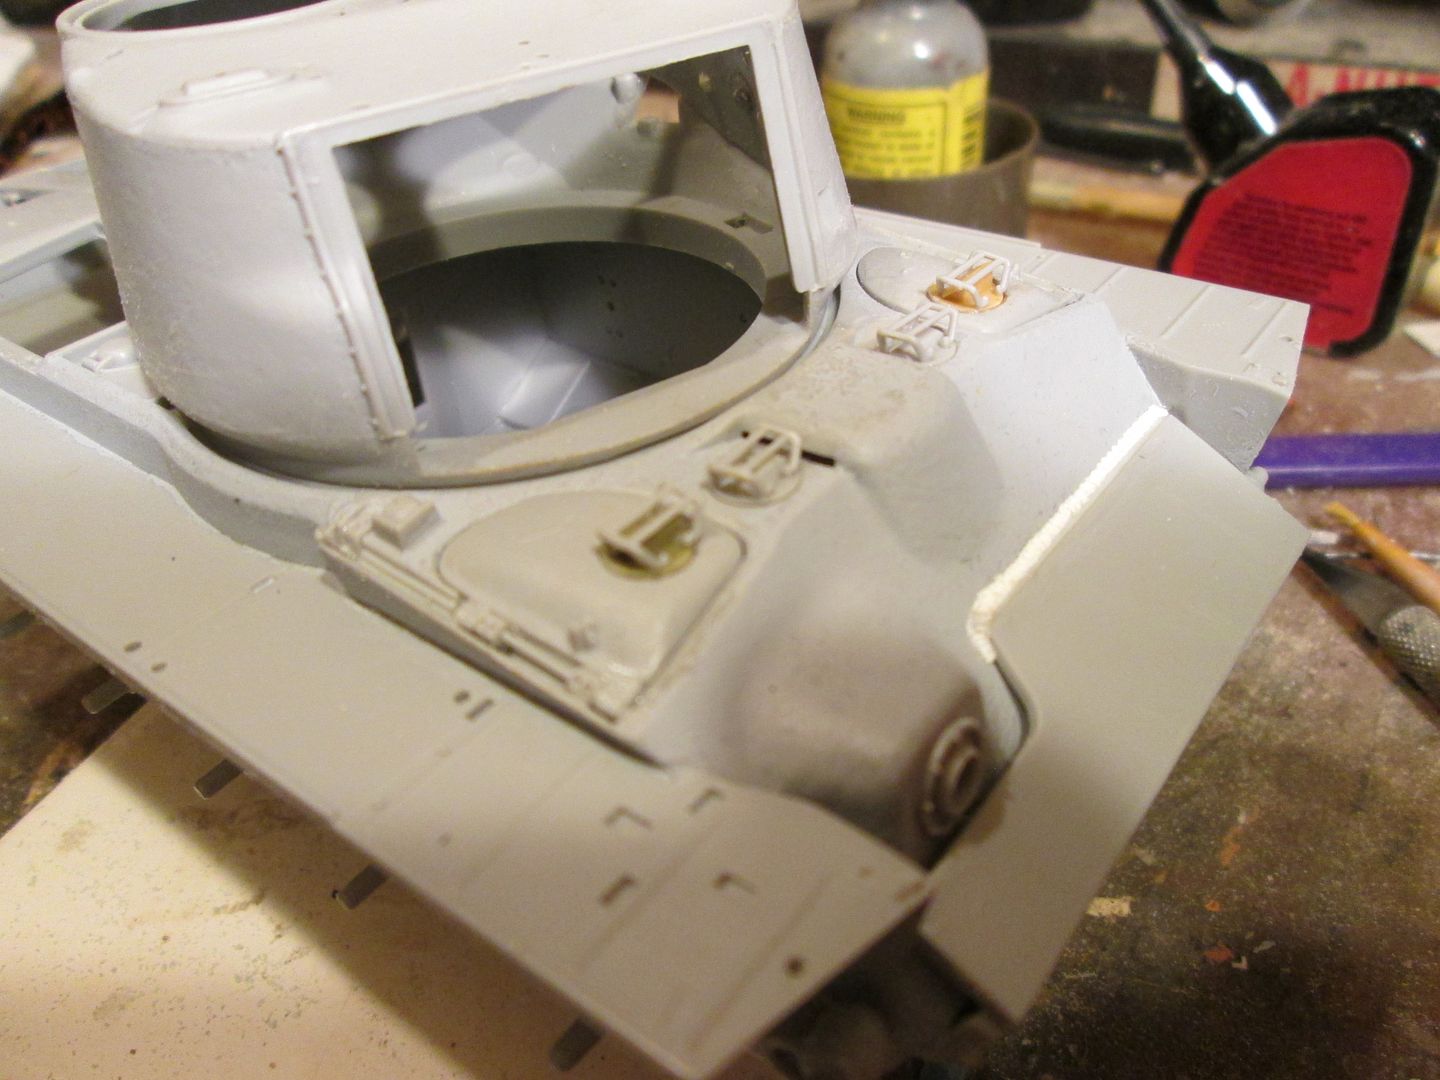
I got to the point of installiing the front hull periscopes, and like most models, this kit suffers from "closed periscopeitis", so I dug around in my Sherman bits until I found a couple of old Verlinden open periscopes, probably from the loader's position, since I had extras and they were larger than the hole. A little sanding to get two of them in the driver's and co-driver's hatches, kit brush guards fitted and done.
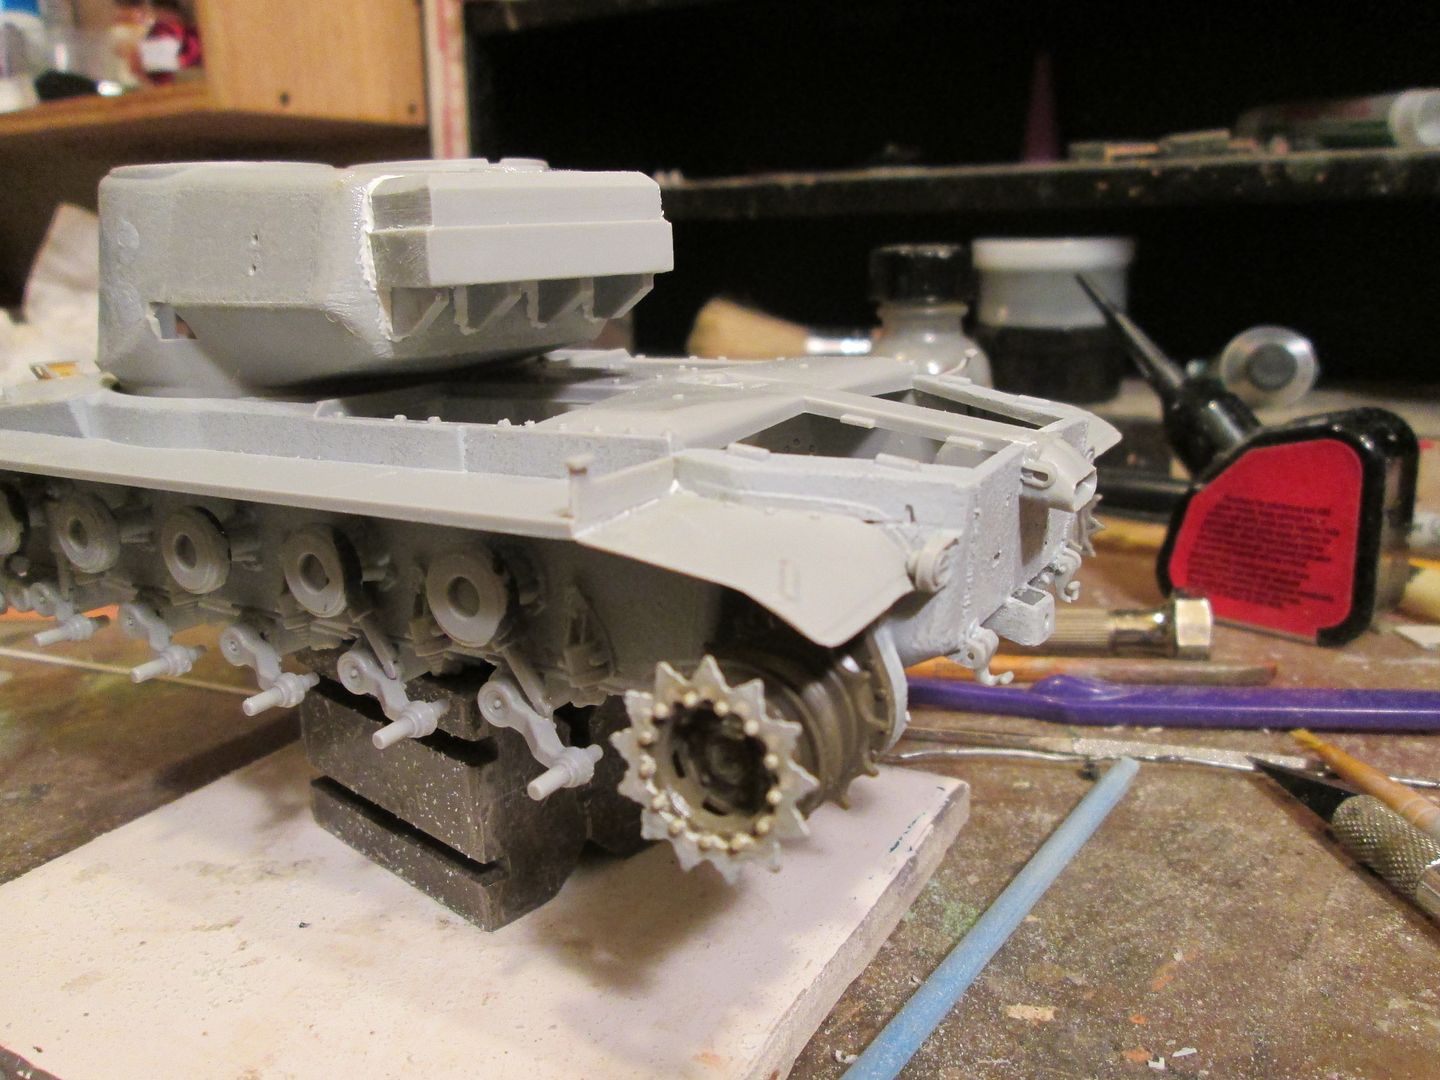
I also wanted to see what the turret fit was going to be like, so I glued the upper and lower together and surprisingly enough, the fit was near-perfect. I then added the appropriate counterweight, knowing that the fit here was off, and made welds from Vallejo putty. At this time I added the rear-most fender braces, then thinned the rear fender pieces and added them.
Not being able to leave well enough alone, I cut and sanded the "experimental" rear sprocket off it's hub, sanded the same off the one Tamiya sprocket assembly, and mated the necessary parts to get another "prototype" drive sprocket assembly.
It doesn't look like a lot in the pics, but it was all about four hour's worth..... Feeling lucky after getting another "correct" sprocket assembly made up, I decided to tackle the kit gun tube. Yach! Mine was warped, and it trying to straighten the worst half, I broke it. Pressing on, I assembled the three (!) parts, flowed cryo glue down the indide of it and began puttying and sanding. I may get a usable part yet, but I'm going to shop for an AM part, since HB neglected to mold the prominent groove on the top-rear of the part.
Pics:


Just for fun (not) I also filled the back-side of the external layer of bow armor and made torch marks in the edges and bow MG cut-out, as seen in the few pics I have. I'll have pics of that exercise later......