My latest update since 13 November 2014...... Sorry that I haven't been adding much to the thread, but ever since I signed up for this group build, work has just gone bonkers!! Unfortunately, I can't take my builds with me when I'm on the road, as I'm usually working at a hospital somewhere in NC from around 0800 til usually 2200 - 2300 daily. Oh well......
Anyways, here are the latest pictures of my F-100. In my last post, I stated how easy these particular kits are to put together, and how the seams aren't too bad at all, and some other niceties about the Monogram F-100D. Well, since I mentioned that, all kinds of seam and fit issues have popped up. Below are some examples.......
.
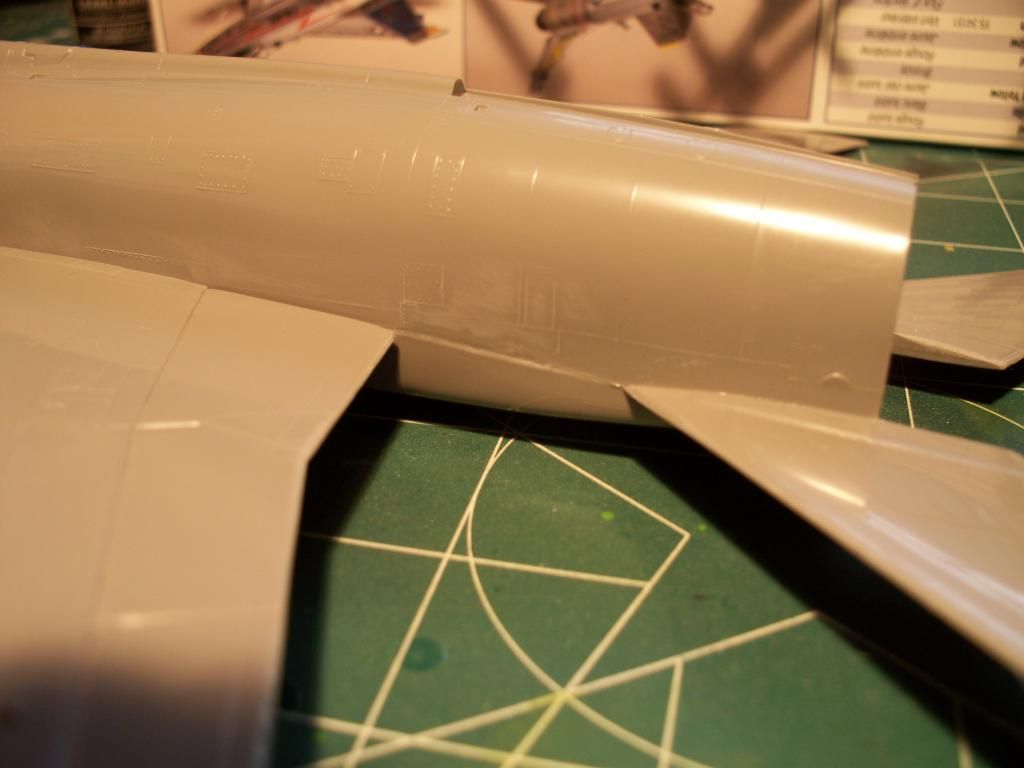 A good-sized step appeared here, and on the opposite side as well. Had to do some judicious sanding to get it decently flush.
.
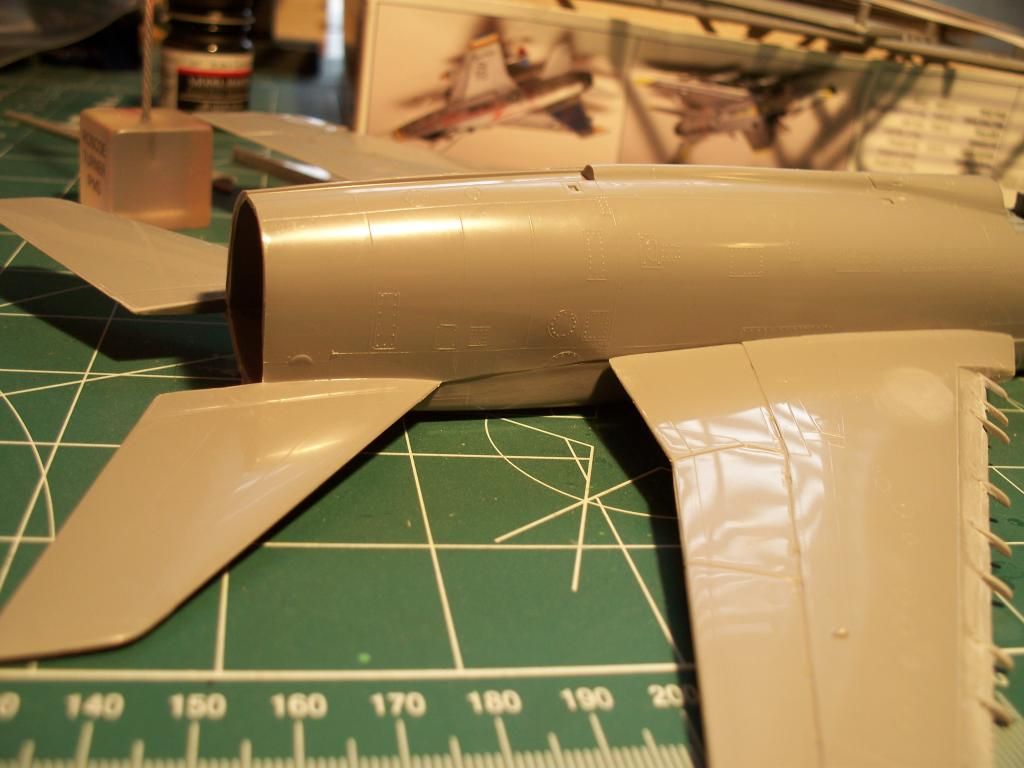
Here's the opposite side. Has anyone else had this issue before? I've built this kit at least twice in the past, and just don't remember this being an issue.
.
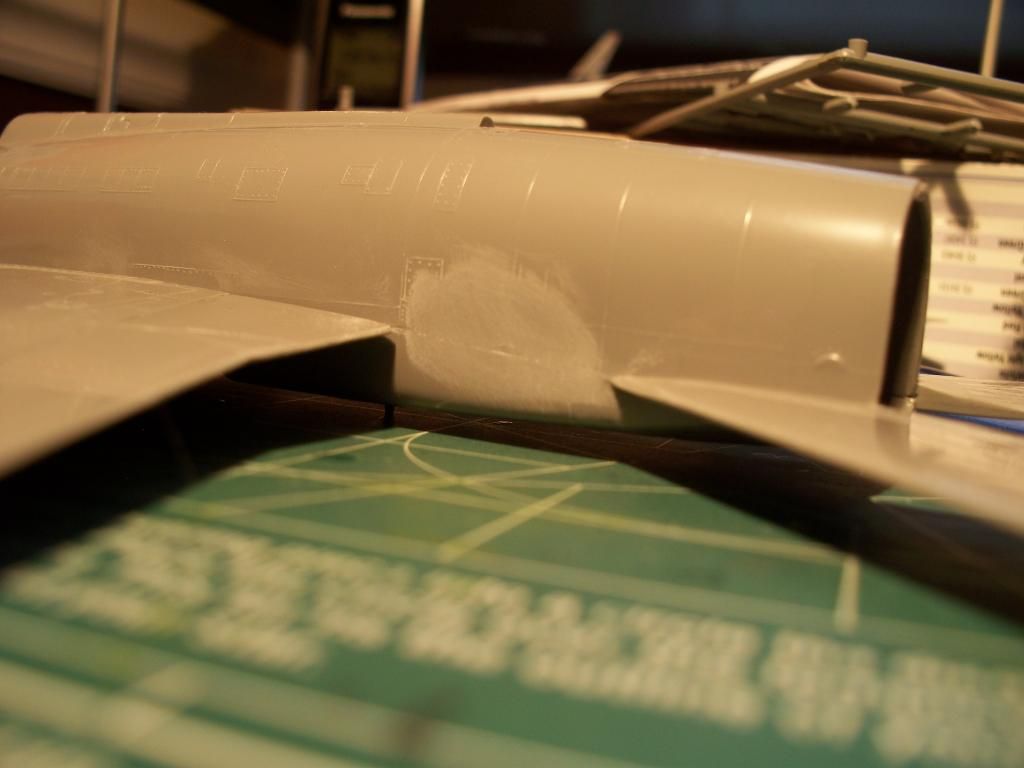
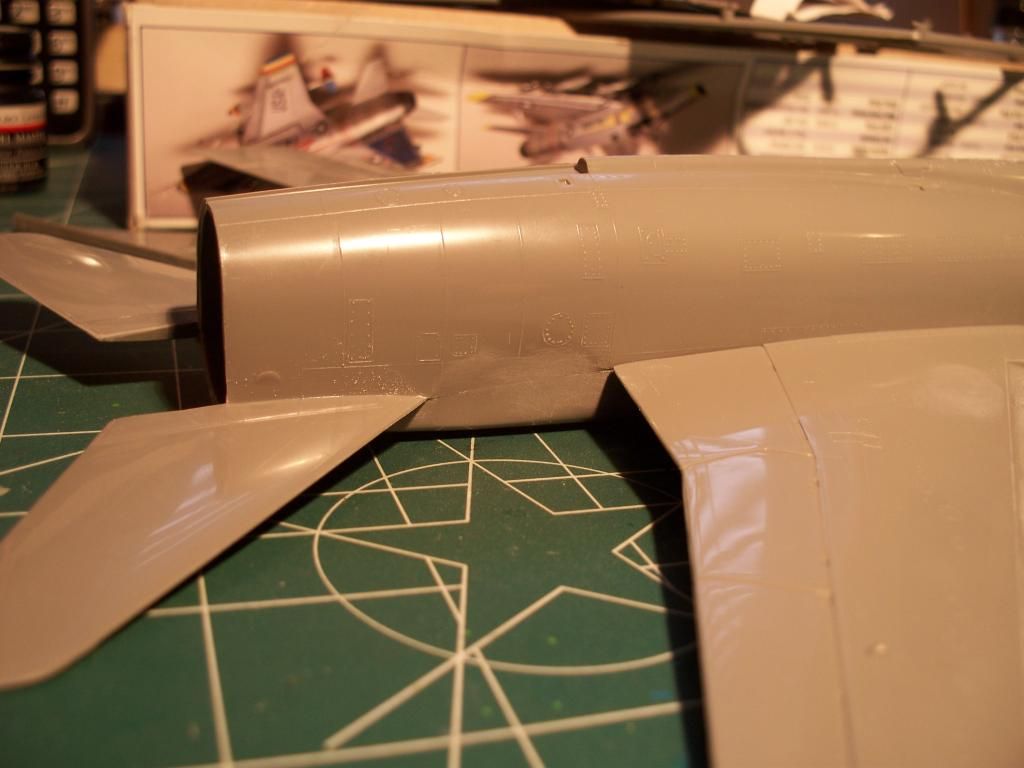
After sanding both sides. Not bad, but I hate sanding away all of the surface detail that's there. Raised panel lines aren't the easiest to replace.
.
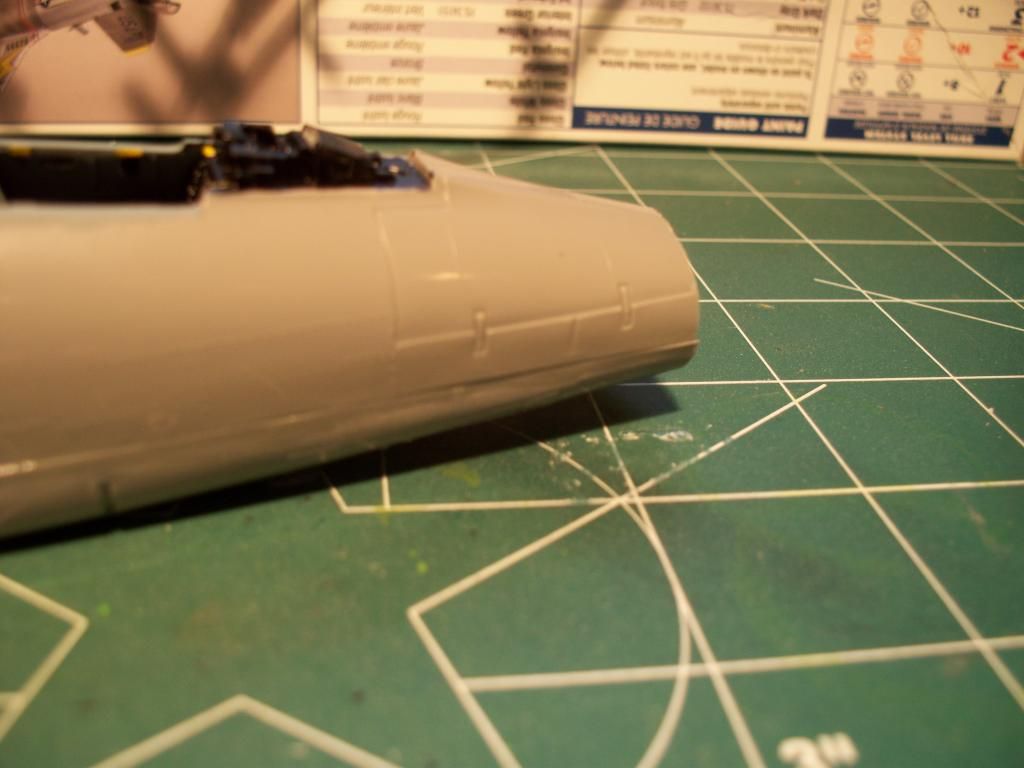
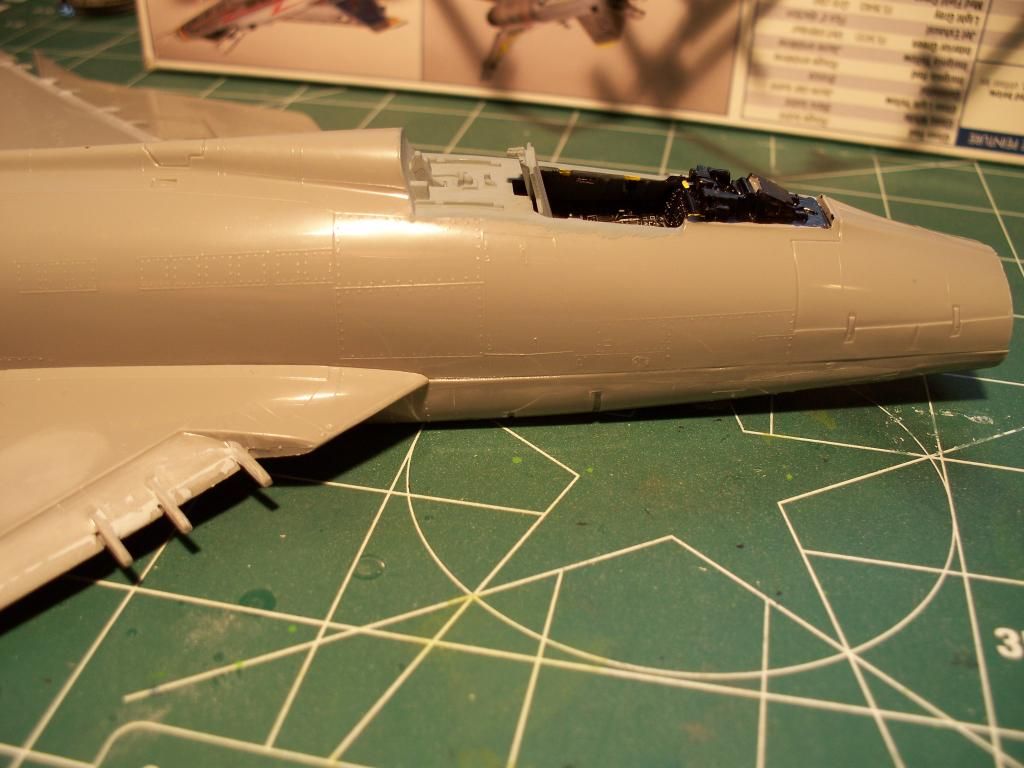
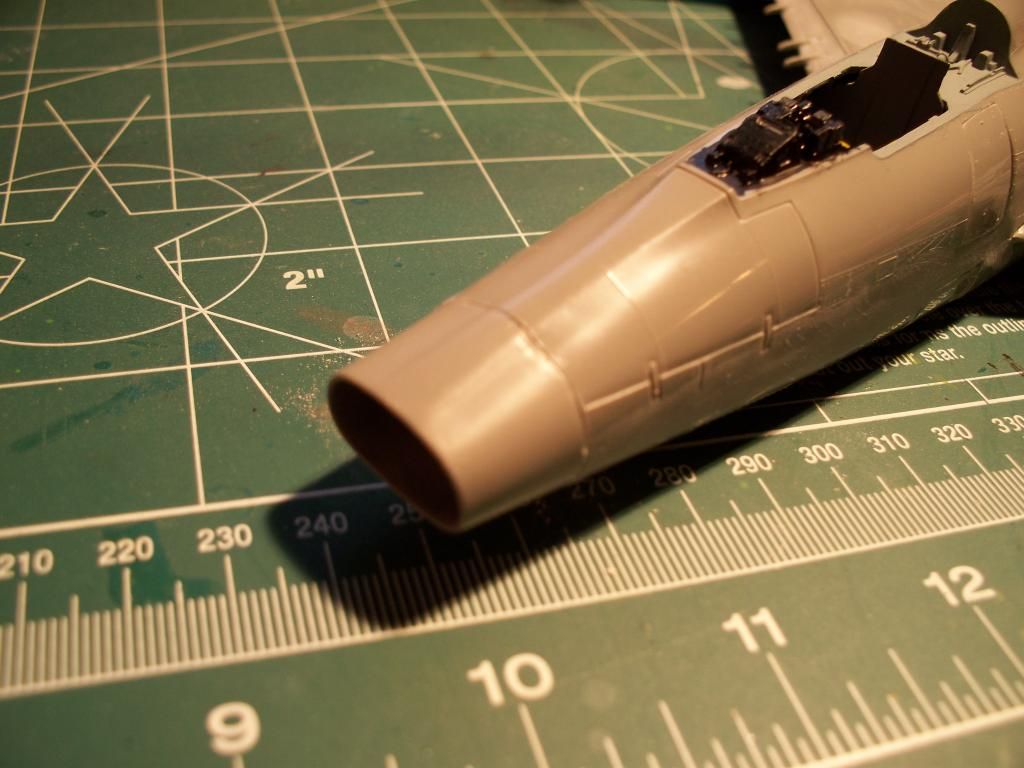
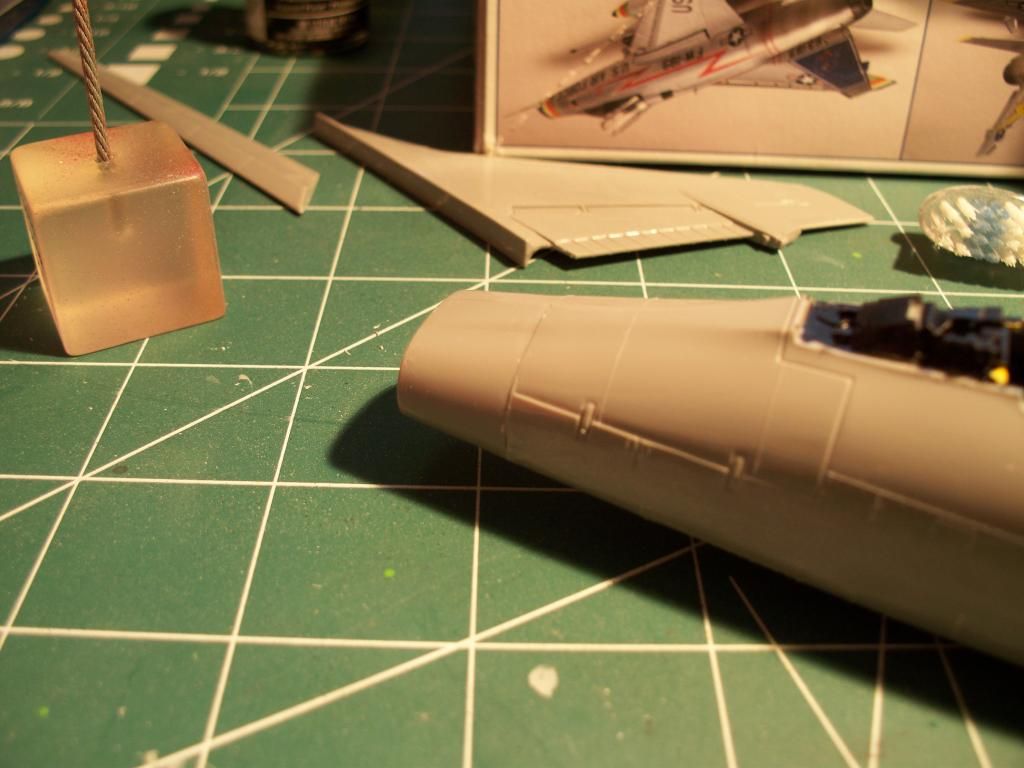
Had some fit issues with the nose area, too. You can see the huge steps between the upper & lower fuselage halves, plus the step where the intake piece's contour just didn't quite match the fuselage contour.....
.
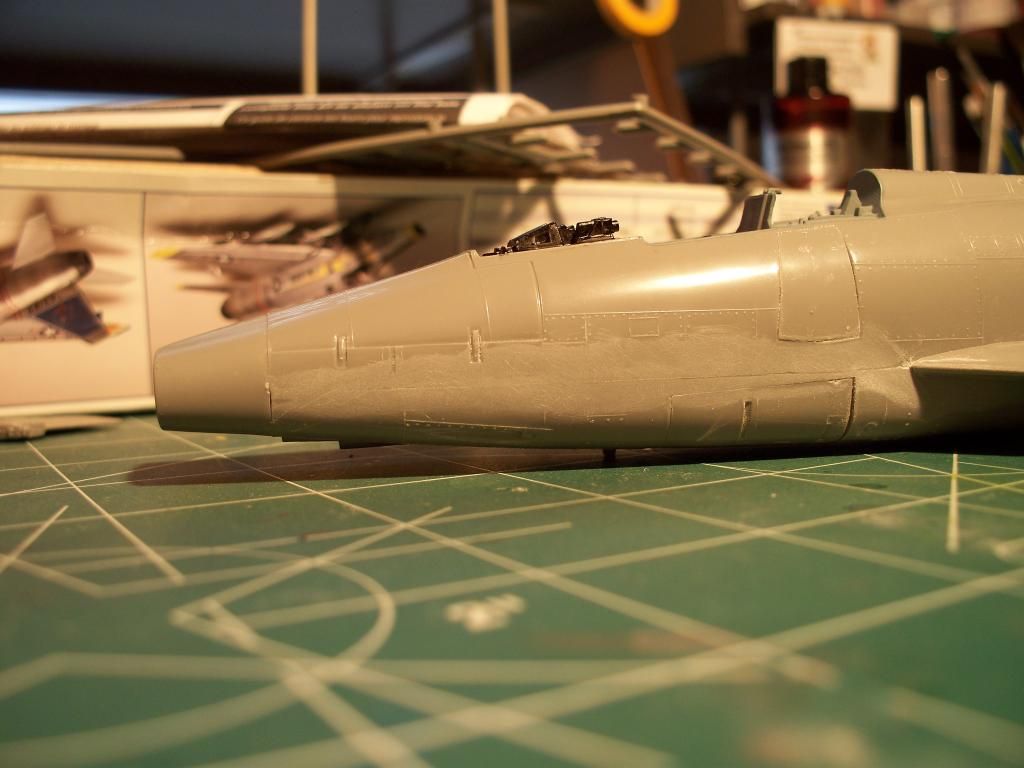
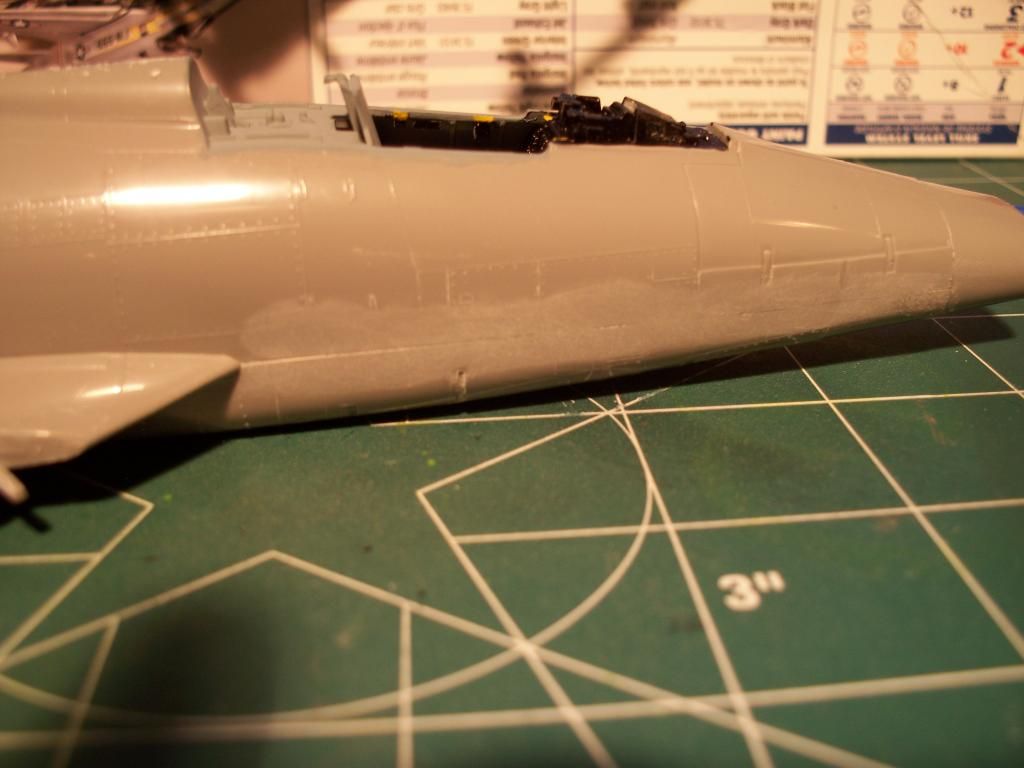 It's amazing what rubbing some sand attached to paper can do for an ill fit. As I've mentioned before, I hate sanding away all of that surface detail, butcha gotta do whatcha gotta do to get things done.
.
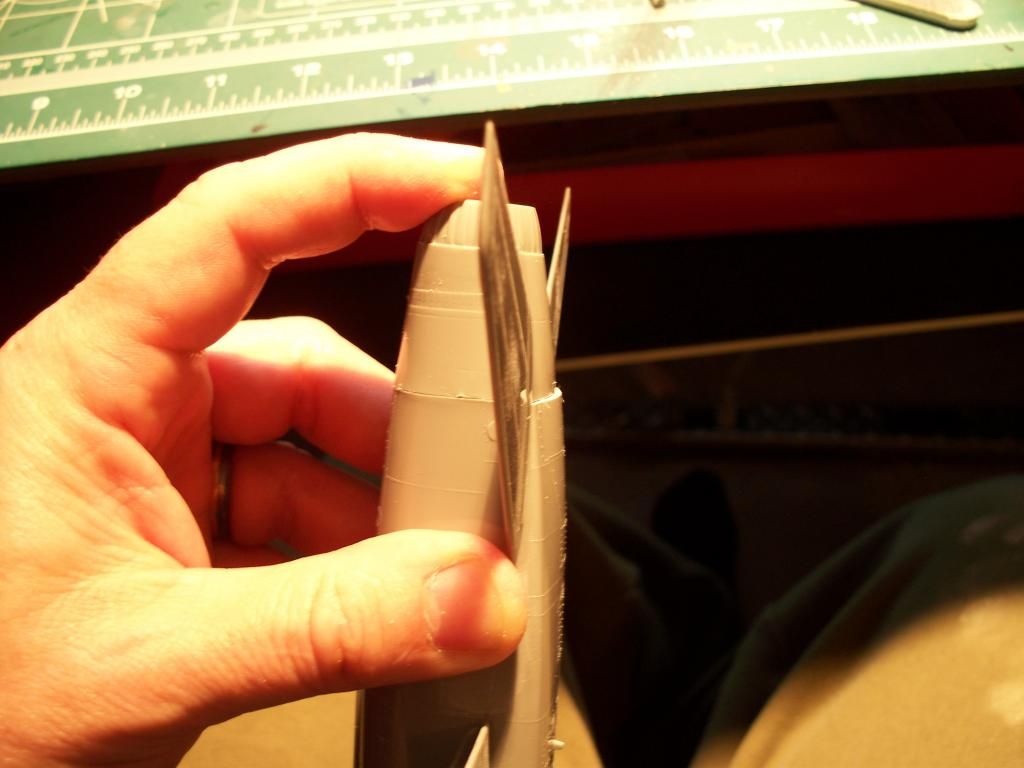
So now I'm ready to attach the exhaust cone/nozzle, and, regardless of what I do to get it to fit correctly, this is as good as I can get it. You can see the HUGE step on the bottom of the fuselage. This is after attempting to get the upper part of this nozzle to fit. If I get the lower to part to fit without a step, then the entire upper part has a huge step. I figure that it's better to have the step in the least-likely-seen area, which would be the bottom. Again, has anyone else had this issue when building this kit?
.
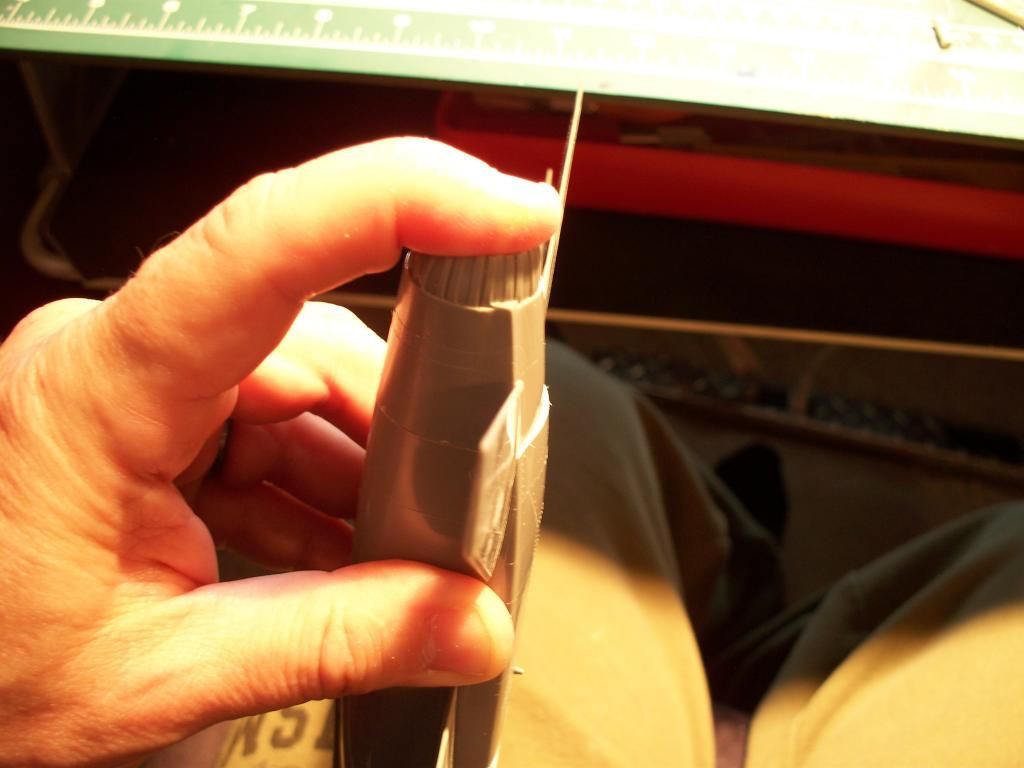
Another view of the same issue..........
.
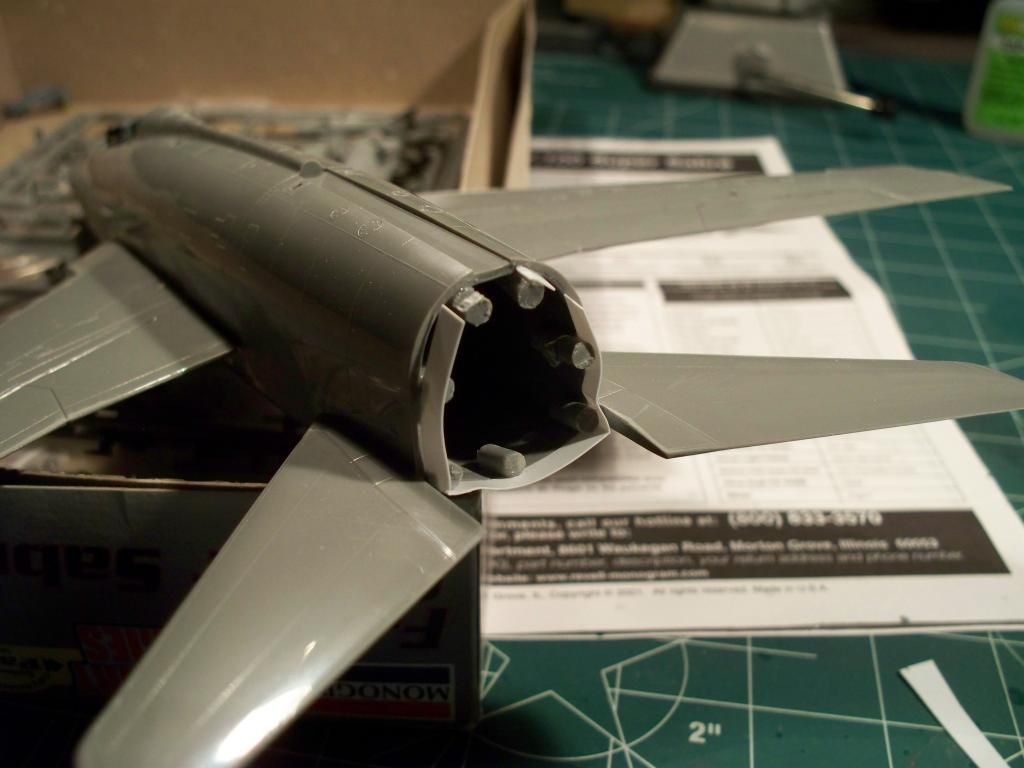
So, here is my attempt at trying to solve this issue - glue some sprue dowels in the rear of the fuselage, test fit, then add some .005" sheet plastic as a shim to get things somewhat lined up.
.
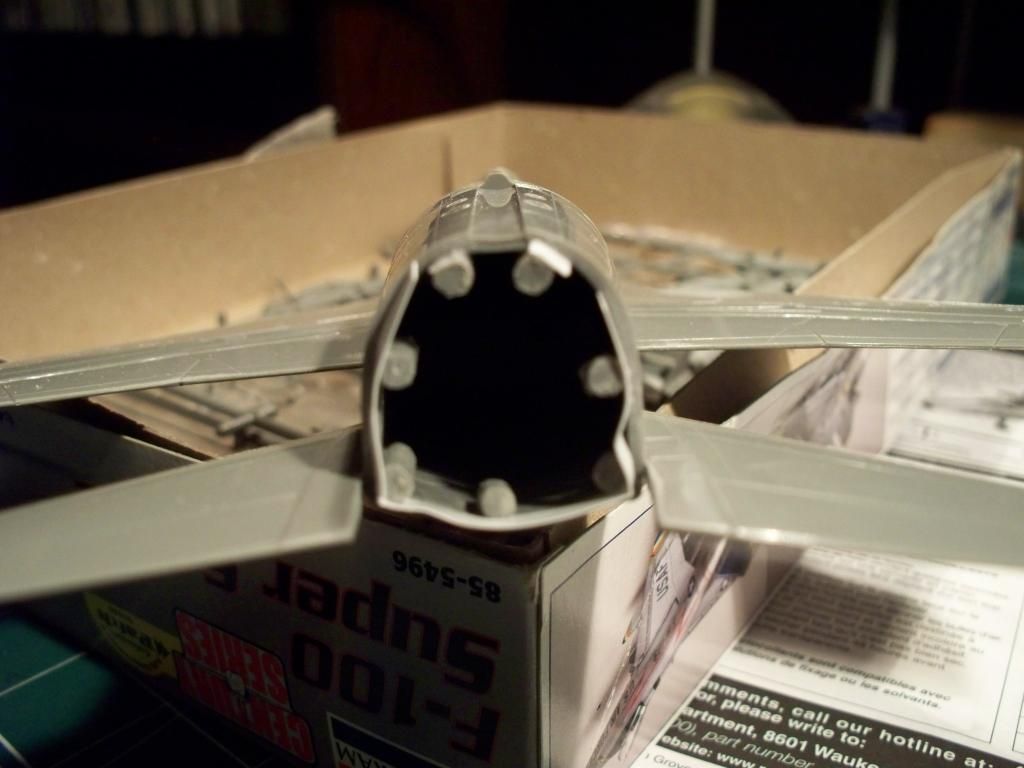
Sorry for the photo quality not being up to par. I'm using a Kodak EasyShare Z1285, which has a manual mode with the up-close-and-personal feature (you know, the little flower icon), and I still can't seem to figure out how to get it to focus on close-ups. Oh well, that's for another thread.......... Anyways, you can see where I placed the dowels, along with the shims.
.
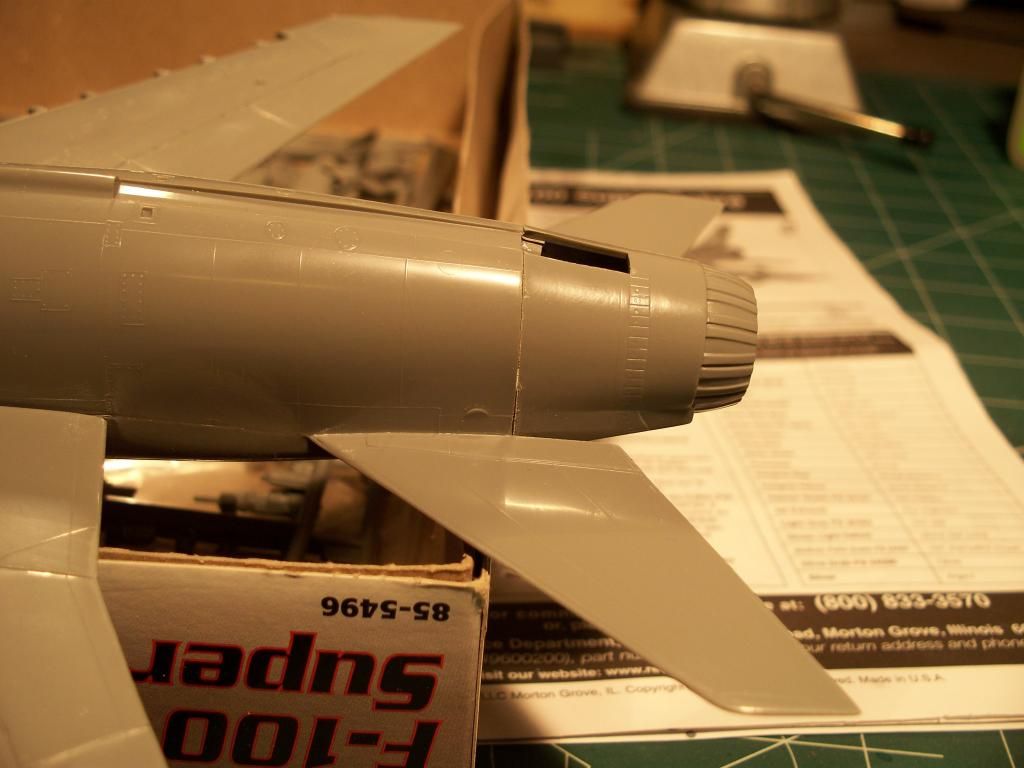
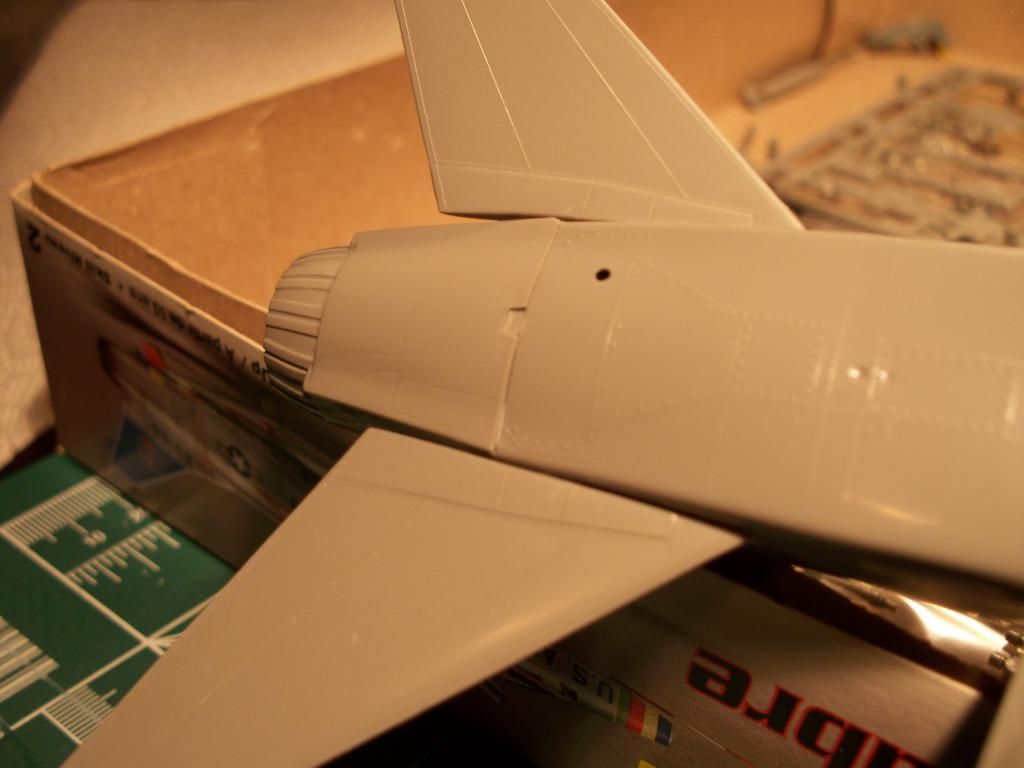
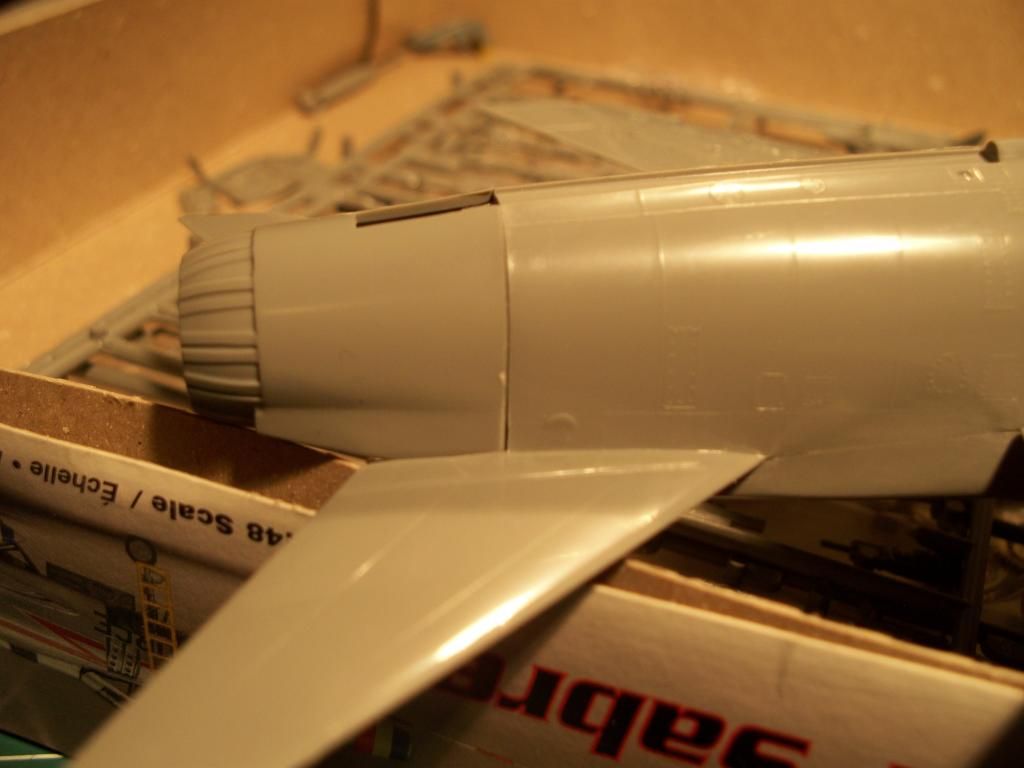
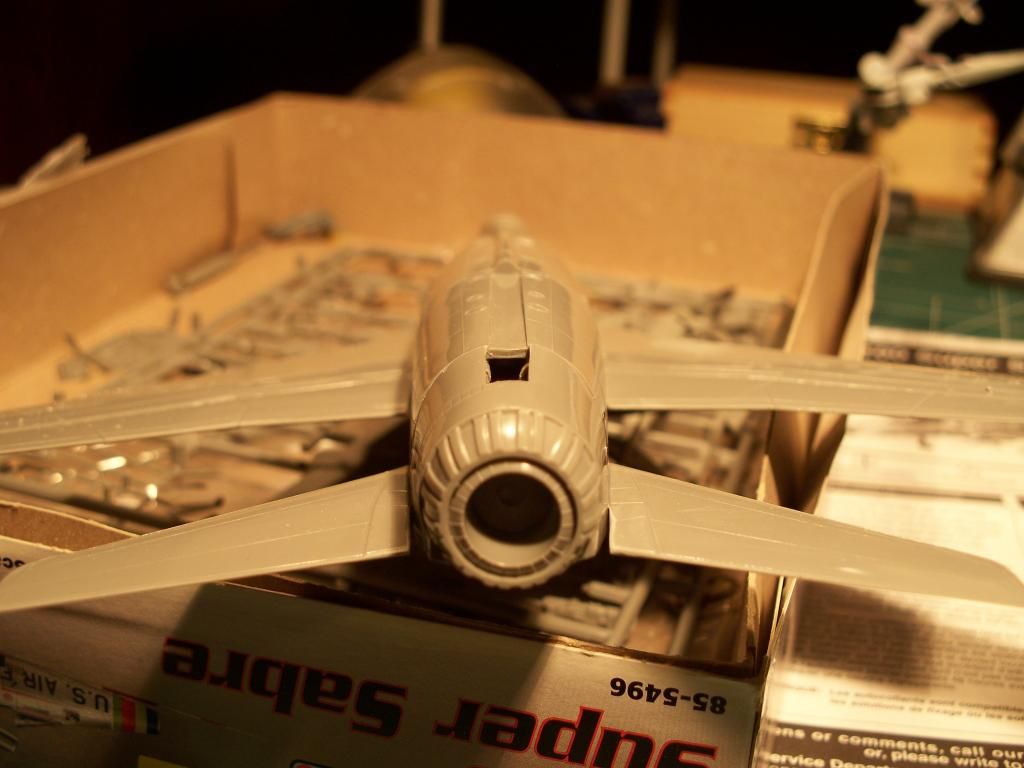
And here's how it looks with the dowels & shims added, and the nozzle in place. This is as good as I can get this to fit. You can see that the step on the bottom is gone, but the overall fit leaves a lot to be desired. I even tried the other F-102-type nozzle, but it has the same exact issues as this one. So, I'll be gluing this in place as soon as I'm done editing this post, and then going to AutoZone to buy a 5-gallon tub of Bondo to fix the gaps. Hopefully, 5 gallons will be enough....... 
Let me know if there is a way to fix this issue better than what I've tried here. Thanks for looking!
Gary Mason