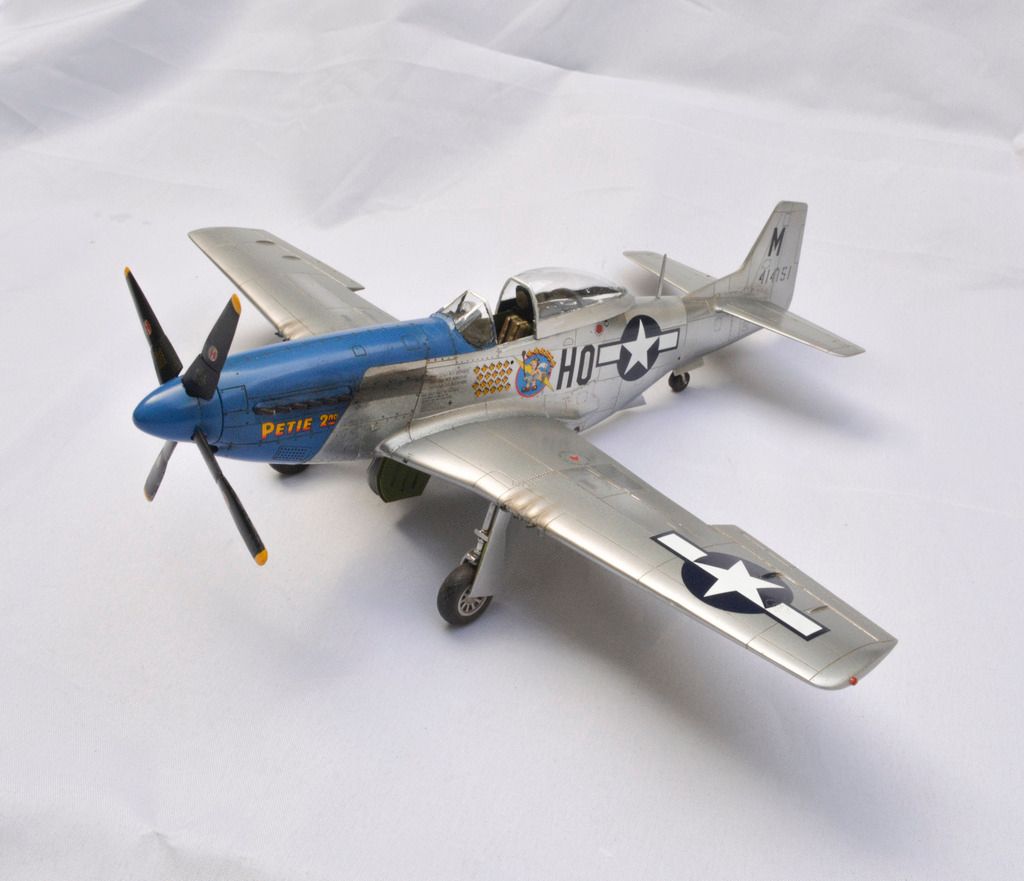
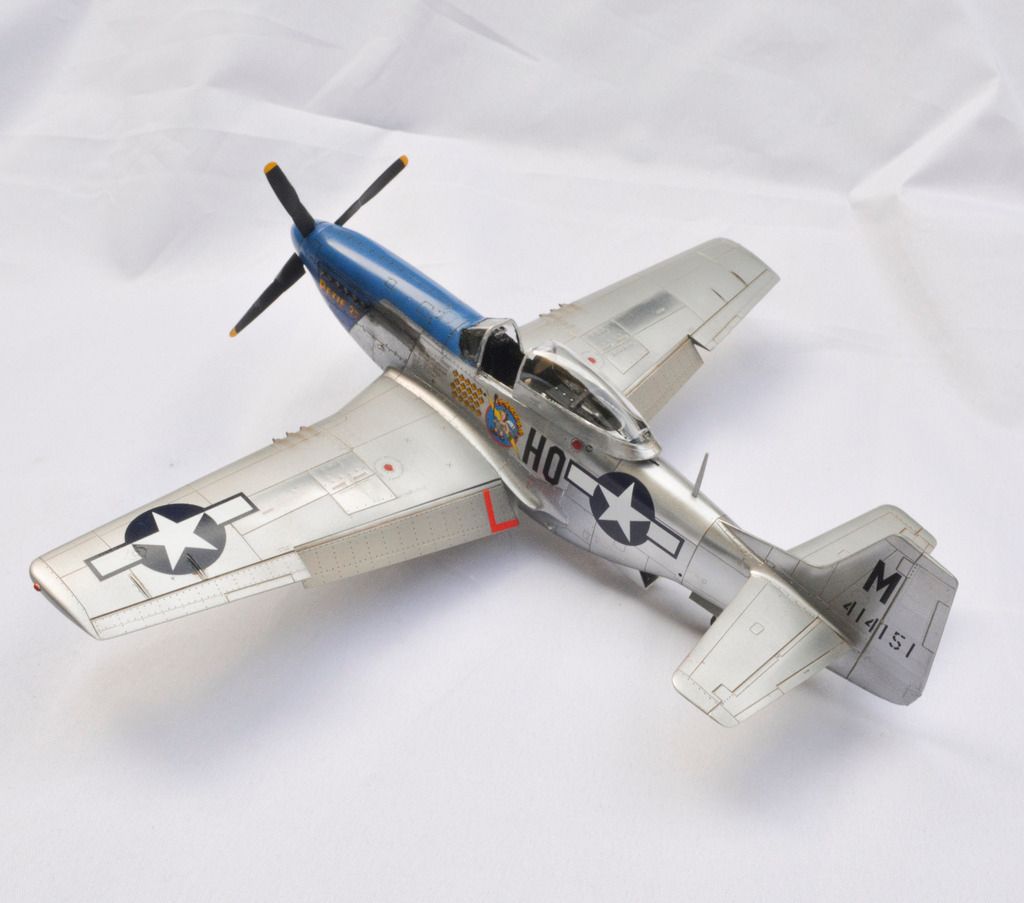
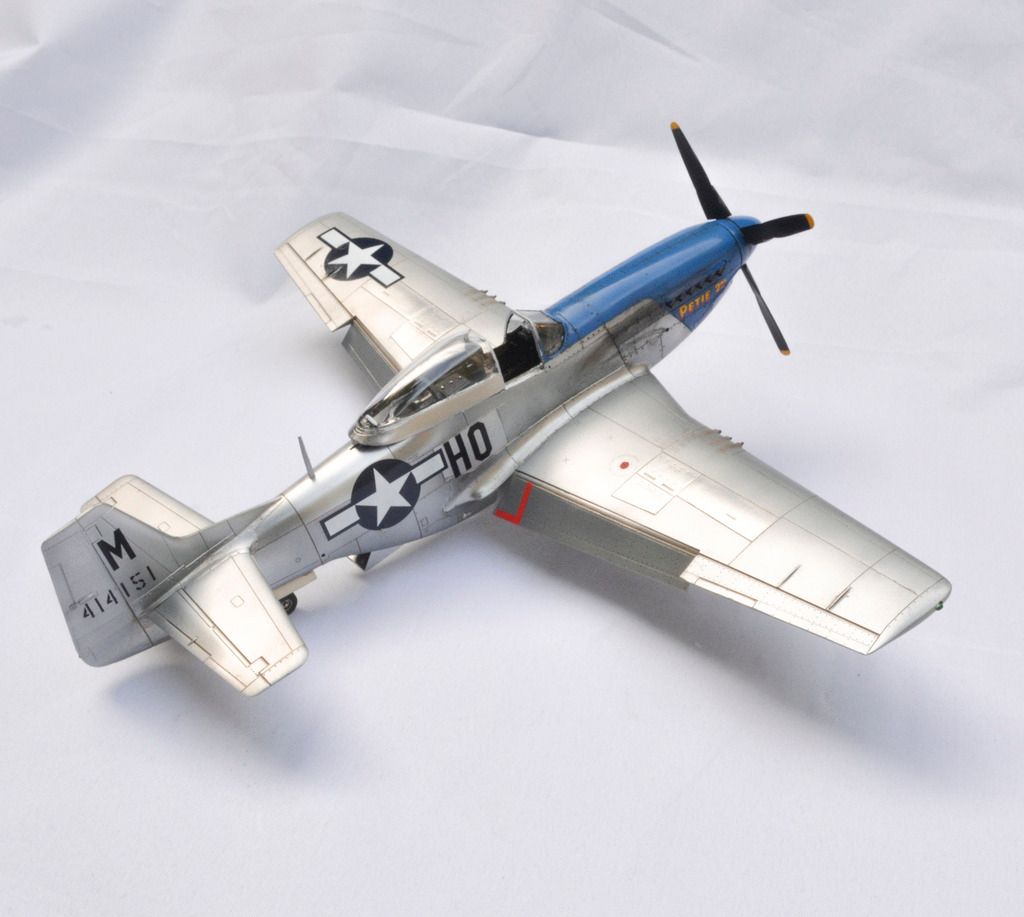
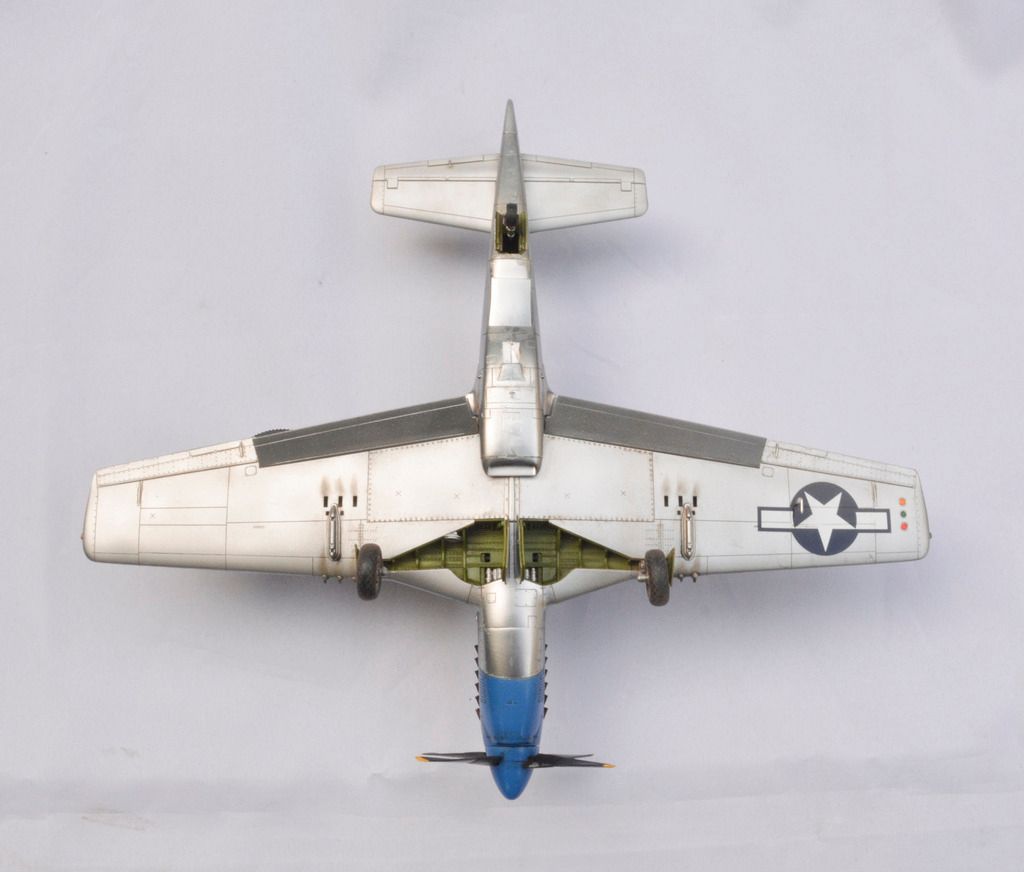
Well, I am calling this one completed. This is the Tamiya 1/48 kit with the Eduard color PE cockpit set. I removed the kit guns and replaced them with brass tubing from Albion Alloys, drilled out the holes in the canopy slide brace, drilled out the exhaust and did everything else pretty much OOB. The decals for Petie 2nd, flown by Col. John Meyer, are by Eagle Strike (printed by Cartograf and WAY nicer than the kit markings for the same plane). This is his mount from 1944. I believe he was on Petie 3rd by the time of Operation Bodenplatte, when he got airborne during the German attack on the field and managed to blast a 190 to pieces before he even had time to raise his landing gear.
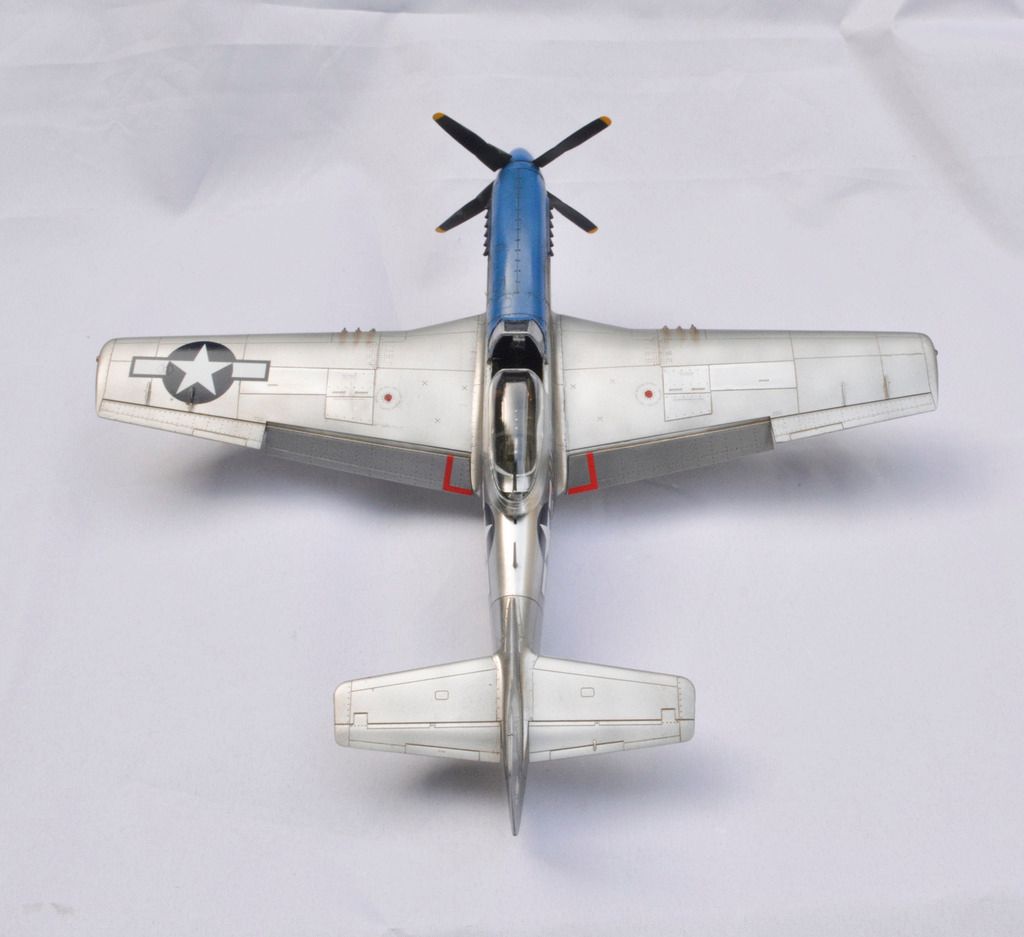
This one is finished in Alclad, mostly. I primed it with Aqua Gloss, then shot Duraluminum on the wings, gear legs, and rudder. Next came another coat of aqua gloss followed by airframe aluminum on the fuselage, shock absorbers and gun bay covers. I sealed that with Aqua Gloss and then shot Magnesium on the panels behind the exhaust ports and Polished Aluminum on the panel behind the canopy and a couple others to break up the monochromatic feel. The blue nose is Humbrol French Blue gloss enamel, and it was actually sprayed on and masked before I started playing with the Alclad. The rest is covered in Tamiya acrylics. Gun and exhaust streaking was done with a Tamiya weathering kit (the one that looks like a makeup pack). I wanted a very subtle panel line wsh, so I opted for Flory Grime, which is brownish. It sank into the wheel treads nicely, and some ground up pastel chalk did the rest.
I kept this one mostly clean since it was a late-war squadron leader's plane. I left the drop tanks off because I wanted it to have that "just returned from a mission" look.
I will be painting Col. Meyer this weekend, and will get a shot of him on his plane.
But I am rambling, and you all just want to see the pics anyway:
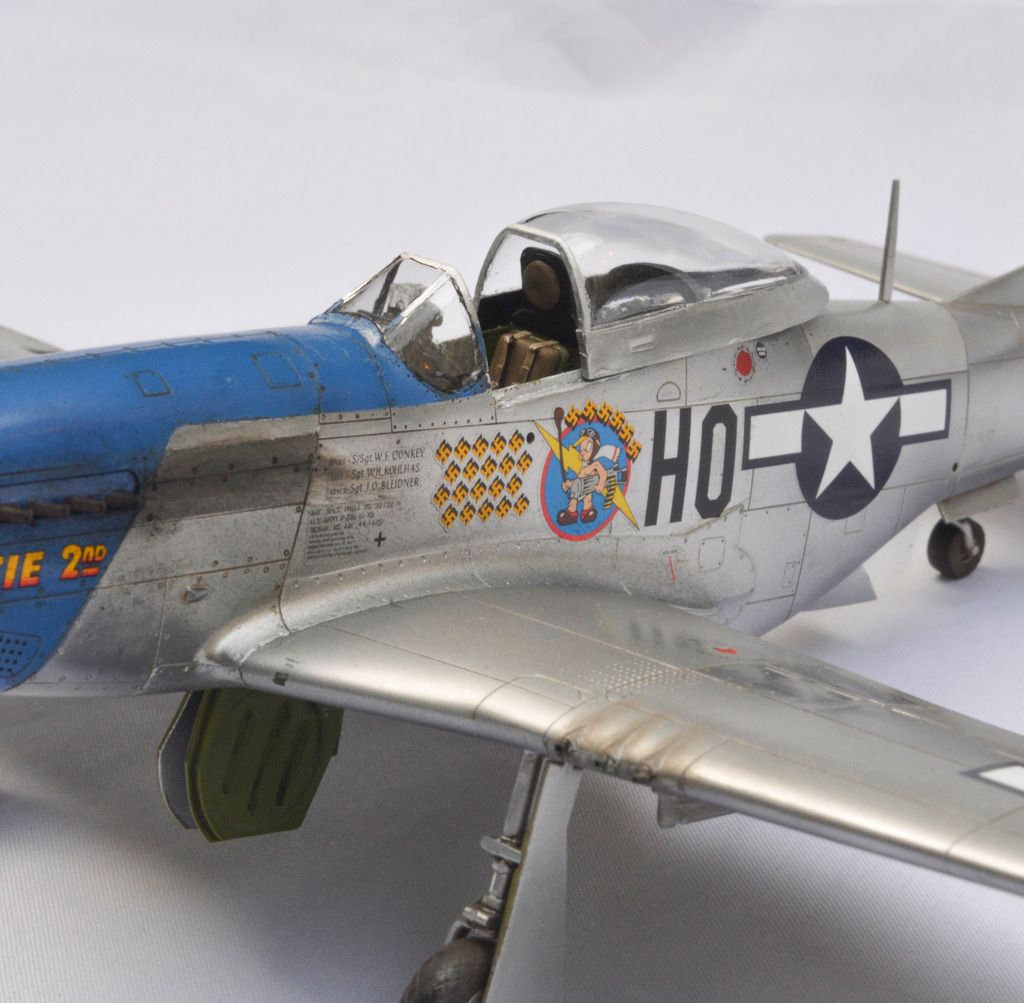
A quick tip on this kit: If you are like me, you break off things like radio masts and pitot tubes, Well, you can actually install this kit's radio mast at the end without any mess by applying glue to the bottom of it from inside - just reach up through the rear wheel doors with a needle applicator.
All comments, critiques and questions welcomed!
-BD-