Well I have been doing a lot of fitting, sanding, building, etc., and all are now in various stages of paint.
The Special Hobby Seafire took the most work with the wing-to-fuselage seam, as it didn't close up properly, and there was a prominent step at the join. I shaved it somewhat, and then used Tamiya putty to smooth it out.
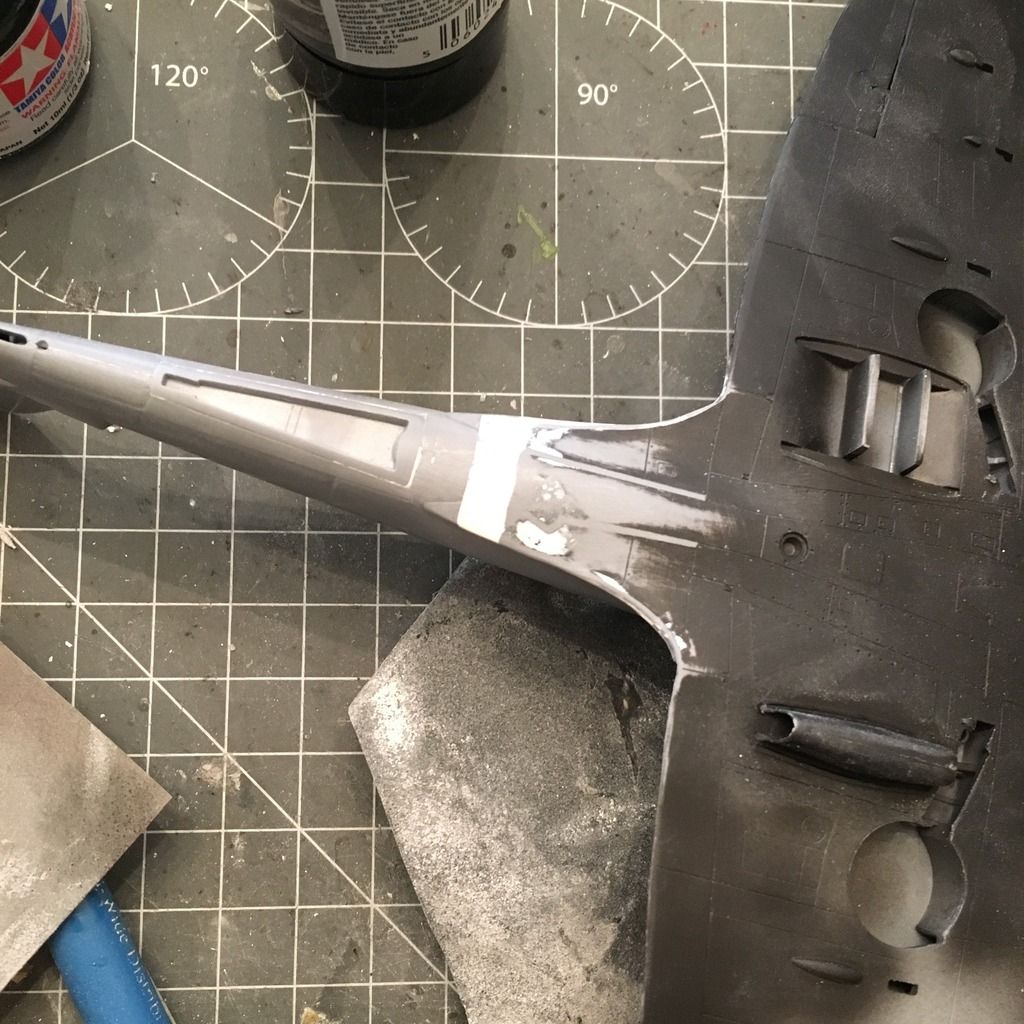
In the end, it doesn't look like I changed the profile much, if at all, and while it was a lot of work, I am pretty happy with the result.
I then got all three constructed and primed with Mr. Surfacer 1500 black.
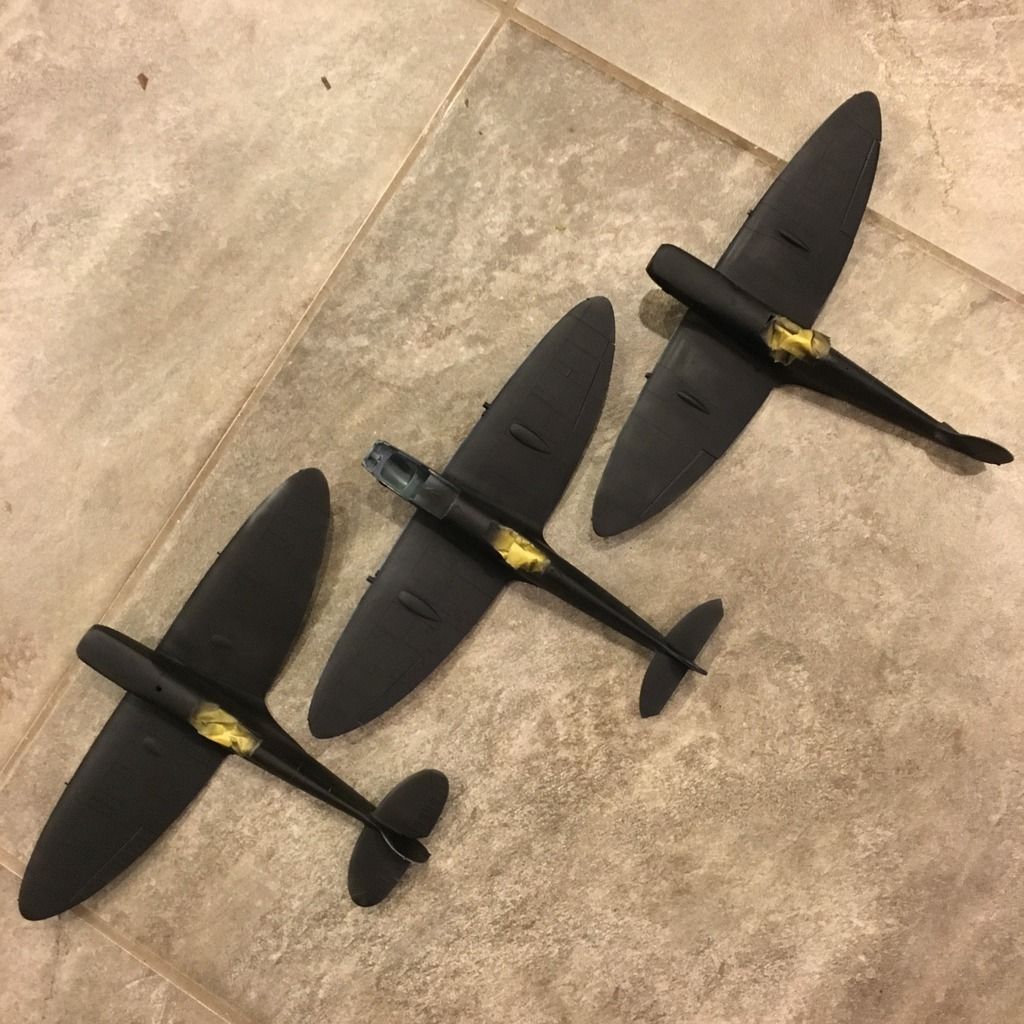
The Tamiya kit went together the easiest, and the Eduard was next. The only knock against Eduard I have is the two-piece cowling, which is a victim of its own success in a way. The other two kits have the same cowling seam, but they don't have the rivet detail present on the Eduard, so even though they still need sanding and filling, it somehow feels like less of a problem. With Eduard already using slide molding on the kit, I wish they had just done more of that and made the cowl one piece. Oh well, the Ultracast resin one is on the way (the part is NOT unbuildable - I'm just lazy).
The next thing I did was paint the Model Master Azure Blue on the underside of the Eduard Mk.IX.
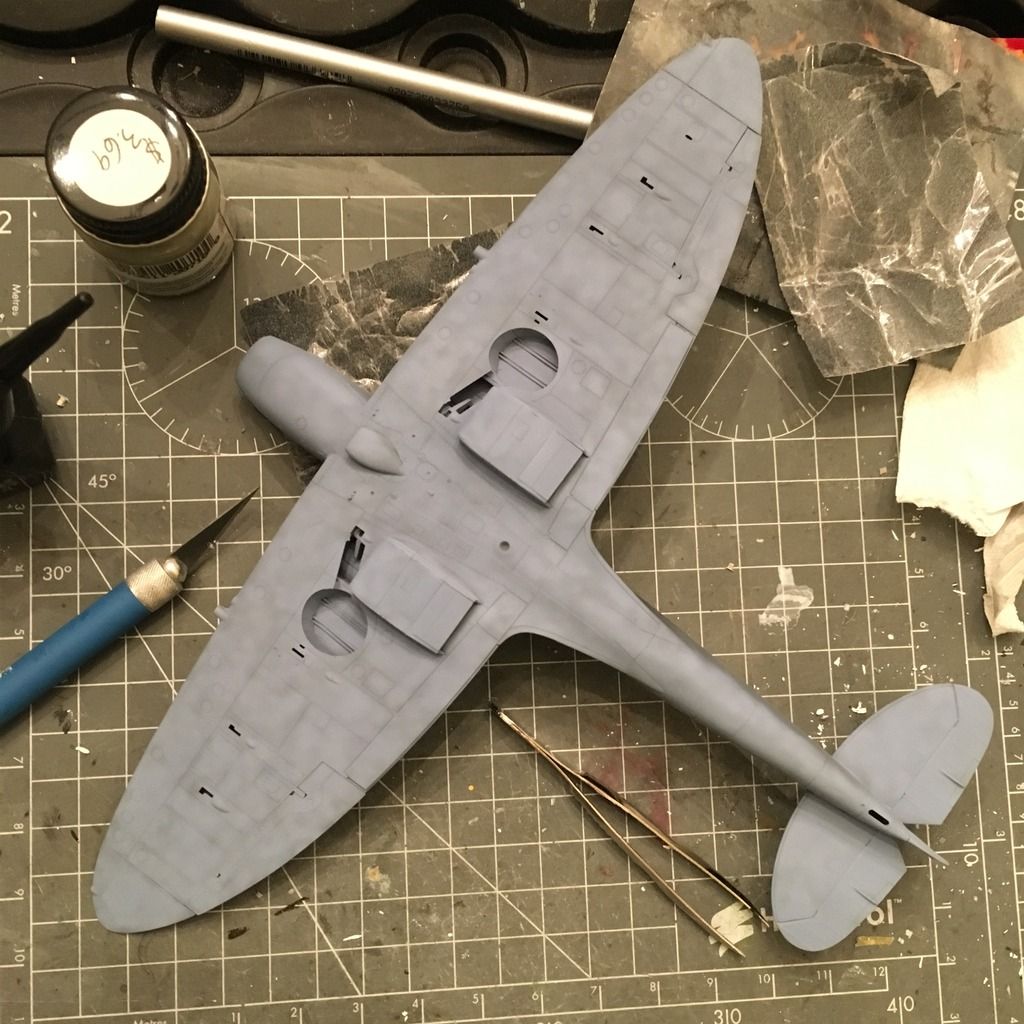
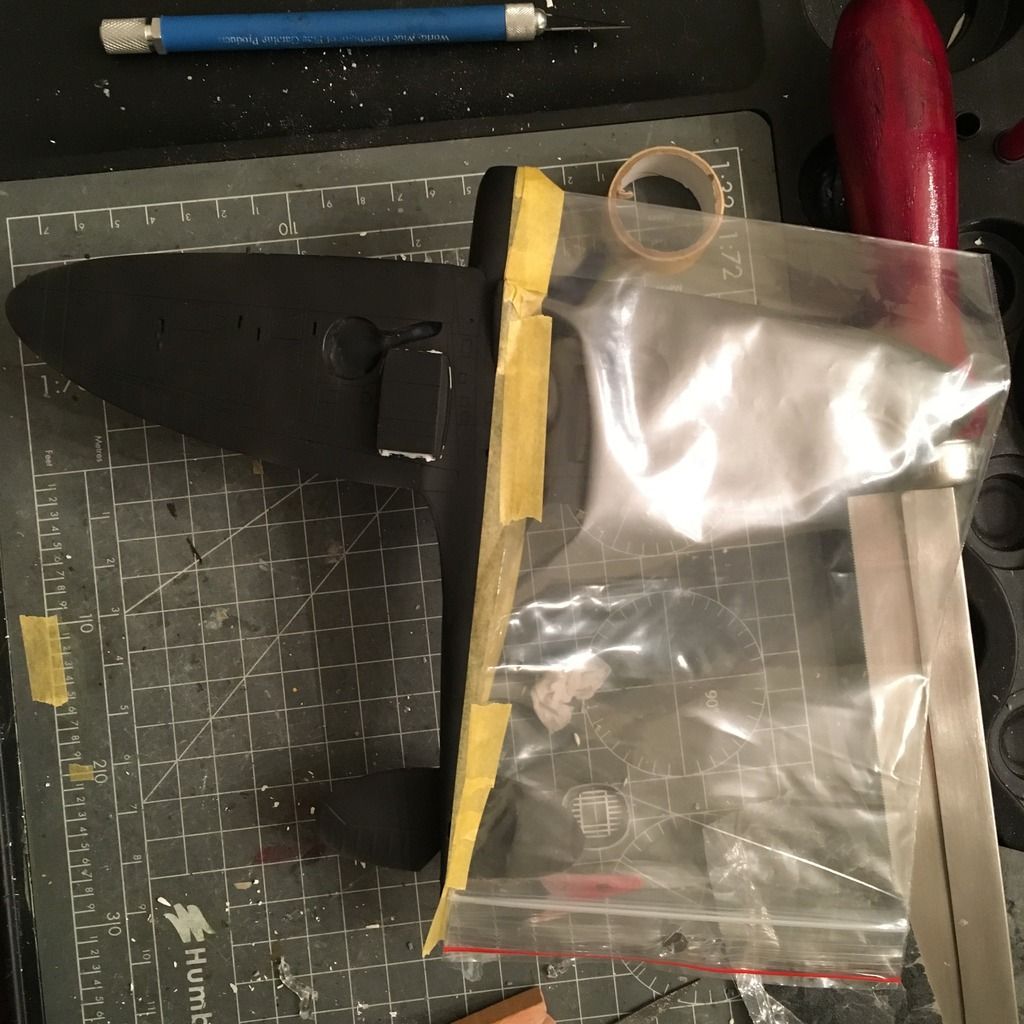
When it came time to paint the Tamiya one, I went with a black/white underside to go with some Montex markings I have. I used Tamiya Medium Blue to mottle the black-primered surface, and then I came back with a blend coat of Tamiya Rubber Black to even it out, give some depth and not appear so starkly black. You'll get a pic of it once I finish the white, which the photo below shows the masking for. Yes, as I was masking, I kind of wished I hadn't filled the fuselage seam...
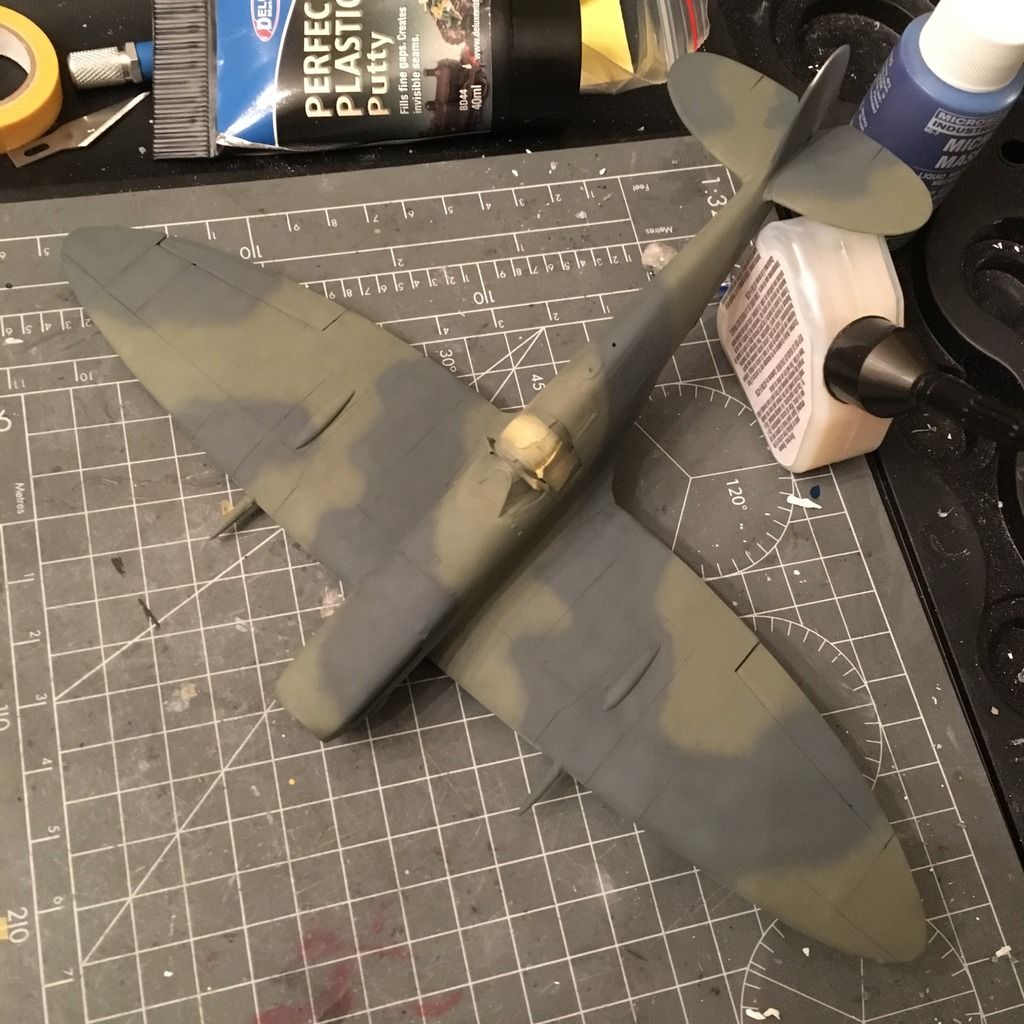
On the Seafire, I painted the underside Tamiya Sky. It took the most work to get to the paint stage, but I guess I got on a roll with it, and I masked the underside and shot the top colors last night.
Though it's in French Aeronavale markings, it wears its Fleet Air Arm scheme, and after spraying the rudder Alclad Duraluminum (it was replaced on this particular plane and left in doped silver), I shot Model Master Dark Slate Gray for the upper surface camouflage. In the past, I've always waited for one color to dry before masking and shooting the next, but I decided to see if I could freehand the pattern, and I mixed Tamiya Dark Sea Gray 3:1 with Tamiya NATO Black to get an approximation of Extra Dark Sea Gray, and I sprayed that on freehand.
With that done, I masked the wing walk lines and the black strips at the wing roots, then shot them at lunch today (and fixed a little bit of the camouflage on the cowling and starboard horizontal stabilizer.
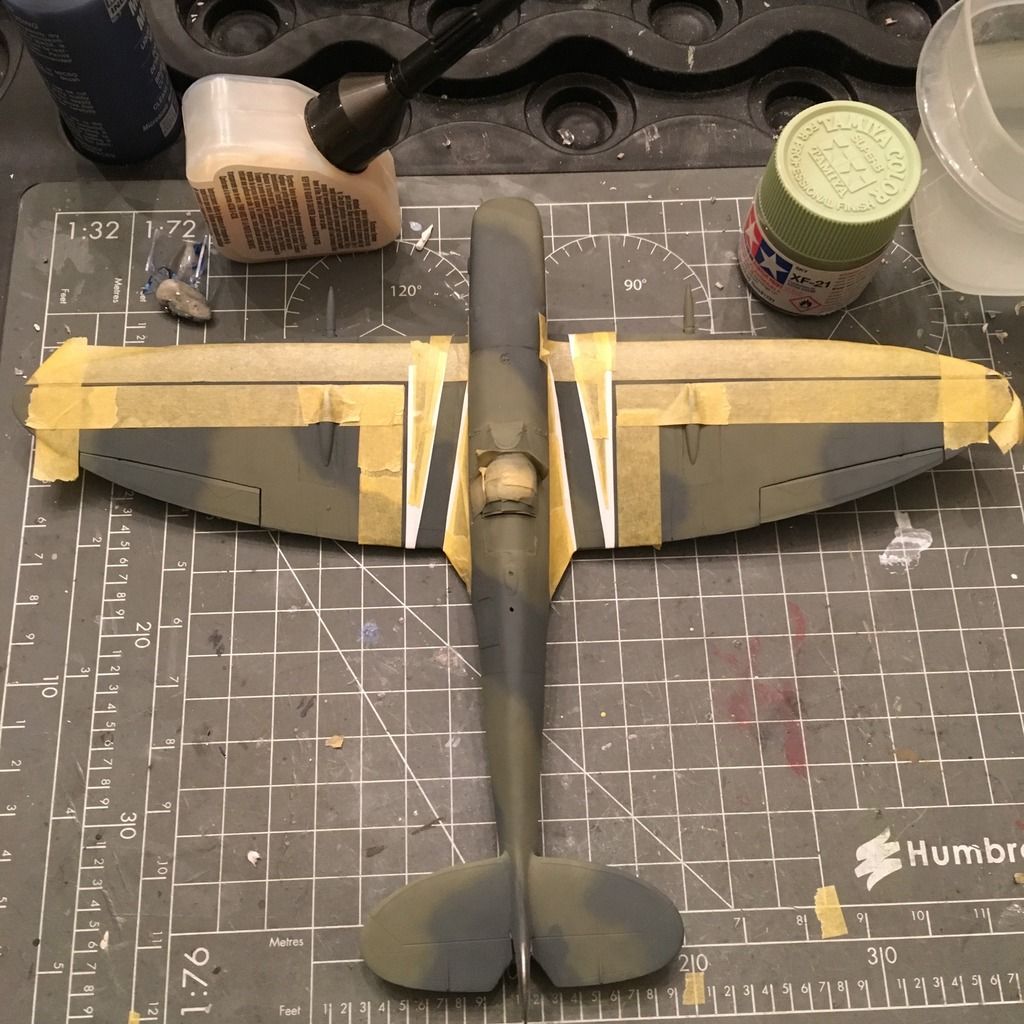
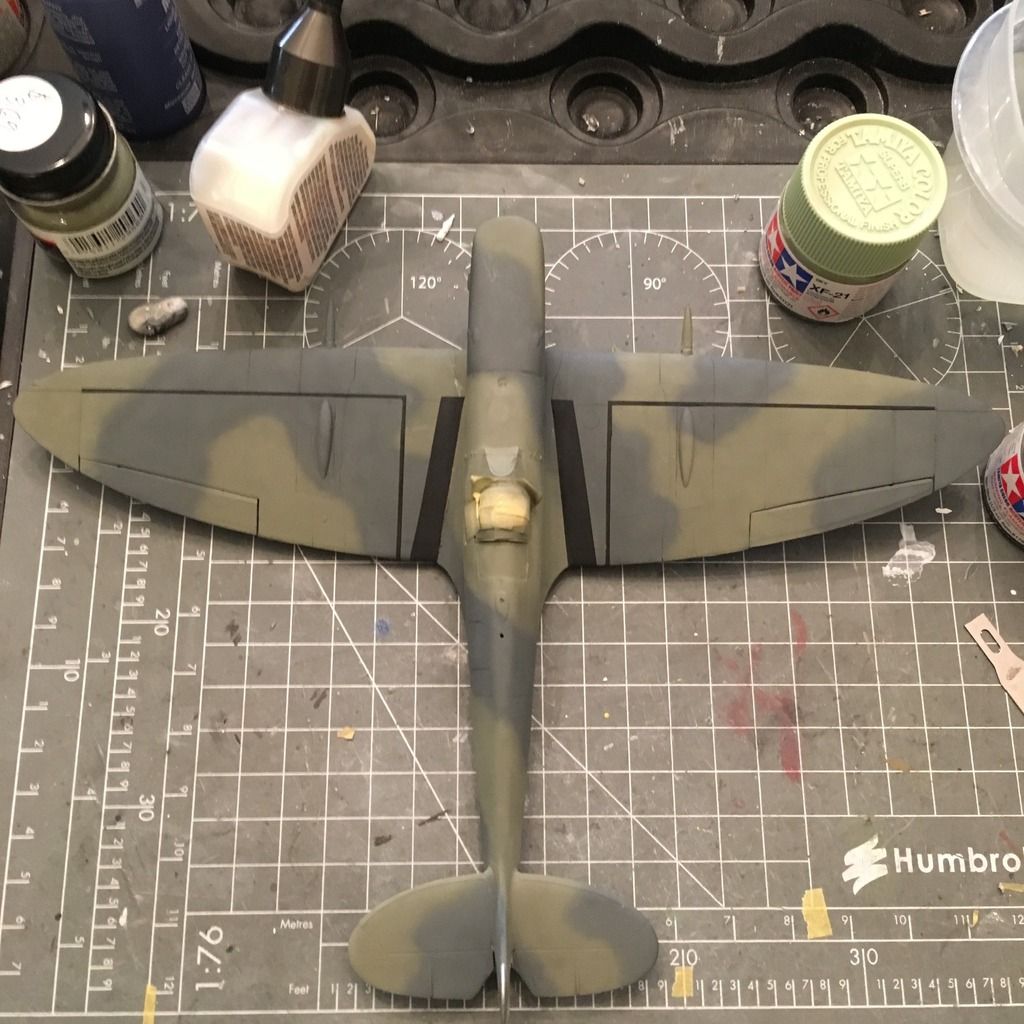
After painting it, I pulled off the masks. I think the wing walk lines are a little thick but not enough for me to worry about redoing them, and I will shoot a gloss clear on it hopefully tonight.
One thing to note about the Special Hobby Seafire that I really like: The strakes along the fuselage and the strenghtening piece around the panel behind the cockpit are provided as vinyl self-adhesive parts, and they work great (you get a spare of each piece, too). As I understand it, these were to strengthen then airframe for catapult launches. They're a nice touch and complement the PE parts well.
-BD-