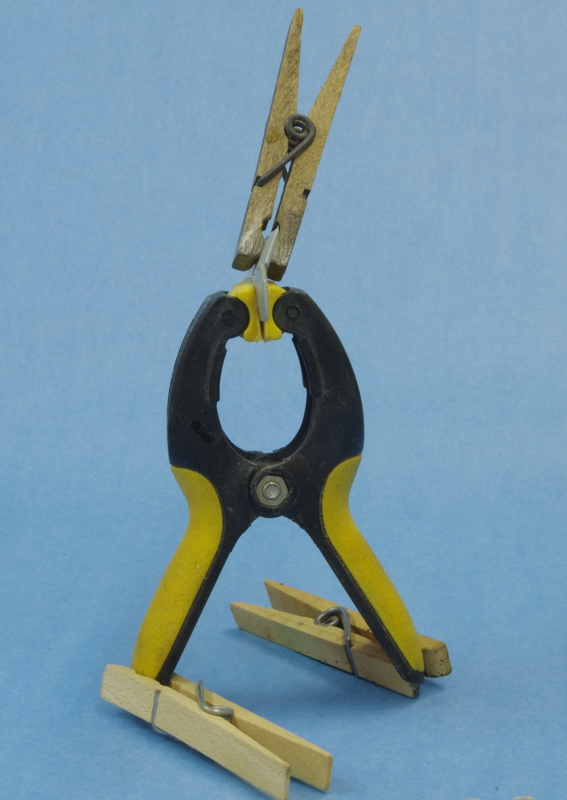
Made a little start on the CG-4A today, it's an old Italeri kit I've had in the stash for a long time, maybe 20 years. In the past I did a lot of research on the CG-4A, developing plans for an R/C model. There is more information available now, and more restored examples, but 30 years ago people were more interested in using the boxes they were shipped in or cutting them up for a source for 4130 tubing.
I'm not going to get too serious about an accurate interior and Italeri must not have had much to go on as they put in sticks where the real thing had big round control wheels that hung from the ceiling via a big Y-shaped tubing structure. It was that way because all the cable control runs had to go over the top of the cabin due to the nose hingeing up for loading and unloading. All the structural tubing was visible in the cabin, you could touch the outer fabric most everywhere but the floor. The exterior is pretty good, and all the shapes look good. THe CG-4A had a cuff on the leading edge of the wing that is pretty obvious to give it a very mild stall and they did not get that. Whatever, it's good enough to go in my model museum behind a soon to be started Airfix C-47, keeping company with the Me-321 and He-111Z.
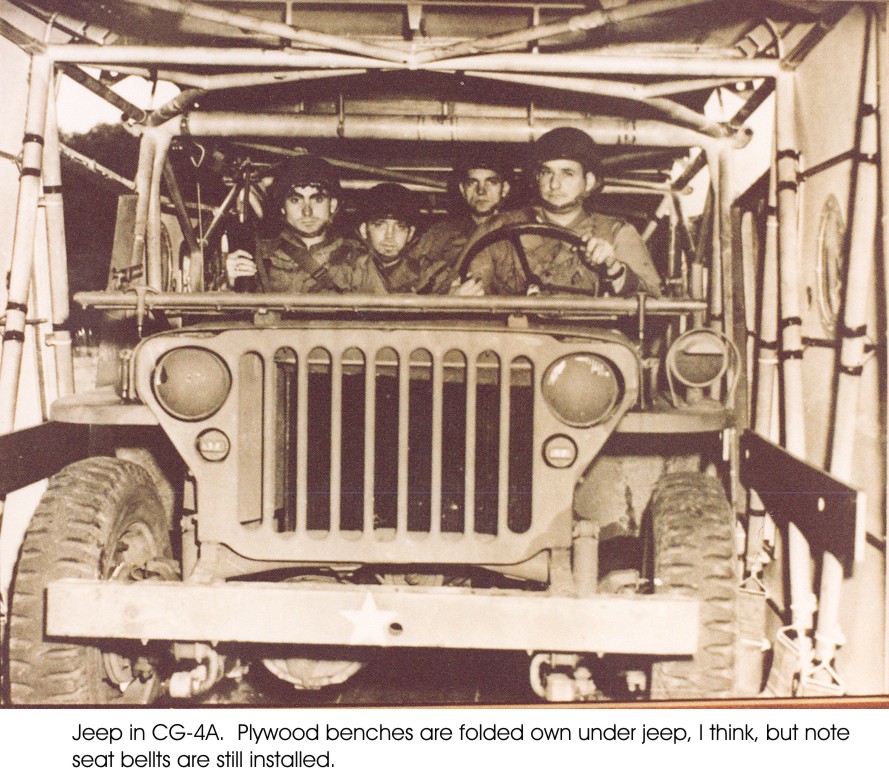
But first a couple of photos of the real thing:
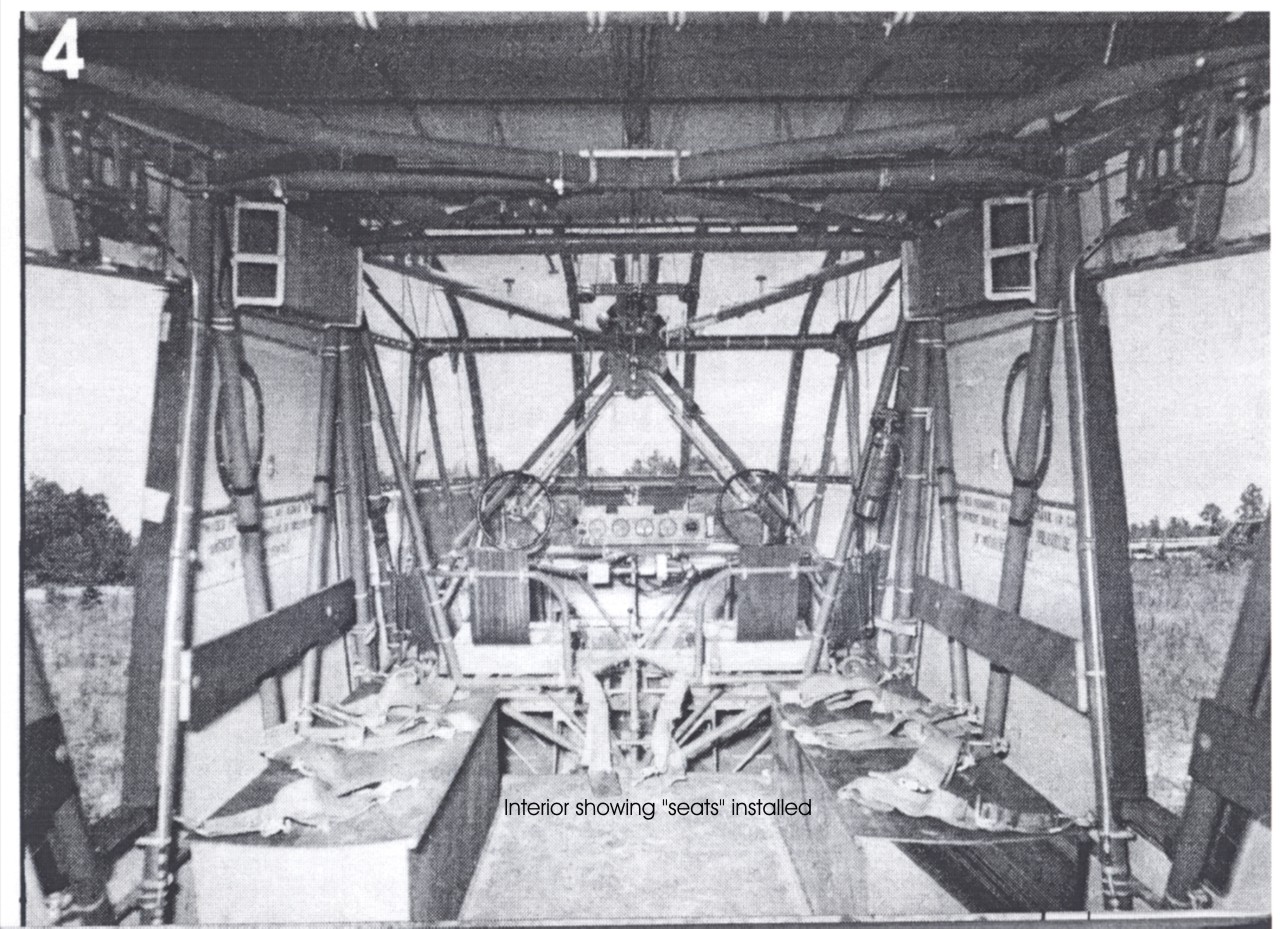
These guys do not seem to have a real positive attitude about their situation, do they.
Here's the Italeri cockpit under construction.
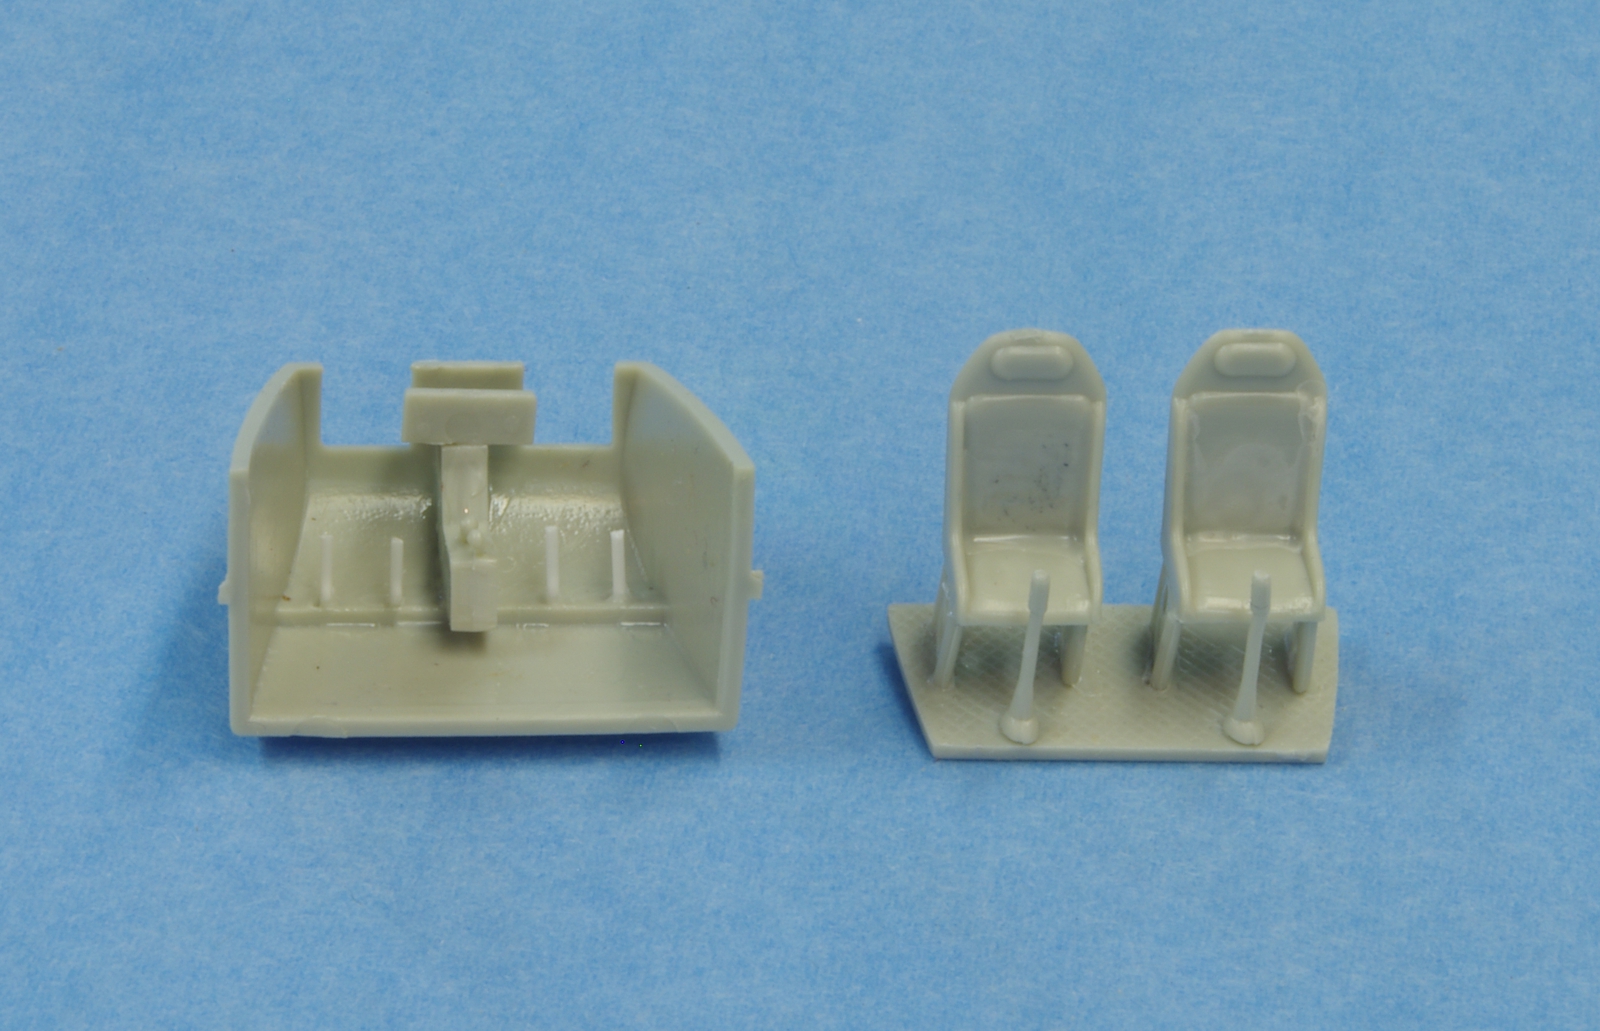
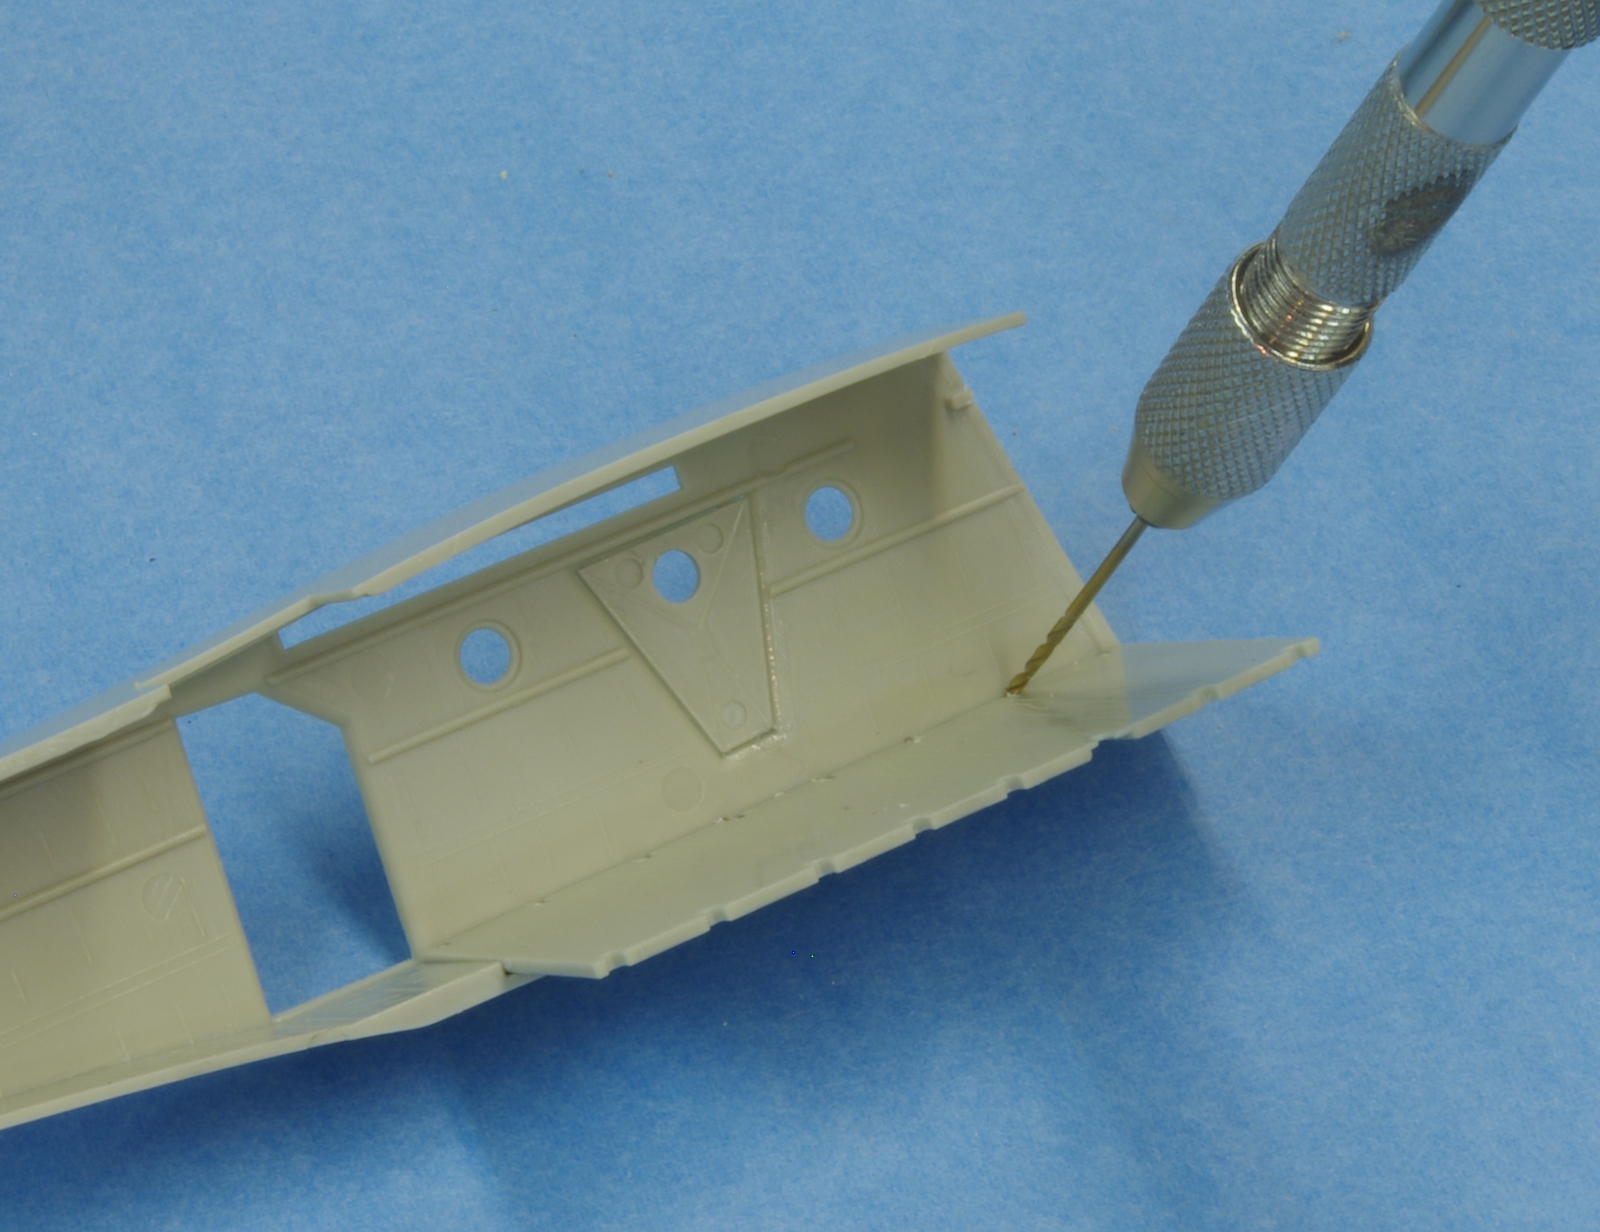
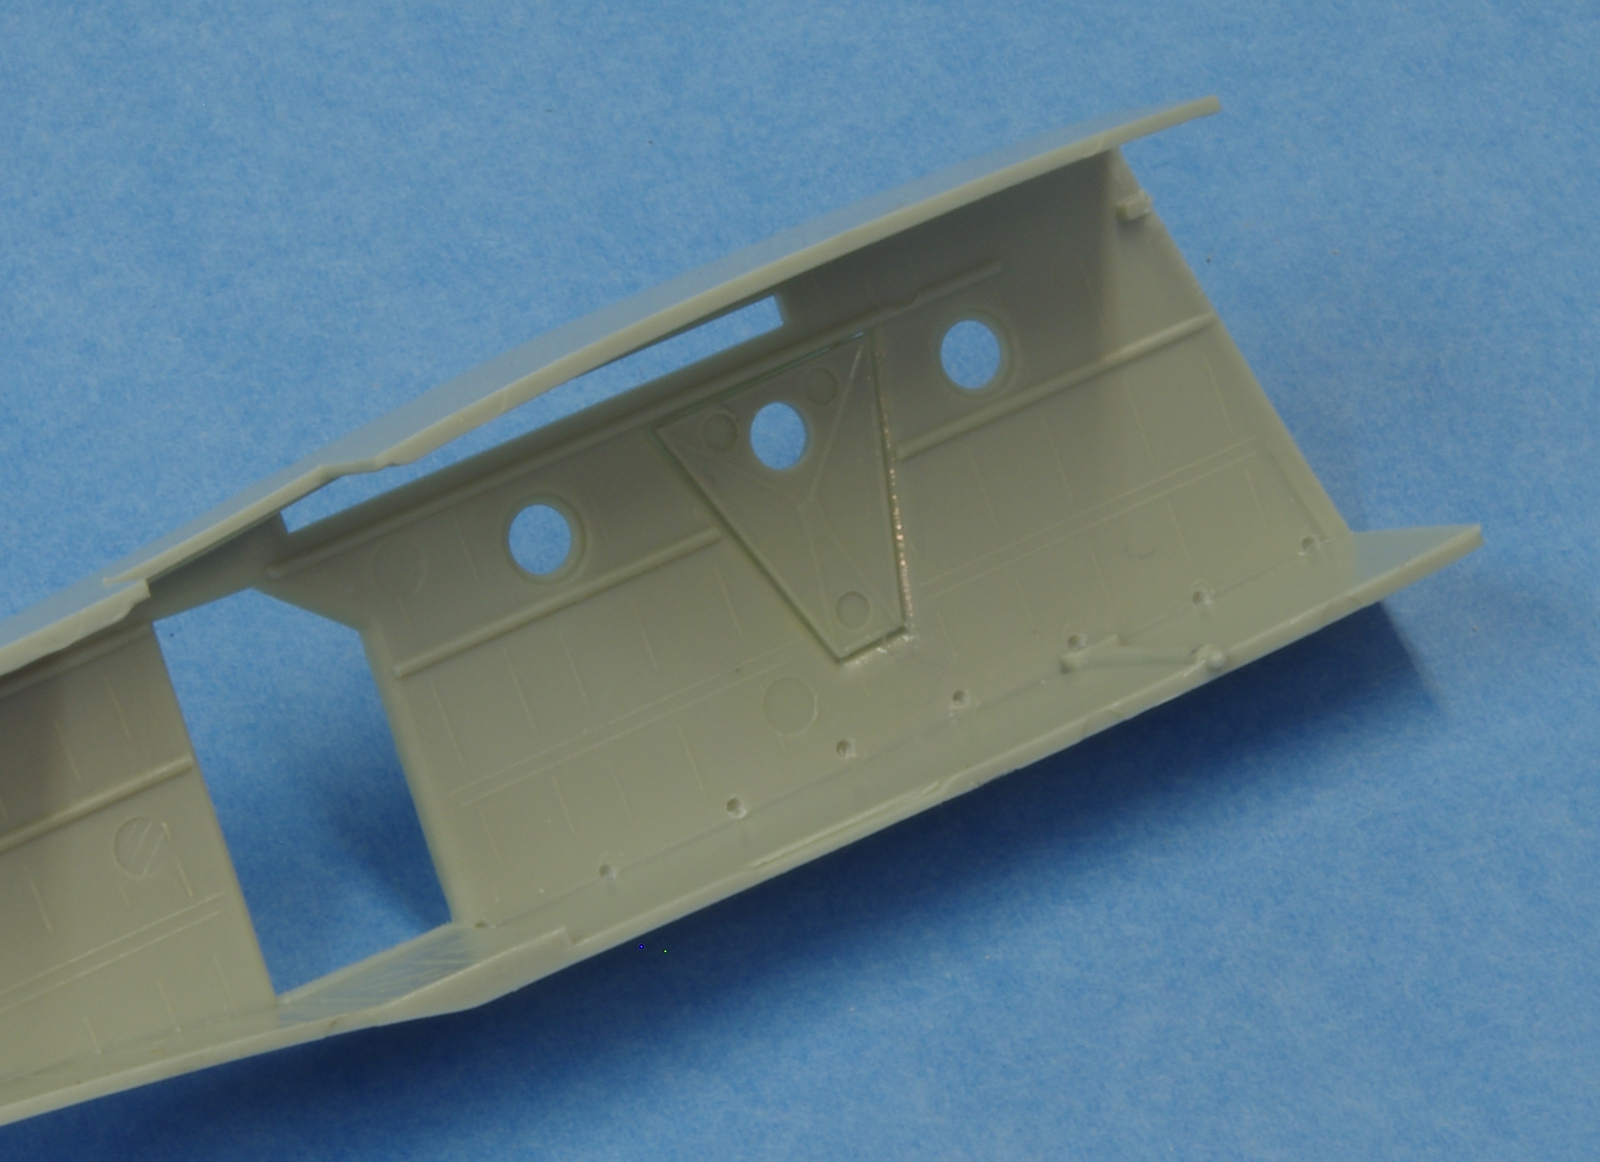
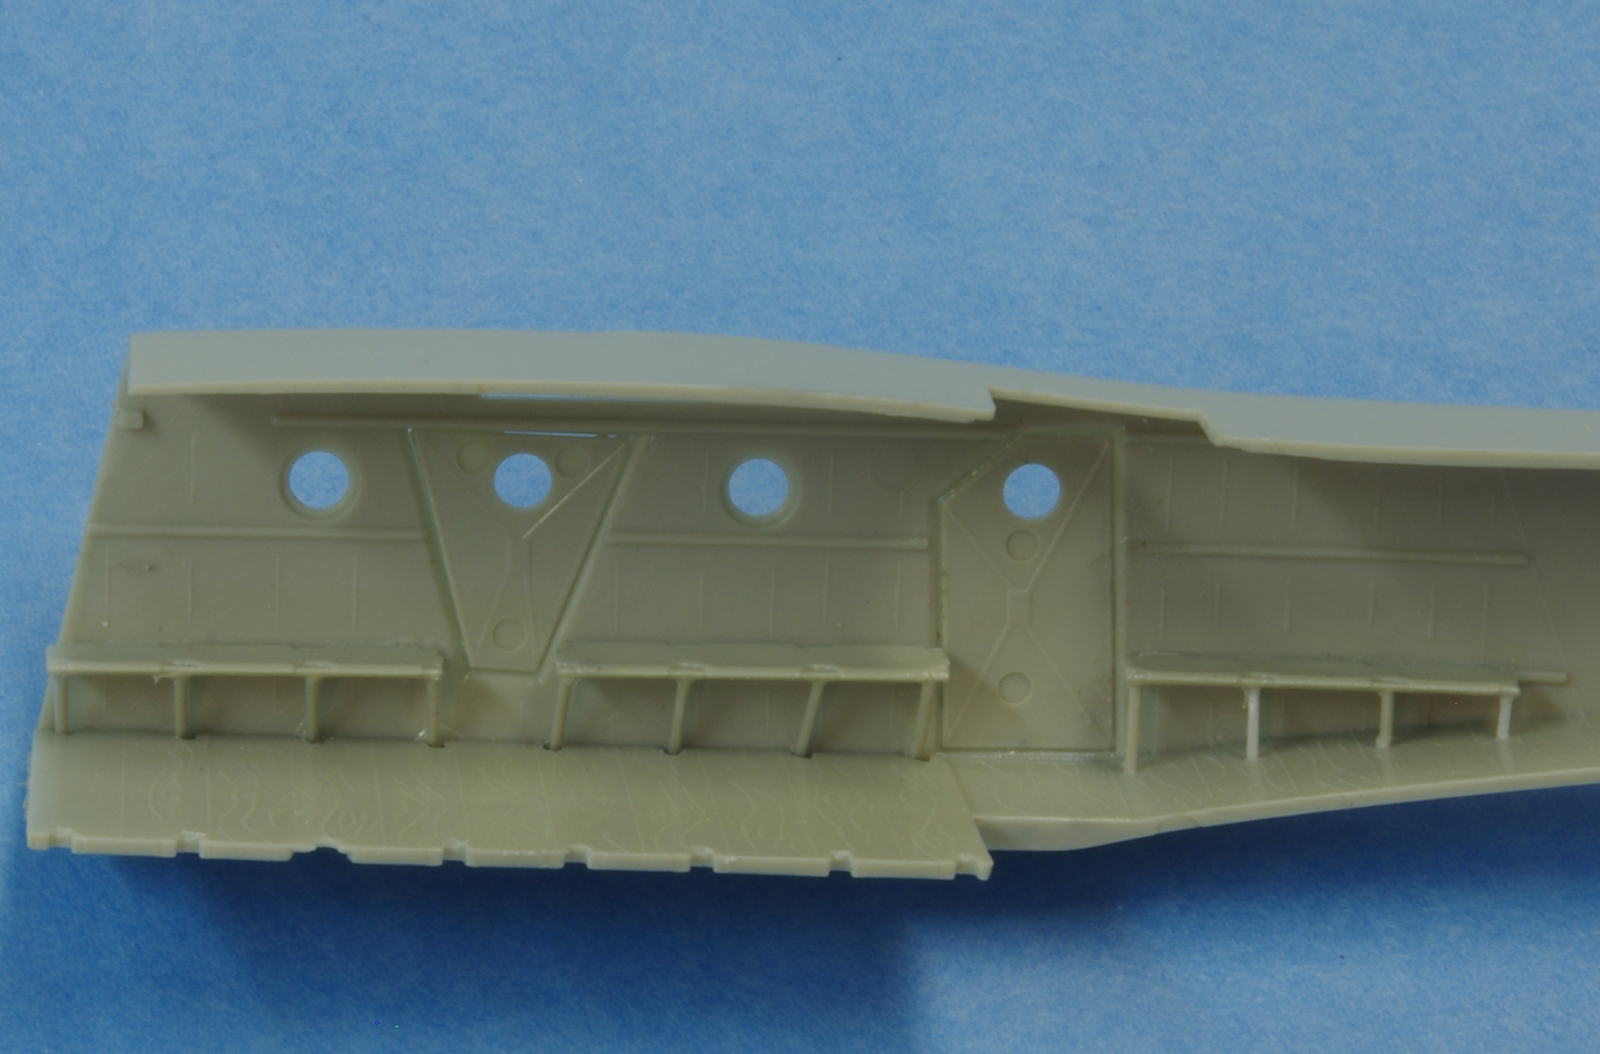
The seat arrangement is more like a modern helicopter rather than the rudimentary plywood affair in the picture above, but basically they are in the right locations. I couldn't figure out what Italeri had in mind as to installing the supports under the seats, they have to be spaced properly so the floor fits, but you have to put in the seats before you put in the floor, at least on one side. I solved the problem by putting the floor in place and drilling indentations where the floor was relieved for the legs. I attached the legs to the seats using very thin glue from a Touch-n-Flow applicator, similar to Tenax, then put that section of seat in place using the indentations to locate the legs. There are a lot of little tiny parts here!
I wanted to pose the elevators deflected down for a little animation, so I scored them using a JLC saw and the back side of a #11 exacto blade, bent them when the cuts were deep enough and flowed some glue into the joins on top and bottom. It's always an issue trying to get equal deflection, but I solved that with a Rube Goldberg construct, both stabilizers are clamped in the big clamp and the clothespin holds both elevators.
