 f4fair by Eric Bergerud, on Flickr
 cactus6 by Eric Bergerud, on Flickr
 lft-ft by Eric Bergerud, on Flickr
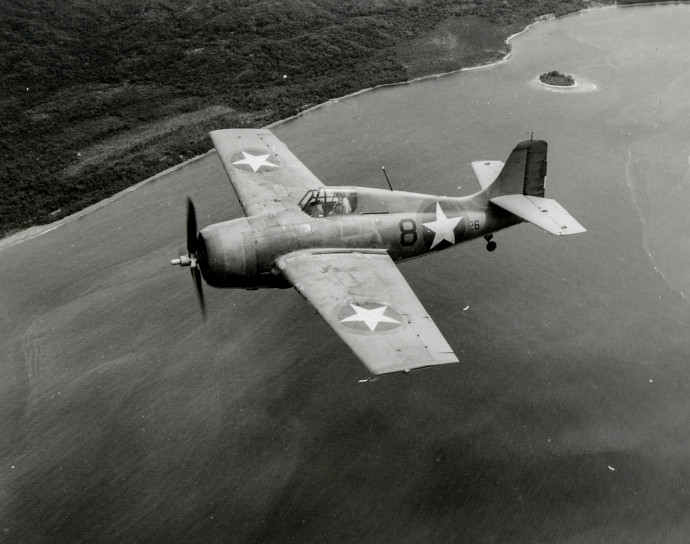
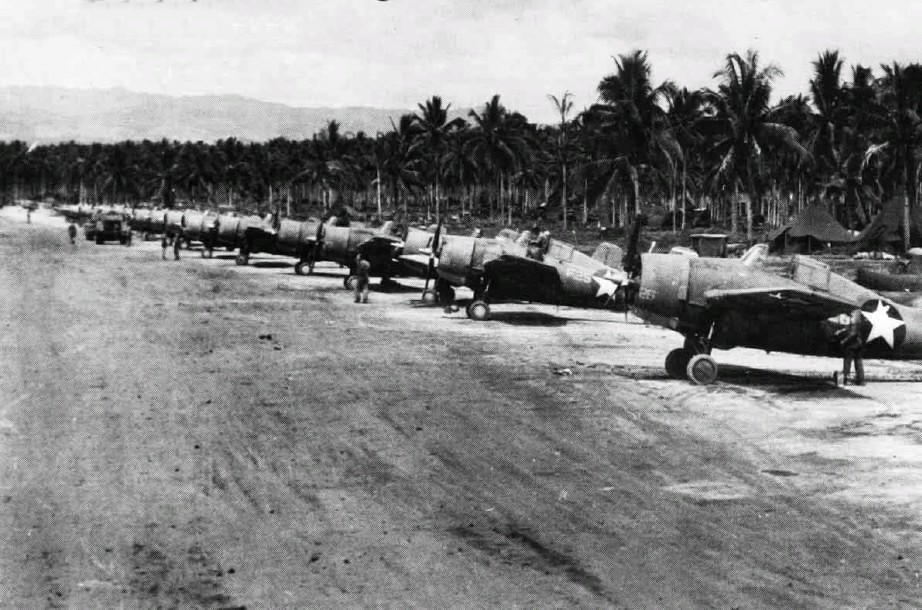
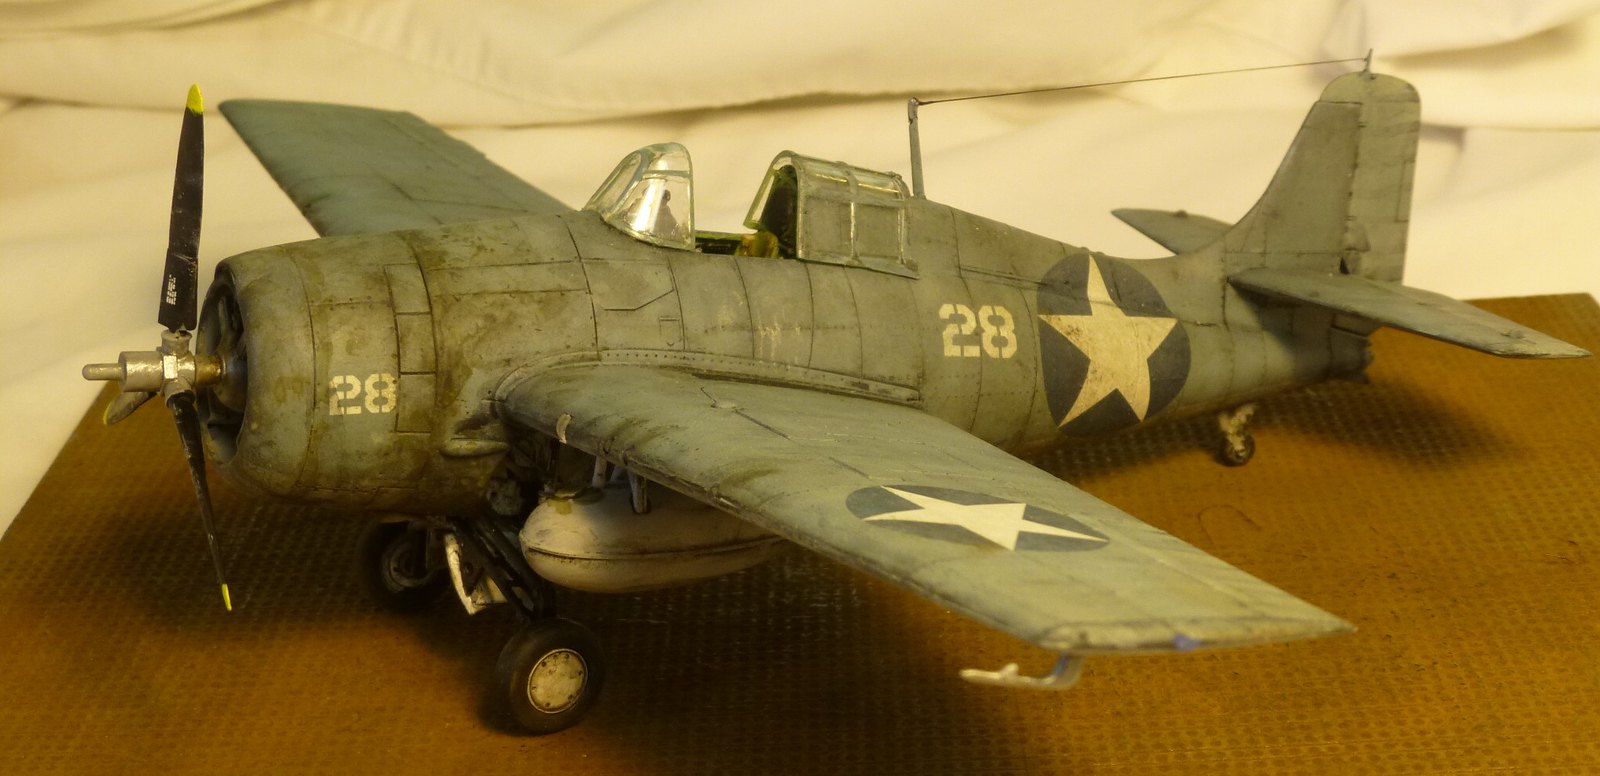
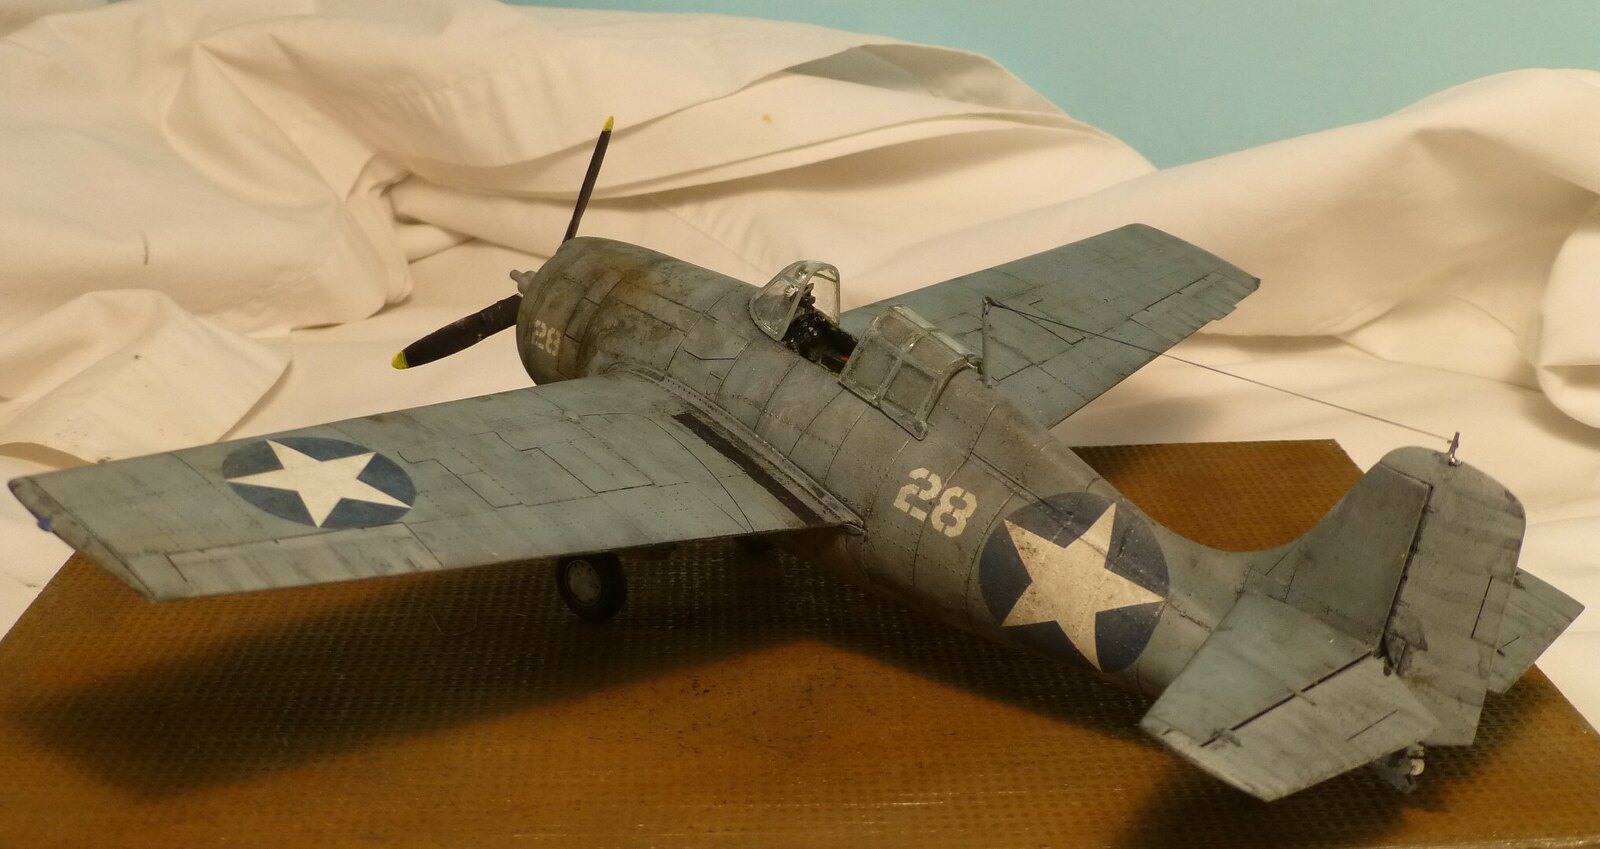
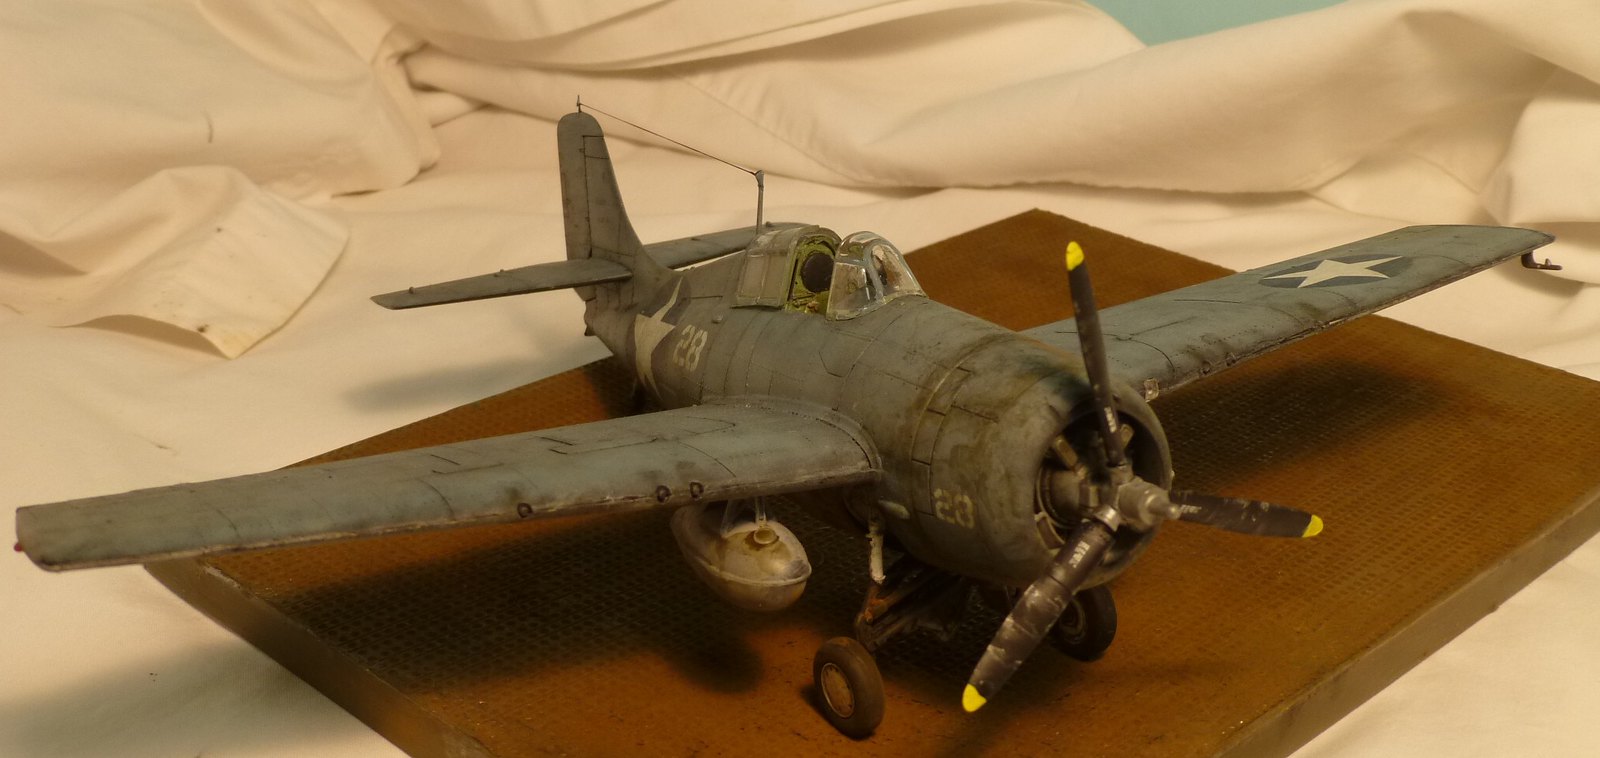
OK: Tamiya Wildcat has completed its tour with the Cactus AF. Guadalcanal was a miserable place to fight a war for man and machine. The island is almost exactly on the equator which means its very wet and very hot every day - you could get rained on and get hit with a dust cloud at nearly the same time. The field was dirt on top of Marston matting - not even proper revetments until pretty late and right next to the sea. So add salt air 24X7 into the mix. And let's remember that American industry was using cadmium for armor plate instead of paint pigment so its matte paints faded quickly. The island was under periodic air attack (two to five times a week) for three months. If you add in patrols, planes were in the air a lot, and many were flying craft that should have been at the airplane doctor. (Aircraft technology in WWII was very crude in our terms. So "reliable" is a completely relative term. American planes were all strong and reliable - for WWII fighters that were all "hot" and inherently dangerous aircraft. Think of aerial combat the way a Indy or Formula 1 driver would look at a race. Even if pilots were experienced enough to "feel" what the gauges were telling him, mechanical failure was extremely common. And men were flying over either the ocean or the jungle - either could inhale a pilot in a chute. A dicey proposition - but times were desperate and life cheap.) So if WWII planes were being worked too hard, it would have shown. And if you look at images of aircraft from the Pacific War, especially from the Solomons or New Guinea, they're a tired bunch, especially as the theater was very low on the allocation priority list for new aircraft - only China-India-Burma was lower.
Hope this explains the heavy hand at weathering needed for a South Pacific fighter. (I've got a New Guinea C-47 planned - it will be worse.) As noted earlier I have followed Doog's build log for a splendid Tamiya 1/32 Corsair. We've gone through black basing leaving a nicely mottled finish. Then came fading with oil dot filters. Last are panel lines, filters and pigments. Here I'm on my own. Doog used AK enamel products which are very good in my experience. But I want to see if I can get solvent free, so I decided to rely on Medea Com.Art paints, Flory washes and some pigments.
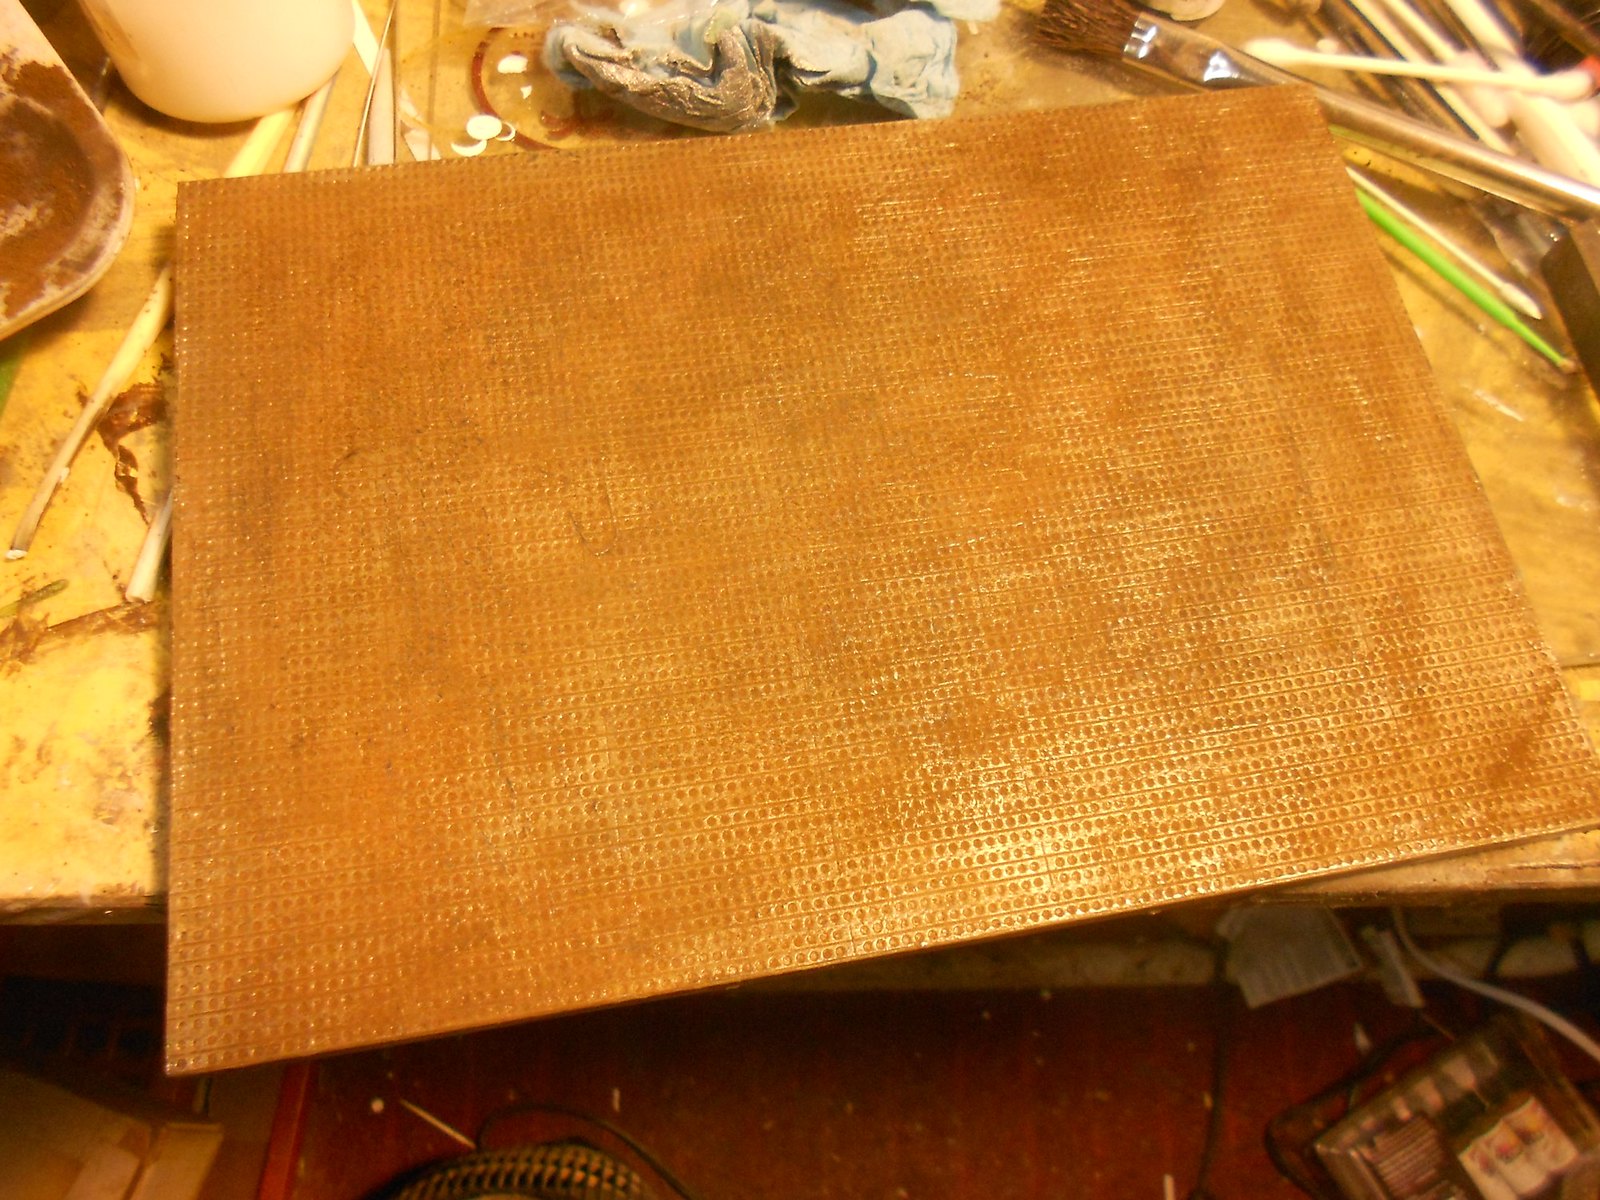
Word about the base. Space is a serious issue at my place so I won't be making dios for airplanes. I got a good deal this piece of plastic from Eduard done in a pattern that evokes the extremely useful US developed Marston matting (or pierced steel planking if you prefer) found in quickie airfields throughout the world after Pearl Harbor. Ultimately Guadalcanal hosted four strips - Fighter 1, Fighter 2, Bomber 1 and Bomber 2. As I recall B2 was given proper pavement, the others all Marston matting. (Fighter 1 was originally dirt.) The stuff rusted fast but on volcanic islands like Guadalcanal there was so much rain that the mat sunk into mud/dust (depending upon the hour.) I checked some pics of today's Henderson Field and the soil is reddish brown as I recalled soldiers saying was common throughout the Solomons - volcanic islands all. (The famous strip at Munda Point on New Georgia, which hosted elite Corsair squadrons, was a freak. It was rolled coral which made for a great field if you didn't mind operating out of a sand paper airstrip. If so you see some of the famous pics of highly chipped Marine Corsairs, they're from Munda Point. I saw no evidence of serious chipping from Cactus planes.) Anyway, the base is okay. I painted it bronze and gave it a healthy black wash with Com.Art and followed with pigments. On some fields the matting is very evident, some it's basically invisible, so we'll split the difference. (You can get resin PSP pieces but they're very expensive.) This will serve for a planned C-47, A-20, Corsair and P-38.
 base by Eric Bergerud, on Flickr
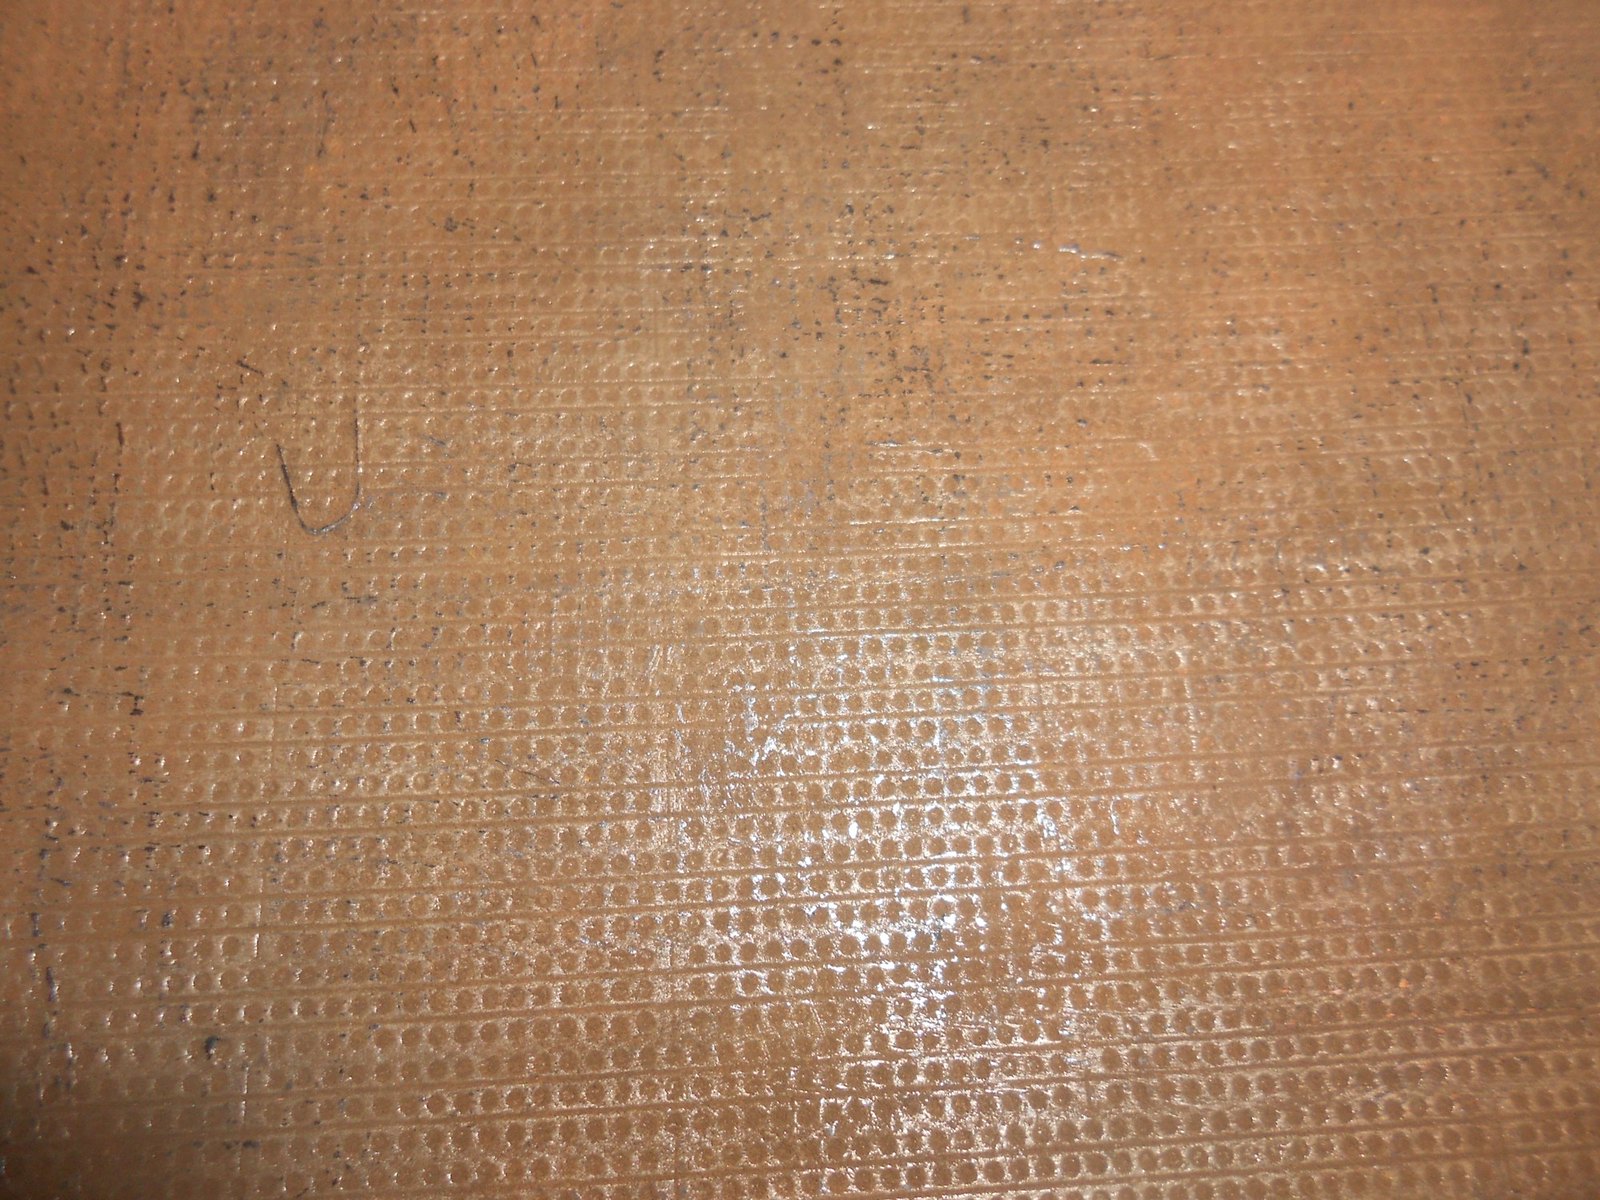 basedet by Eric Bergerud, on Flickr
I treated the underside of the Wildcat very differently than topside. I did the black basing but skipped the oils. I figured that fading would not have been a major factor below, but that dust and mud would have been worse. The reason should be obvious. I used the Flory Dark Dirt Wash for most of the effect.
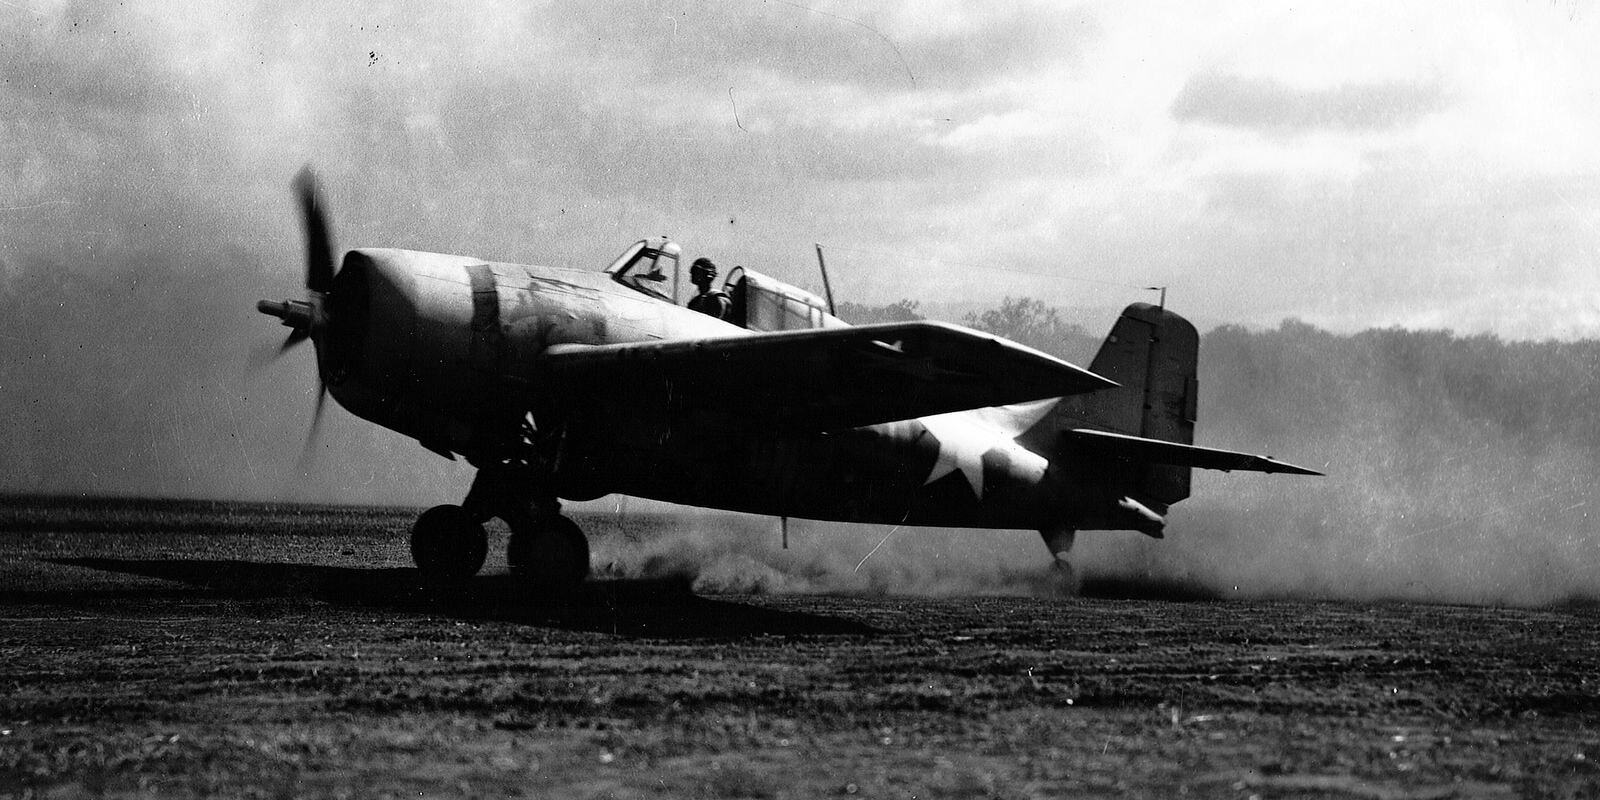 cactakoff by Eric Bergerud, on Flickr
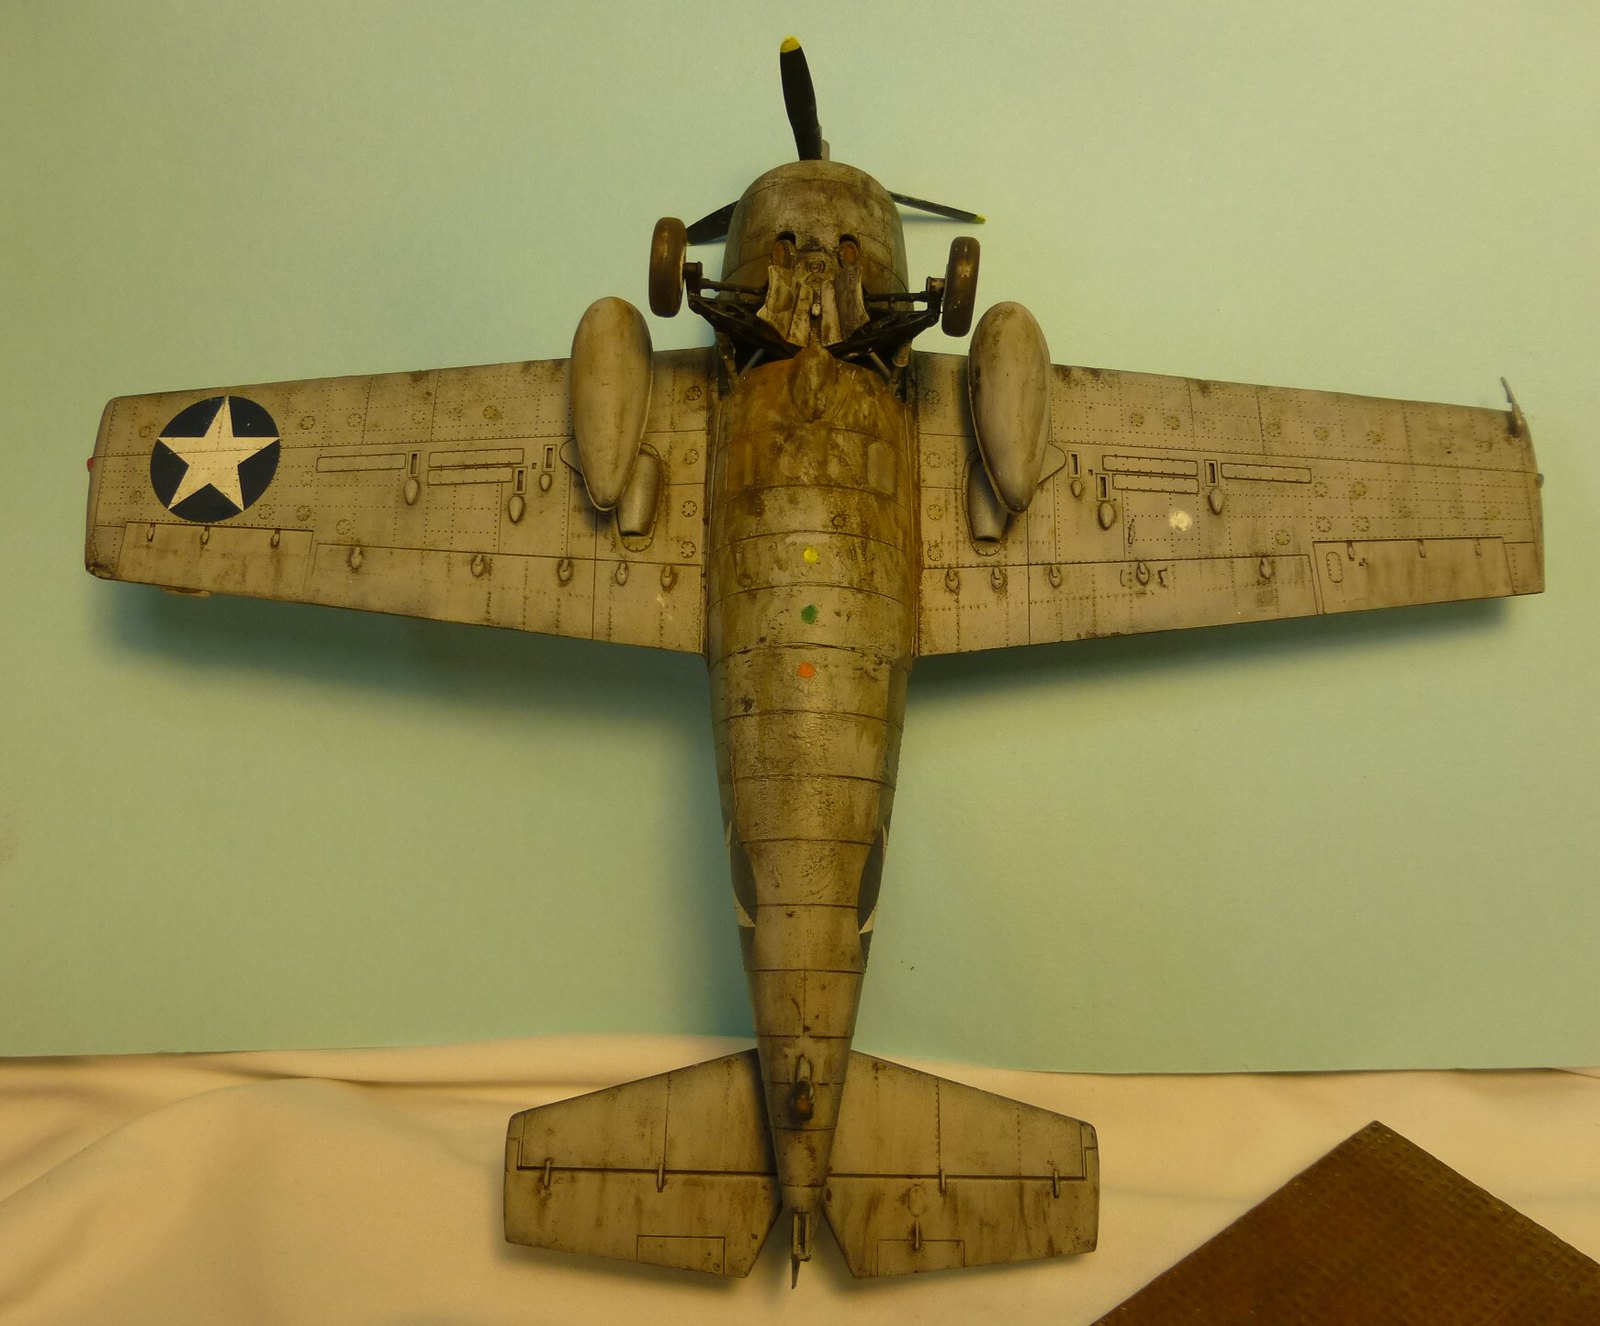 below by Eric Bergerud, on Flickr
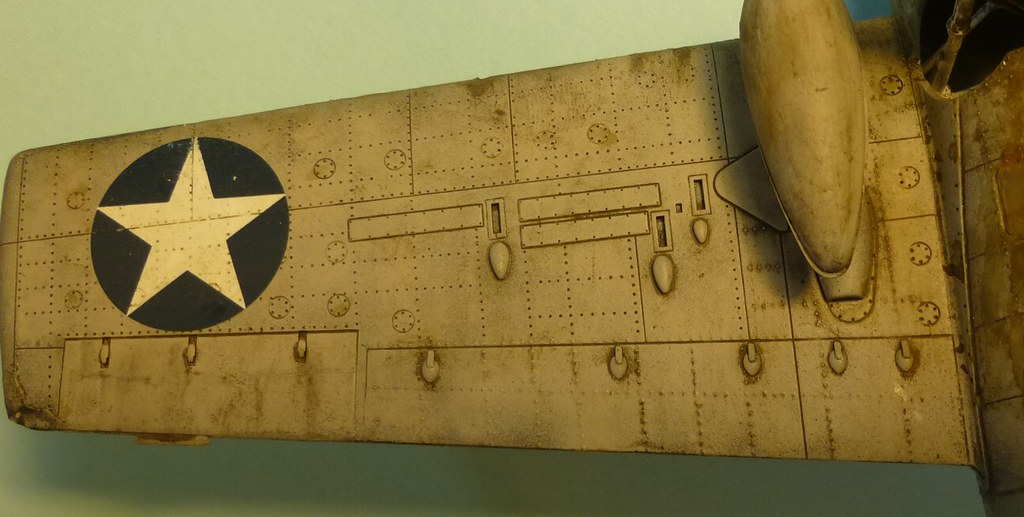 belodet by Eric Bergerud, on Flickr
Iwata Medea Com.Art paints are hard to describe unless you've used them. They are a major brand in the world of professional airbrush artists for use on textiles, canvas and figures. They have a hydro-carbon binding agent that is very unlike the polymer found in Vallejo/Golden or the solvent brew found in Tamiya/Gunze. There are two weathering sets out there for railroaders, and that's where I ran into them. The texture is a little grainy and I think it would be much too fragile for base color on styrene. But each color has an opaque and transparent version - this allows a good artist to employ an equivalent of glazing. And it makes a great weathering paint. The grainy texture gives a kind of grime on the transparent versions. I use transparent black or transparent blue-gray smoke. You don't cover a whole area like you do with Flory washes. Instead paint the panel lines with it, let it dry, and wipe most of it off. I also find it ideal for creating a blotching surface - especially if trying to emulate exhaust or fuel/oil stains. Do note that - as advised by Doog - there is a lot of blotching and staining near the front. Radial engines burned a lot of oil especially when kicking out 1200 horsepower and receiving imperfect maintenance. Should also mention that Com.Art can be "revived" with water after it's dried, making it possible to tinker with the effects. (Adam Wilder is putting out a line of acrylic washes that can be "revived" - I think I know what they'll be like.)
I like Com.Art for panel lines a lot - they're less distinct than enamel or oil washes which is fine by me. I've been looking at airplanes via modelers' eyes for the past couple of years and I think panel lines are easy to over do. In some cases they're very evident. The bulkheads on the Grumman planes were heavy things and left very notable lines. But in many cases lines are indistinct but not invisible. So if I like a paint because you can't see it very well, there's method if not madness. I do supplement washes with Verithin color pencils which I can get very fine with an electric sharpener. Everyone will get different mileage but I like the combination of black basing (some lines you leave alone - they'll stand out) Com.Art washes and pencils better than pre/post shading and enamel panel line paints. Black basing etc is more irregular than more standard techniques. I'm not saying that it looks as neater, but I do think that it better evokes weathered aircraft where "distress" was irregular - nearly random. Anyway, after the Com.Art was done, I sealed the model with the really neat Windsor Newton Matte Varnish thinned with Mr. Levelling Thinner. (Vallejo's varnishes are good, but not that good, so I made that conession to water based modeling.) After I added a little more blotching done with oil color mixed with gloss for the odd fuel stain. Here are a couple of details:
 lft-ft-dt by Eric Bergerud, on Flickr
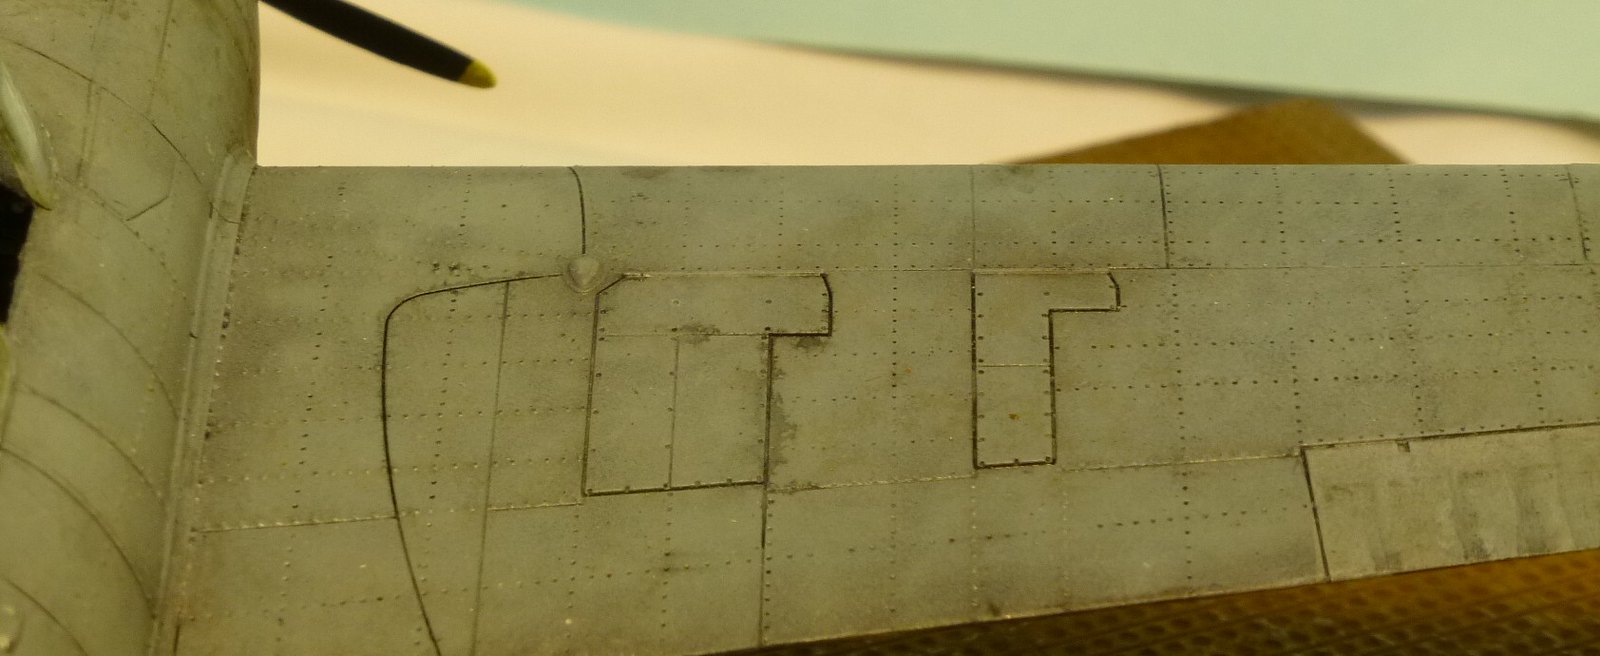 rt-w-dt by Eric Bergerud, on Flickr
 geardet by Eric Bergerud, on Flickr
But not done. I made one serious blunder which had me close to madness. I am still looking for the perfect canopy. I have trouble with overspray if I mask the canopy and attach it (maybe temporarily) before painting and weathering the plane. So I do the cockpit individually and protect the cockpit and engine with tissue. I used Alclad acrylic Aqua Color for a dip. After curing I masked it and painted the frames the light-blue gray, cut with a little white. I took off the masking - things looked pretty good and I put them aside. Then I put them back on and attached them with Formula 560 Canopy Glue (made by the Zap people). A quick dry fit earlier had looked fine. But I wasn't really awake. You know how contemporary kits have separate clear parts for a closed and open canopy? Tamiya wasn't doing that in 1995 and the front part went on fine but the rear wouldn't set correctly. So I decided to leave it closed. But then the difference between the clean canopy frame and the highly weathered plane was pretty obvious, so I thought I'd get out Com.Art and apply it gingerly. Then I remembered I hadn't sealed the plane. Curse. Remove the canopy and seal the plane. Judging from the decals - which were fine but obviously not made last week - this kit was made several years ago. So I'm trying to look at the rear portion, thinking maybe I could still get it on in the open stance. And cracked the thing in two. Also, in the process of all of this handling, the Alclad was picking up stains. I know some swear by Aqua Color - it's possible mine is too old. In any case, the front was badly clouded. After panic settled down, I used Lysol to clean the part. That worked okay but there was still some cloud. So I dipped it in Pledge and that gave decent results. The Formula 560 was great stuff and although you can see the crack on the rear (but only if you look for it), it was no problem to put it on in the open stance. I used EZ Line for an aerial and damnation if it isn't really in scale. But I've been thinking about the Sunderland I owe Bish for the RAF GB for a couple of weeks and lived with the imperfections.
Below are pics of the plane.
Eric
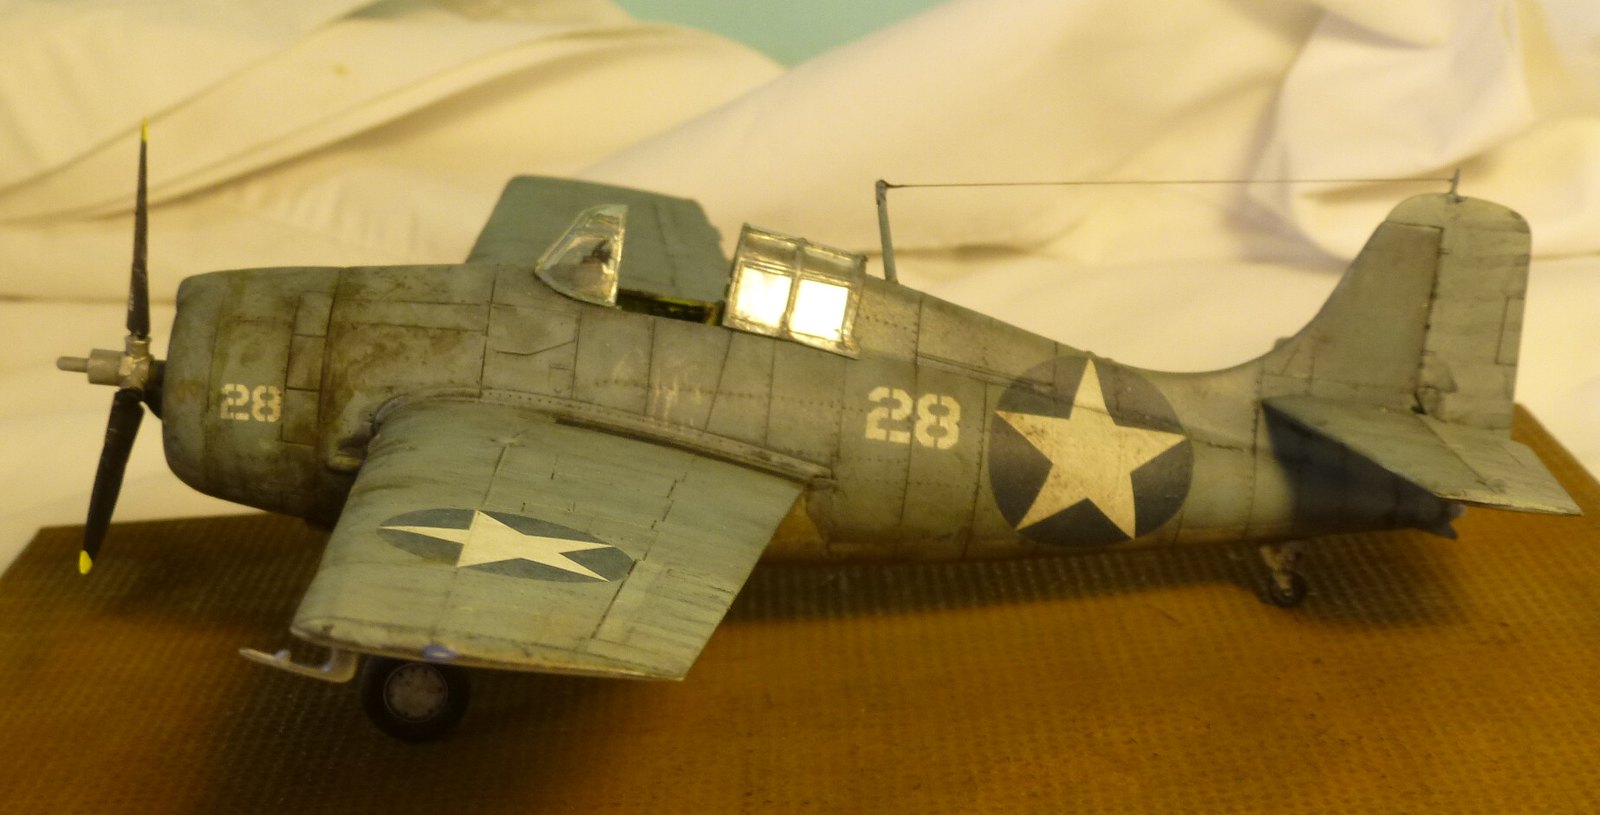 left by Eric Bergerud, on Flickr
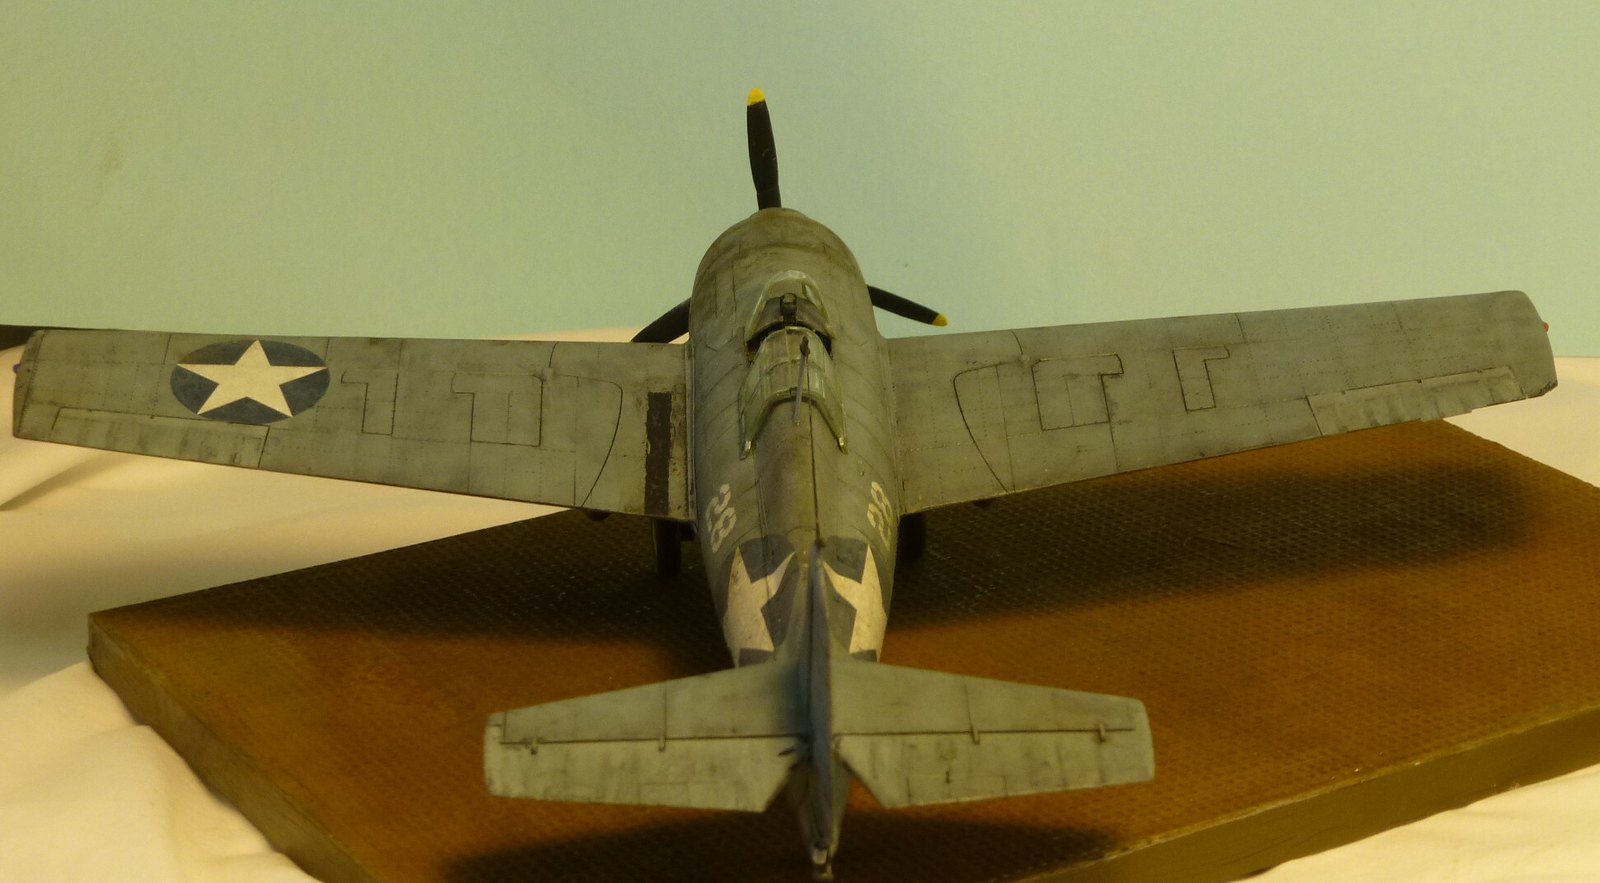 rear! by Eric Bergerud, on Flickr
 right! by Eric Bergerud, on Flickr
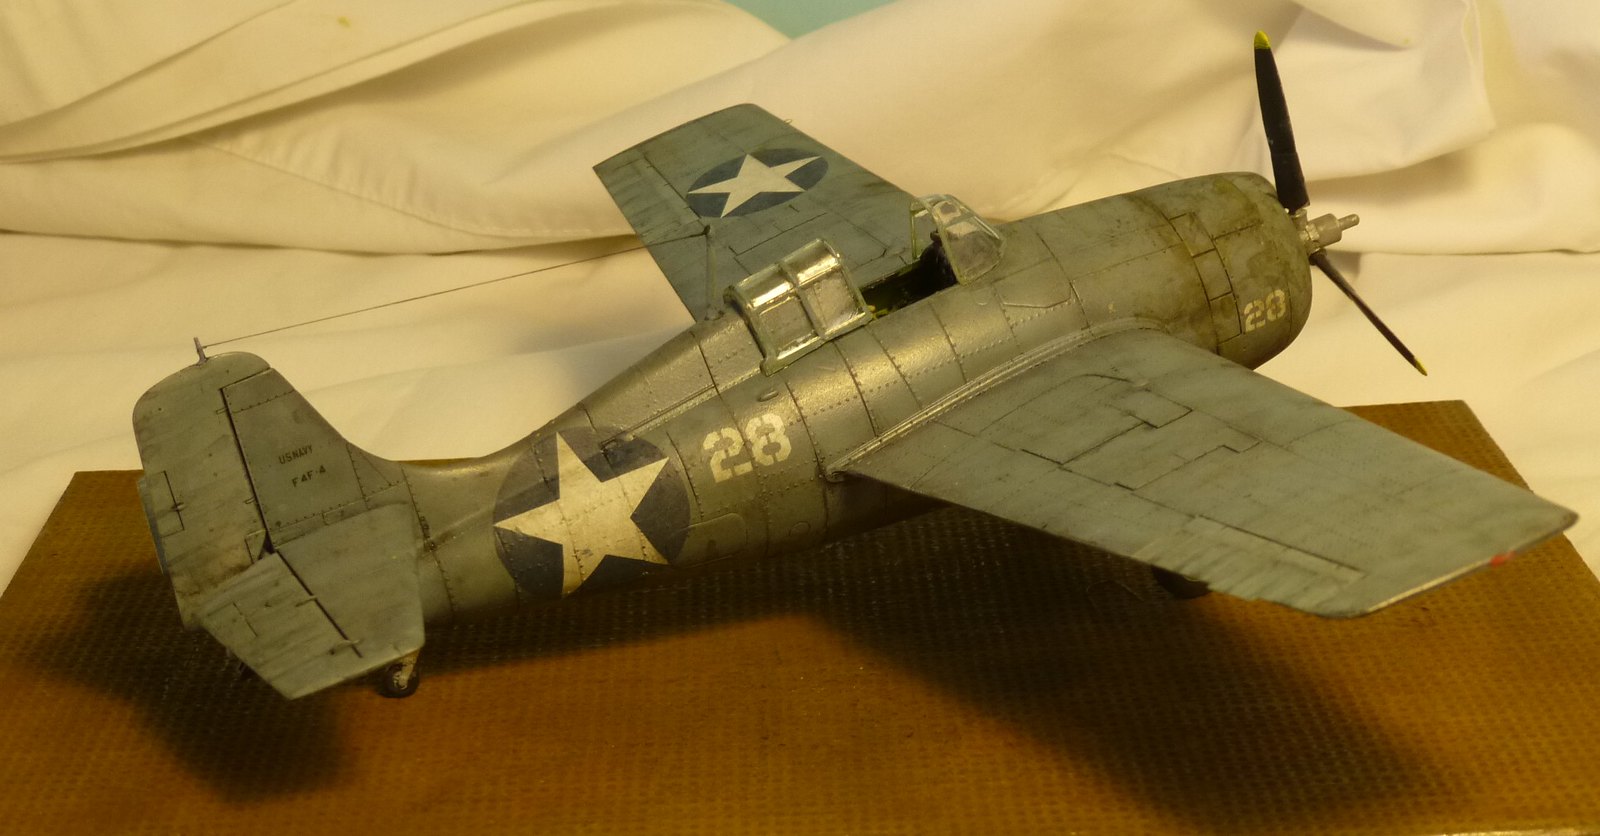 rt-r by Eric Bergerud, on Flickr
 lft-r2 by Eric Bergerud, on Flickr
 rt-ft by Eric Bergerud, on Flickr