Brandon,
Nice job on the Mig! You're right, don't see a Cuban bird every day.
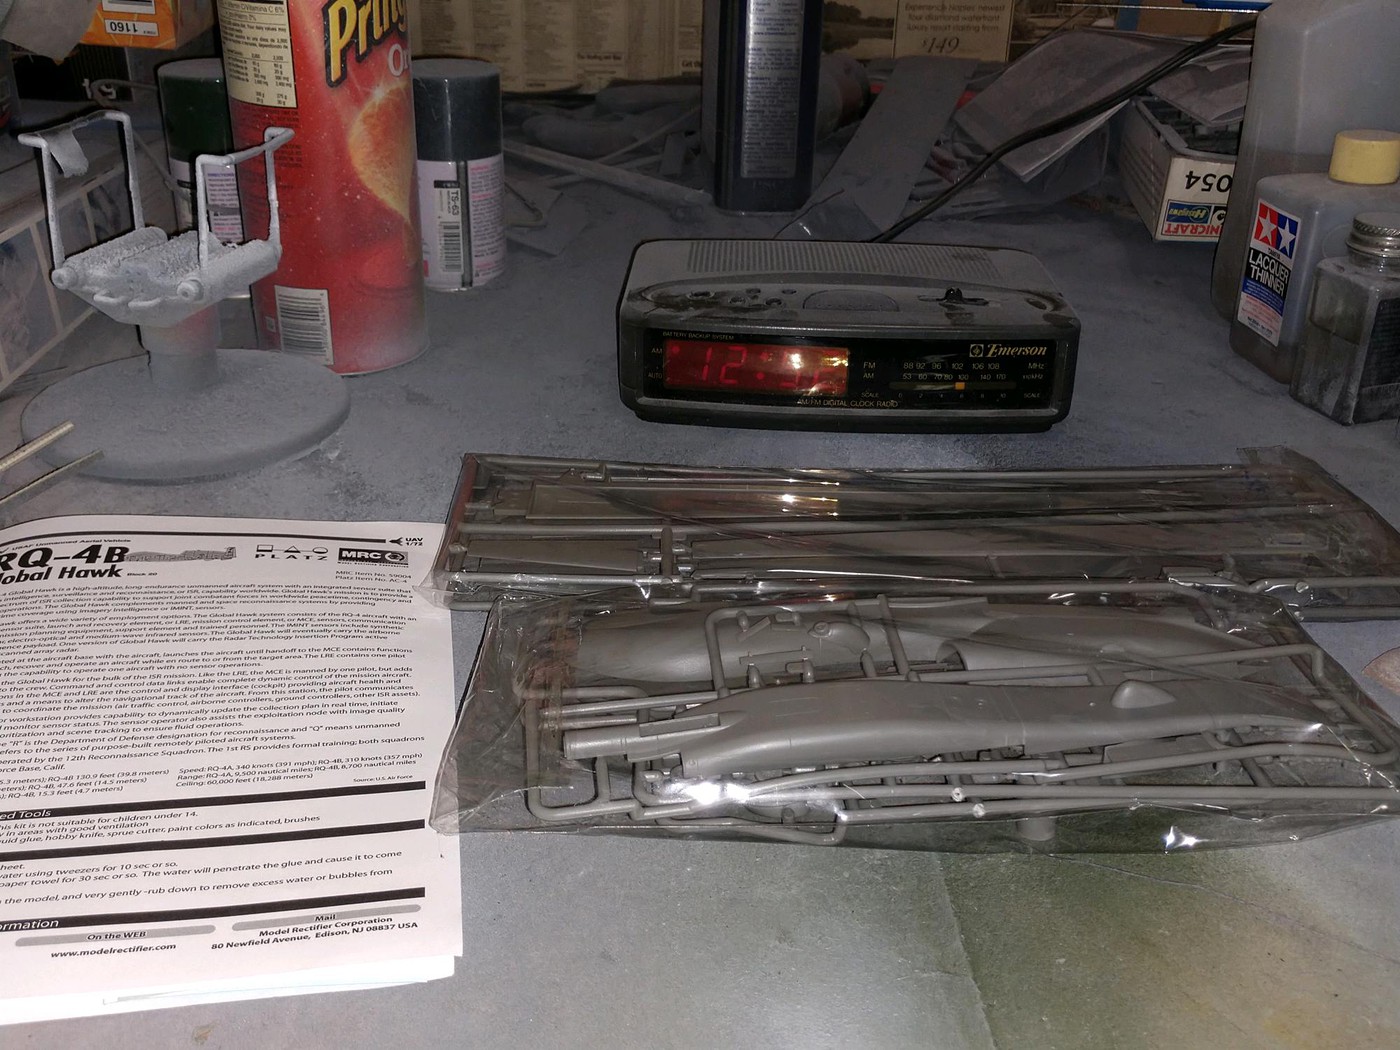
Well, here's my status so far on the Global Hawk. I started on Thursday 12/6/18 in an attempt to build this for the infamous Weekend GB. I thought it's a kit with 36 parts, all the reviews I'd read said it fit pretty good, what on earth could go wrong? When somebody asks me that question, my response is why would you want an answer to that question? Well, I got the answer and it wasn't the answer I was looking for. Needless to say, I missed the goal and here is where she's at now.
The proof of unstartedness pic:
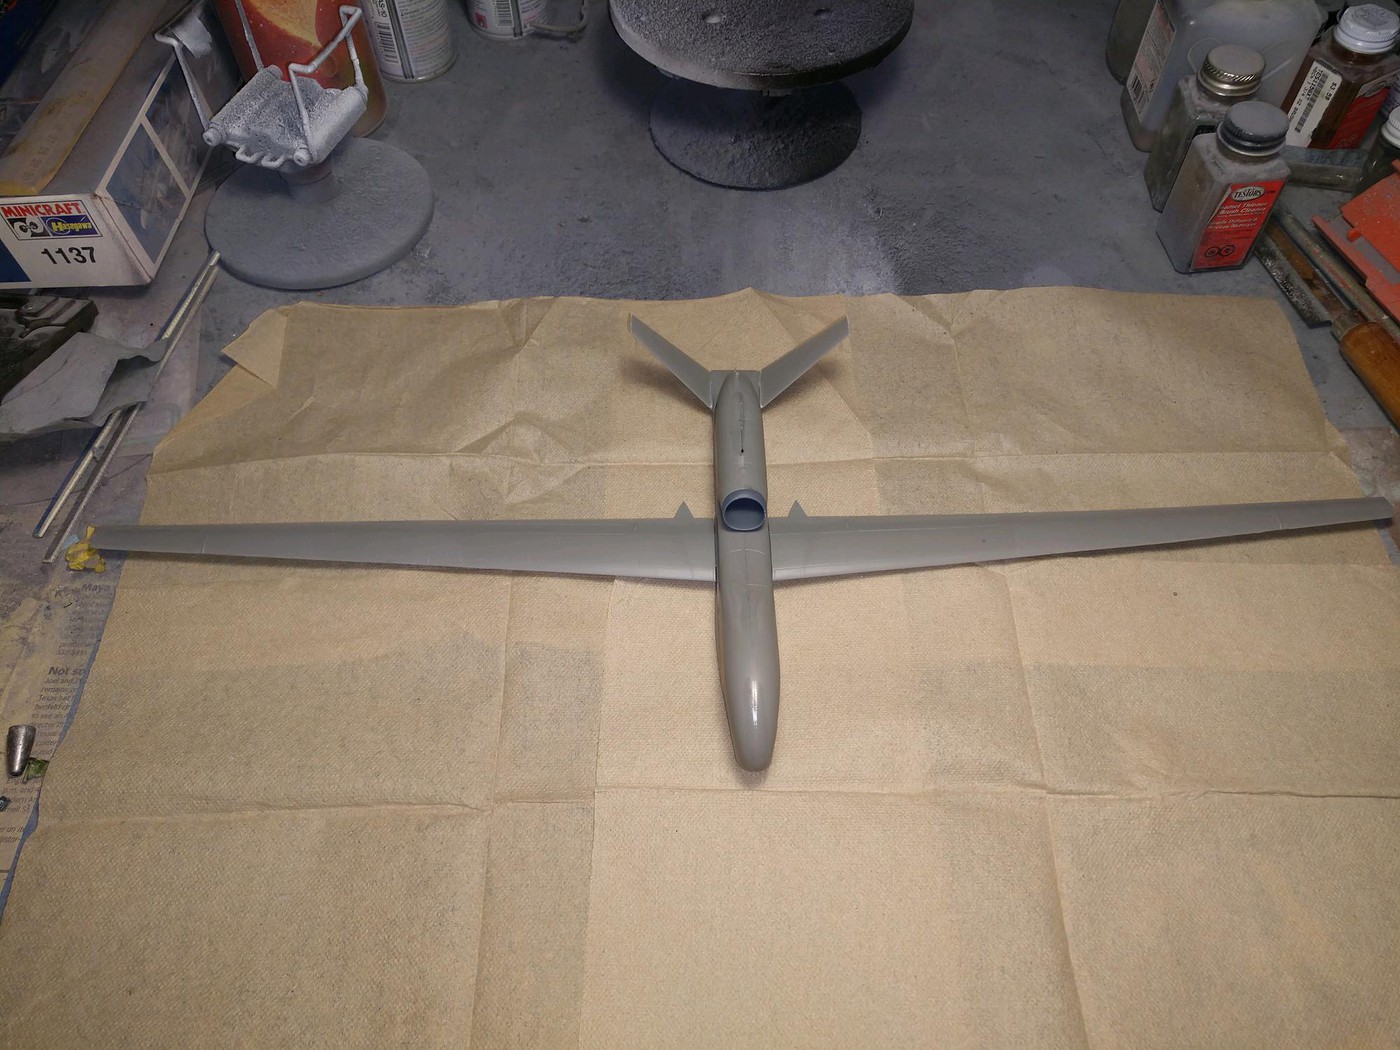
Wings assembled and mocked up. This thing is huge!:
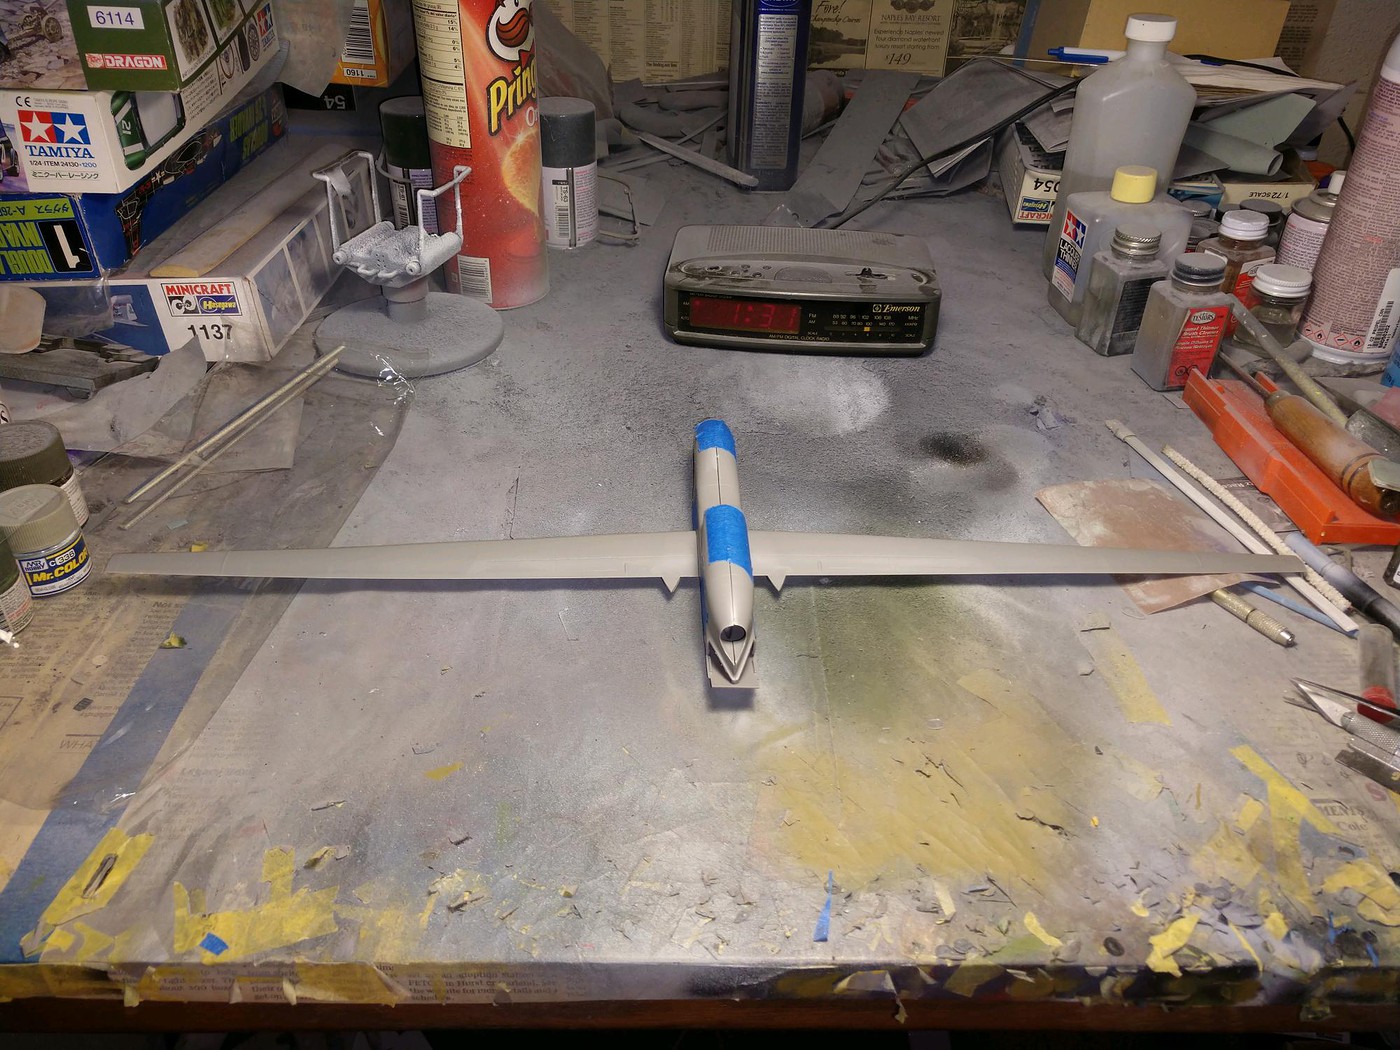
At one point I thought I'd lost one of the wings. Now I've lost a golf ball in the middle of the fairway after watching it land, but I thought how in the heck do you lose a 13 inch long piece of plastic? Found it in the box after 15 minutes of frantic searching, standing on the leading edge up against the side of the box.
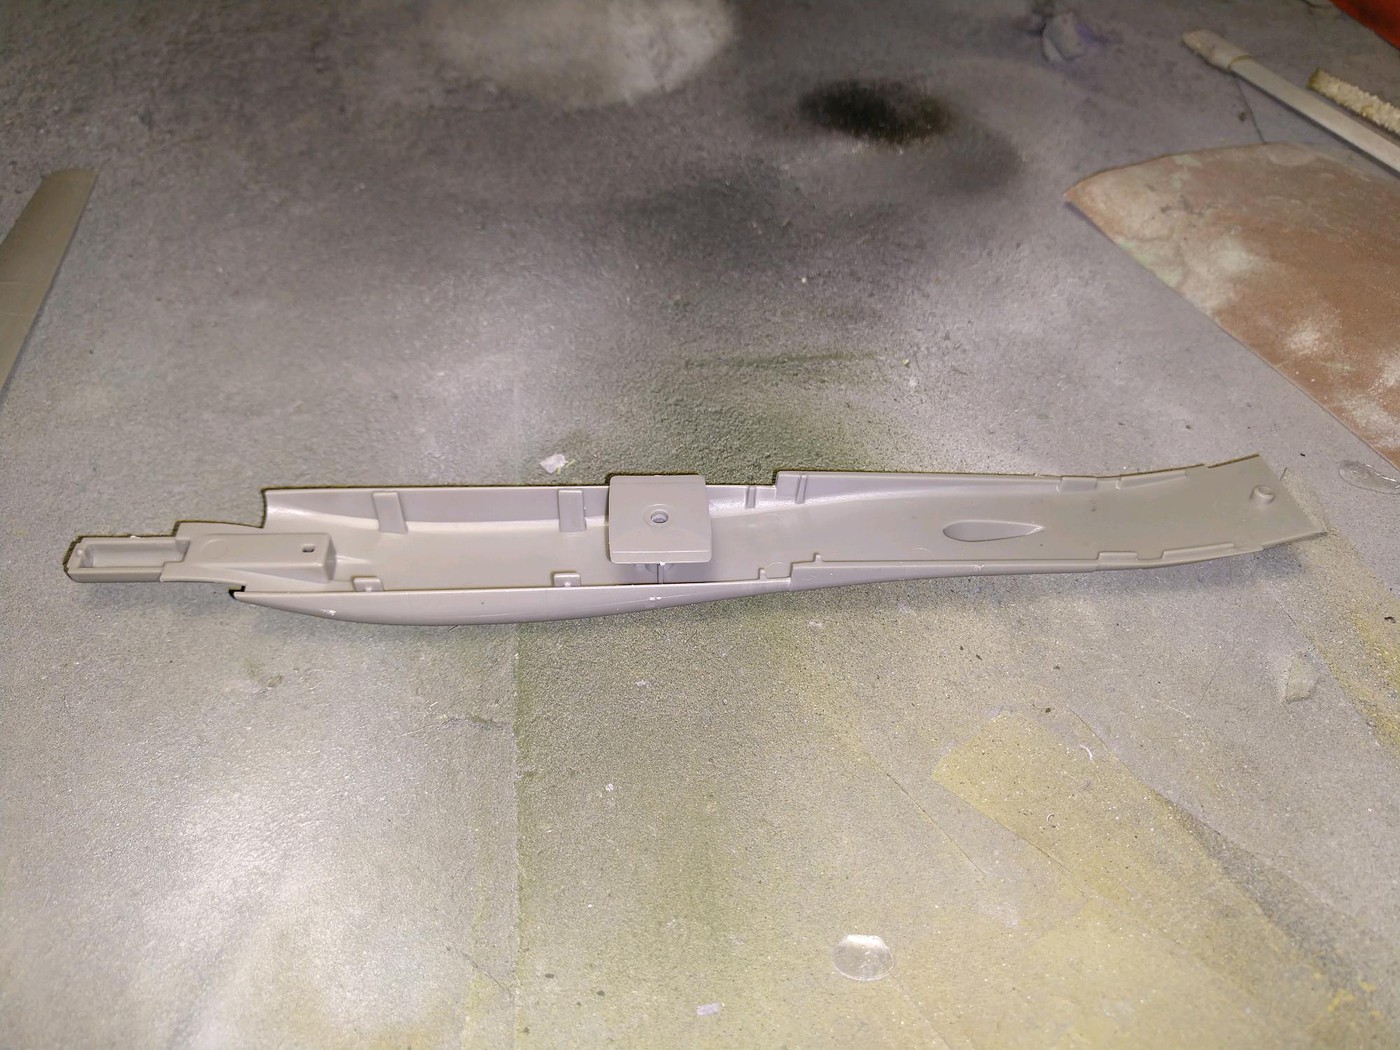
The bottom of the fuselage. The square piece is important as it not only helps align the wings, but the four bumps on the bottom (two on each side, not shown in pic) allows the wing to snap in place. The gap is a little larger than most would like on a contest model,but perfectly adequate for a build that's going on the shelf.
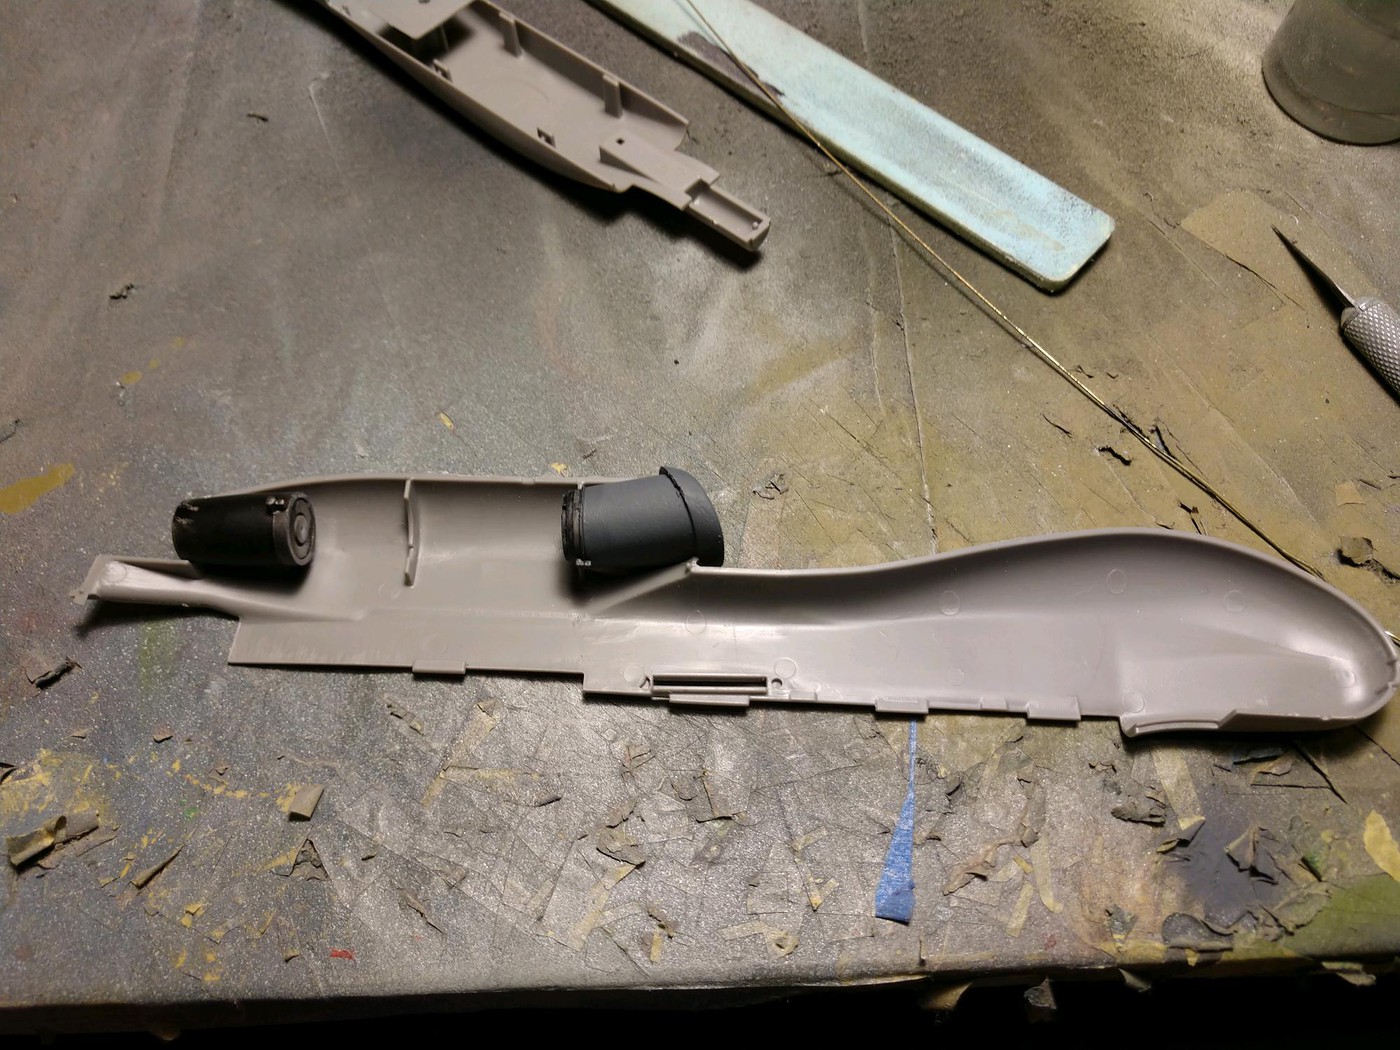
The port side of the fuselage, ready to be glued together. The instructions call for 10g of weight to be put in the nose. Where you're going to put it? I have no idea. As it turned out, I forgot to put it in before I glued the halves together and put in the fuselage bottom piece.
The fuselage is together. While the fit is okay, it wasn't as good as I was led to believe. There is a need for a spreader bar aft of the wings and there is some serious gapage where the beaver tail joins the rear of the fuselage. Not to mention a nasty seam on top of the engine fairing. Normally I would have run a bead of superglue from the underside of the engine fairing to give the putty something to stop against, but I didn't find my superglue until I'd applied the second coat of putty.
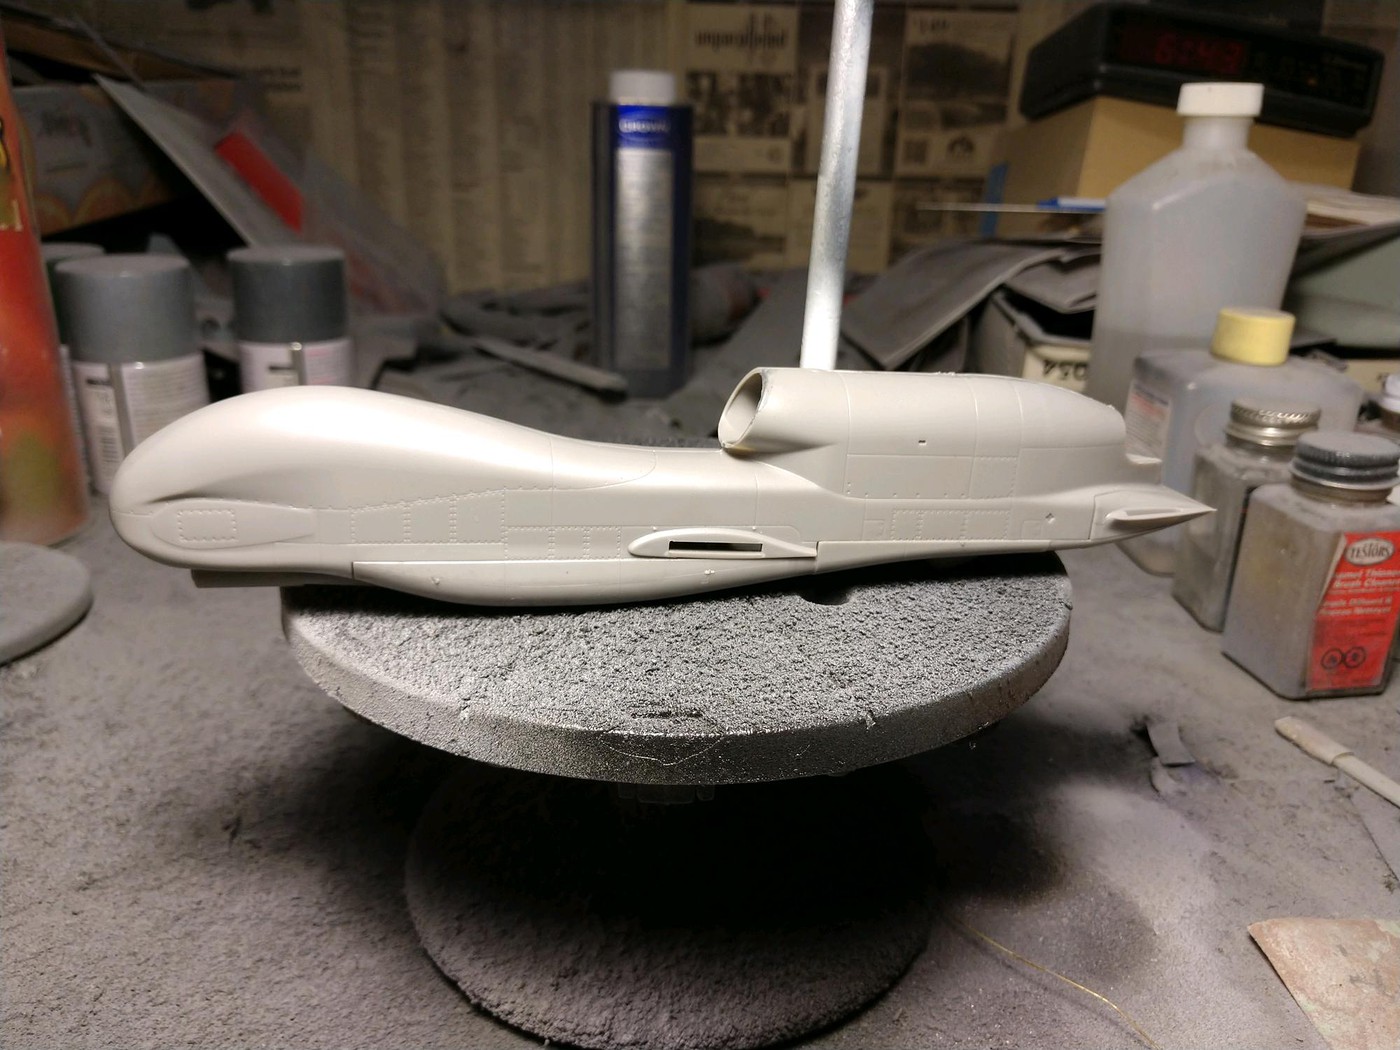
The assembled fuselage with wings attached (not glued).
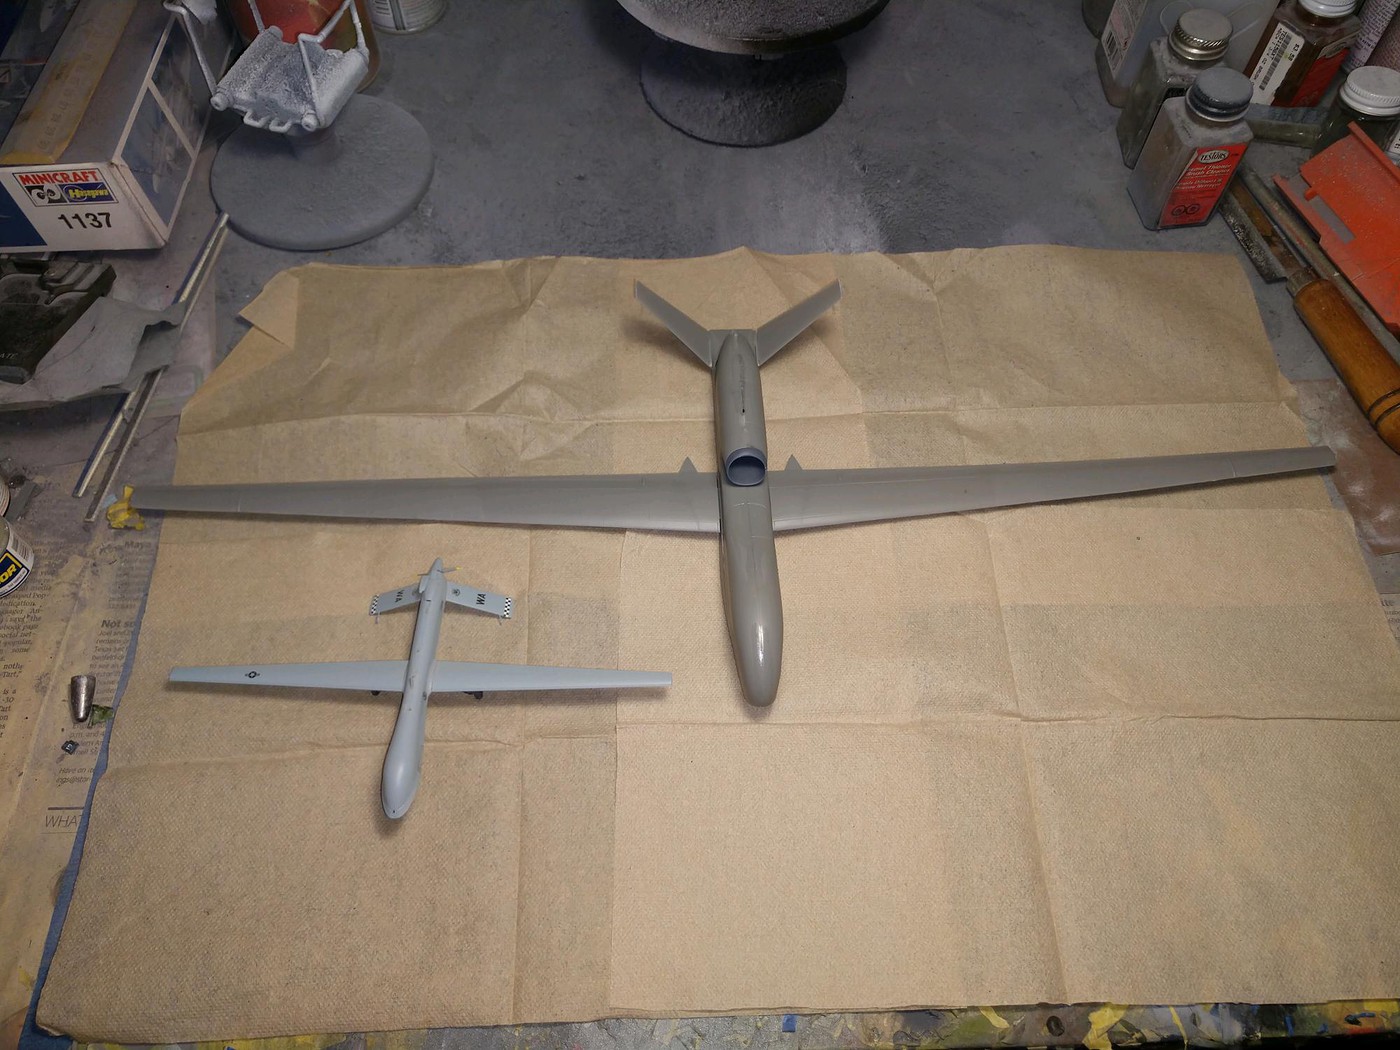
For a sense of scale, that is a Platz 1/72 Predator shown with it. The Predator (not a small aircraft itself) is about the size of a P-51.
Since these pics have been taken, I filled and sanded the more egregious seams on the fuselage and primered it. I've also painted the bottoms of the wings gunship gray (the tops will be white (Tamiya rattlecan). The fuseelage will be overall gunship gray as well. To break up the some of the monotony, the radome will be painted a different shade of gray to simulate the discoloration from the sun. Visible in an earlier picture, there is a teardrop shaped fairing on each side of the front fuselage that will be painted a very dark gray as well. I've seen it in pictures of various airframes, but don't know if this particular bird ever had them painted. We'll call it artistic license.