Time to wrap up the 432. The kit decals went on nicely but the issue i had was the callsign's and bridgeing plate. In the British army, each company user's a different symbol for its callsign indicator. As i was doing a vehilce of the MILAN Platoon i need the marking for Support Company. While Accurate Armour has a set of yellow callsign markings, they include all the companies apart from Support. So after looking at what i had and woundering if i could modify some thing, i decided to try and print my own.
After figuring out how to draw straight and curved line son paint, i made some i was happy with and printer them out, great. But went i went to place them, the yellow vanished. So then i turned to the forum and got some great advice which boiled down to me having to print on white decal paper. That also meant i had to colour the background to get a close match to the vehicle, one would be on black and on on green.
The decals did come out roug, but for this that was perfect. The callsigns on our vehciles were made useing stencils we did our shelves and then paint was applied with a sponge. So being ham fisted GRUNT's they were never going to be works of art. The decals were a litle thick, what with the decal film and painting to get a closer match, but i was happy with what i had. I hoped the weathering would decal with the slight difference in colour.
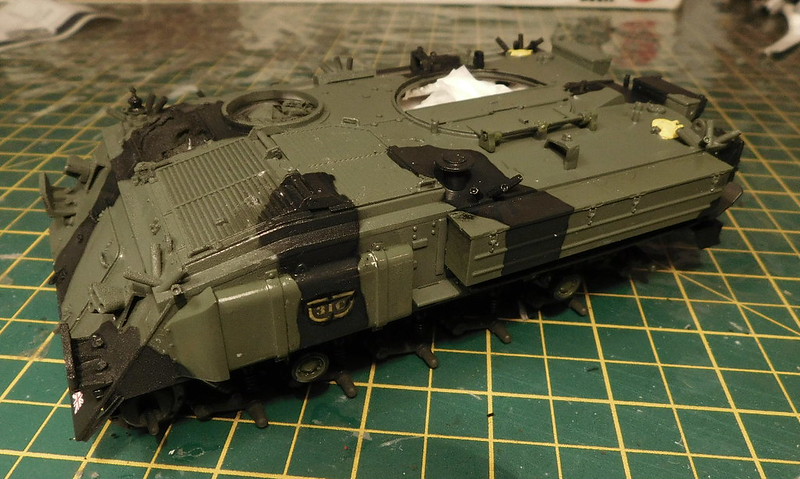
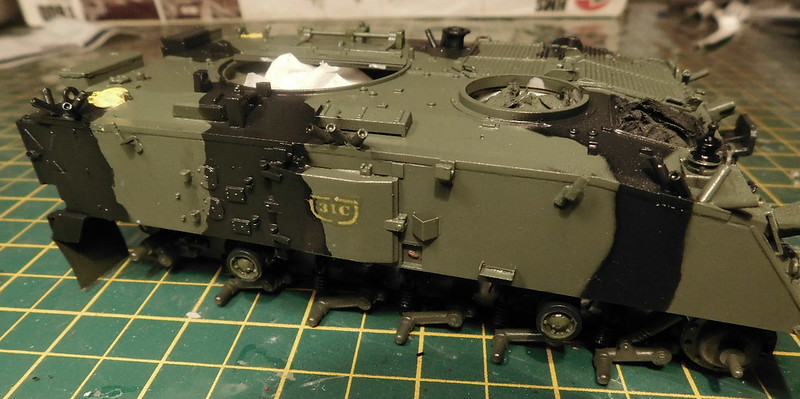
The bridge plate was less of an issue as there was no white showing.
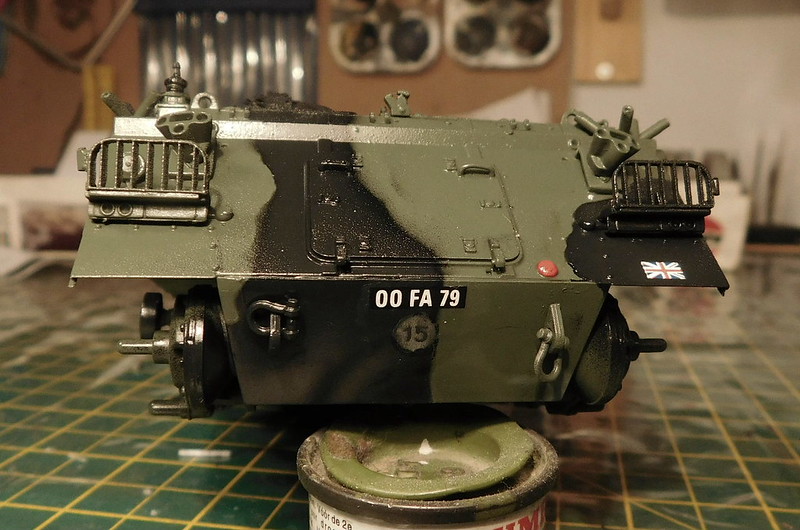
Afer sealing, i did some pin washes useing oil paints. The decals for the rear bins were added after this and they were applied to some styrene sheet, painted steel on the back, before fitting.
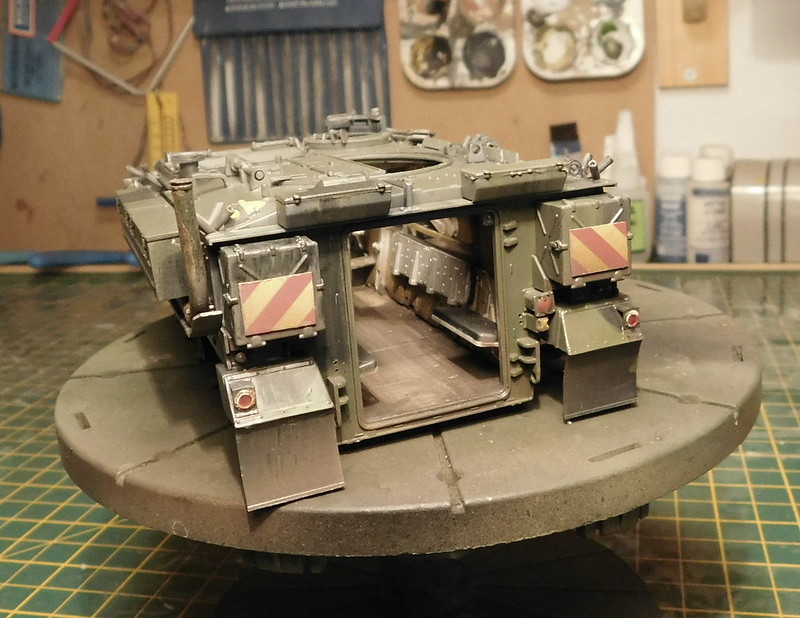
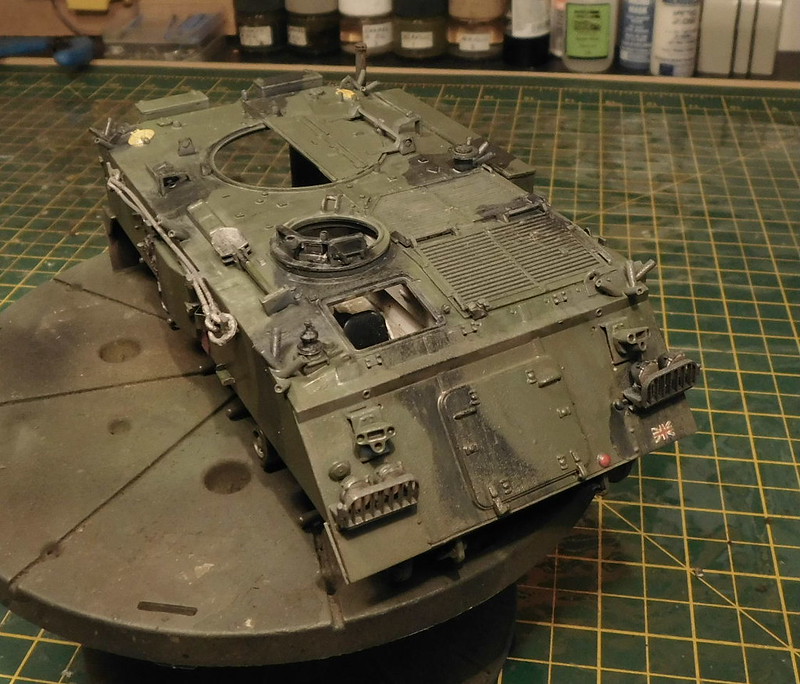

After this wet pigments were applied followed by some dry dusting and the final bits fitted. The tracks had been painted and weathered off the vehicle. This master tracks are nice but very fiddly. Some one on Brit Modeller suggested useing wire and i can see why. Each link needs 2 resin pins, one each side, and these are a real pain. I am glad there are spares, i must have lost a dozen. Fit was tight but once together the sag was spot on.


Weathering was restrained some what, apart from anything else, i didn't want to cover the callsign decals after all the hassle, i am really pleased with how they look.
With the base ready, the vehicle was attached and final items fitted. The MILAN is a great little kit and i am deffinetly getting anotehr to replace the one in the Hobby Bose Lanny kit. There are 3 more missles inside. There are also 2 bergans and 2 roll mats inside and the 3 helmits on the roof, all from Accurate Armour.


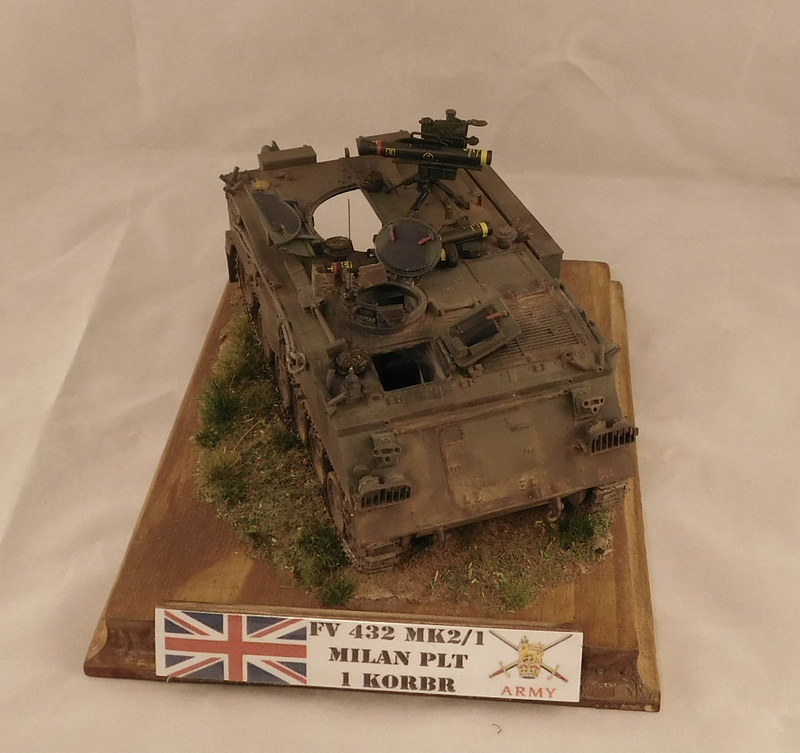
This build does not represent one certain vehicle, unfortunatly i didn't have any pics to work from. But it does represent the vehcile we had to work with. I am really pleased with how its turned out. This is the first time i have built a subject that i was actually trained to operate, in fact its 2 as i was also a MILAN operator firing 5 missiles during 4 years in the MILAN Platoon.
A huge thank you to the guys who helped pout with the decal issue, it really would not have been the same without those little yellow callsigns.
Please feel free to use what ever pic you choose for the front page, and thank for the chance to build this.