20 March 2019 – Well, got the cockpit parts assembled (mostly) and painted. I first sprayed everything with a base coat of Testor Model Master Interior Green flat enamel. The instructions call for Tamiya XF-71 Cockpit Green, which I do not have. But, what I do have is many bottles of the many shades of military greens. So, I got on the internet to see if I could find any color pictures of an A6M5 cockpit. And, lo and behold, I found color pictures of an UNRESTORED A6M5 hanging from the ceiling of the National Air & Space Museum. Woo Hoo!! Now, I know that the colors on a computer monitor don’t always match real life, but without a real A6M5 to look at, this wuz just gonna hafta ta do. I brought up the cockpit pictures, compared the colors shown to all the different bottles of flat green paint that I had in stock, and found that Interior Green was an almost-perfect match – not exact, but close enough for me.
Getting back to the build: after spraying the Interior Green and letting it cure for a couple of days, I started the tedious but necessary task of hand-painting all of the little details, and gluing on a few of them here and there. I painted everything according to the Tamiya instruction booklet. The cockpit pictures previously mentioned didn’t show enough of the cockpit to let me verify if the instructions are correct. I do have the Squadron “A6M Zero In Action” book (published back in 1983), but no color pictures in it at all. The Tamiya instruction book has reference photos of three different Zeroes in the back of it, but they are all black & white photos. So, I’ll rely on the instruction book to be correct for the colors. Let me know whatcha think.
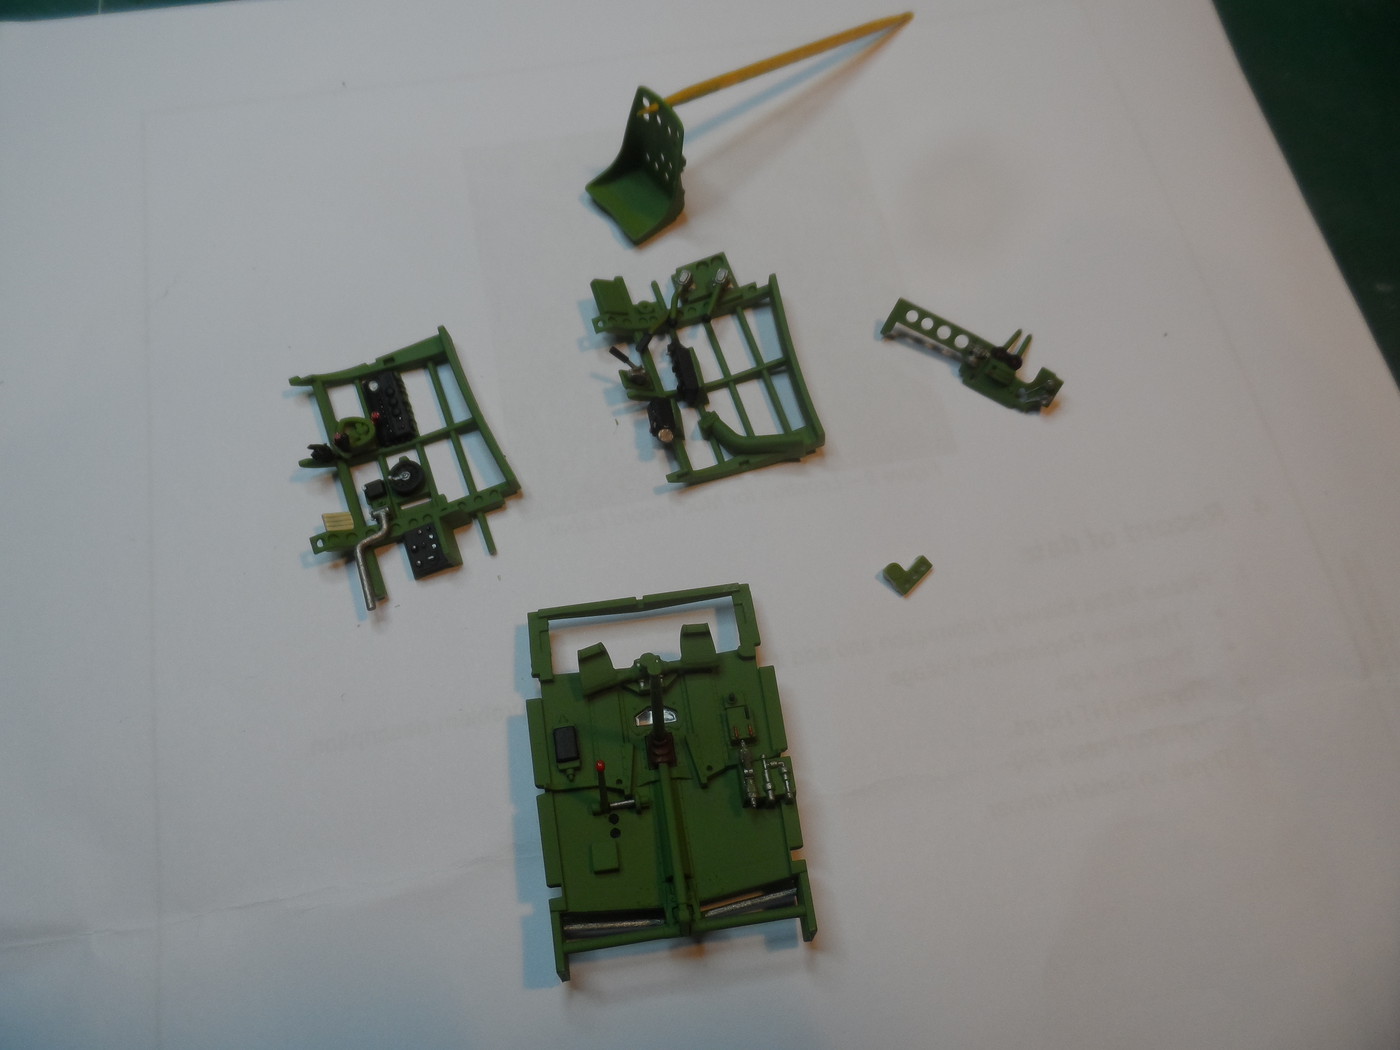 These are the major assemblies of the cockpit. In all, there are about 25 parts shown here.
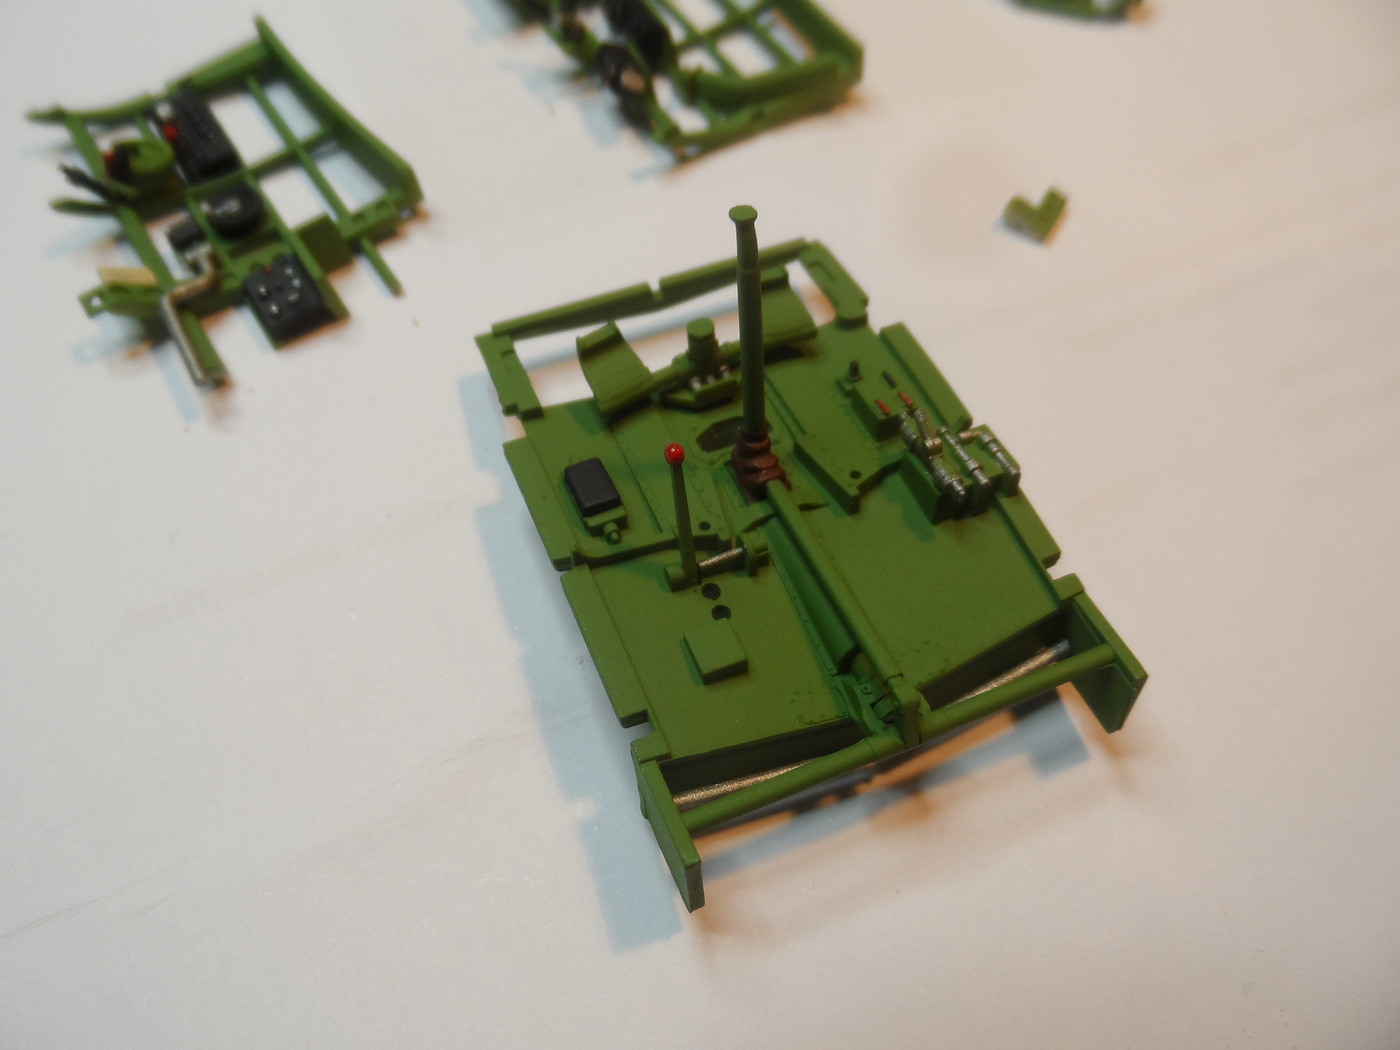
This is the cockpit floor. Seven parts are in this assembly. The fit of all parts has been outstanding.
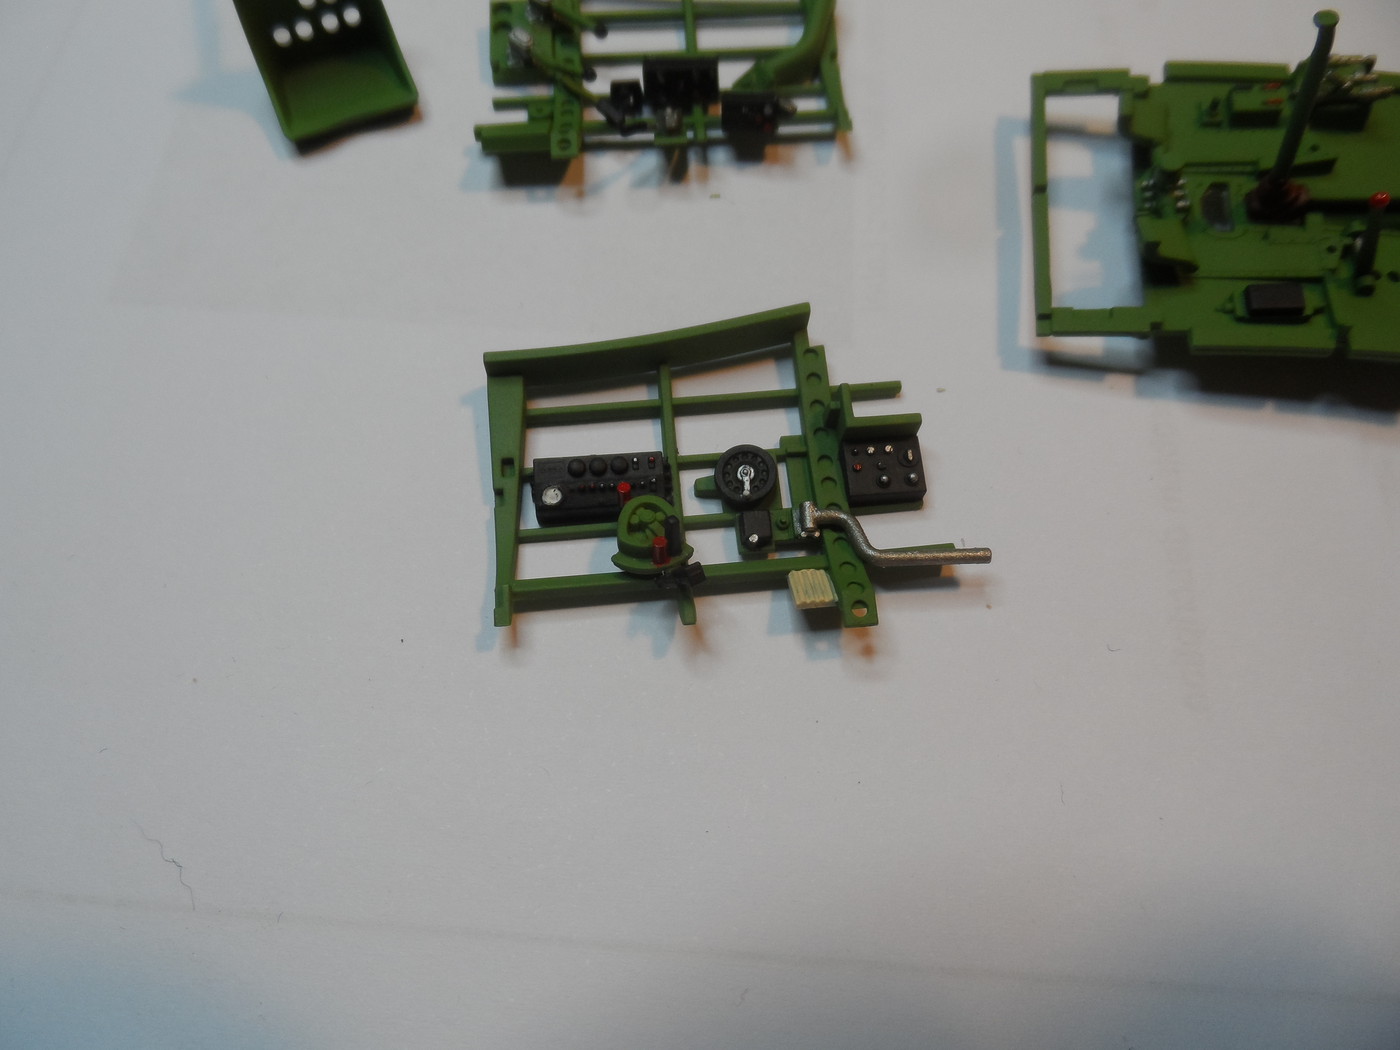
Port side cockpit wall/assembly. Five parts represented here.
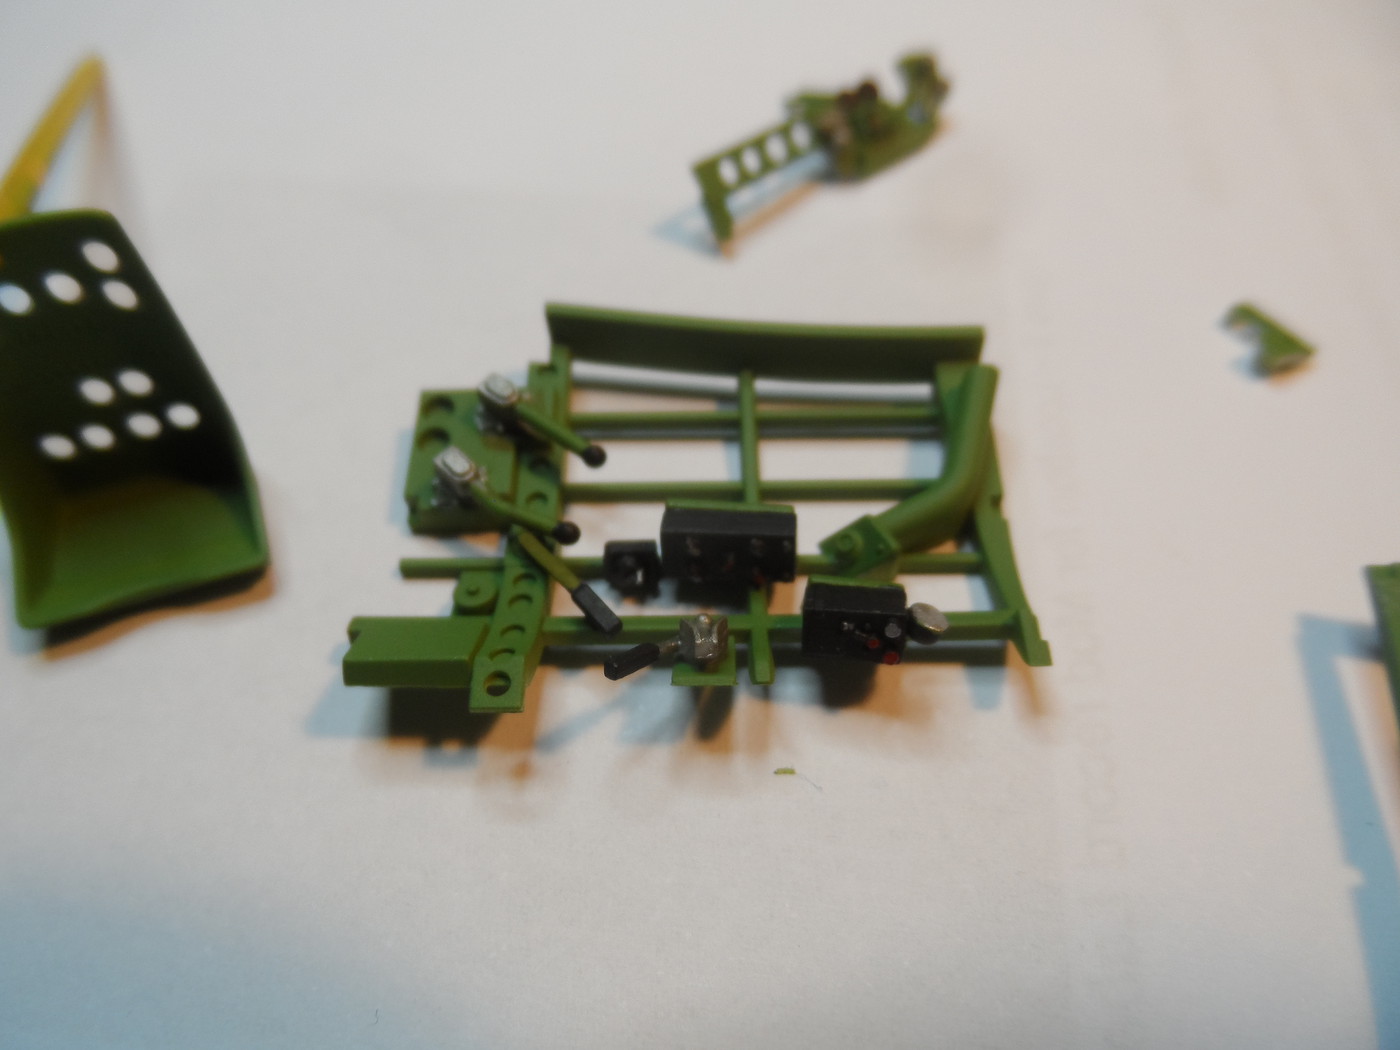
Starboard assembly. Eight parts shown here.
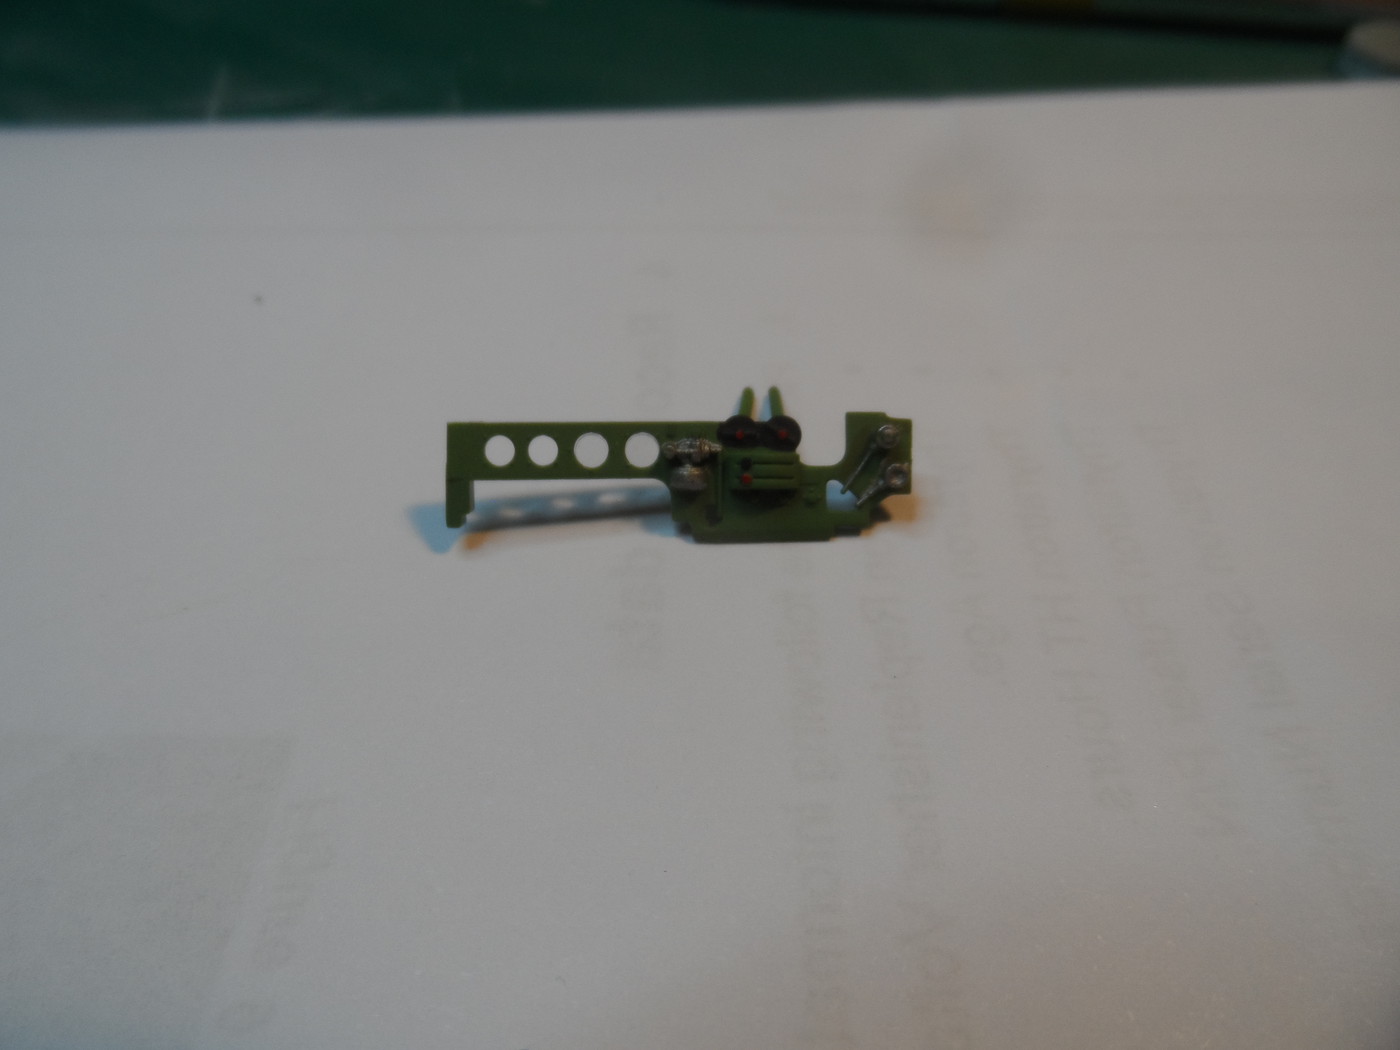
This is a horizontal shelf/arm rest that will be attached to the port side cockpit assembly. It had three parts. The two larger holes (on the right) actually have glass in them, and a set of dials (represented with decals) will be put on them soon.
A good modeling technique that I learned on my own by painting the cockpit details (and I’m sure this is probably already known by everyone else): If you use enamel paints for a base-coat, using acrylics to detail-paint is easier (much easier) than using enamels for the detail painting. I poured a small amount of acrylic paint into some old blister-pack gum wrappers (you know, like Dentine gum, etc.), added two drops of denatured alcohol to thin the paint a little, used a very small pointed-tip paint brush (0 size – Model Master 8832), and went at it. The results are very satisfactory to me. I’ve tried using toothpicks for this, but never had much luck with those.
Gary Mason