I did get started on the Corsair.
This did confuse the heck outta me. I thought these were the same kit. Both MiniCraft and they are simular. But one has raised panel lines and one recessed. And the parts are in different spots on the sprues. So did MiniCraft re-engineer the kit??? I dunno, anyway I'm going with the kit with recessed panel lines.
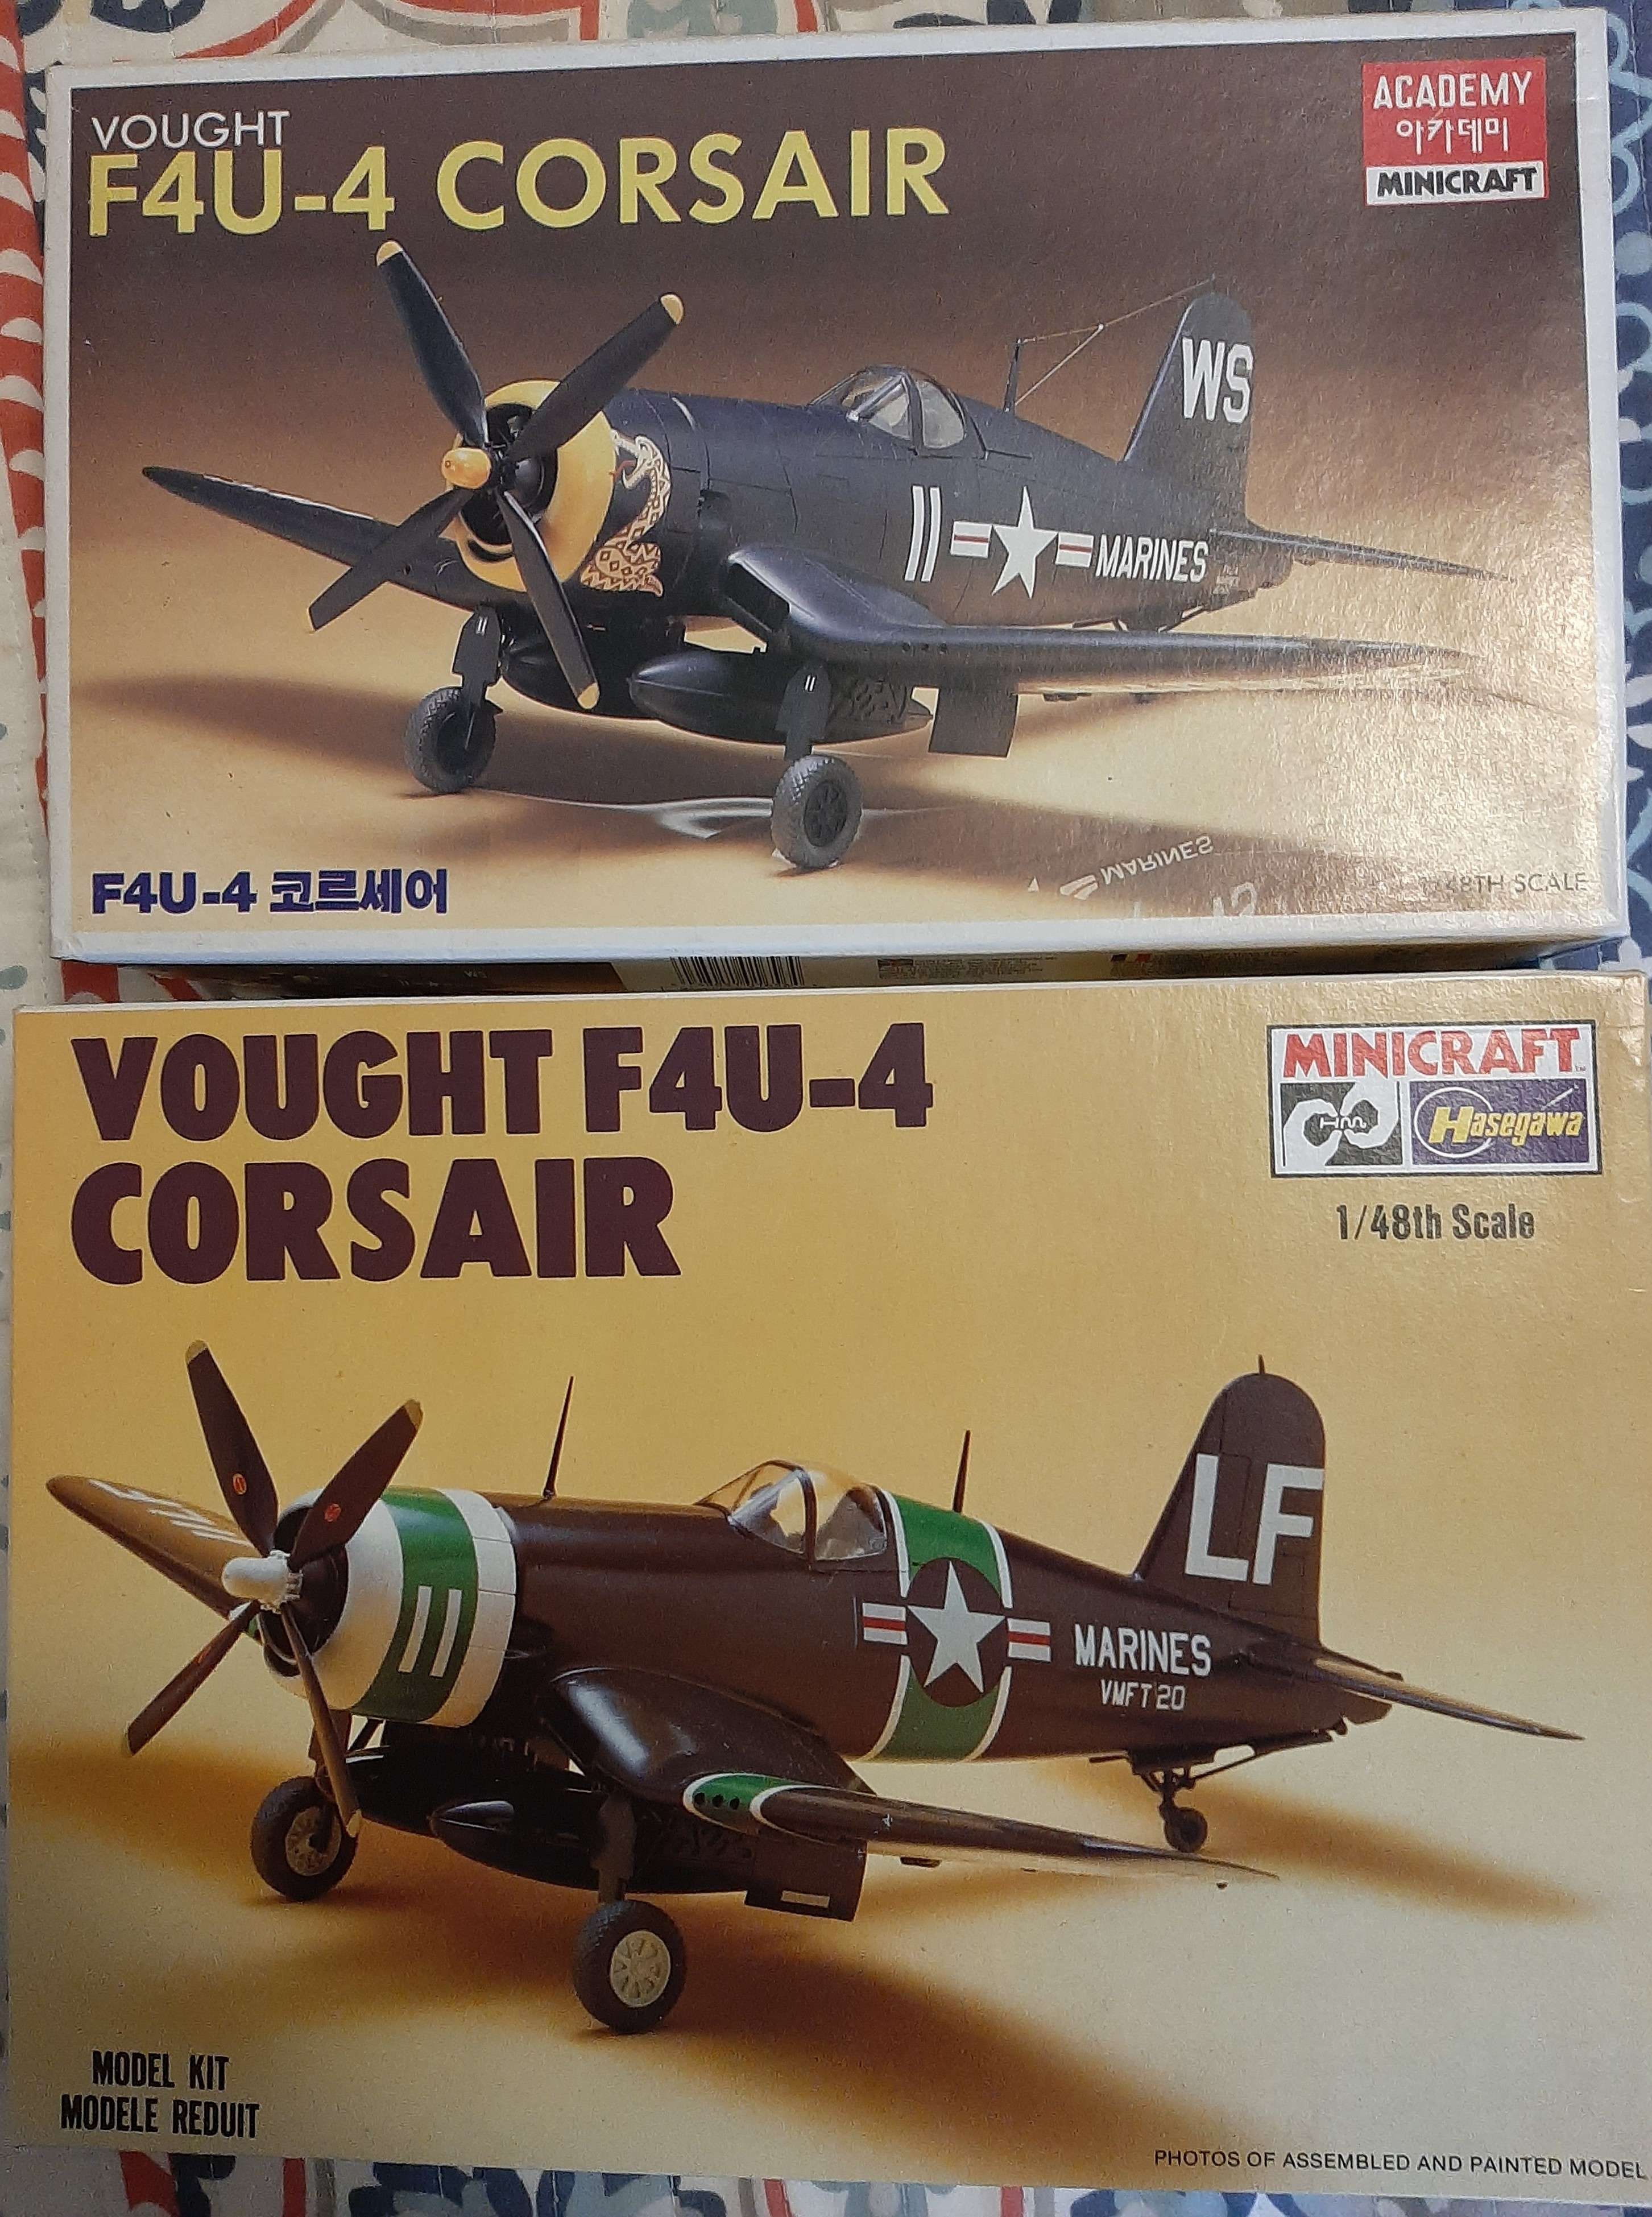
Looks like one is a Hasegawa rebox and the other is an academy rebox. That would explain the differences.