Well folks, It's high time I got back to my Corsair and walk you all through what I got done prior to the shelving episode in 2018. There is quite a bit so I hope you will bear with me and enjoy my progress.
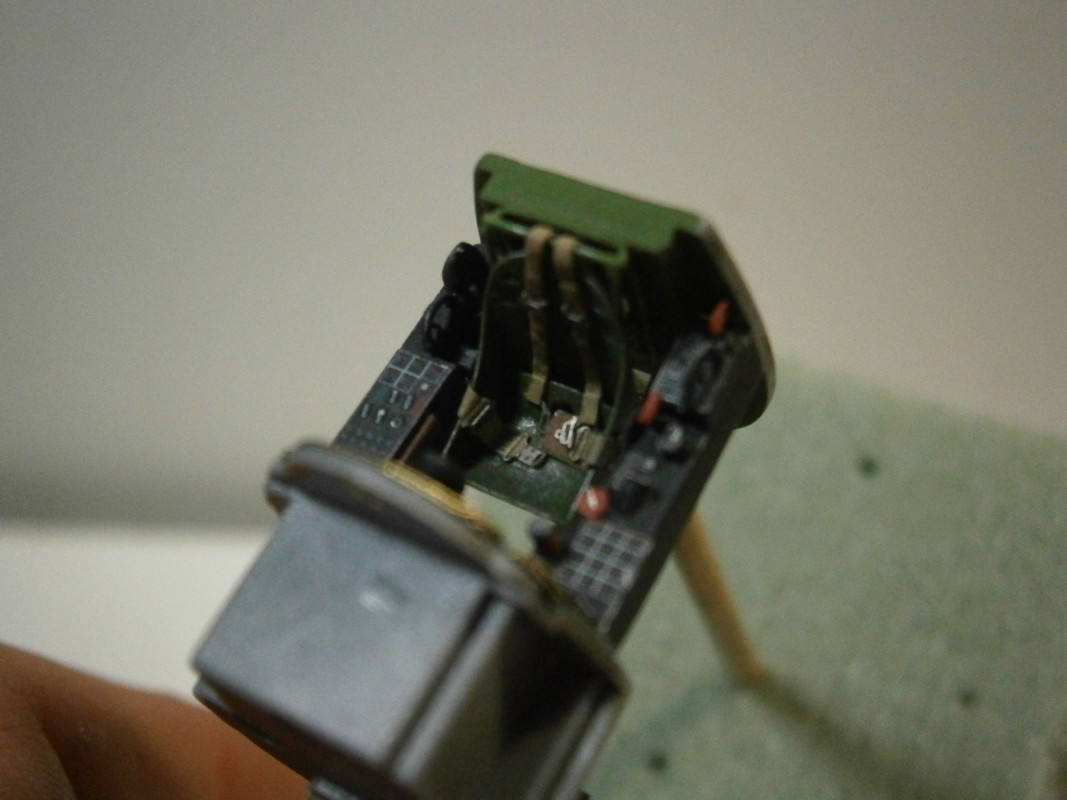
Let's start, of course, with the cockpit. The Yahu PE seat was folded into shape. I removed the kit solid seat mounts and installed the Eduard PE mount to the back of the seat.
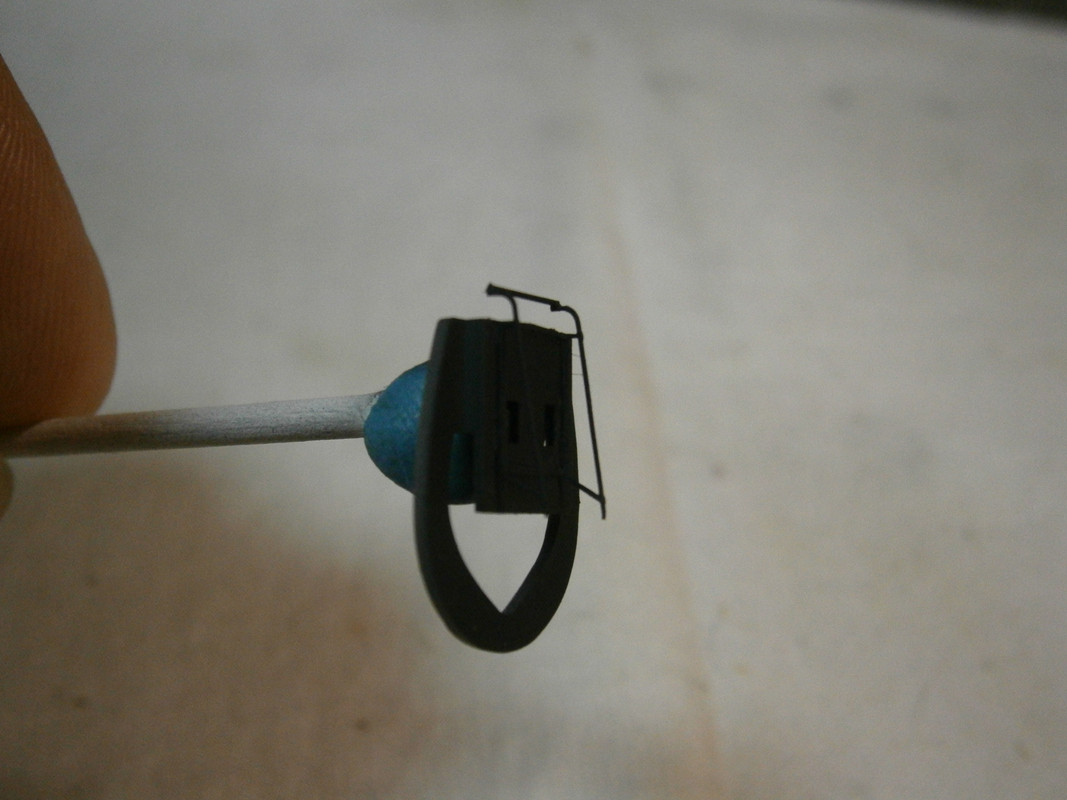
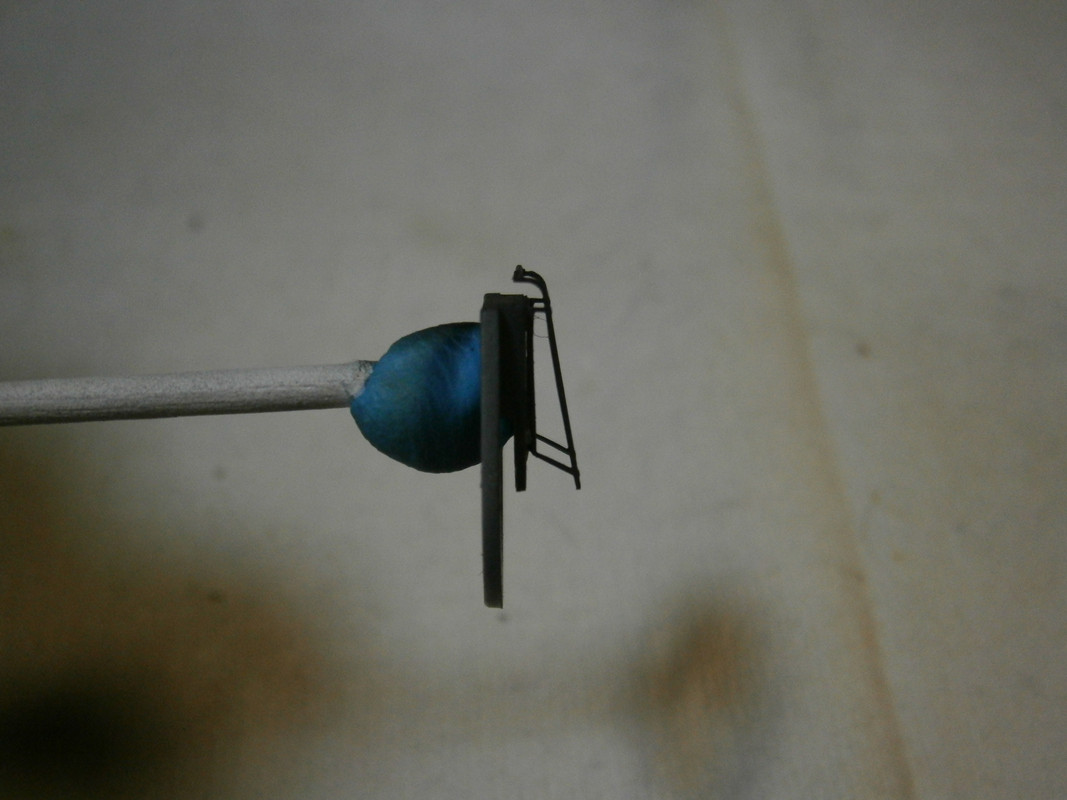
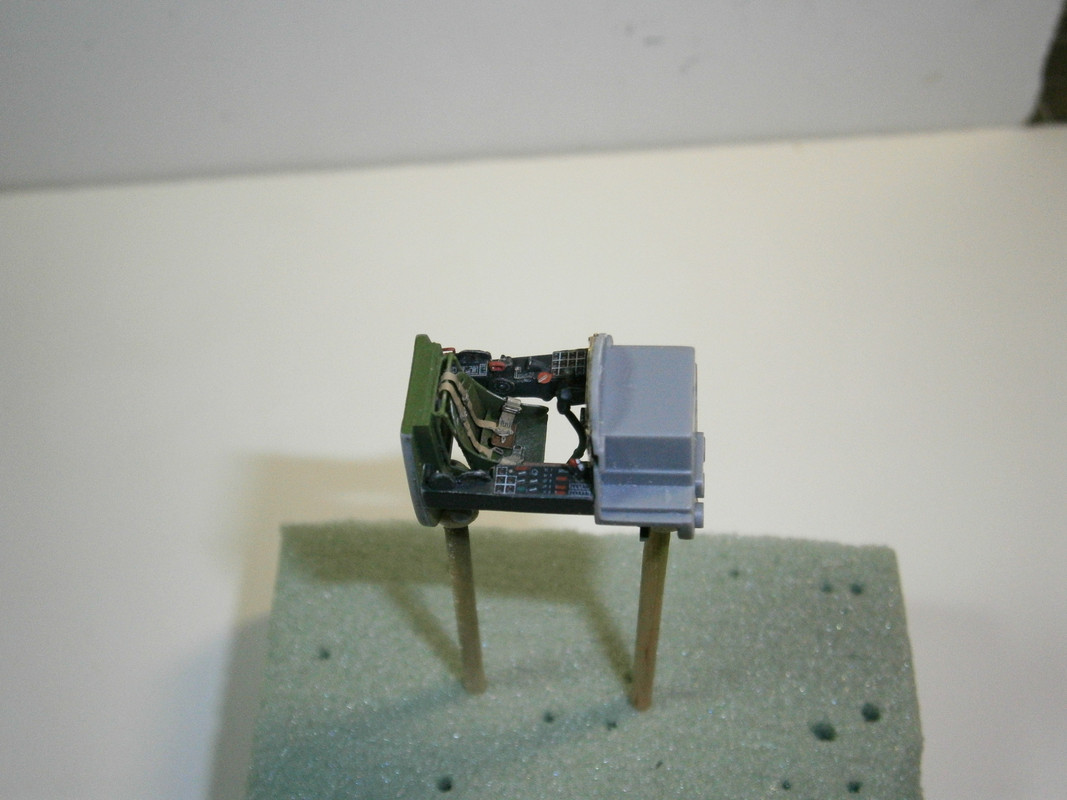
Cockpit parts were assembled and painted with MM interior zinc chromate green along with all the Eduard PE.
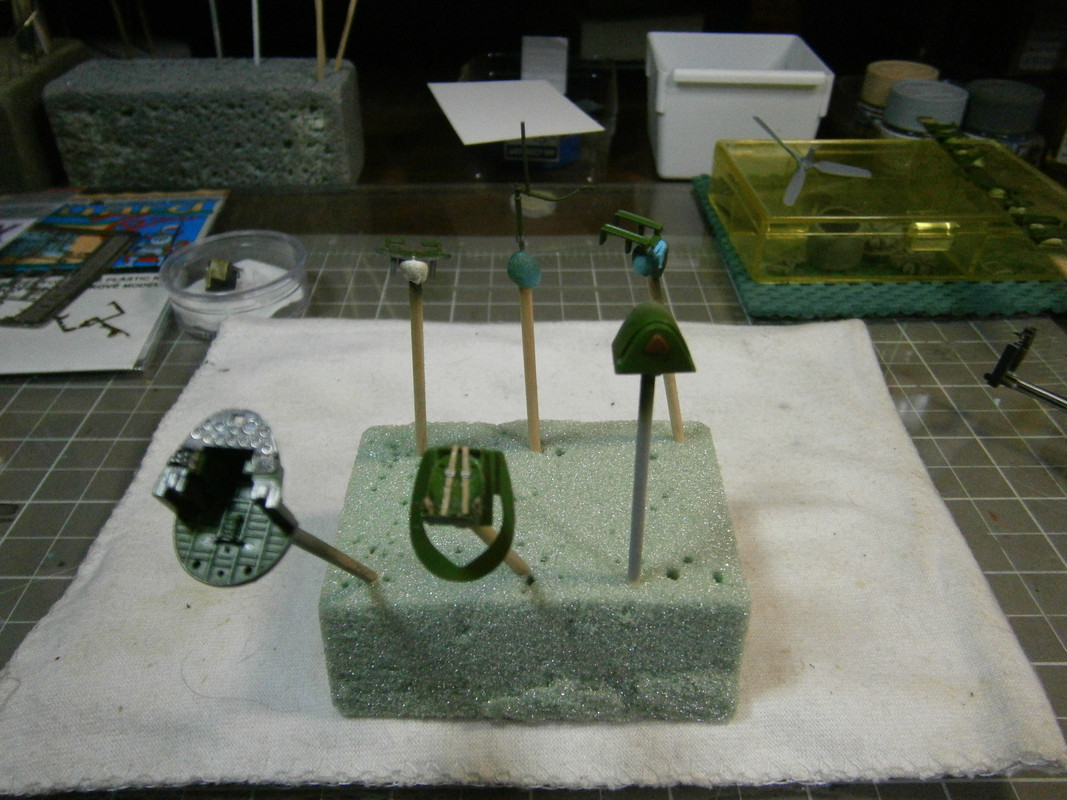
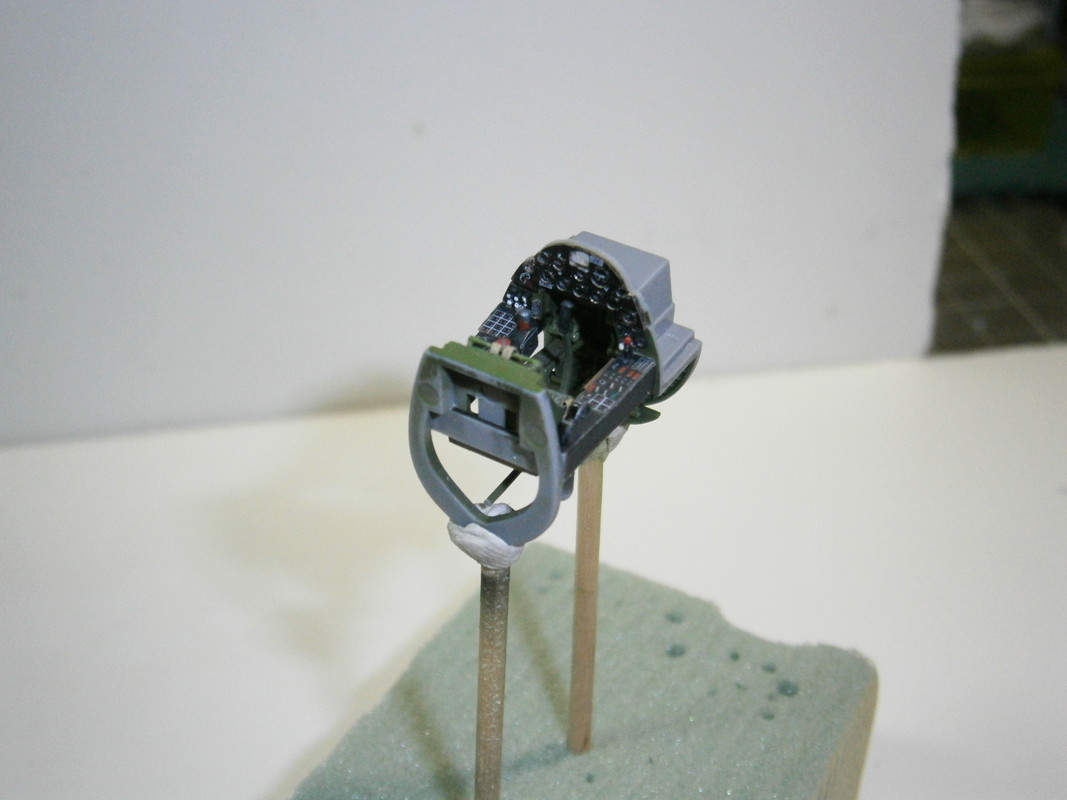
All assembled. The yahu fabric harnesses were an excellent touch. I weathered with a wash, drybrushing and some pastels.
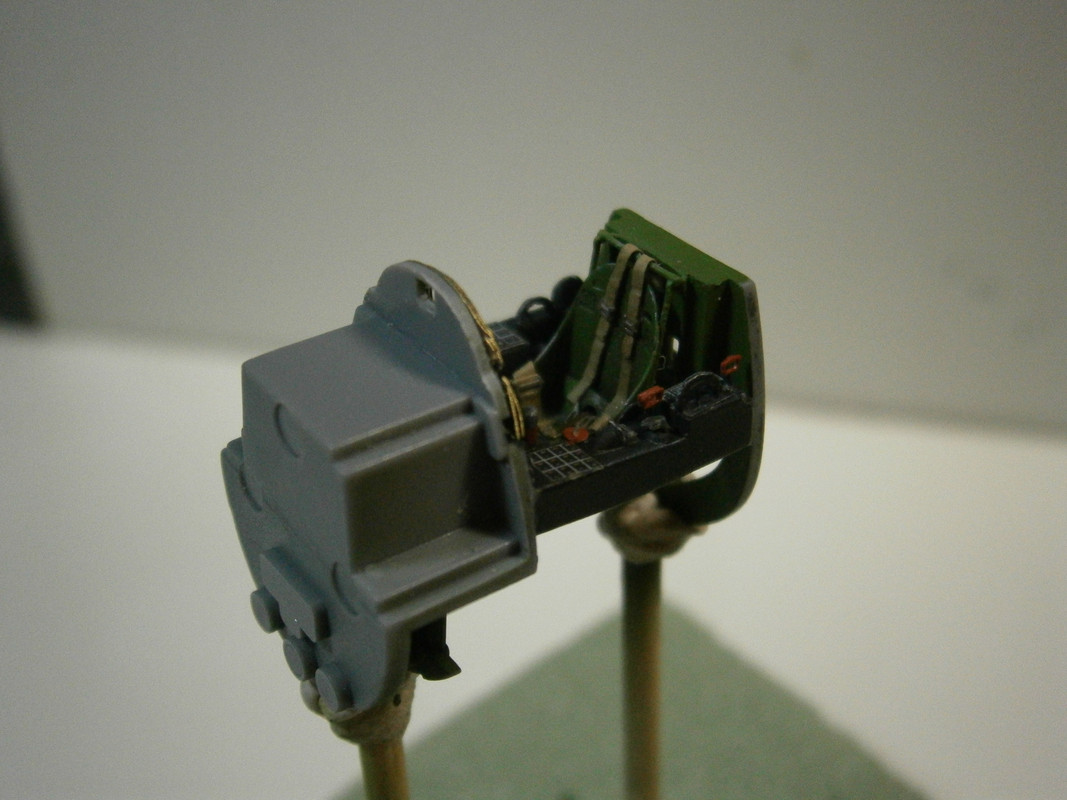
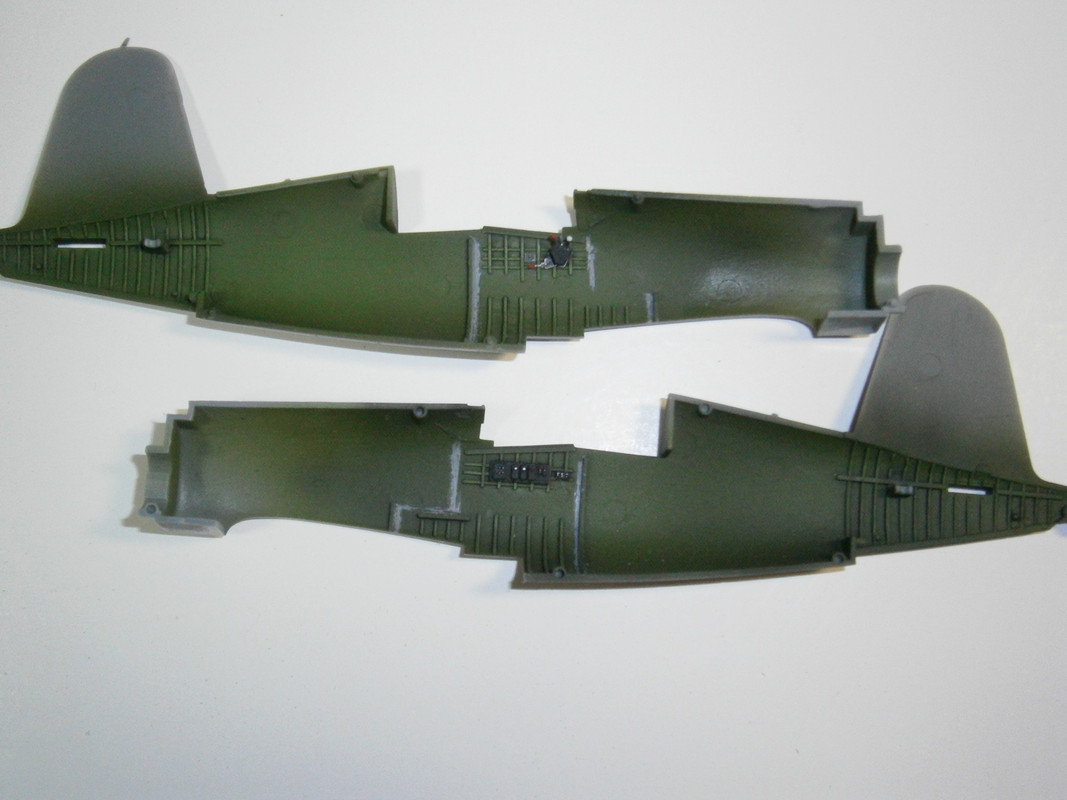
Painting and detail on the fuselage walls.
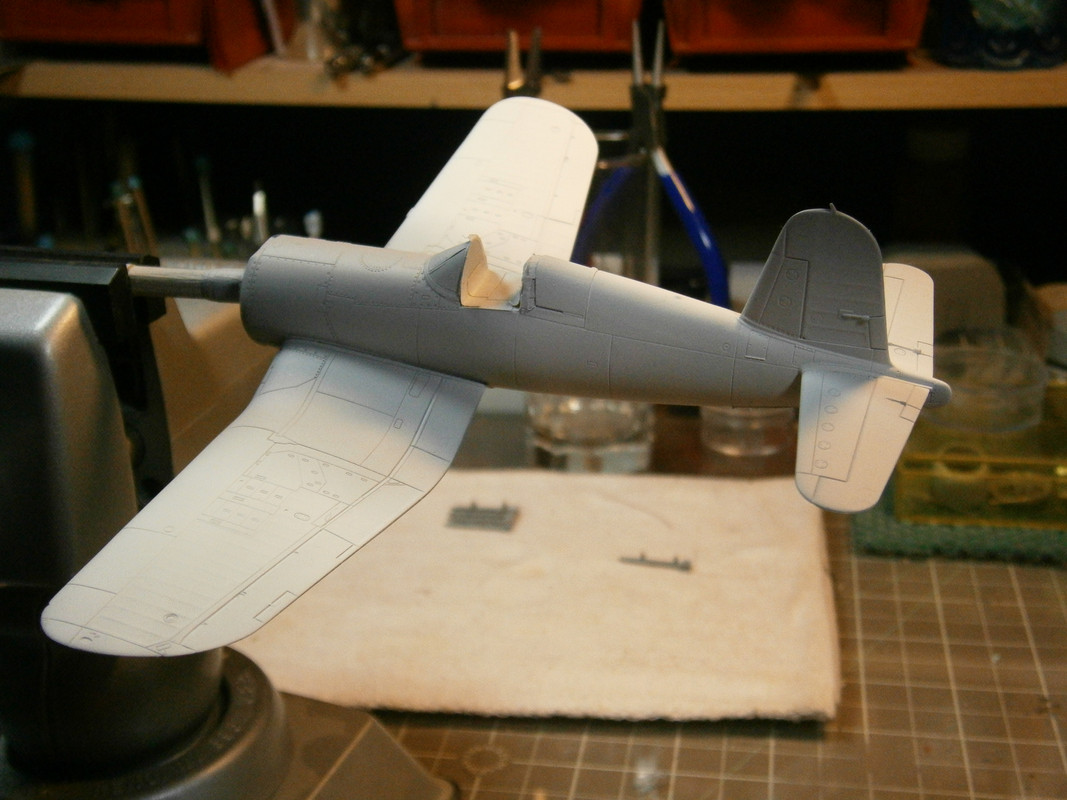
All buttoned up and primed with Tamiya white primer.
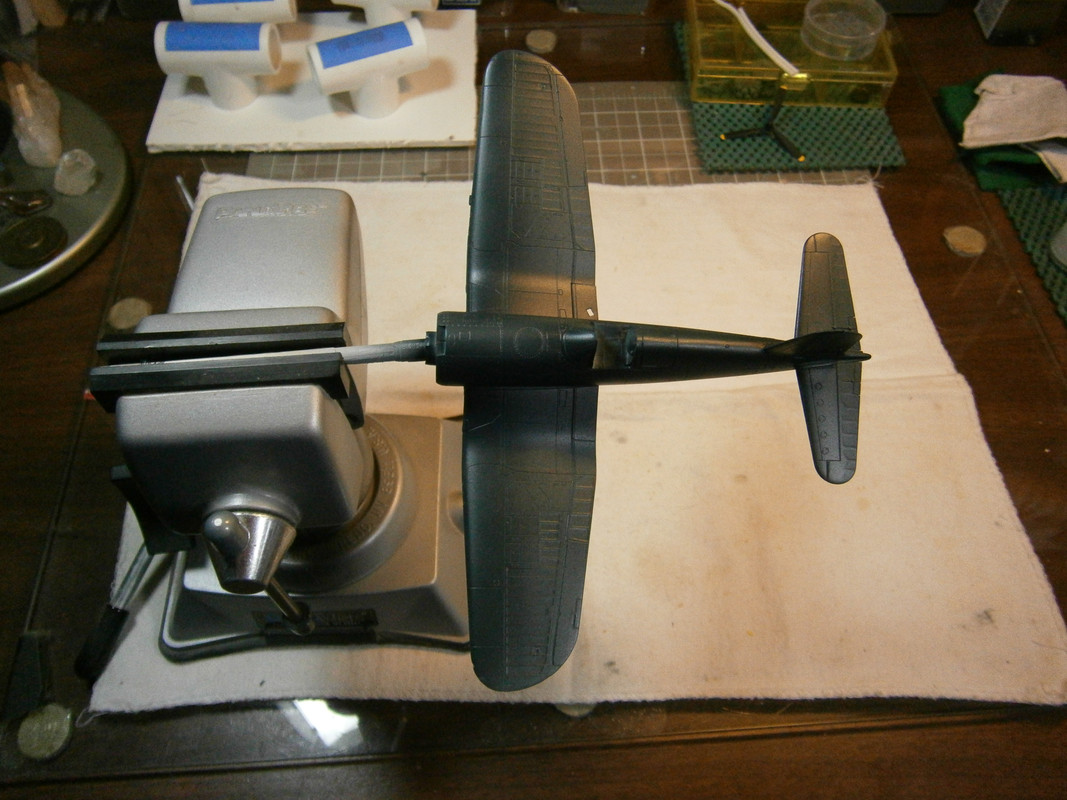
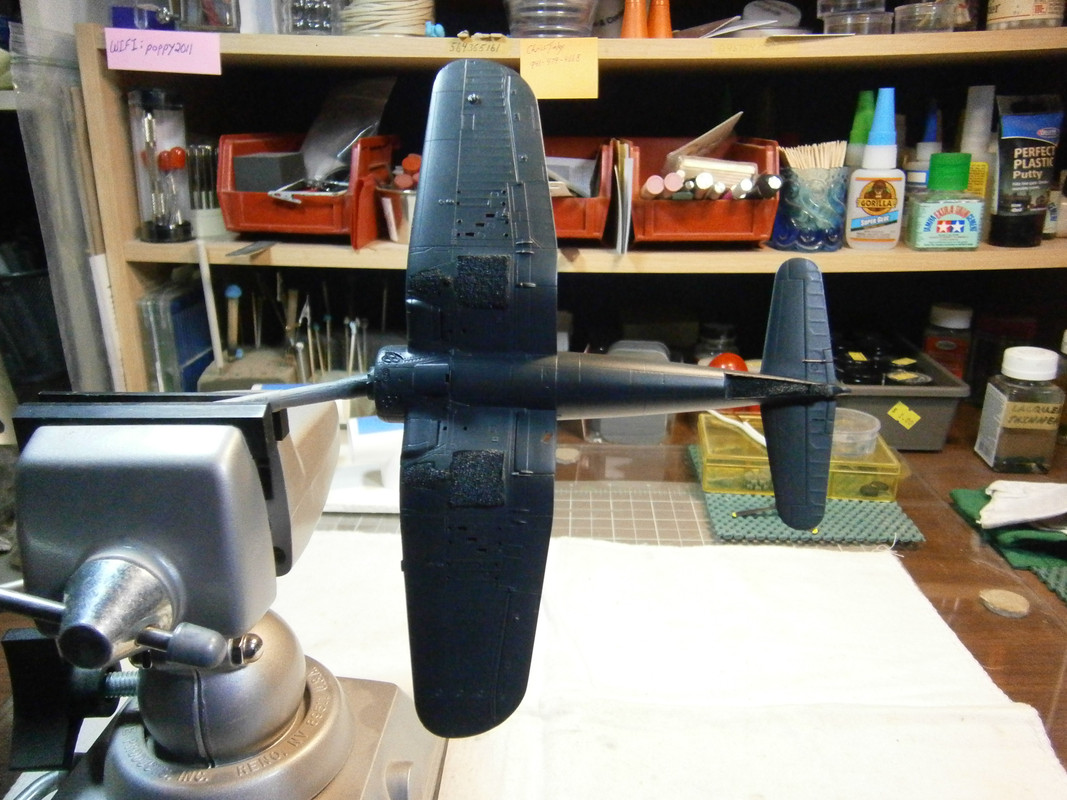
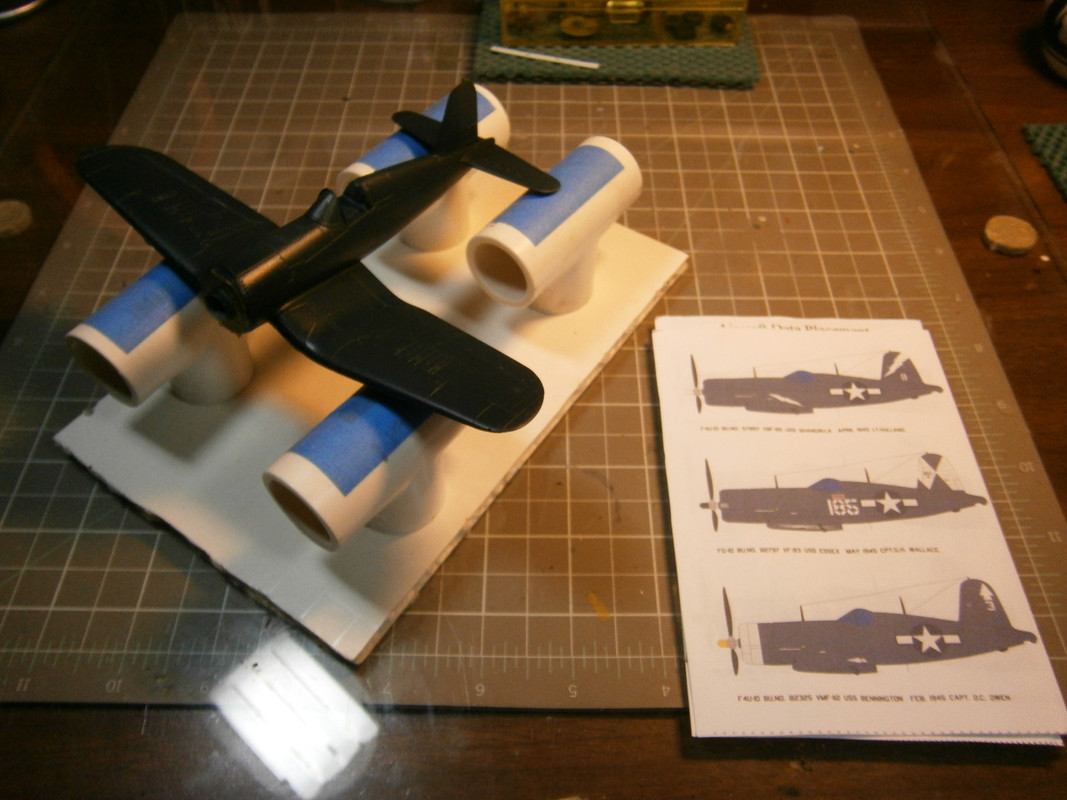
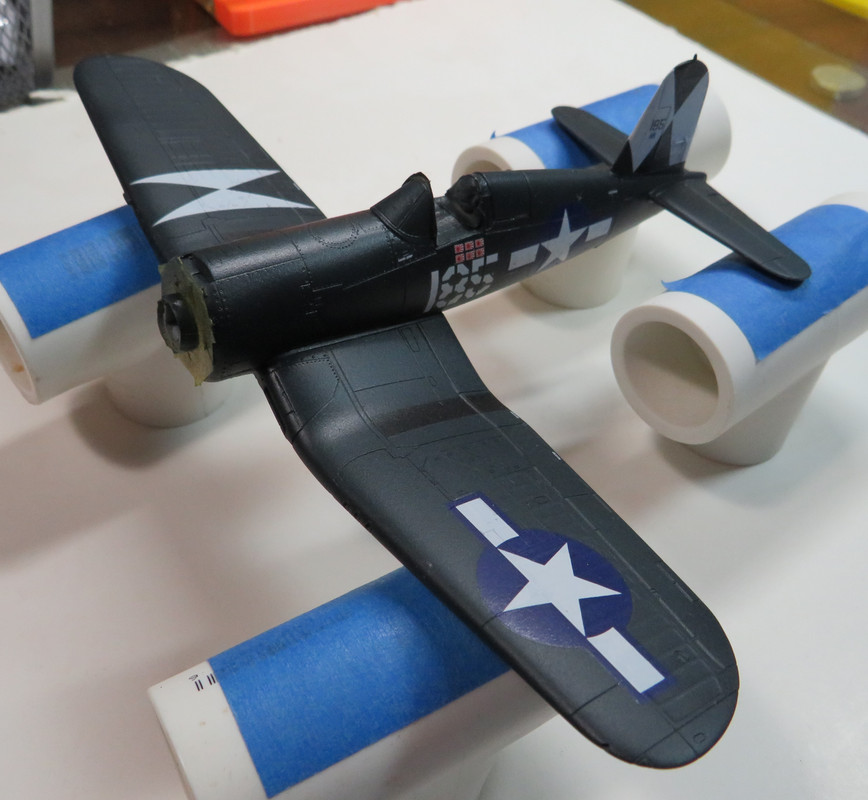
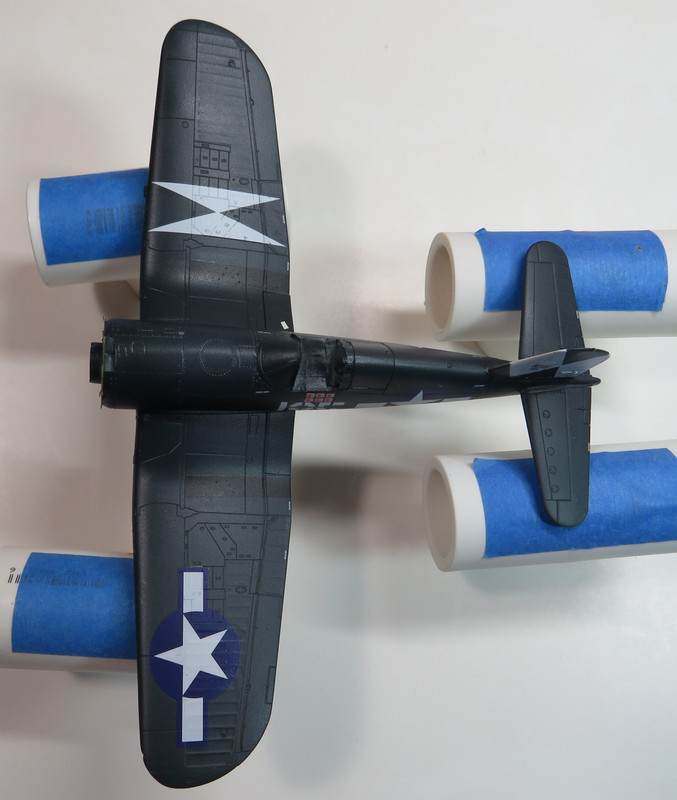
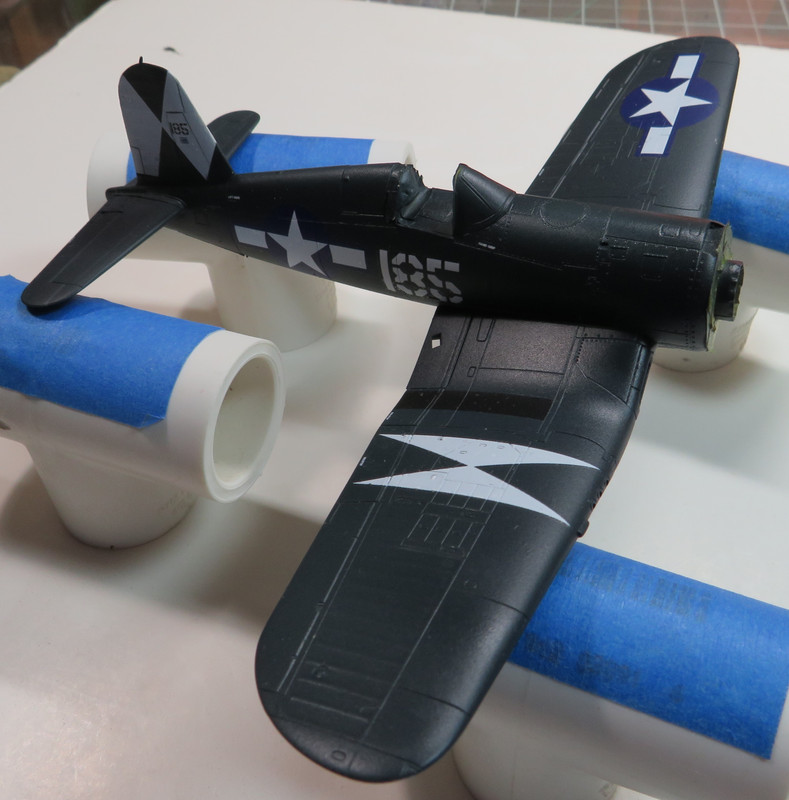
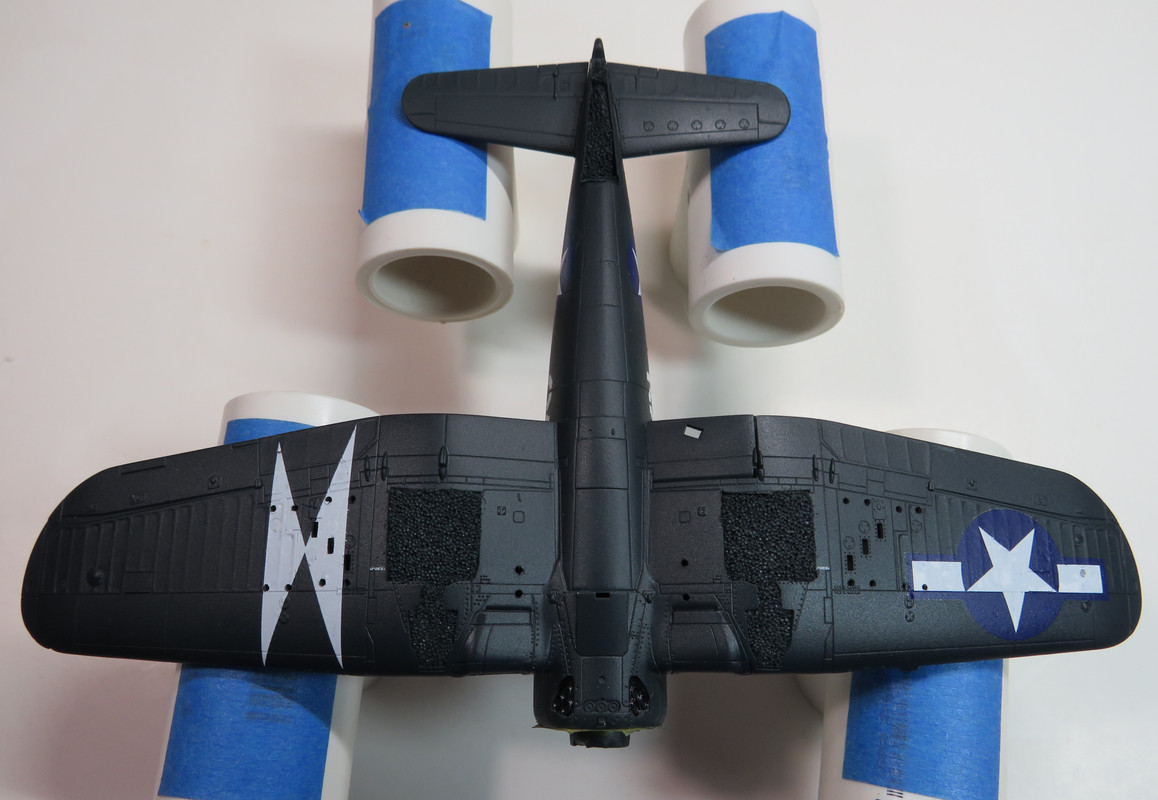
It was then painted with MM Dark Sea Blue.
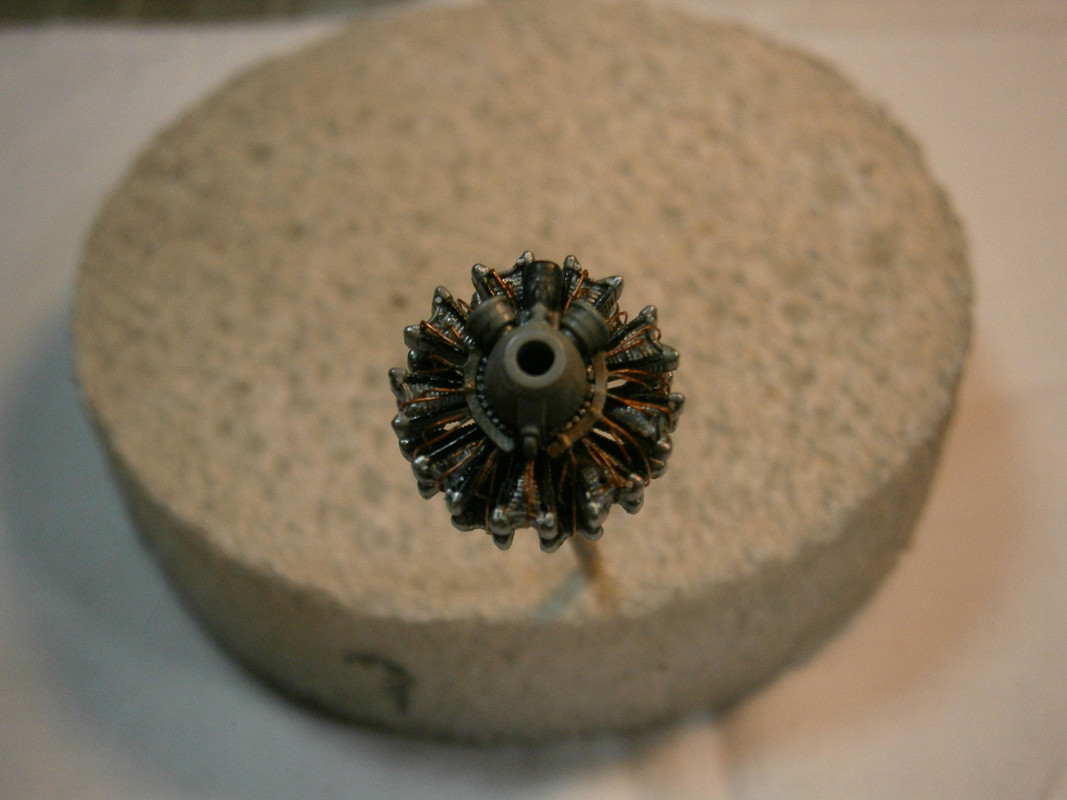
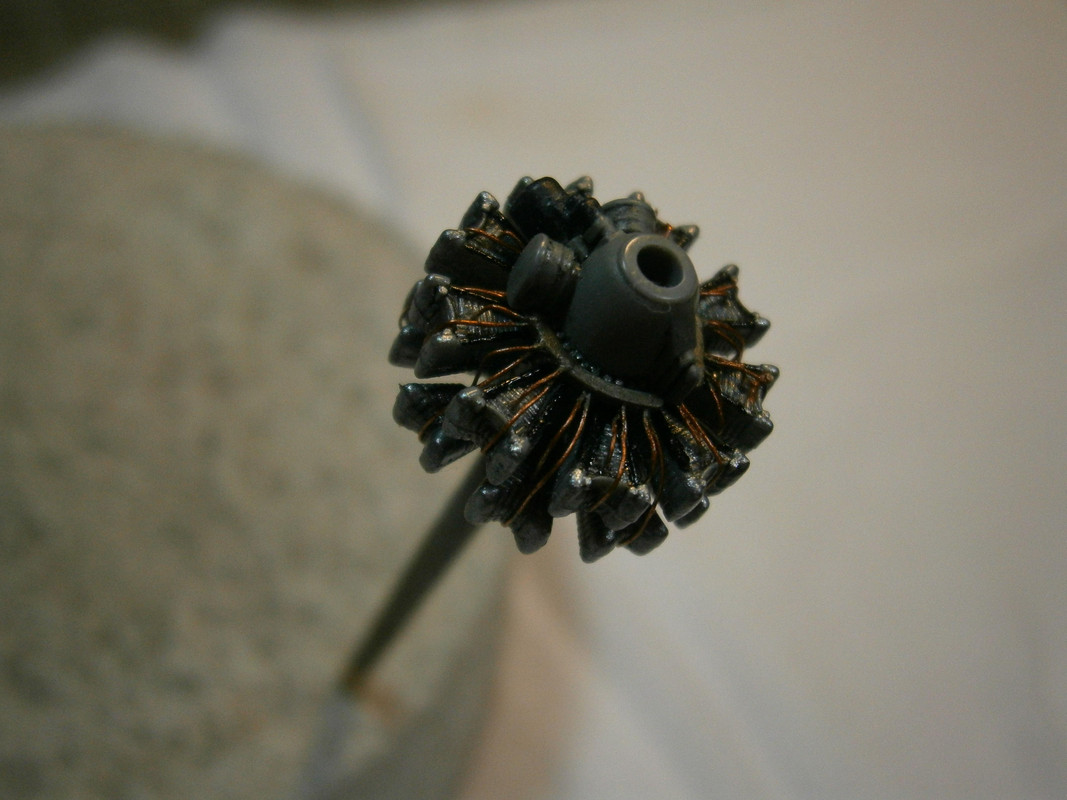
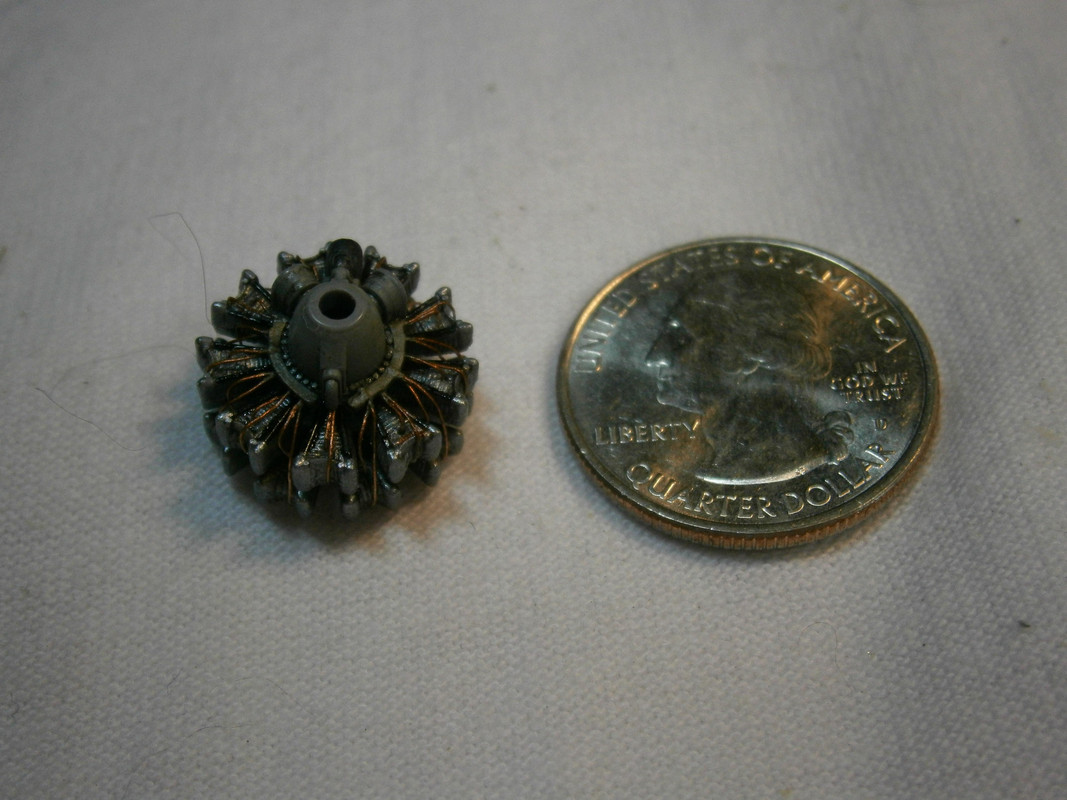
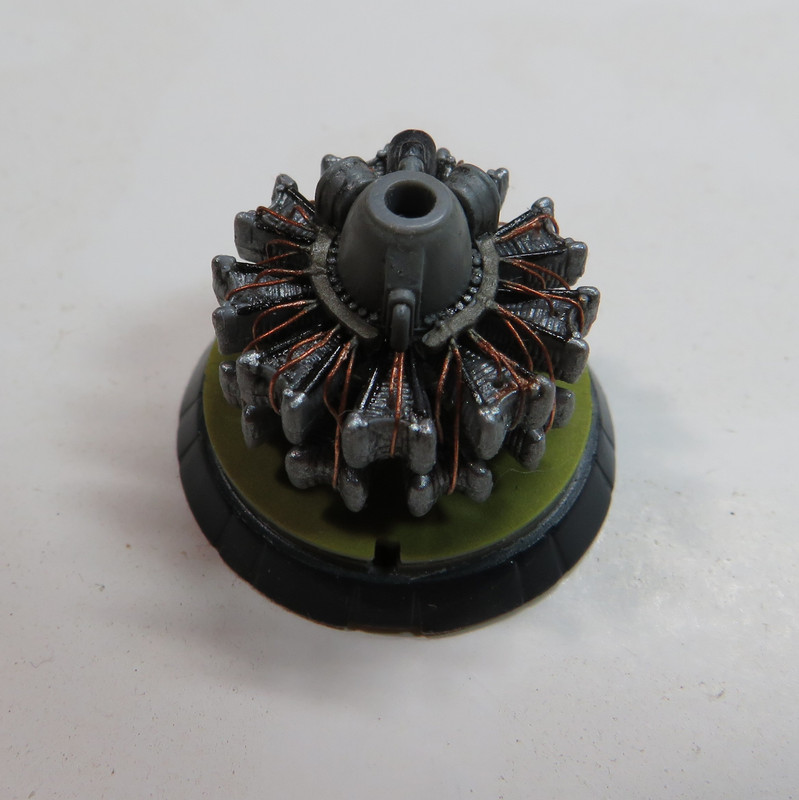
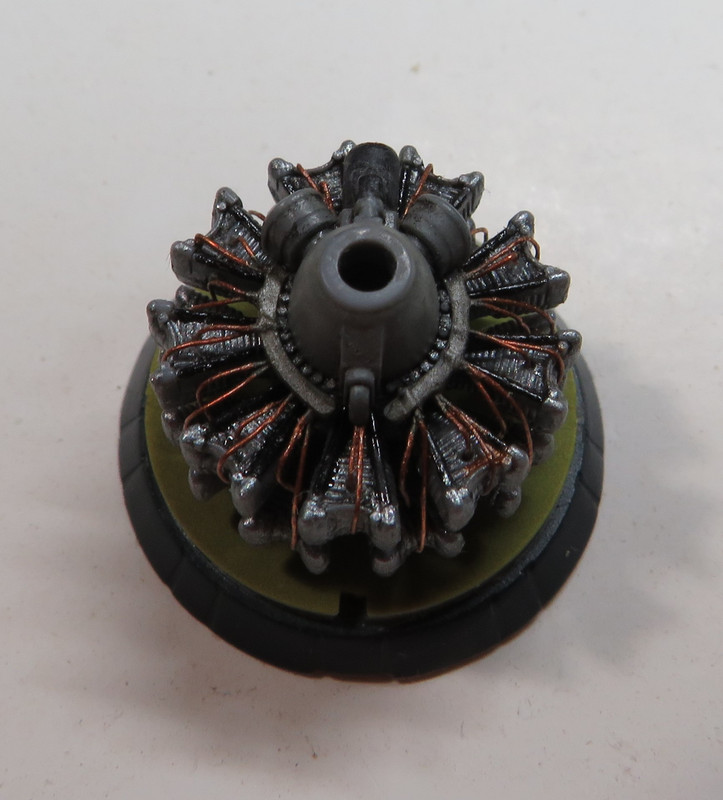
Next up was the engine, cowling, and resin cowling flaps. I utilized copper wire to simulate the ignition wires. Very small holes were drilled for each one to mount into. It was painted with MM paints and given a wash and some drybrushing.
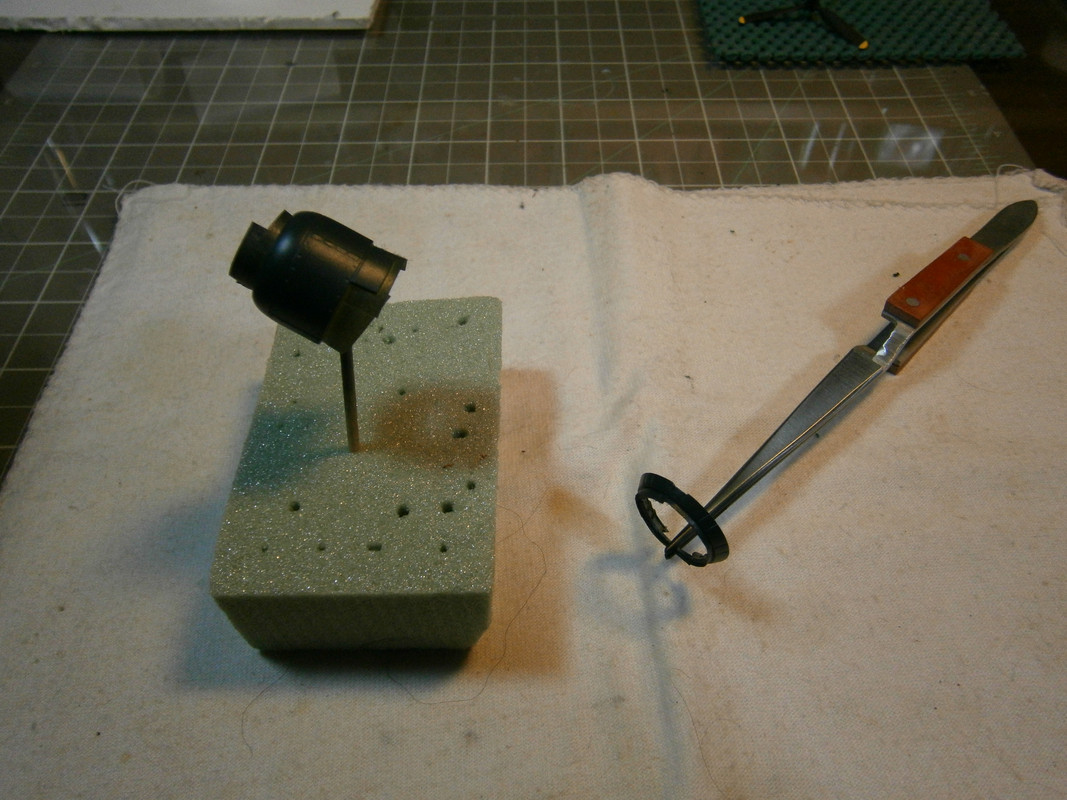
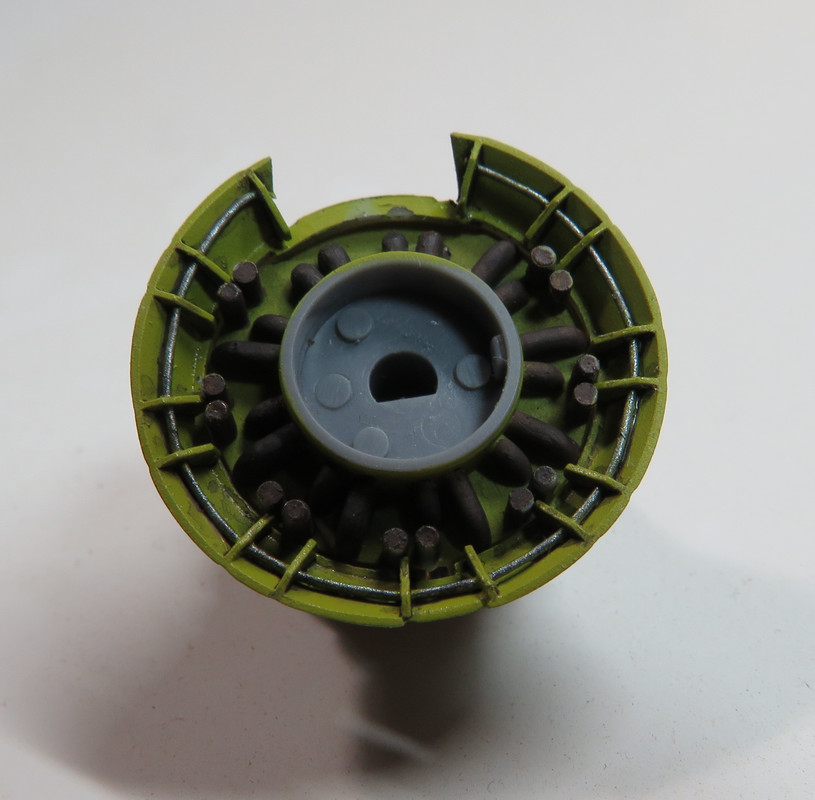
Using some steel wire I wired the resin cowling flaps to represent the control cable.

That was subsequently painted and washed and mounted to the engine.
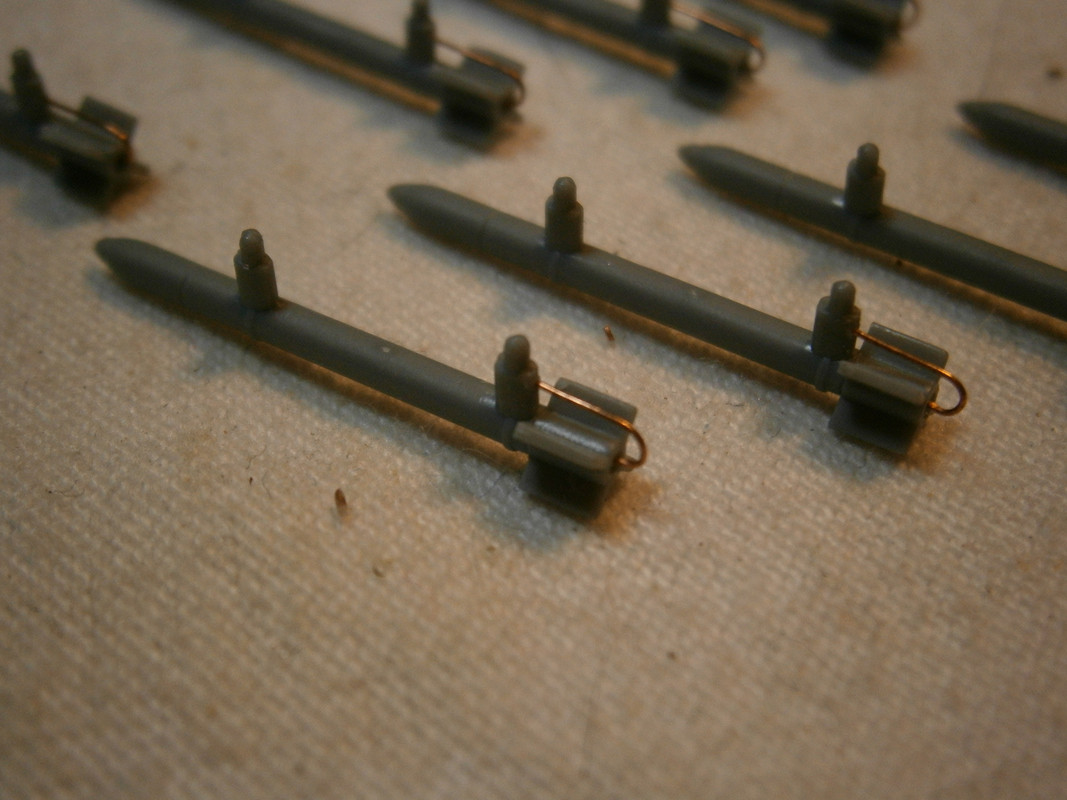
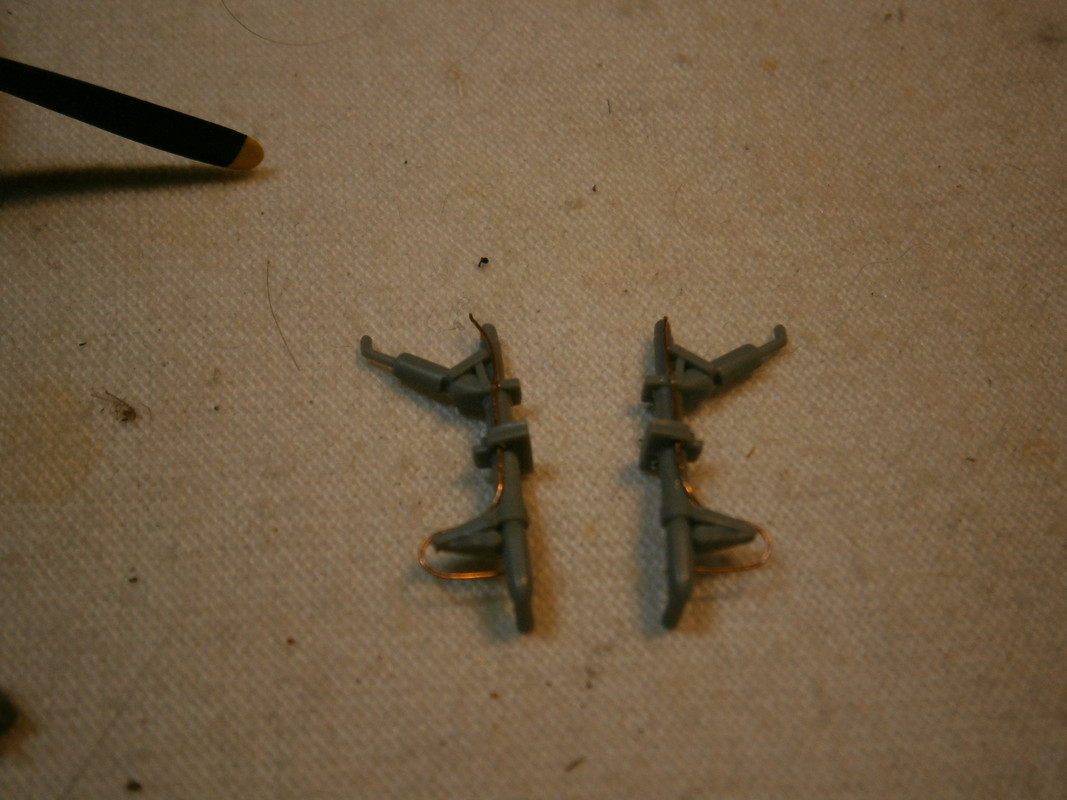
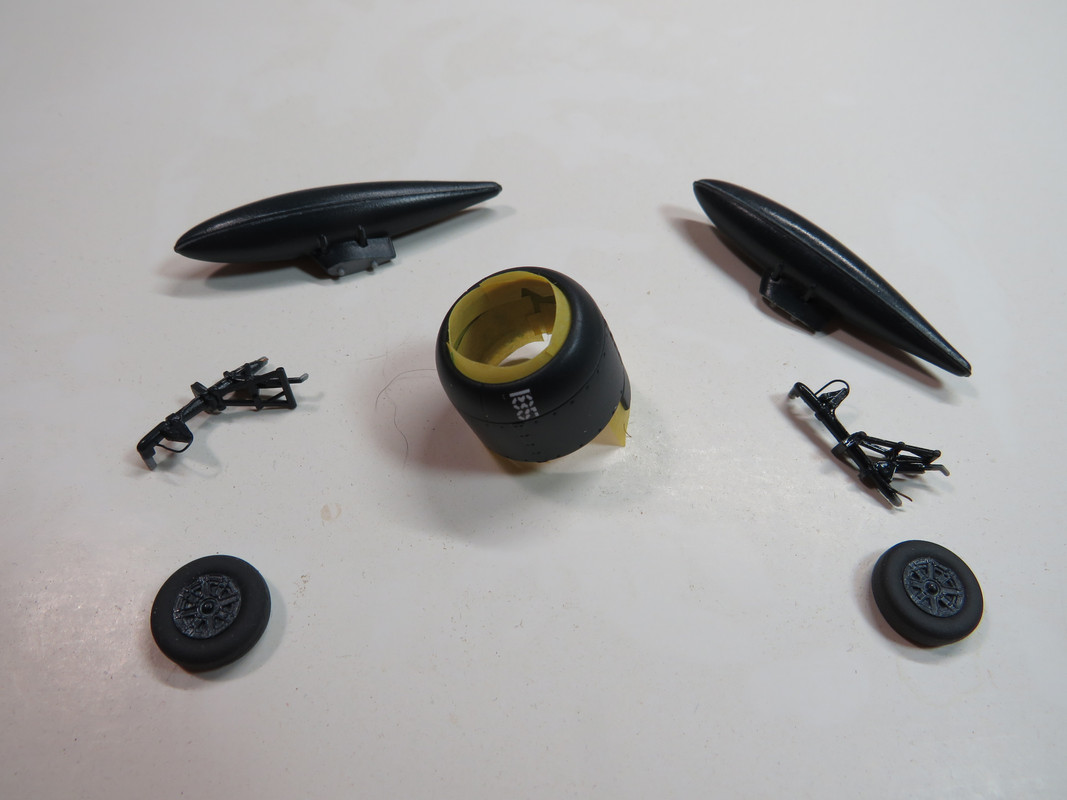
The rockets were wired with copper wire for ignition wires and the landing gear was given copper wire brake lines.
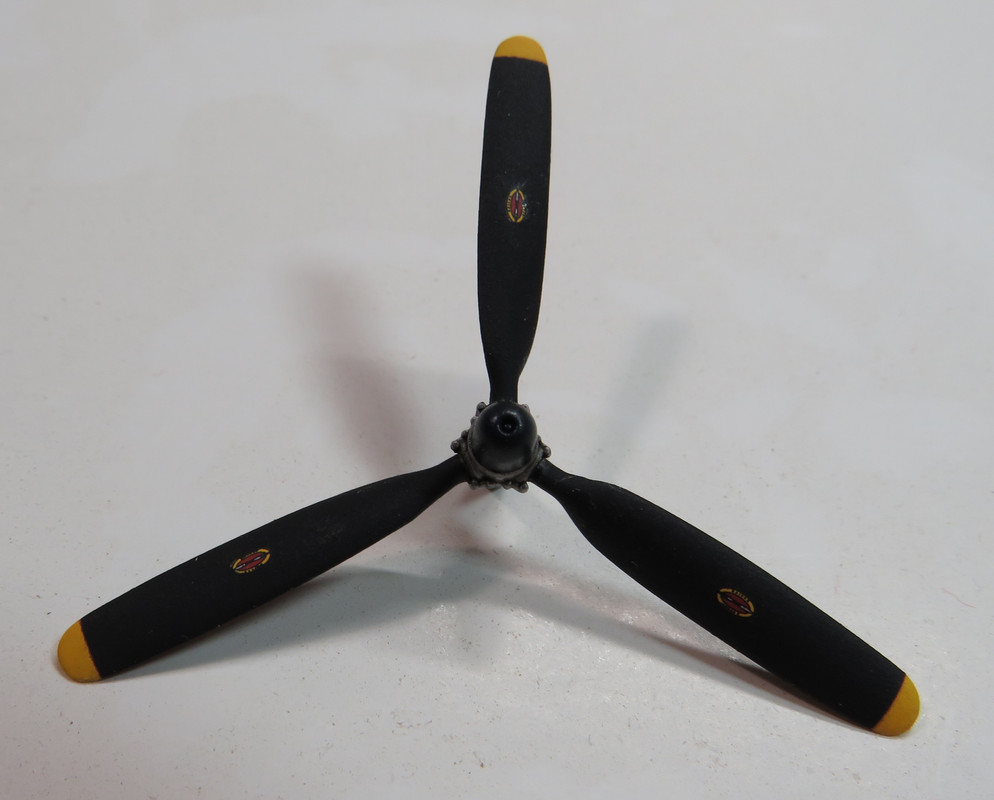
Fiddly bits painted as well as the prop.
Next came the dacals. I opted to use the markings for Cpt.G.H. Wallace of VF-83 on board USS Essex 1945. These came from the Starfighter decal set.
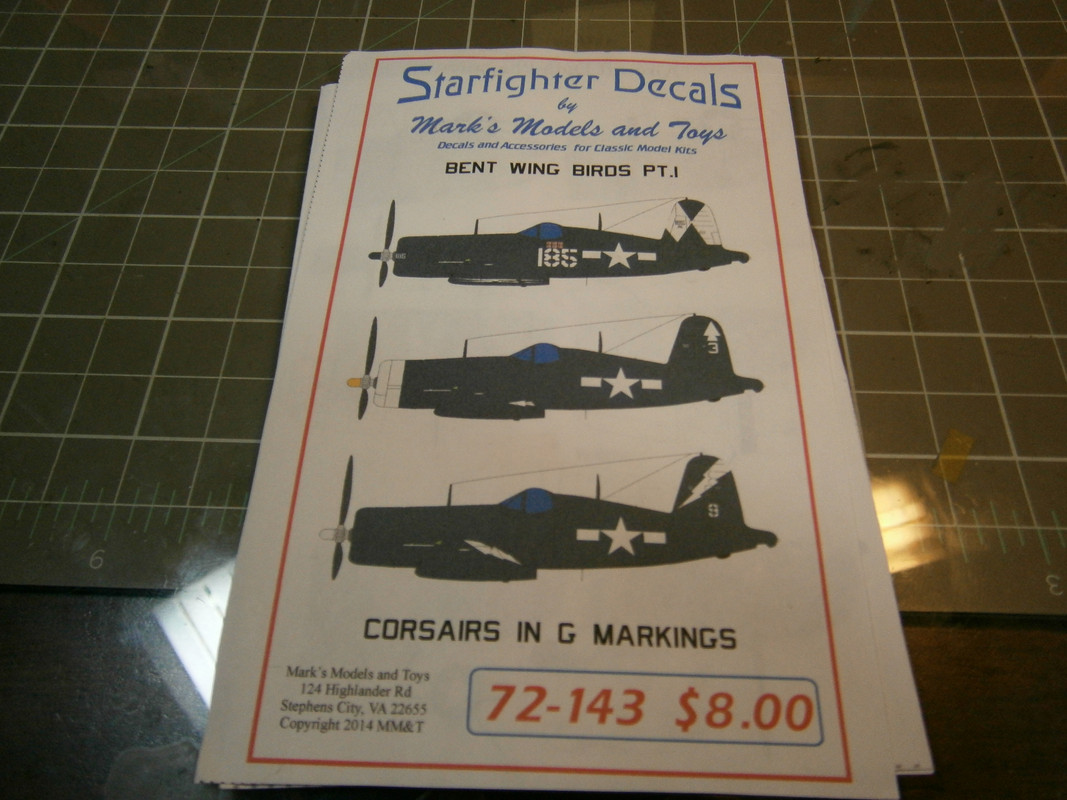
They went on fairly well and laid down nicely with Solvaset.

And that my friends is where I left off. It's now all about the weathering, detail painting and final assembly. As such, there's still a good bit to do to bring this to a satisfactory conclusion.
Thank You all for following along. I know Toshi is.
Cheers, Joe