Admiral's Barge progress:
This is kit No. 61020, probably an original release. 61021 was an early Dambusters release. The latest releases are in grey plastic and have both the early and later bombardier's perspex, the earlier kits have only the shallower early model type. The early kit has one style of propeller, the later kit has two styles. There were also some changes to the engine nacelles in the later kits. 61105 is a later B Mk I/III kit. If you want to see all the kit parts they are here on my website:
http://www.yolo.net/%7Ejeaton/mymodels/lanc/1lanc/1lanc.html
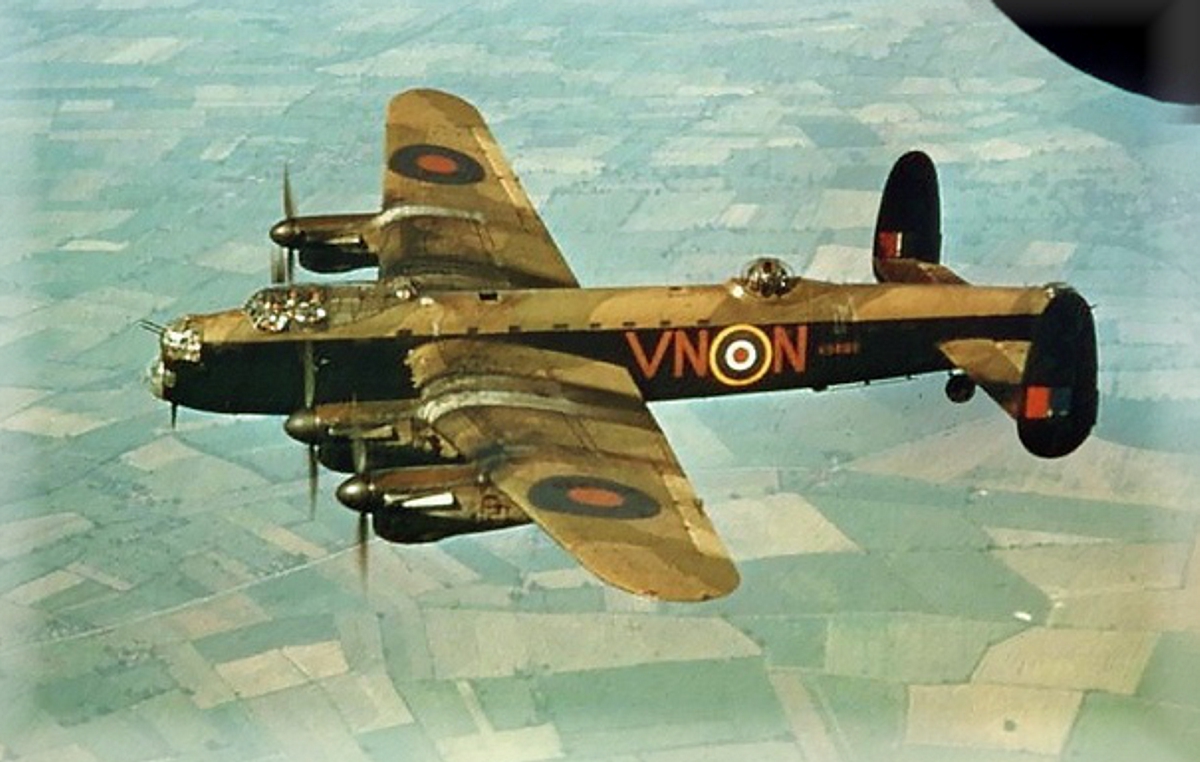
I know, I already posted this picture, but given the average attention span and volume of grog around here, who's to know? This is the airplane the model will be built as, an early B Mk. I, some say it was the most photographed Lancaster. It was the aircraft used to make the airplane known to the British public in WW II. It was originally laid down as one of 200 Manchesters but was completed as a Lancaster instead. R5689 went to 50 Squadron on 22 June 1942. It took part in many key operations, bombing Saarbrucken, Dussldorf, Le Havre, Essen and Wilhelmshaven. On its last run, it left Swinderby, England, at 19h15 on 18 September 1942 on a mine-laying operation. It crash landed at Thurlby, Lincolnshire, after a double engine failure on short approach. The pilot, Gp Capt Hugh Everitt, not only survived the war but lived to be 94 and was highly decorated, DSO, DFC and Bar, CBE, OBE. Sadly, one crewmember did not survive the crash, Sgt J R Gibbons, RCAF, from Brantford Ontario.
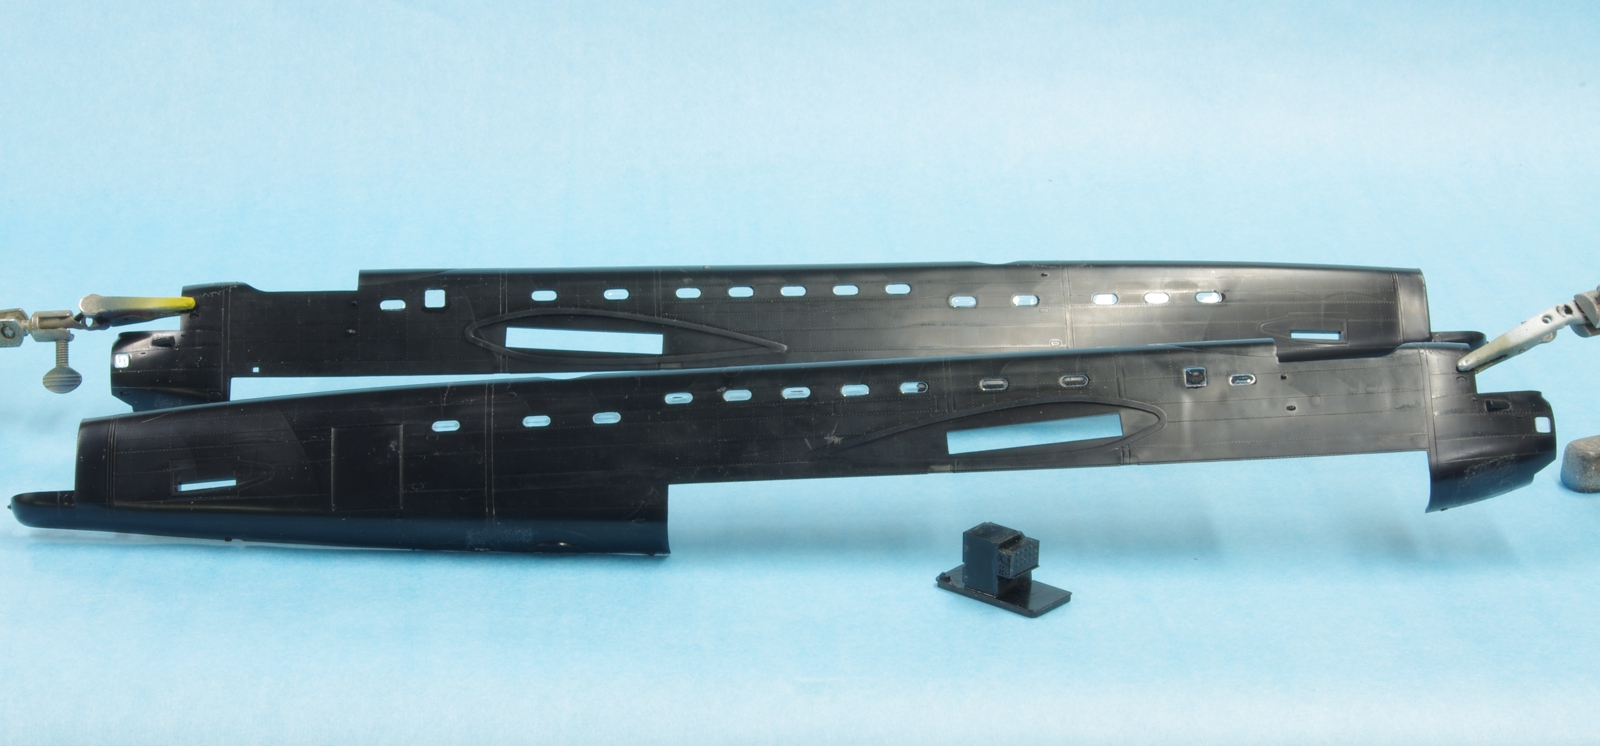
Windows will be unpainted on this early example. The strips fit well and were attached using Testors tube glue in the square bottle, and white glue. The windows were coated on the inside with Future. On the outside they were also coated, but also the gaps left between the windows and the fuselage molding were filled with Future. The navigator's station is in the foreground. The Montex mask set only supplied masks for one side of the windows so I cut more with a Silhouette Cameo vinyl cutter to mask the inside face of the windows. Lancasters had windows because the original Manchester design called for a secondary transport role.
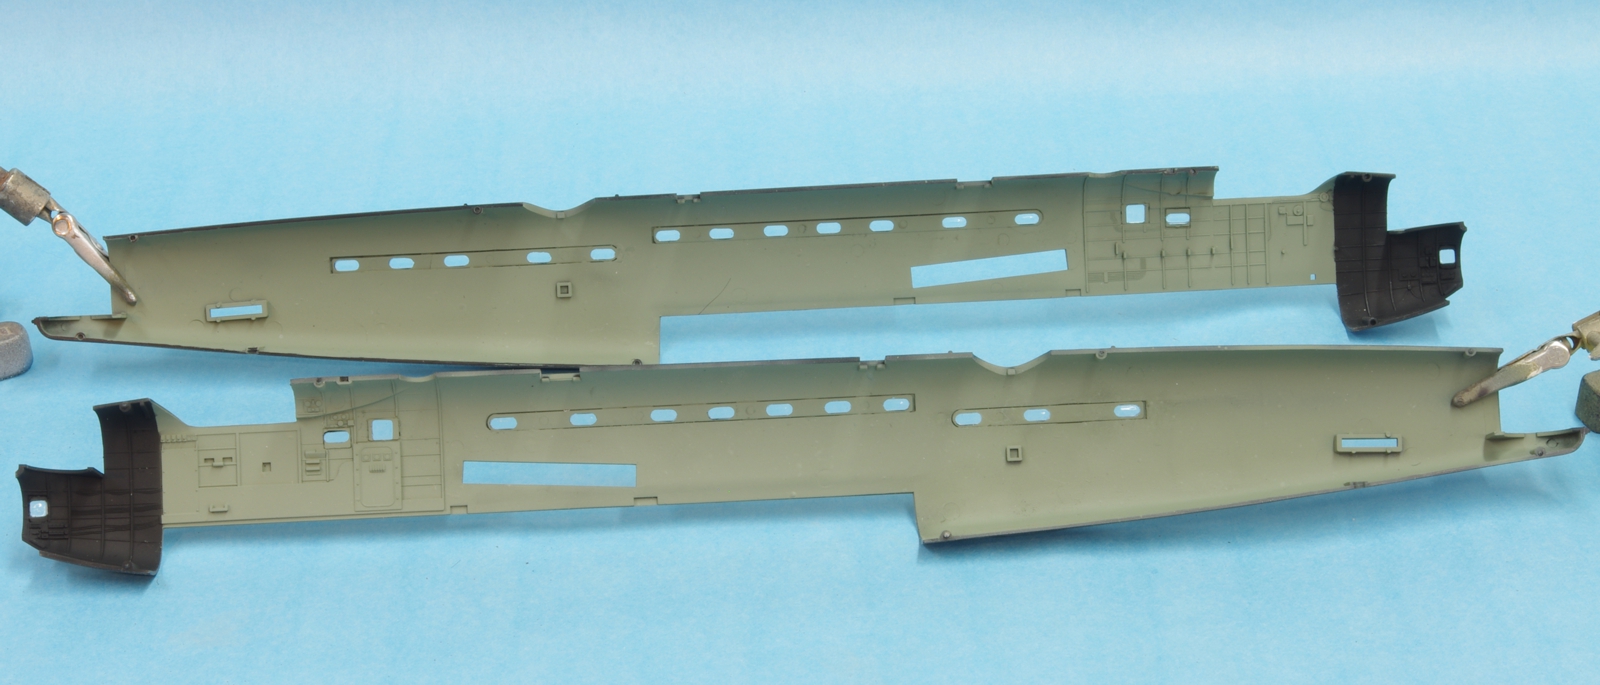
The decision was taken to paint the interior up to the bombardier's station RAF Interior Green, as was the case with early Lancasters built by Avro at Manchester. It seems unclear exactly when the changeover to black back to the main spar cover happened. It is said that black was applied in that area during the service life of many Lancasters.
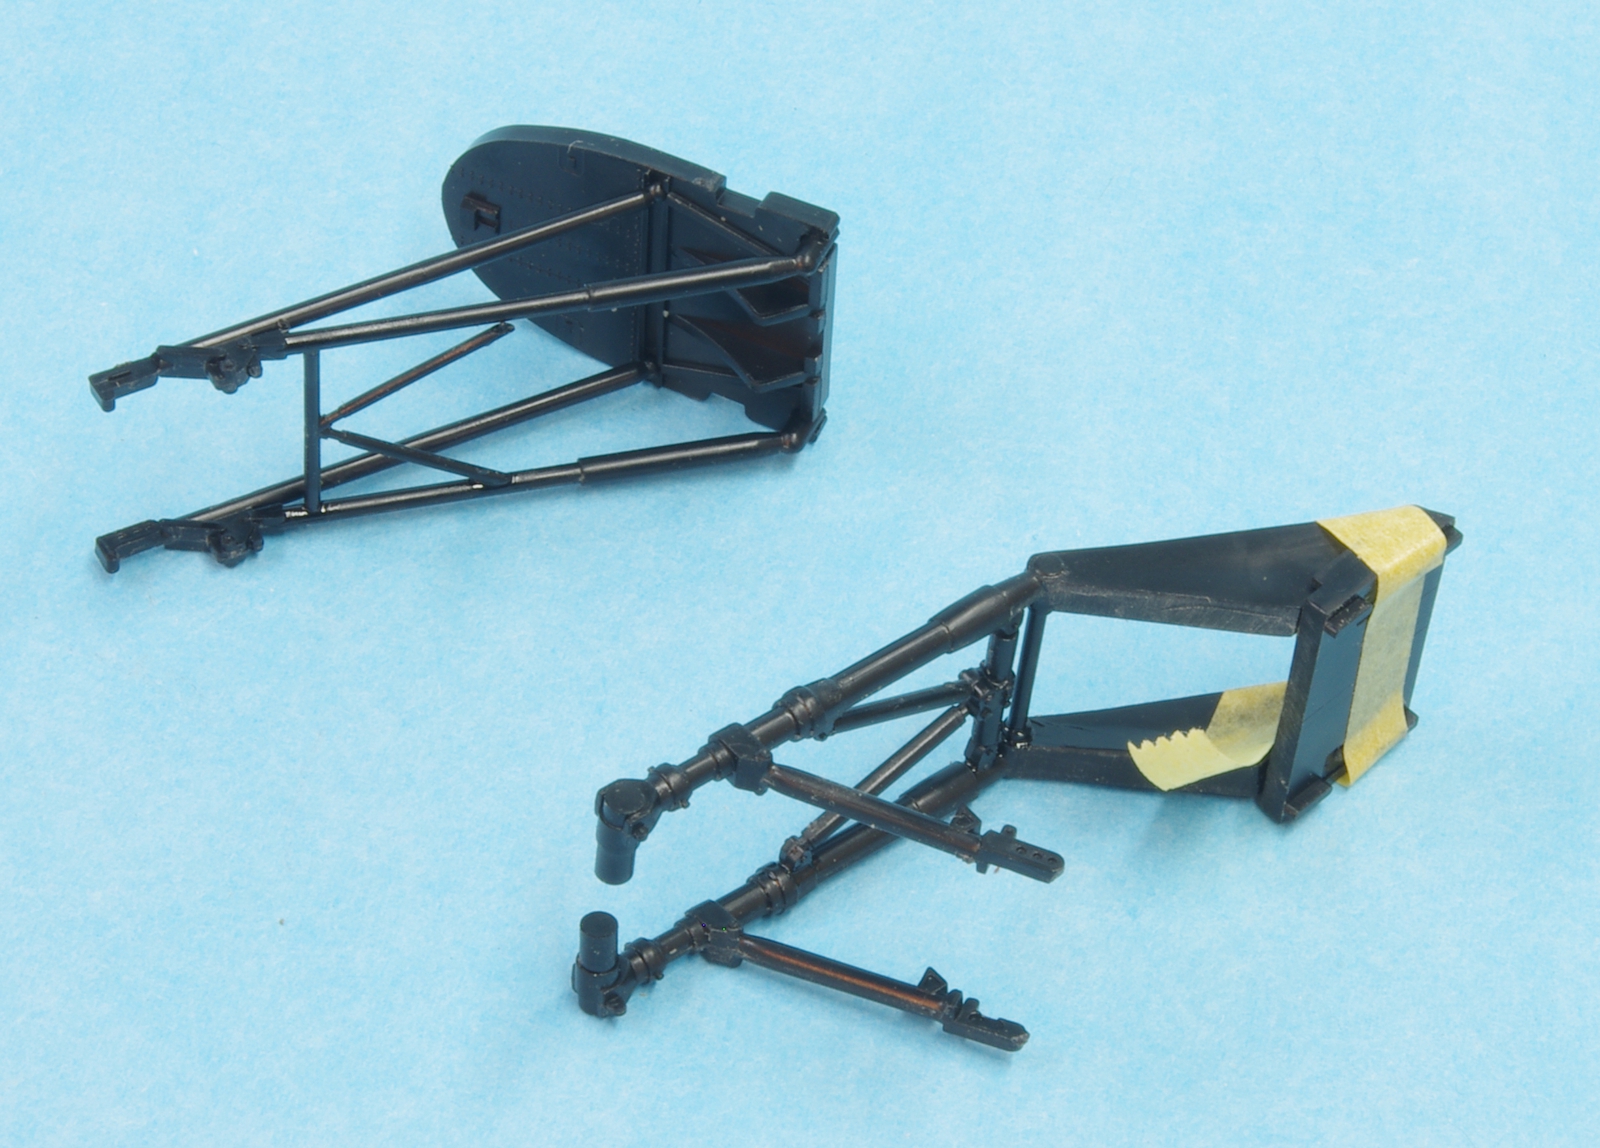
There are 11 parts in each main landing gear strut. Since it would be easier to paint with the parts to be flat black separate from the silver and semigloss black parts, the struts were not glued to the upper bulkhead parts until after painting. The upper parts were used as jigs while assembling the struts. The front mounting bulkhead had to be taped in place, but the rear fit snug enough to stay in place.
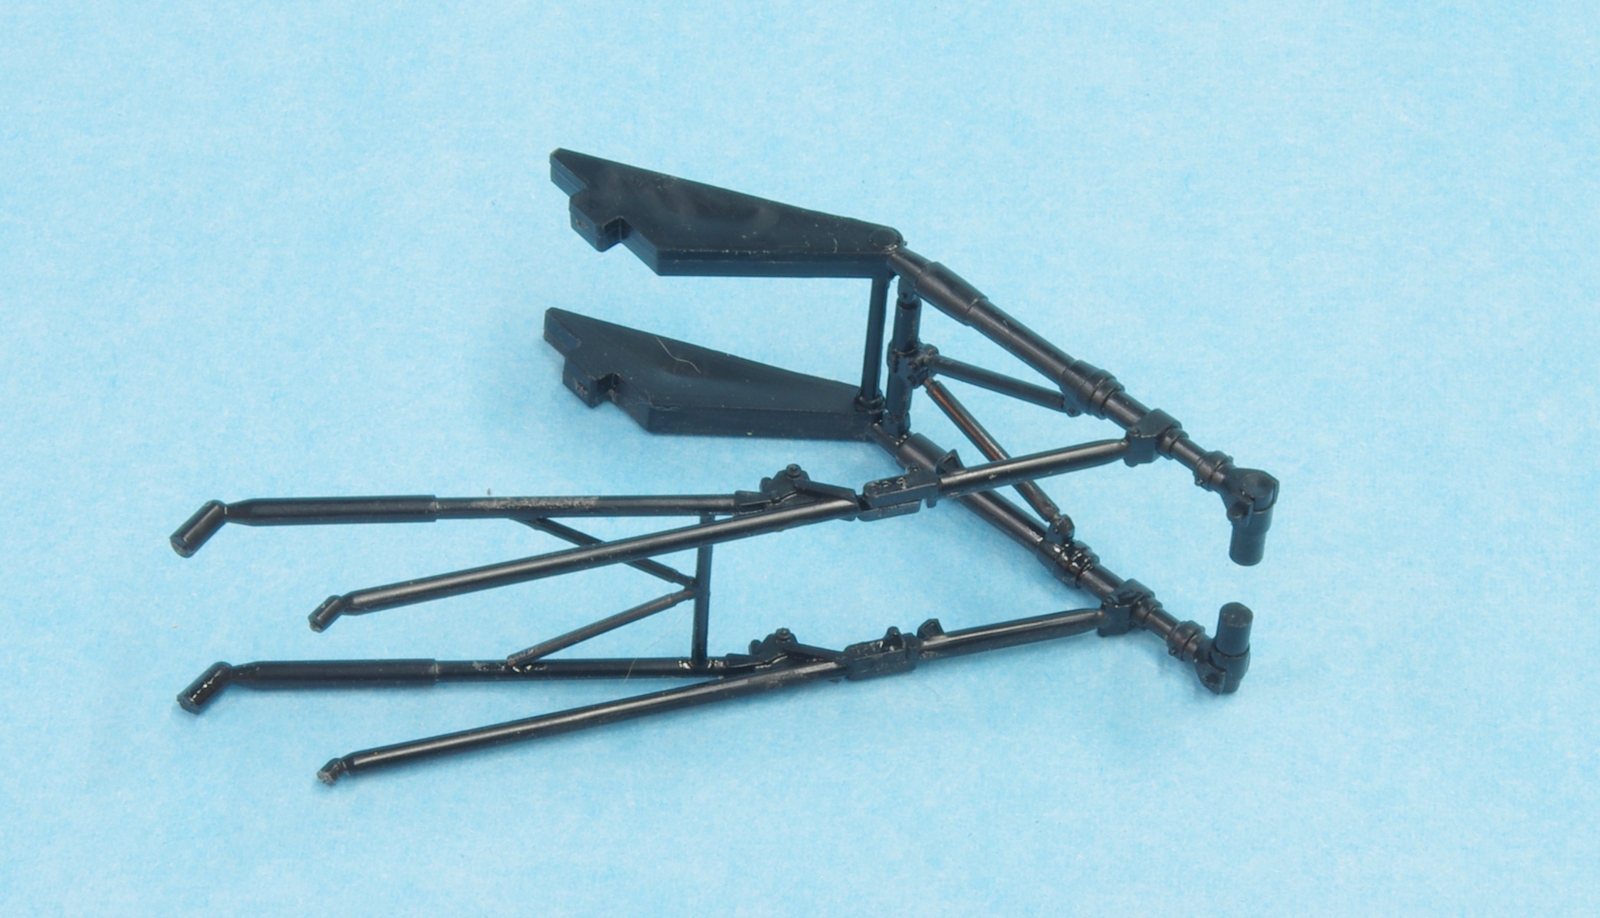
The second step, the two parts of the strut assembly glued together. The strut closest in the photo must be assembled exactly straight. The key and slot in that area is a little loose so care must be taken.
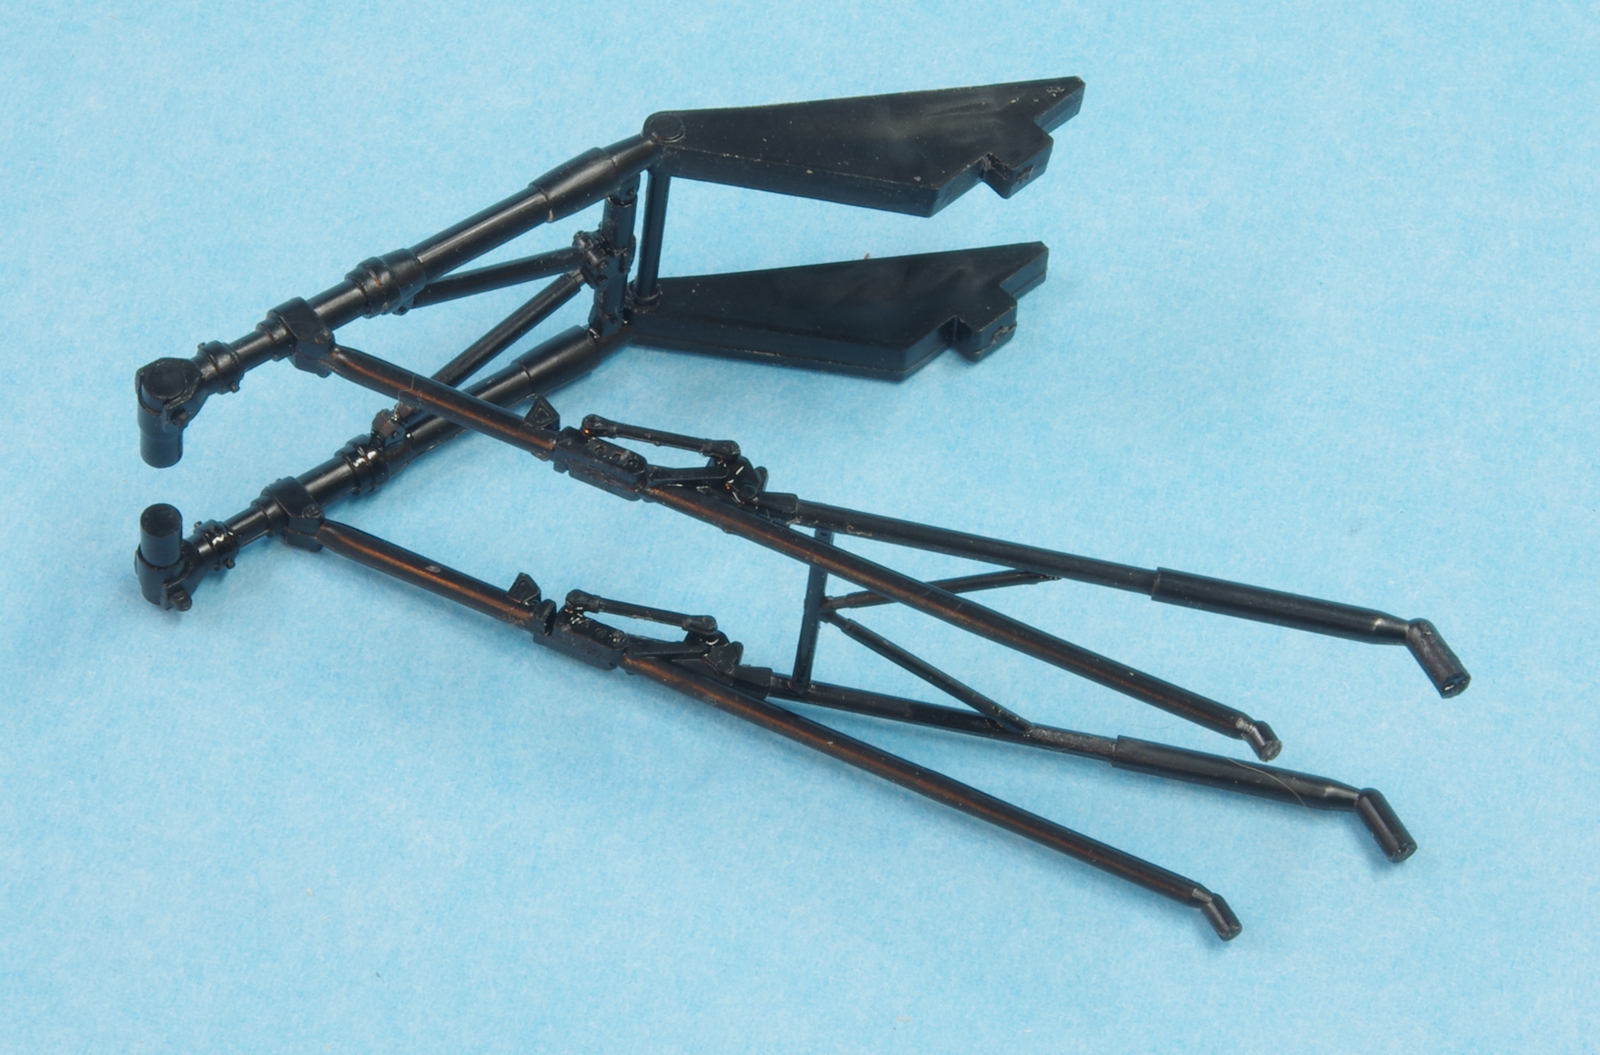
Lastly, the four links across the strut break point are installed. This may be the first kit in black plastic I have done, and the color does not lend itself to seeing details.
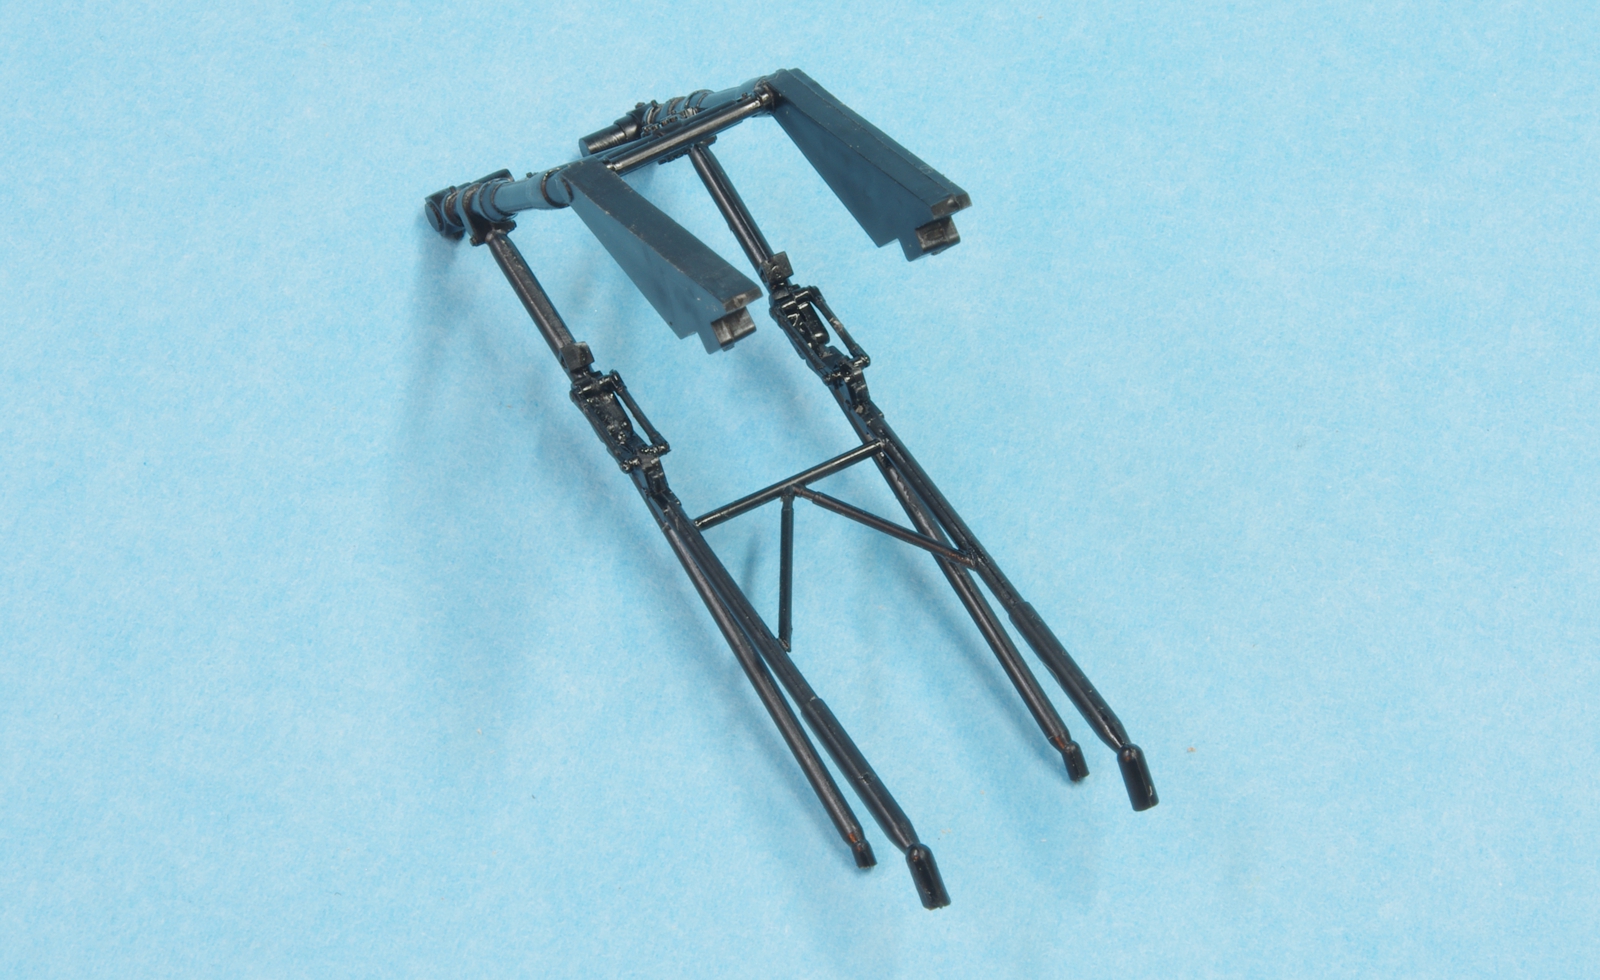
Another view of the four links across the strut break point. These are overcenter springs.
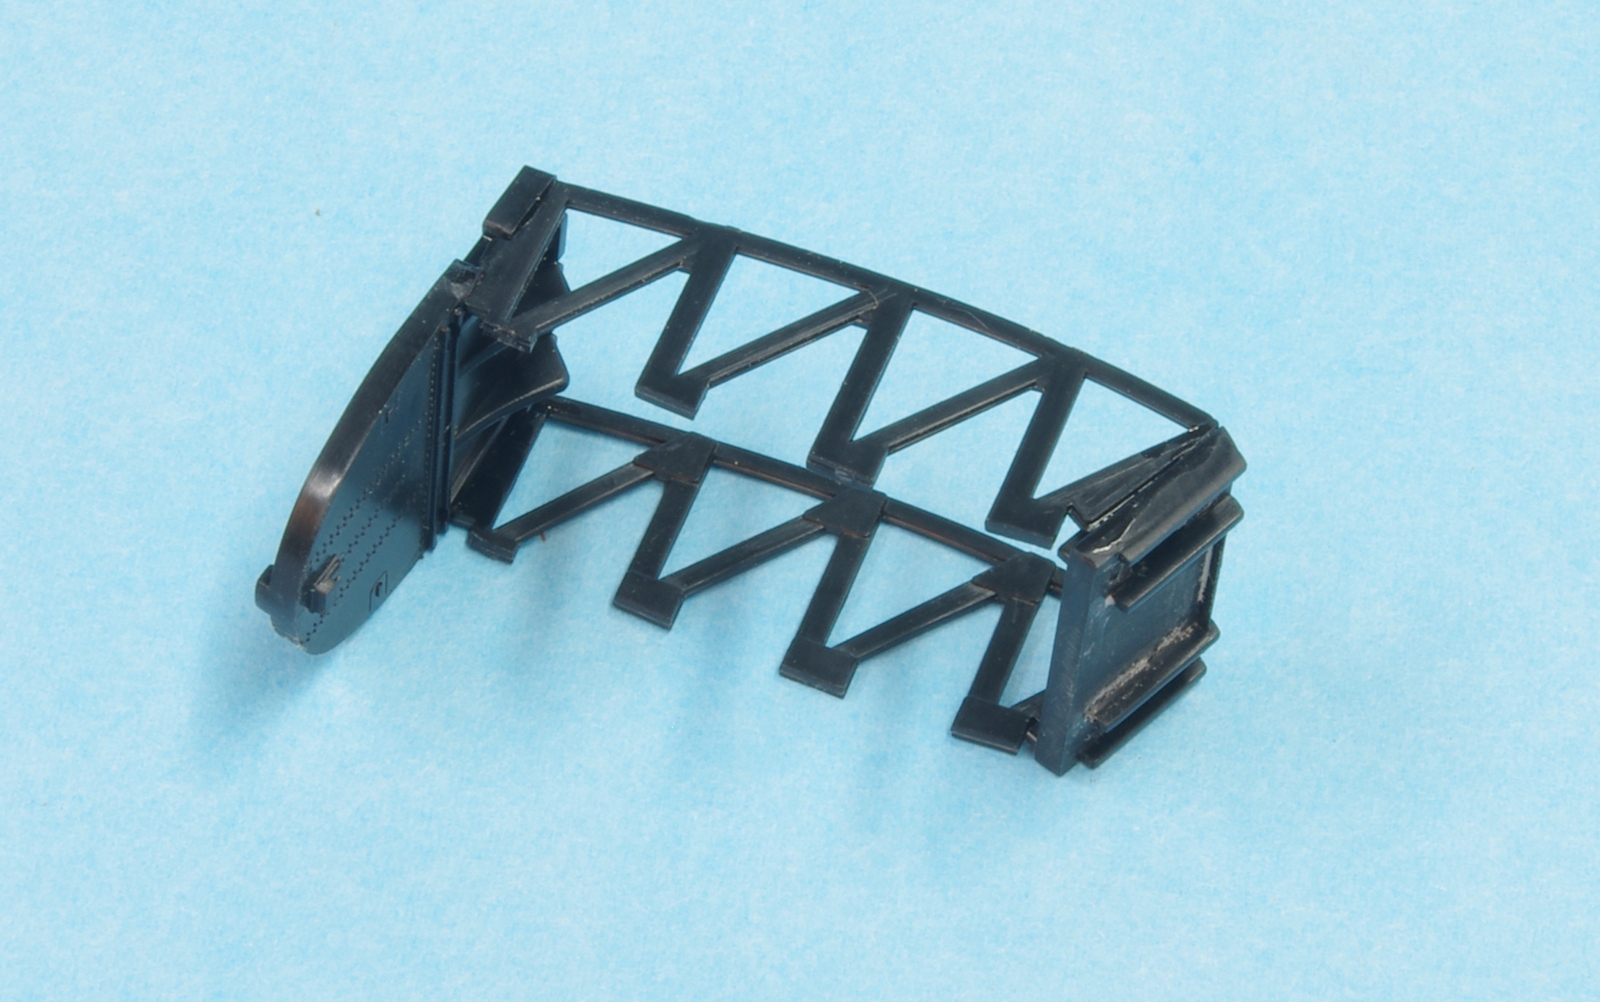
The bulkheads assembled to the ribs.
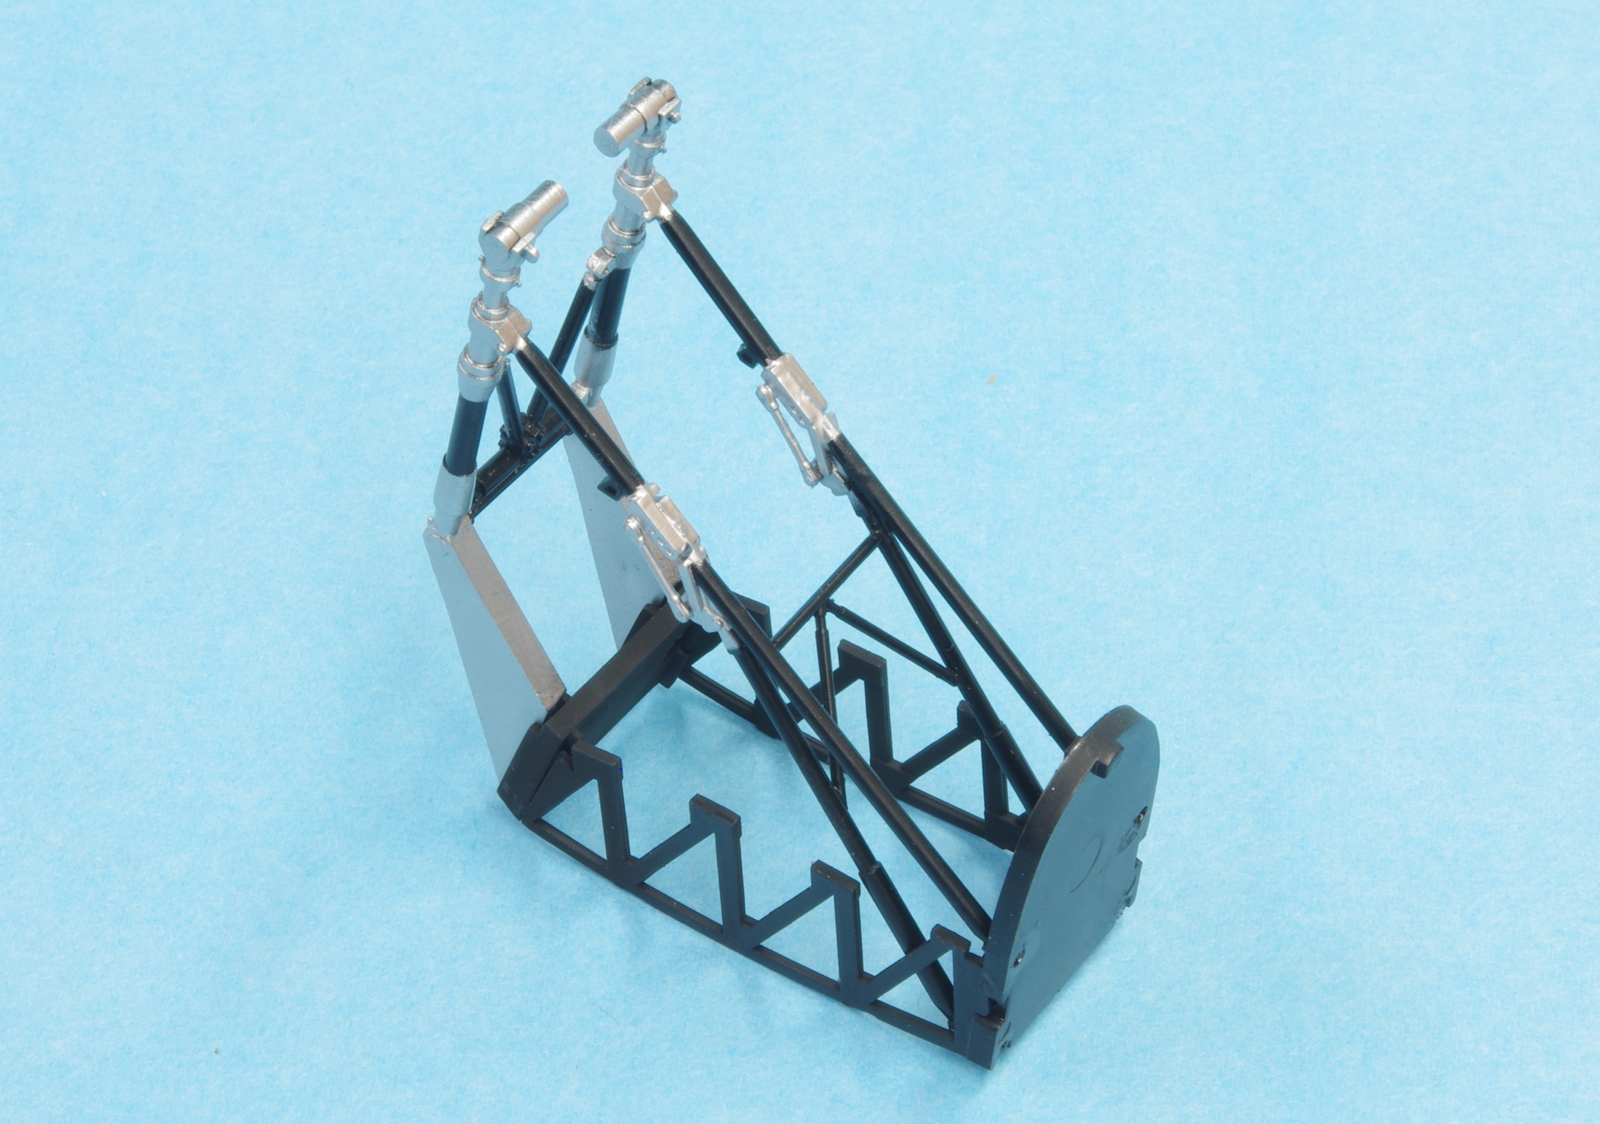
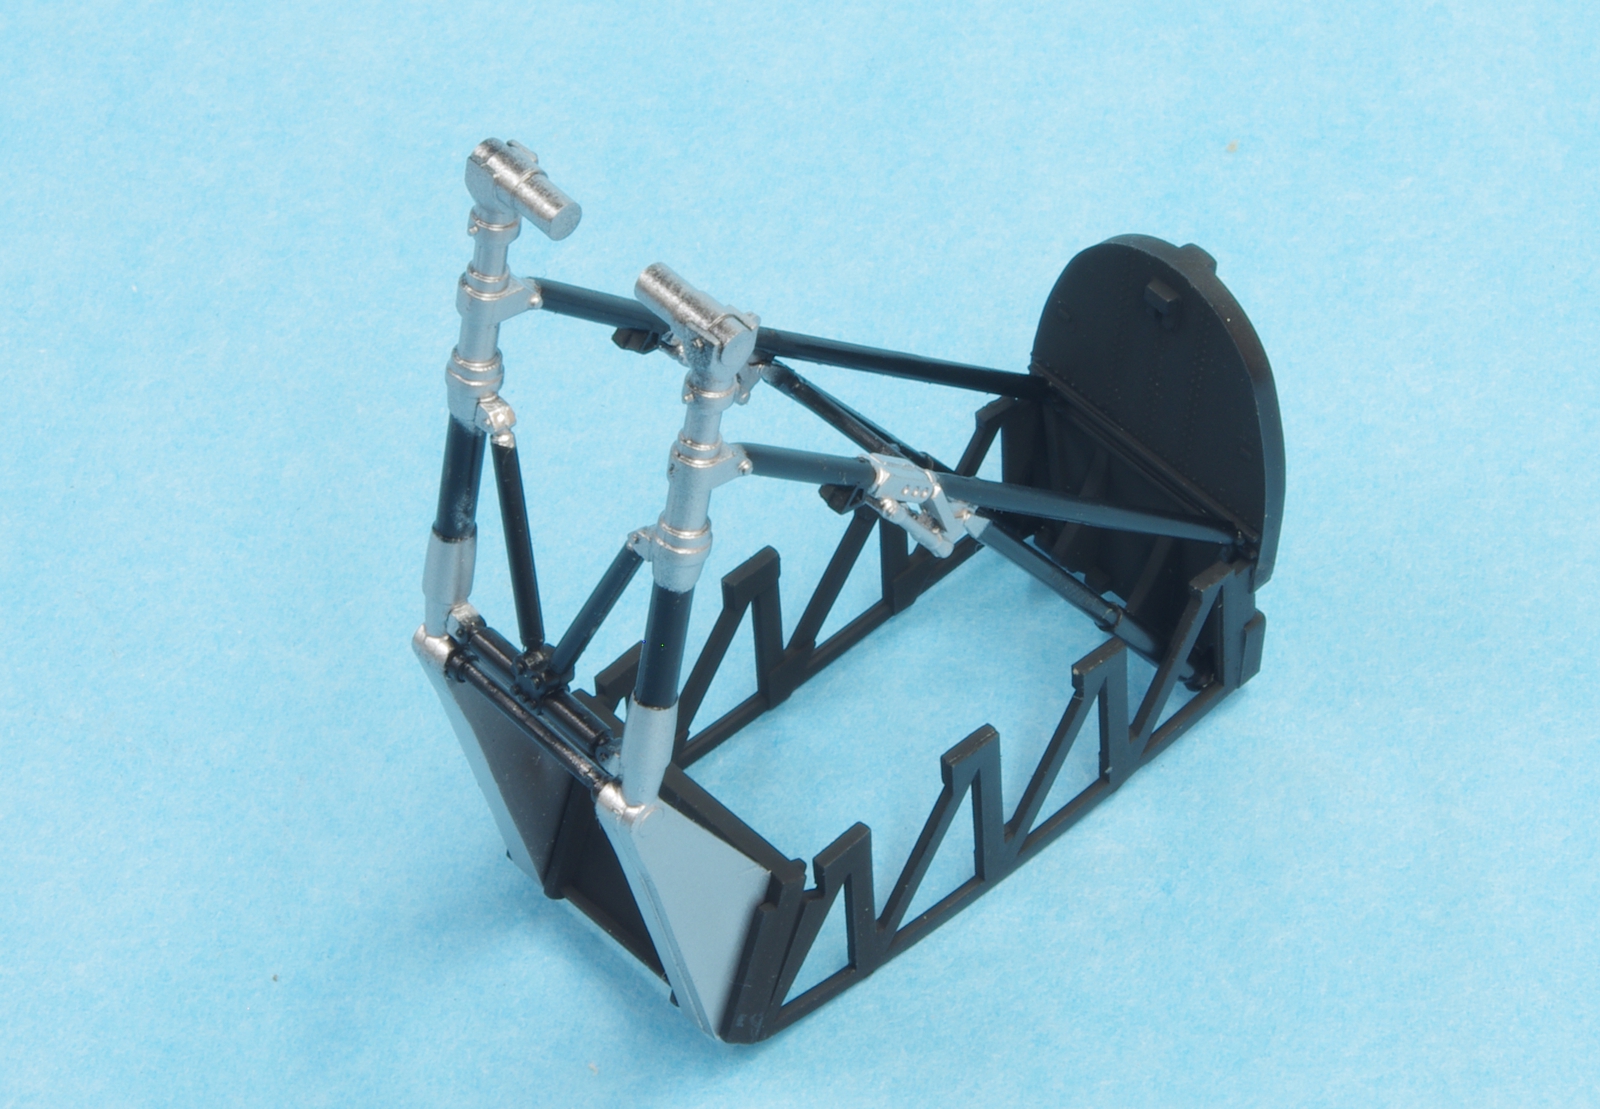
Alclad 101 Aluminum and Tamiya X-18 semi-gloss black on the strut assembly, Testors enamel flat black on the bulkhead assembly. Some masking involved here on the struts.
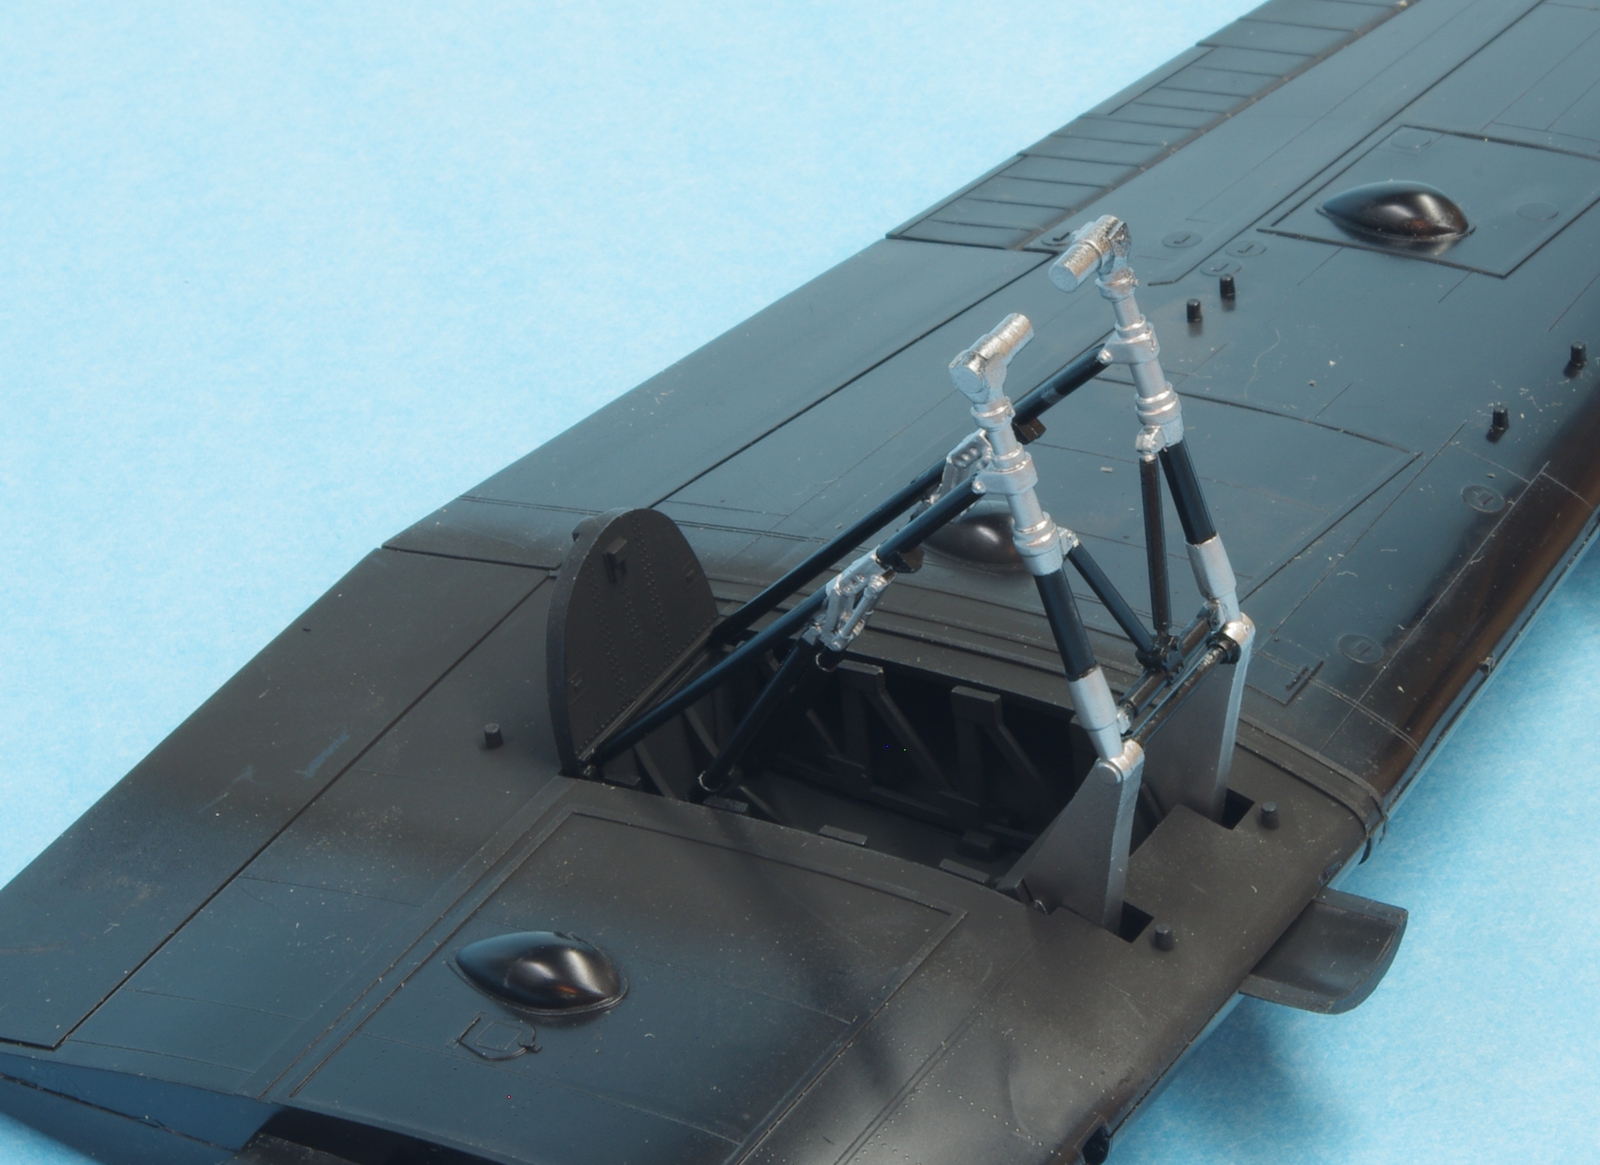
Unfortunately it is necessary to install the landing gear in the wing before the nacelles can be fit. The wing fit to the fuselage is nice, so the plan is to build and paint the fuselage and wings as separate units and do the wing join last. The wings halves were not trouble free to join. While the trailing edges joined up well, the leading edges of both wings had a pronounced step that had to be sanded to fair in. It took several attempts to get the seam to disappear using thin CA after the first sanding. This work was done before the landing gear was installed. A gentle reminder that this is a mid-70's kit.
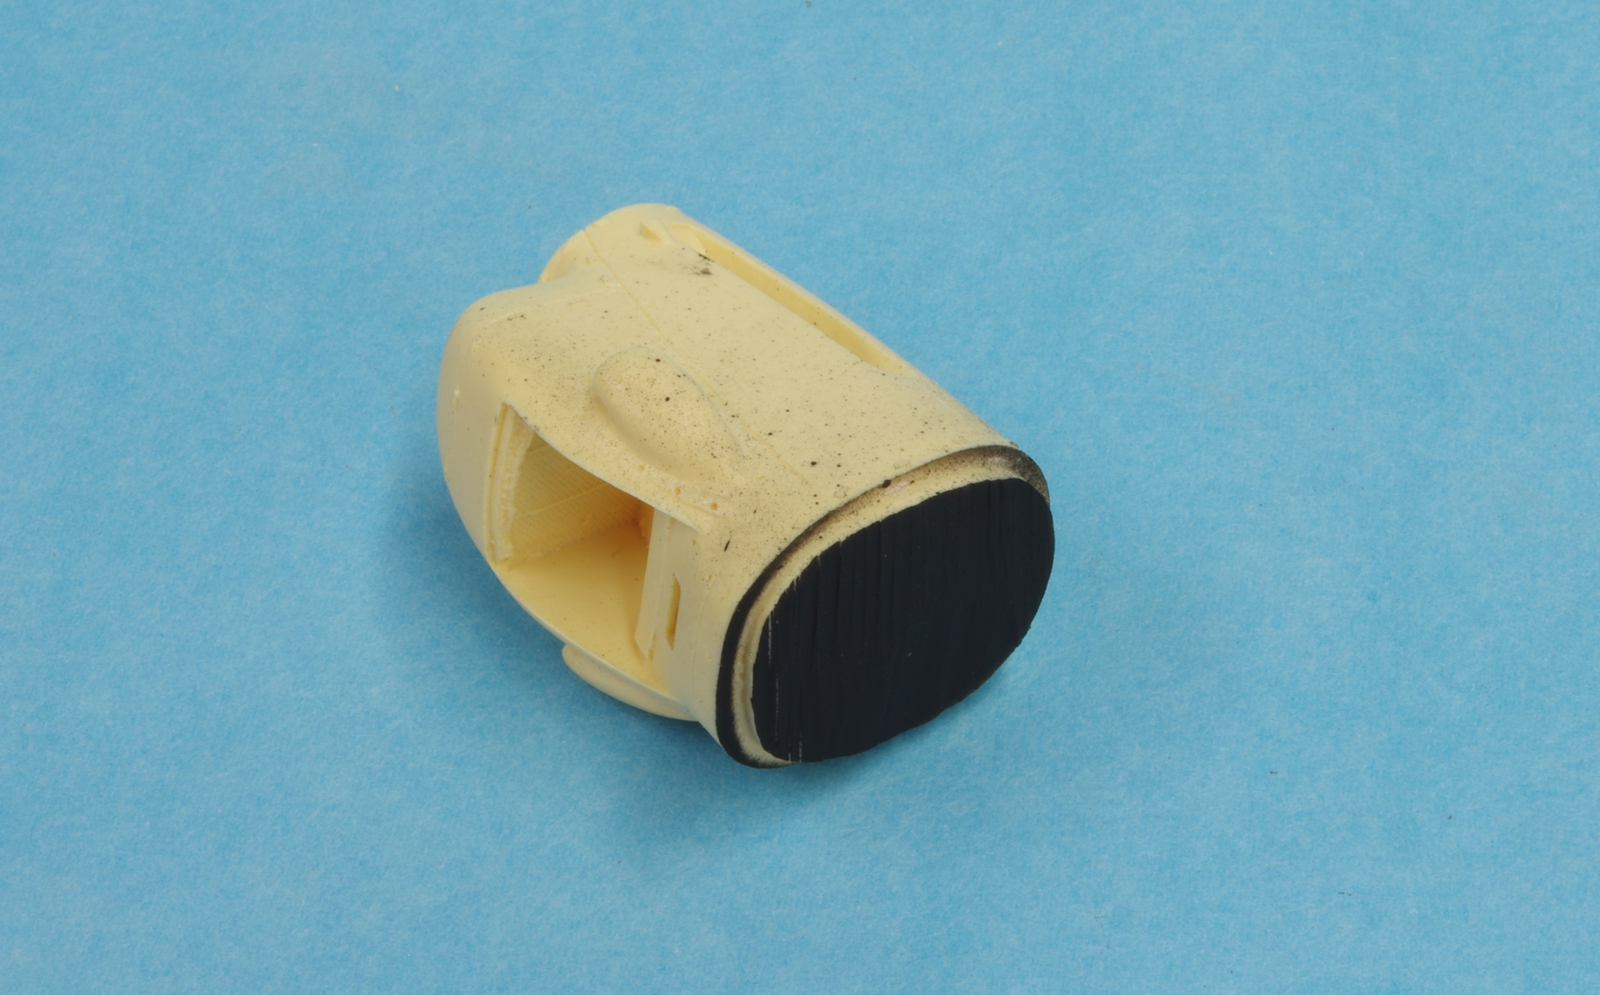
An outer nacelle from the Belcher bits set. A band saw was used to remove the pour plug (sorry, Mike, but it worked well if a bit scary), leaving the remaining stepped down area that fits snugly in the modified nacelles (thanks, Mike Belcher!)
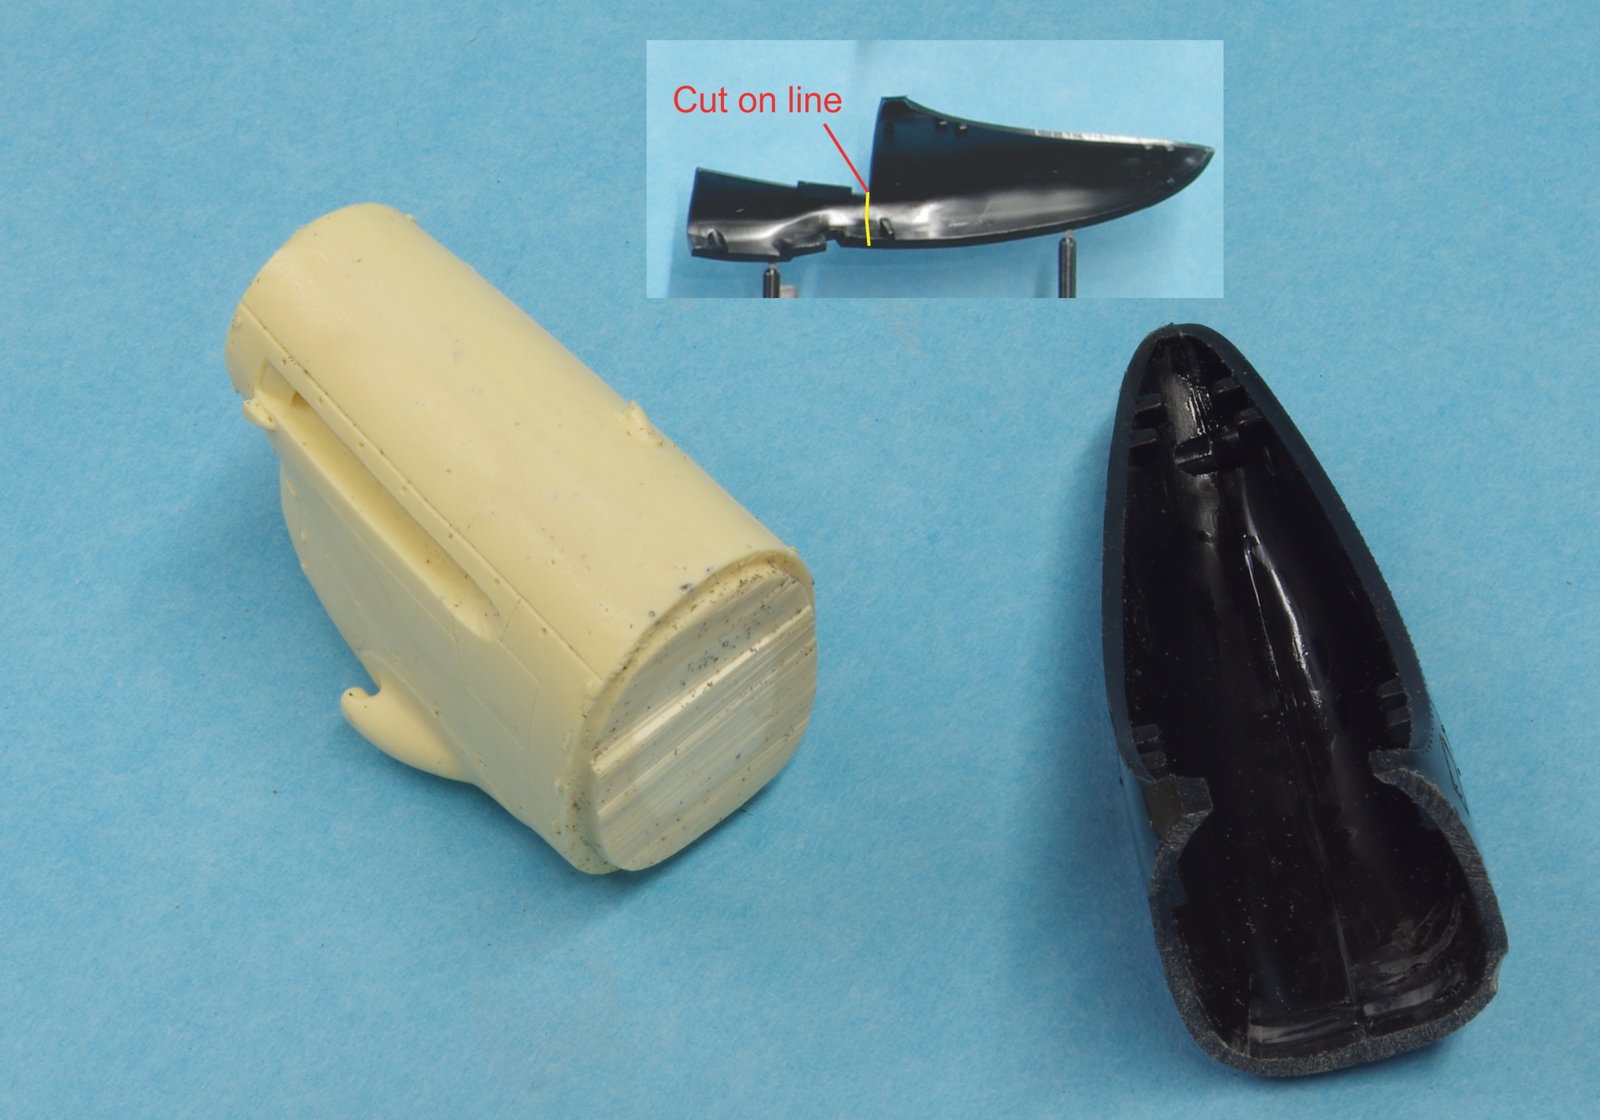
The modification of the nacelles is not difficult. The cut is aligned with the existing straight surface that would join the engine cowl side panels of the kit parts. The cut was made a little ahead of where it should be using sprue nippers, and sanded to final shape, test fitting as the fit got close.
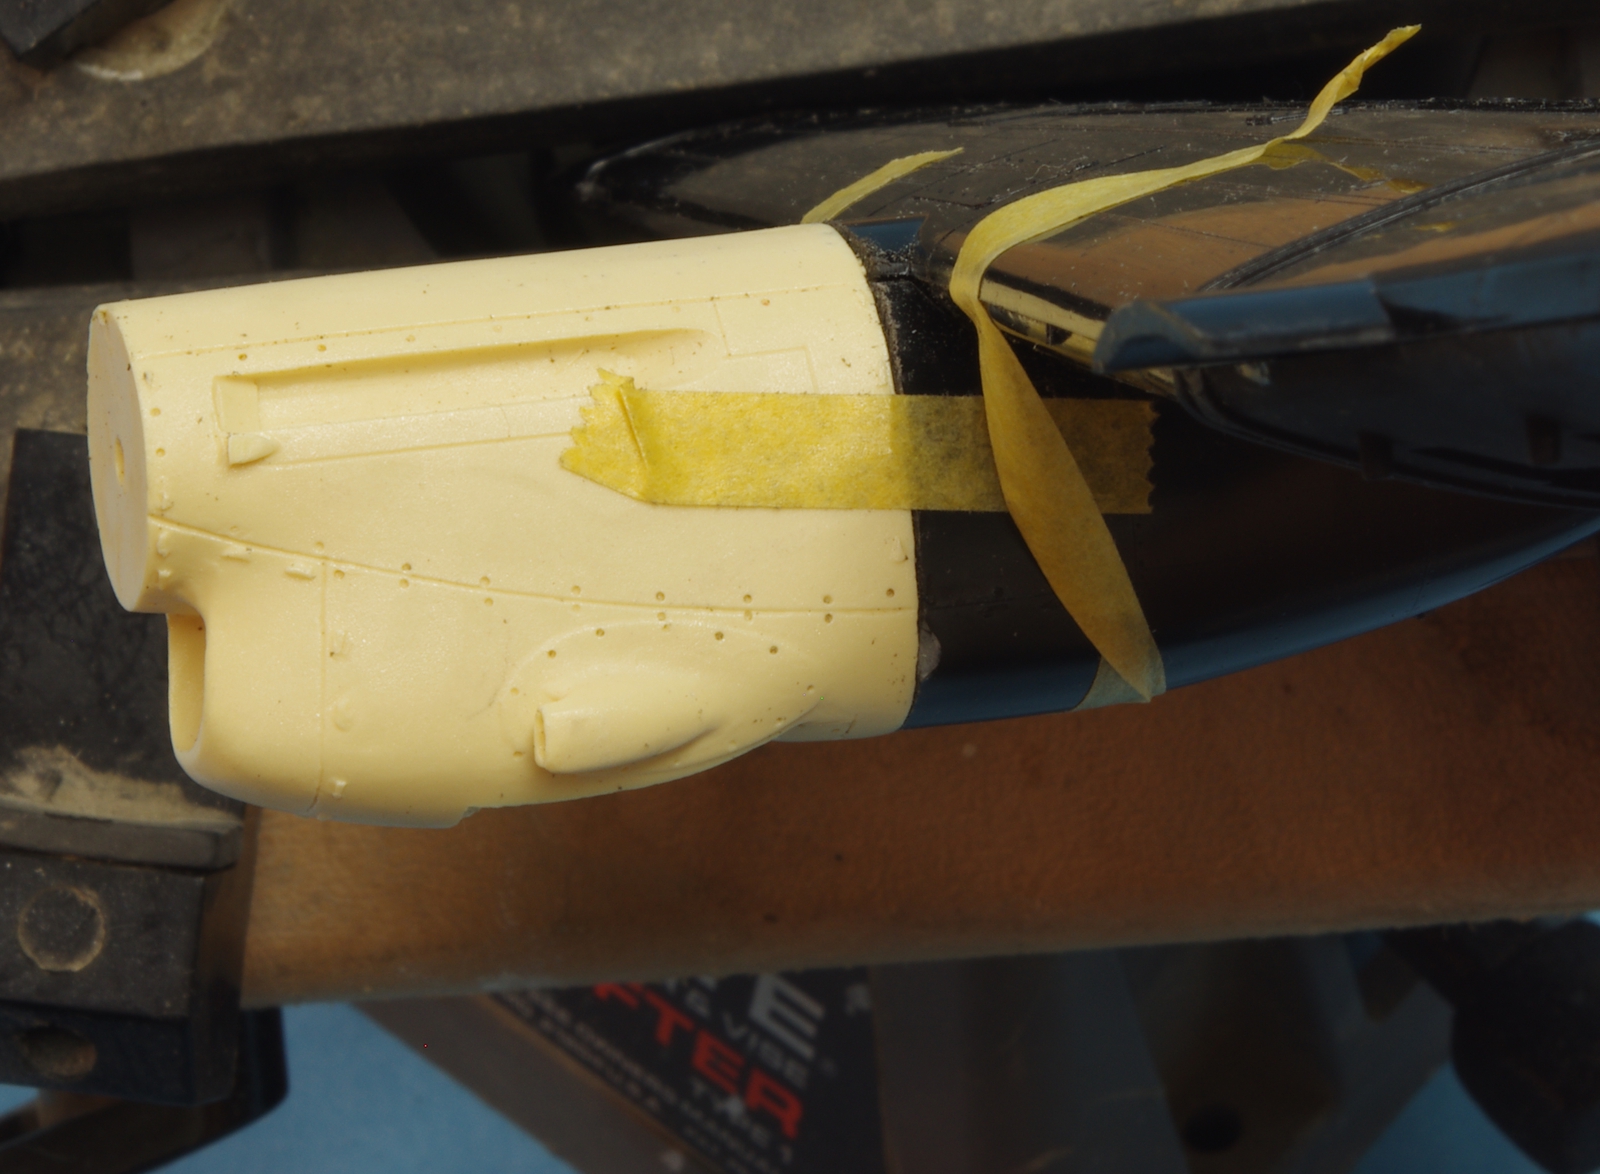
The test fit of an inner nacelle and engine prior to landing gear installation. An outer engine with the smaller side air intake is shown here, the fit to the nacelle is the same. Hopefully an inner engine will be used for this position in the final assembly.
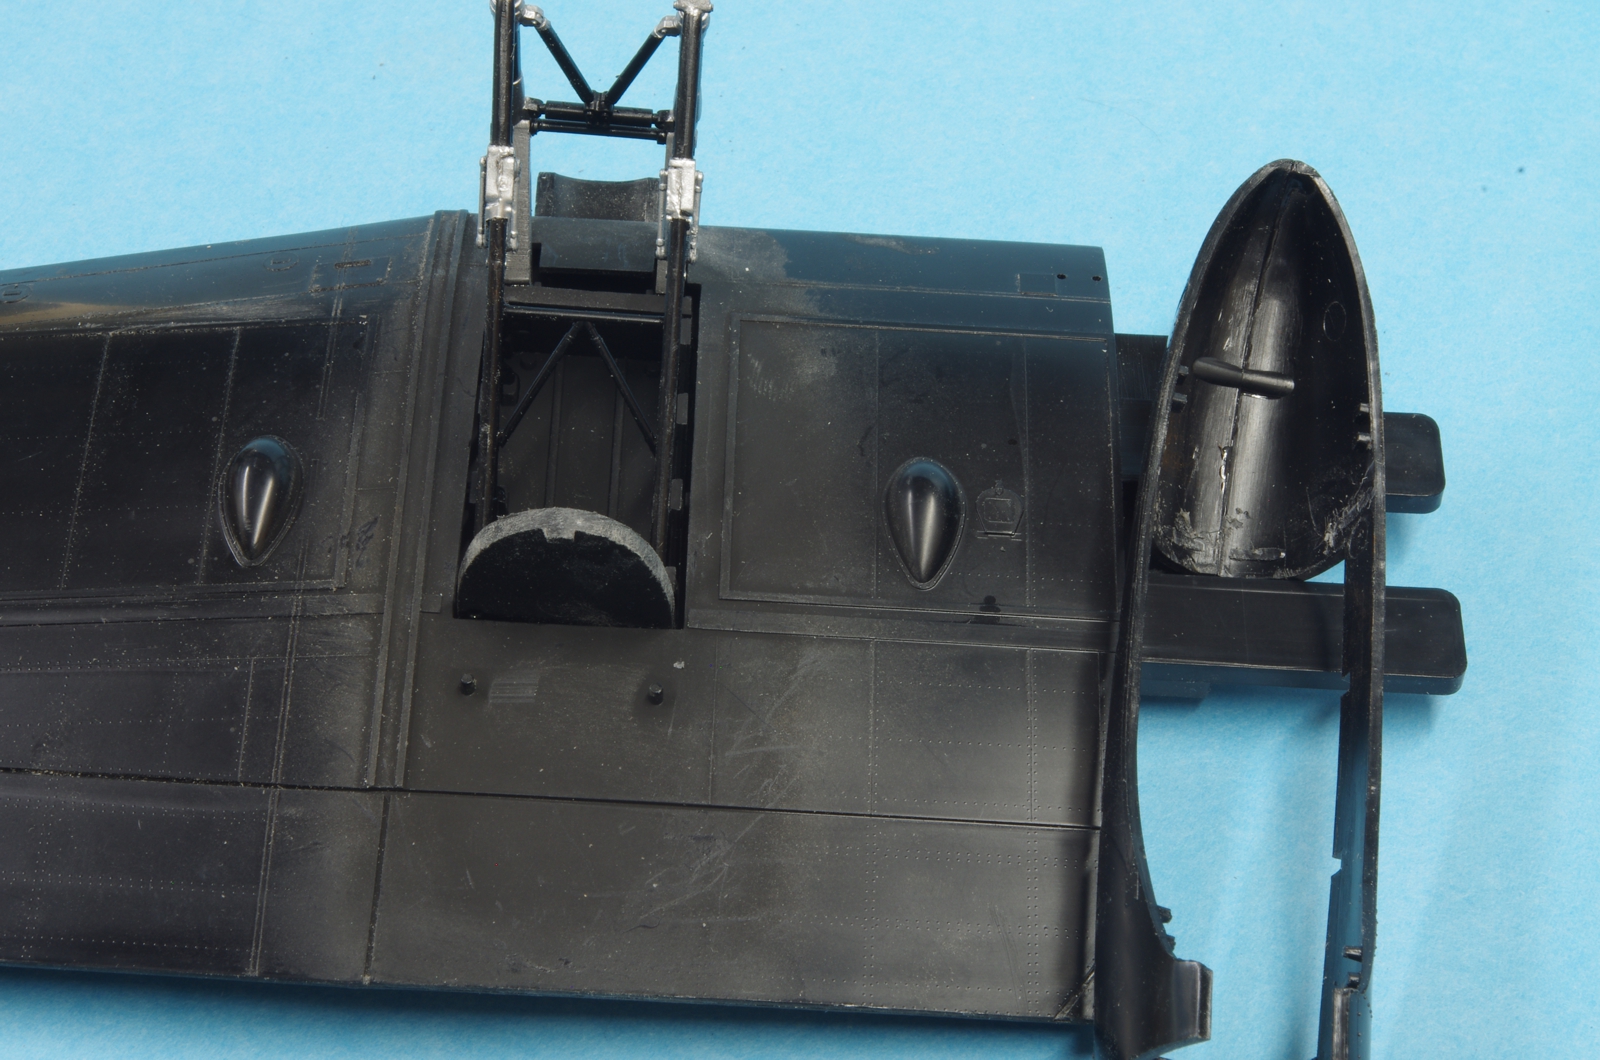
With the landing gear installed, a test fit showed that the rear gear bulkhead interfered with the aft end of the nacelle, not allowing the nacelle to rest far enough forward or to be close enough to the wing at the aft end. The gear bulkhead was sanded down a bit and the alignment dogs on the inside of the aft end of the nacelle were removed. This allowed the nacelle to fit properly. The same correction was needed on both wings.
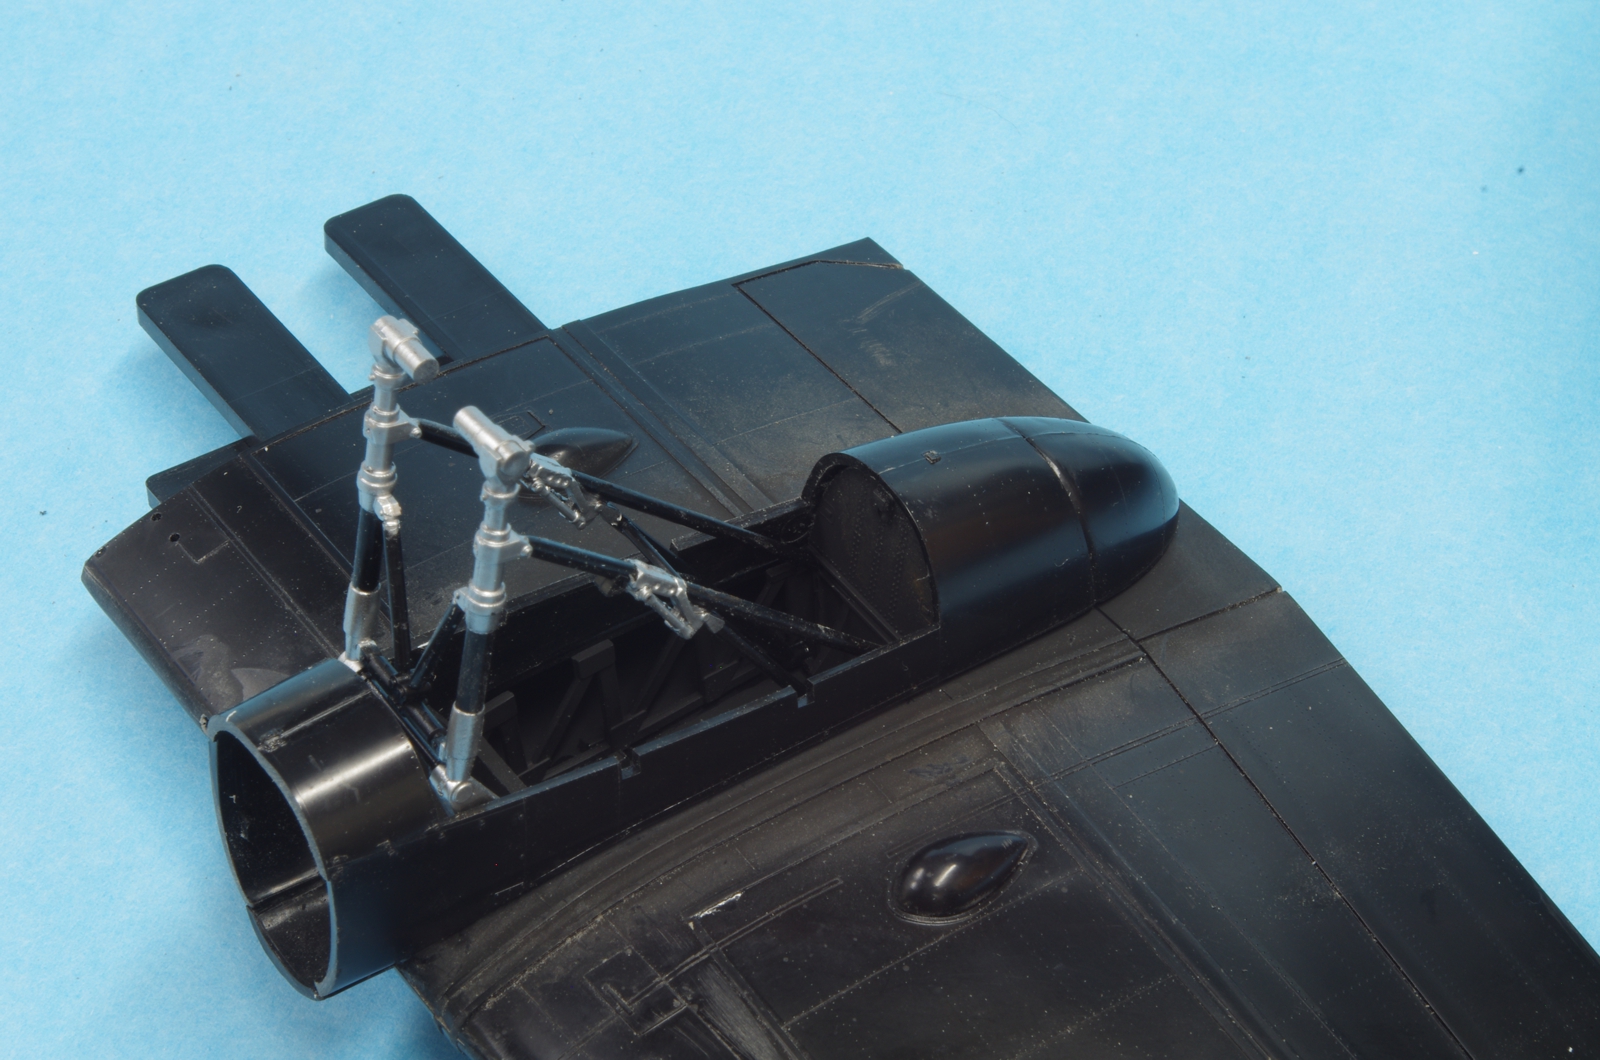
The final fit looks good.