I apologize for not posting sooner but between work and the "beginning of summer" chores, it was all I could just to find bench time. Hopefully, that has "passed" and I can keep up with the updates.
After priming with some flat black and some seam cleanup, I noticed 3 parts which are not mentioned on the directions. I also was looking for the brake system gauges and low and behold there they are. The parts need to have their locating pins trimmed as the trail section does not have the holes to accept them. The two lines from the gauges to the air system are molded into the trail and the cutout on the back of the gauges sits perfectly on them. The protective plate is then just centered over the gauges (currently in the micro clip.
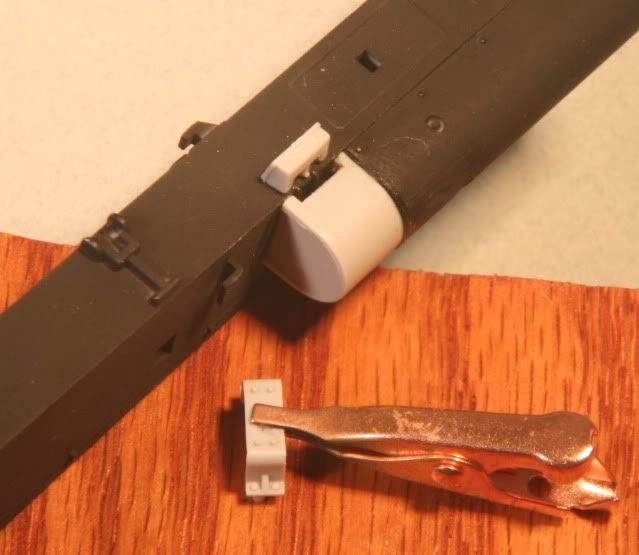
The upper assembly requires painting before the bottom plate is assembled in step 9 as it will be very difficult to paint inside the sled once it is in place. Trumpeter did a poor job of attachment points for the plate as they have 6 holes in the plate and six pins on the supports for the sled. It should have been reversed. The kit's current setup for the plate leaves six "holes" to be filled on what should be a solid plate.
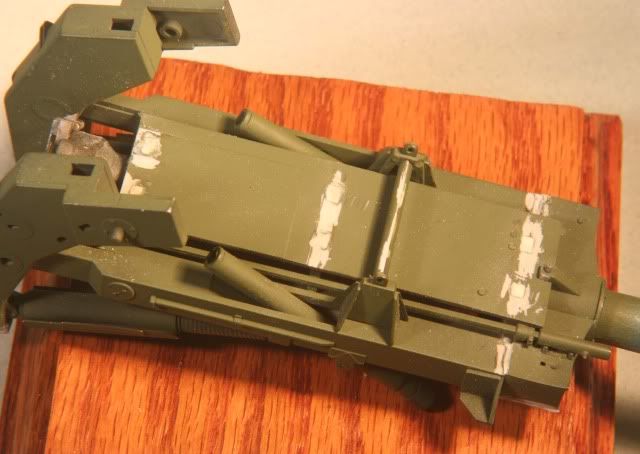
The seam at the rear of the trail where the spade block attaches to the box channel trail is a welded seam. Arched weld bead does the trick
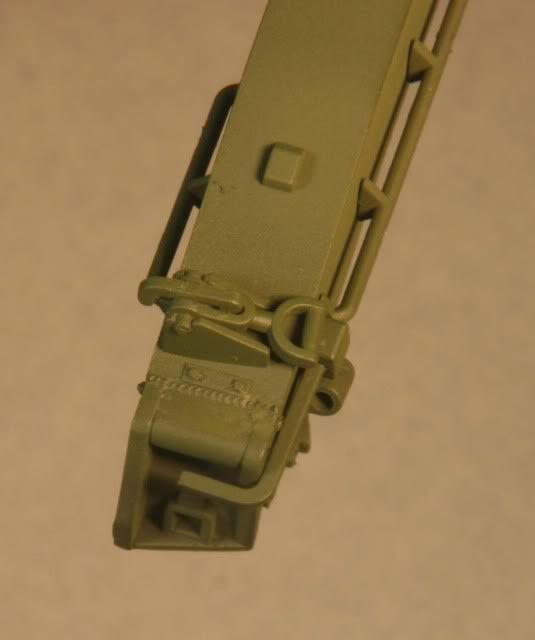
The brake air pressure gauges and guard attached to the trail
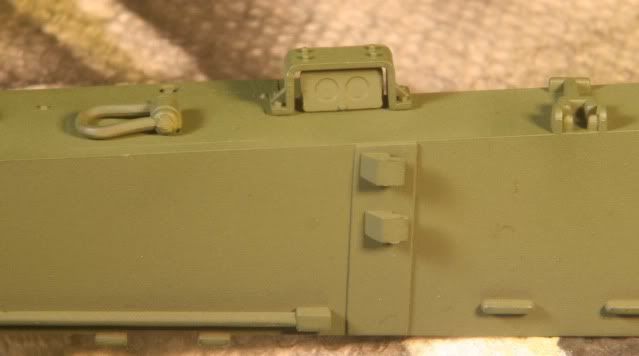
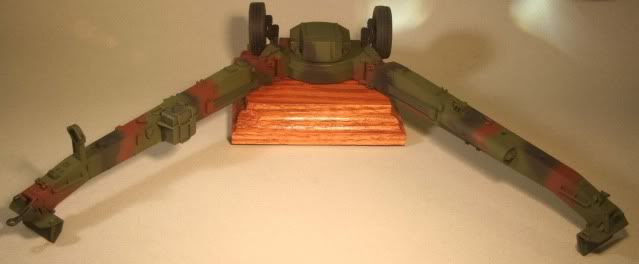
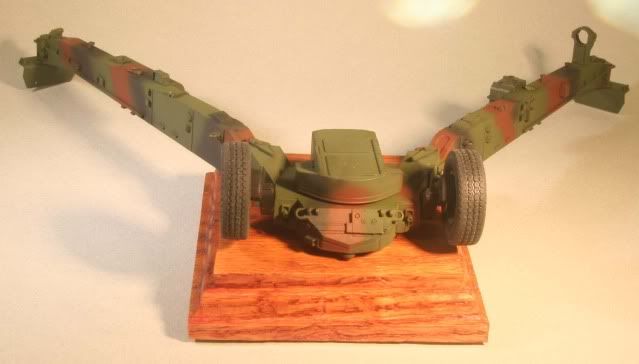
The lower carriage is assembled minus the sight box and holder and the ramming staff holders on either side. These will be added after the camo painting.
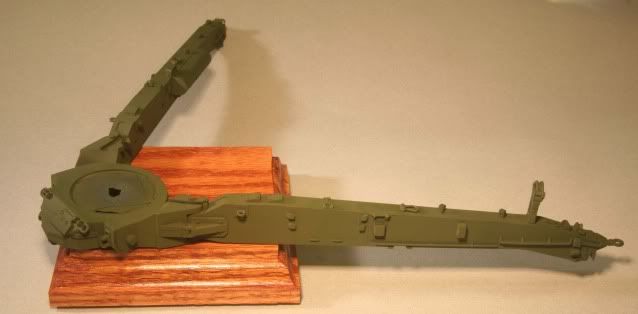
Back to the upper carriage, the M90 chronograph bracket was added earlier. Now, I also added the bolts with Archer bolt detail. The side seam on the front assembly (ahead of the bracket) is showing a flat weld done with liquid putty
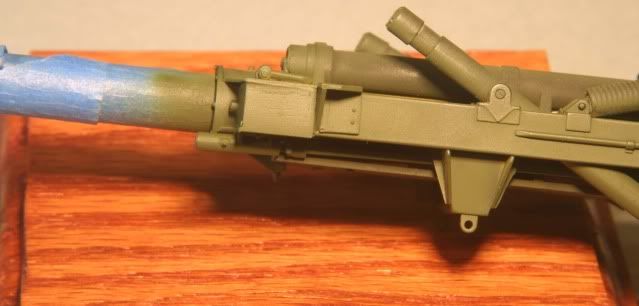
The front side of the front assembly has a heavy weld bead, which again is Archer weld bead.
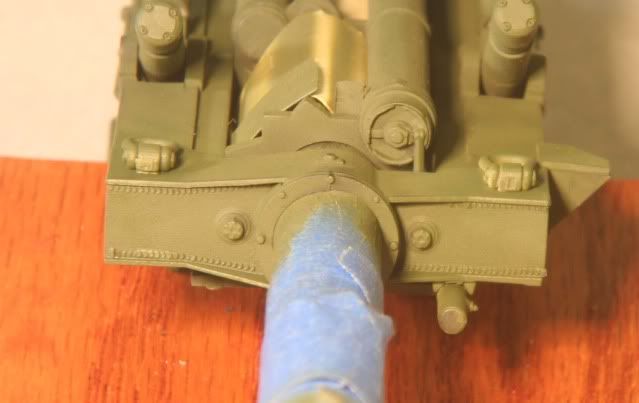
After spending some time in the spray booth, here is the base NATO camo pattern with NATO Black, Brown and Green on the lower carriage.
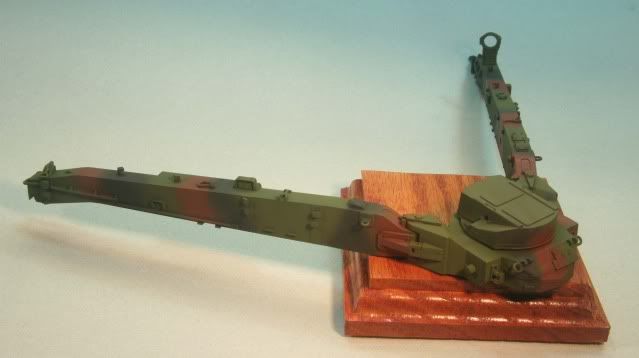
Finishing up the parts on the lower carriage, the sight box, ramming staff holders, spade and spade locking pins, axel and brakes and tires (just fitted).
- The sight chest is painted US Dark Green with OD straps, Black handle and strap clips and Steel on the handle fitting.
- The ramming staffs were painted US Dark Green with the holder assemblies painted to match the camo pattern.
- The brake assembly is flat black and the brake drum is Steel.
- Tires were worked with a scrub sponge to give edge wear and scuff up the surface
- The spades were assembled as per the instructions. If the spades are going to be attached, the instructions are poor. You should use a slow setting glue and attach both pins first. Then attach the spade and position the pins in the proper position before the glue on the pins dry. That was fun
![Banged Head [banghead]](/emoticons/icon_smile_banghead.gif)
- Trail locking pins were painted Steel and .005 SS wire used to simulate the retaining wire.
That's it for now. Next, get the upper carriage caught up with the lower carriage.
Total hours this update - 14.0 hours
Total hours this overall build - 20.0
Thanks for looking and as always, all comments are welcome.
Rounds Complete!!