SEARCH FINESCALE.COM

Enter keywords or a search phrase below:

M3 lee Project 1/6th Scale

34637 views
34 replies
1 rating 2 rating 3 rating 4 rating 5 rating
  • Member since
    April 2005
Posted by armourguy on Sunday, October 18, 2009 12:00 AM
 NucMedTech wrote:

ArmorGuy- I love watching your big builds. Looking forward to this one. BTW can you give some info on that Fw190 you got hanging from the ceiling (one of my favorite planes)(okay so probably not the right forum, but just a little info?)

-StephenCowboy [C):-)]

Thanks Guys, The Fw190D is 1/5th scale and was bought pre built from a hobby shop over 10 years ago, long before I started building large scale armor. The plane was built RC, but I have never flown it.

Work on the model was delayed this week due to a cold. I have just started working on it again and I have some more progress.

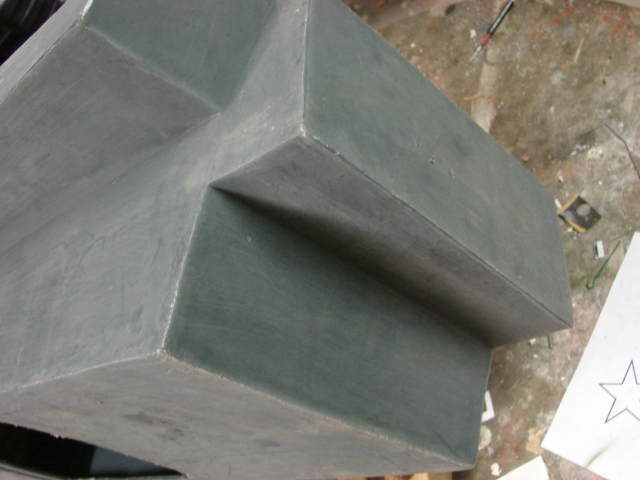
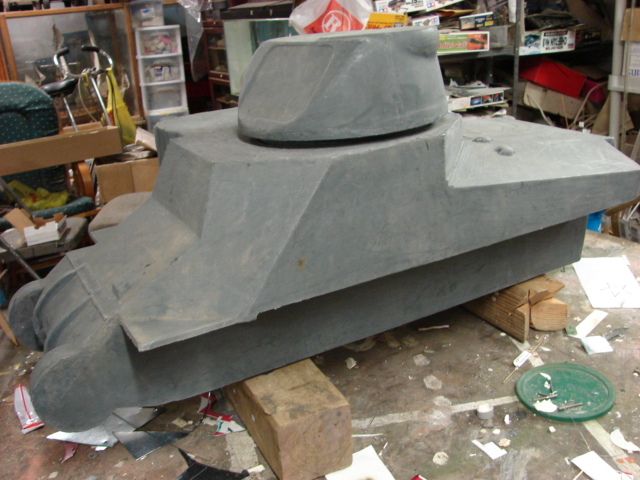
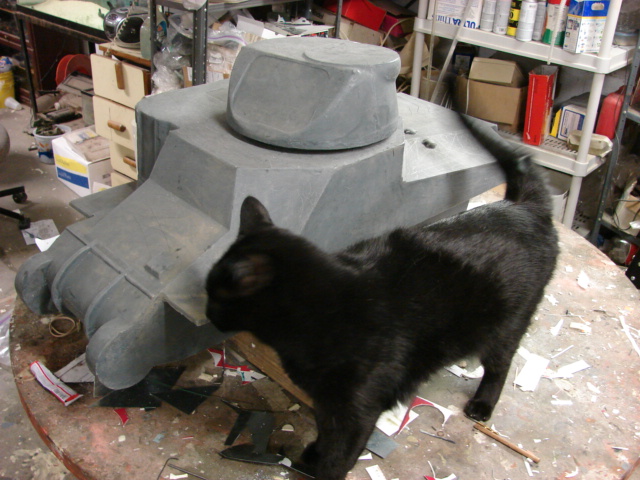
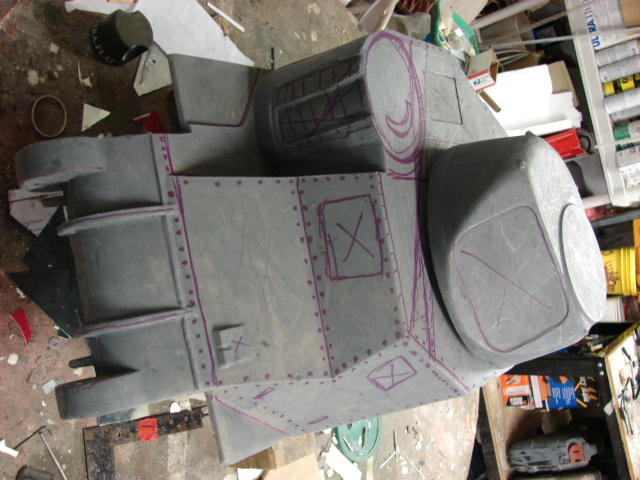
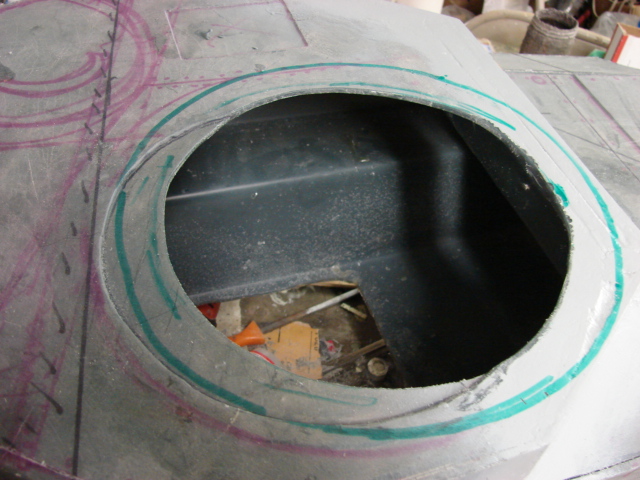
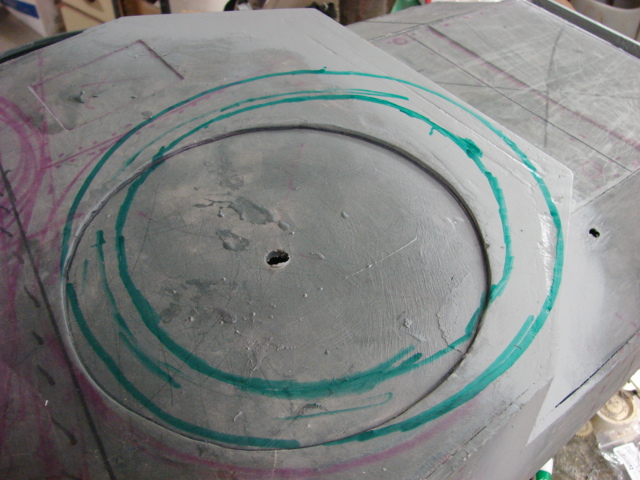
The bottom of the tank's hull was plated over with sheet styrene. This covers up the large hole that was cut out of the tank's lower hull. This model will have a fully detailed lower hull with all rivet details, these will be added soon.

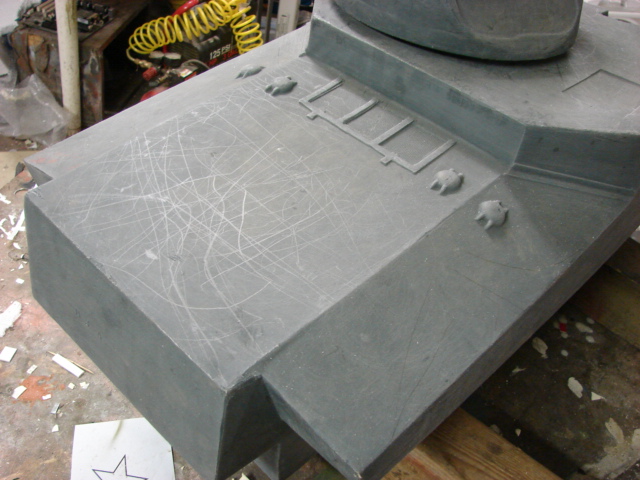
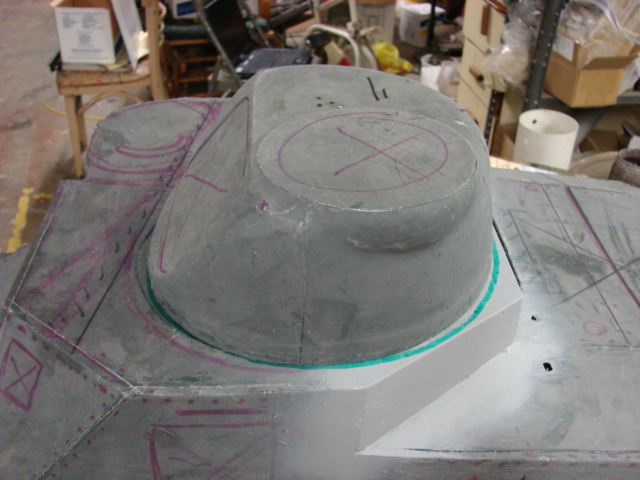
The tanks engine deck was also replated over with sheet styrene. More details and info to follow.

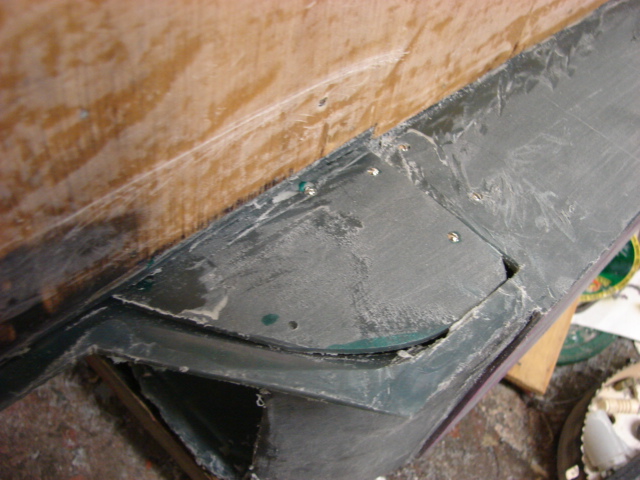
A strip of plastic angle stock was added to the sponson and the lower hull. Rivets will be added shortly.

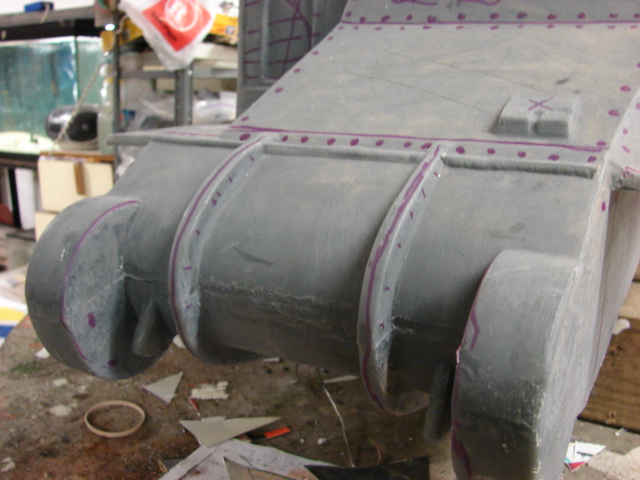
The transmission Cover received the same detail upgrades that were added on the Viper Sherman. These would include adding the flange slits to the ribs, bolt / nut details, grease fitting plugs, and cast texture. The transmission still needs it's cast numbers and new tow hook mounts in order to finish the transmission. A set of Panzerwerk M4 family final drives were also installed.


The main difference between the 3 piece transmission cover on the M3 Lee and the early 3 piece on the M4 Sherman is that the Left portion of the transmission cover is shorter due to the shape of the Lee's Hull with the sponson 75mm gun. The armor plate extended over the transmission cover and 4 smaller bolts hold the two plates in position. The Sherman had a full length bolt strip that ran the whole length of the transmission cover. M3 transmission also didn't have bolts that connected the top side of the transmission cover to the tank's lower hull, The Sherman did. 

I already have all of the M3 VVSS suspension parts casted and I will be assembling /installing them next. I also have some new parts and details in molding that will be available soon.

  • Member since
    September 2006
  • From: Central Texas
Posted by NucMedTech on Wednesday, October 7, 2009 7:46 AM

ArmorGuy- I love watching your big builds. Looking forward to this one. BTW can you give some info on that Fw190 you got hanging from the ceiling (one of my favorite planes)(okay so probably not the right forum, but just a little info?)

-StephenCowboy [C):-)]

Most barriers to your successes are man made. And most often you are the man who made them. -Frank Tyger

  • Member since
    April 2005
  • From: Piscataway, NJ!
Posted by wing_nut on Wednesday, October 7, 2009 7:38 AM
As my Swedish friend would say, " Yumpin' Yiminy".  Ok so I don't have a Swdish friend, but if I did he would saythat I am sure.  You do like them big.  We won't even discuss the shelf space issue.  But an M3 is goping to be very cool.  Can't wait to see what you do with it.

Marc  

  • Member since
    July 2003
  • From: On my kitchen counter top somewhere in central North Carolina.
Posted by disastermaster on Wednesday, October 7, 2009 3:54 AM
Right before my very eyes.

 https://i.imgur.com/LjRRaV1.png


  • Member since
    April 2005
  • From: I am at play in the fields of the Lord. (Texas)
Posted by m60a3 on Sunday, October 4, 2009 9:17 PM


 WOW!!!!!!!! Too cool! And, from an old tanker, I just gotta love the avatar! Nice cat, too!

                                                  60

"I lay like a small idea in a vacant mind" - Wm. Least Heat Moon "I am at the center of the earth." - Black Elk My FSM friends are the best.
  • Member since
    April 2005
M3 lee Project 1/6th Scale
Posted by armourguy on Sunday, October 4, 2009 7:56 PM

Hi Guys I've made some progress on my Battleground Vehicles M3 Lee Kit. This 1/6th scale kit can be found on the following website http://www.plasticpanzers.8k.com/ . The kit is made out of a material called Roto Molded Plastic. This material is the same material that plastic gas Cans and garbage cans are made of. the material is very light, and is very durable. The kit contains a hollow one piece upper and lower hull, and a hollow one piece turret. The kit also comprises of many resin components including a Resin copula, hatches and gun mantlet. The kit also comes with a Rotomold M4 Non functional VVSS suspension, and ABS Early VVSS Rubber block track links. The kit VVSS will not be used, in it's place I will be using my own Functional Resin M3 Lee VVSS suspension. These models have very basic detailing.

These roto molded models take a little elbow grease, but when they are completed they can be very nice large scale models. I have built several of the battle ground vehicle kits including three of their M10s, two M4s, and his Puma.

http://eastcoastarmory.com/can_opener.htm 

http://eastcoastarmory.com/palooka.htm

http://eastcoastarmory.com/puma/puma.htm


Raw BG Kit
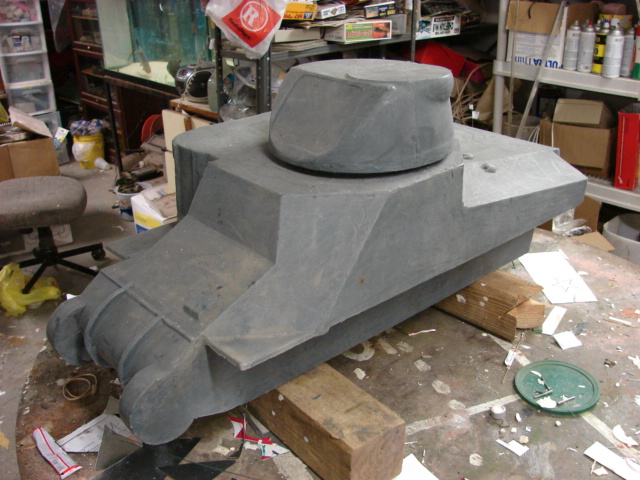
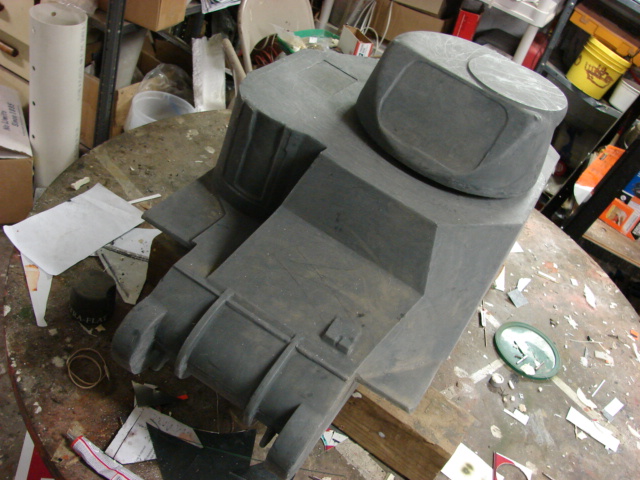
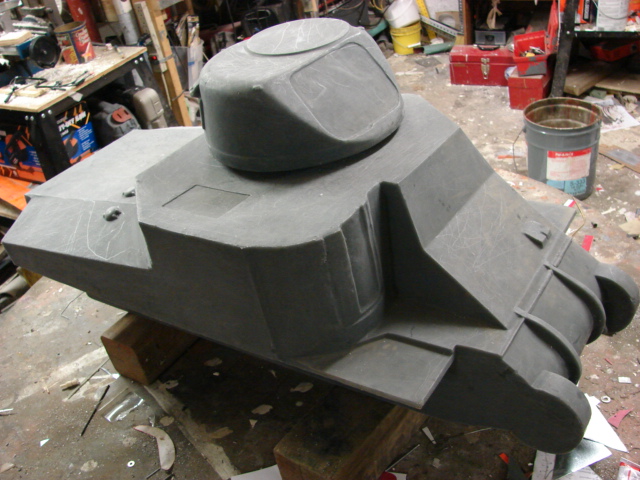
As with my other Rotomold models I had to remove the molded in details, and I needed to cut away several panels of the hull.
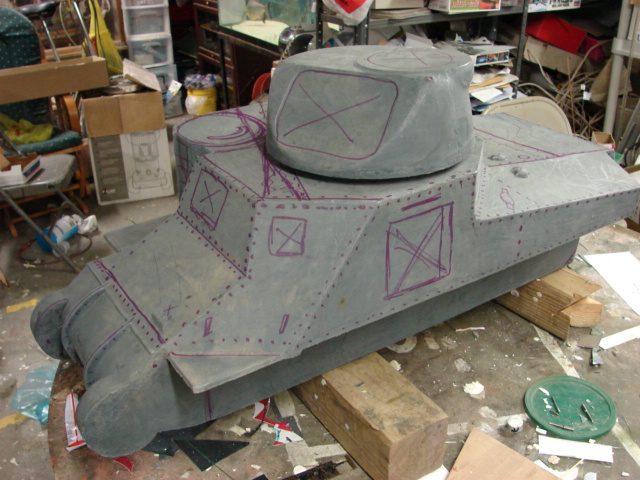
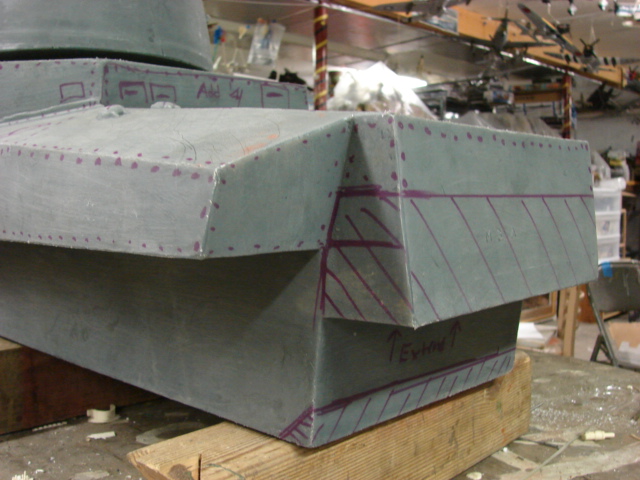
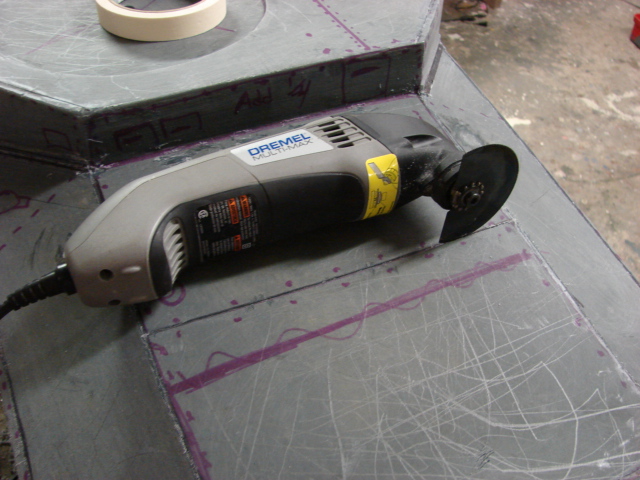
To cut out the parts, and to engrave the panel lines on these rotomold models I used a new tool from Dremel. It's called the Multi-Max. I also used this tool on the Viper which I had excellent results. Unlike most tools this tool uses oscillation to cut and to sand. I can simply plunge the blade onto the tank's surface and the blade will penetrate and cut the material with ease cleanly, and with much precision. The tool not only works on Rotomold, but works just as good on Plastic, wood, Resin, and Fiberglass. I recommend it for anyone who wants to build a 1/6th scale tank!
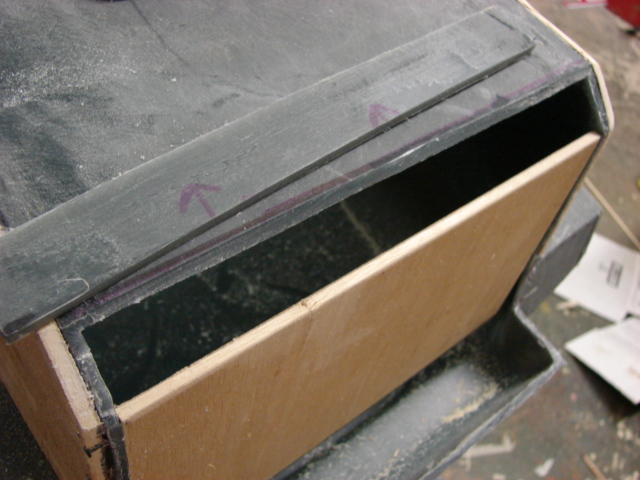
The tank's Rear wall needed to be removed and replaced. A new wall was fabricated out of 1/4 inch plywood. and fastened into place with glues and fasteners.
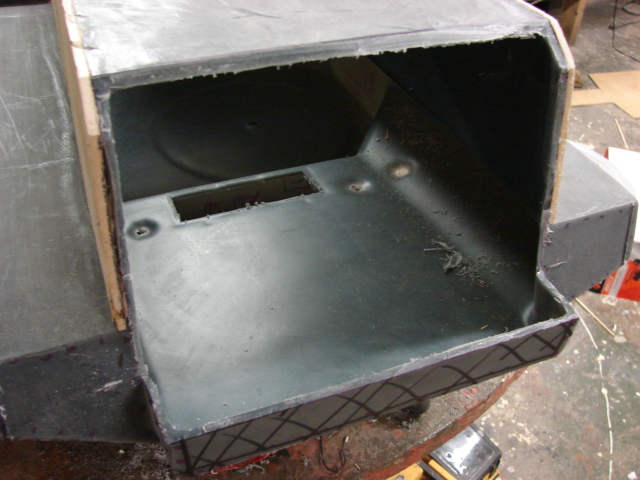
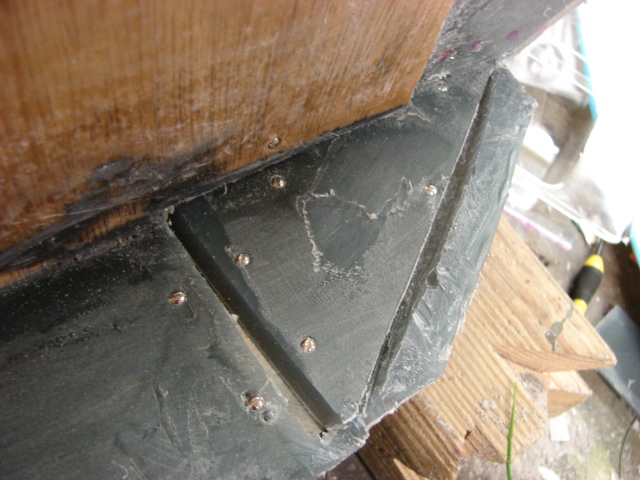
The Stock Kit lower hull rear is squared off and is missing the angle plate that connects the lower hull plate to the rear hull plate. The angle was cut into the tank's hull and a new plate was fabricated out of a scrap rotomold plate.
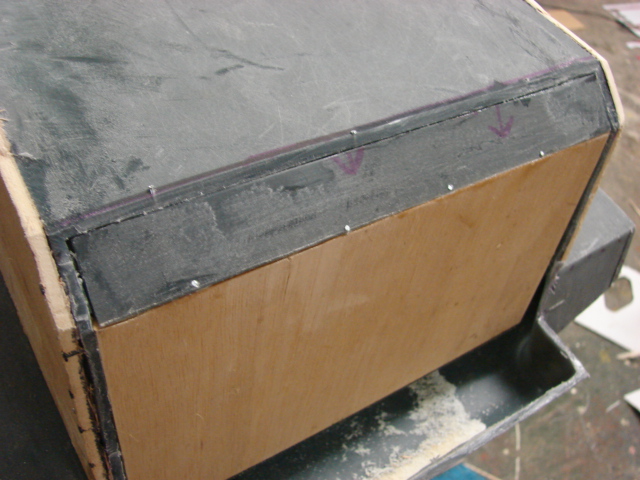
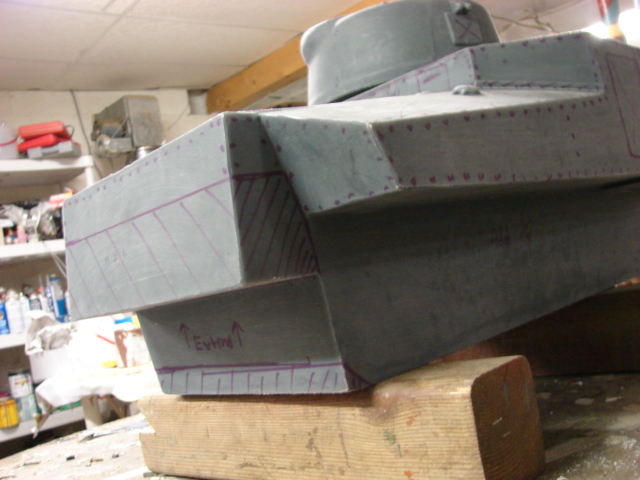
The tank's lower hull is flush with the transmission cover. On the M3/M4 series of tanks the transmission cover is recessed into the tanks hull. To replicate this I plated the entire lower hull up to the transmission cover with 1/4 inch thick plywood. is a common trick that I preform to all of my rotomold M4 based vehicles.
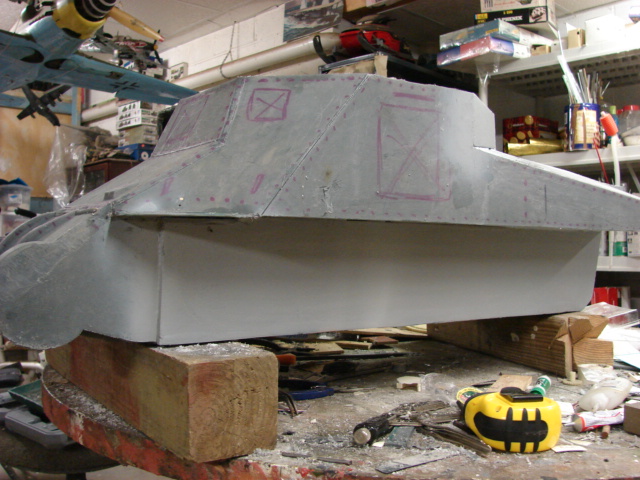
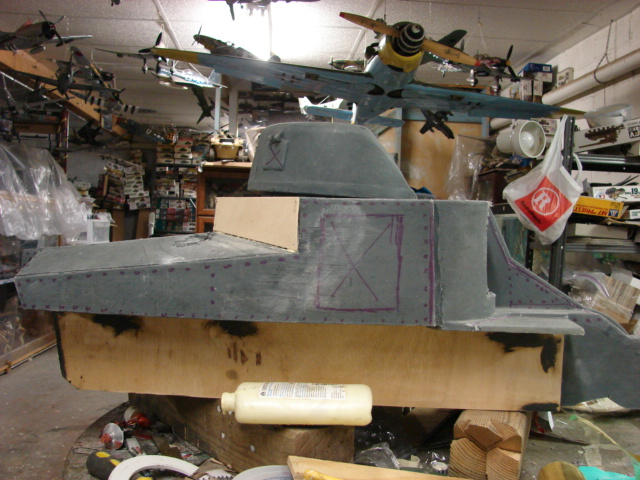
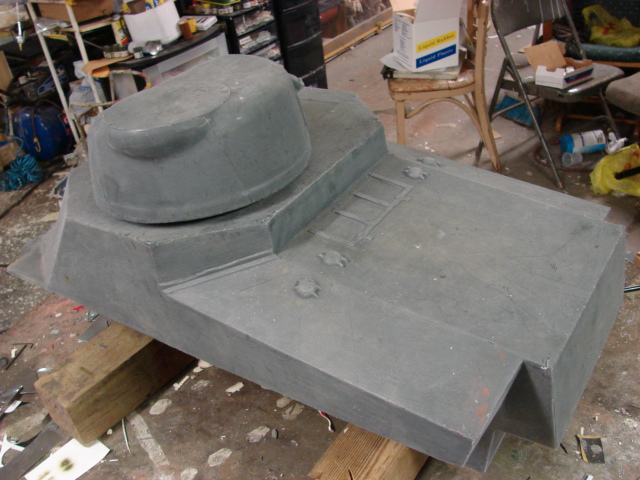
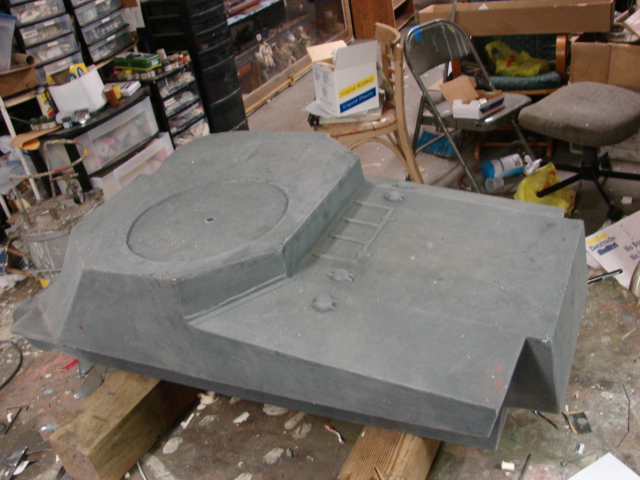
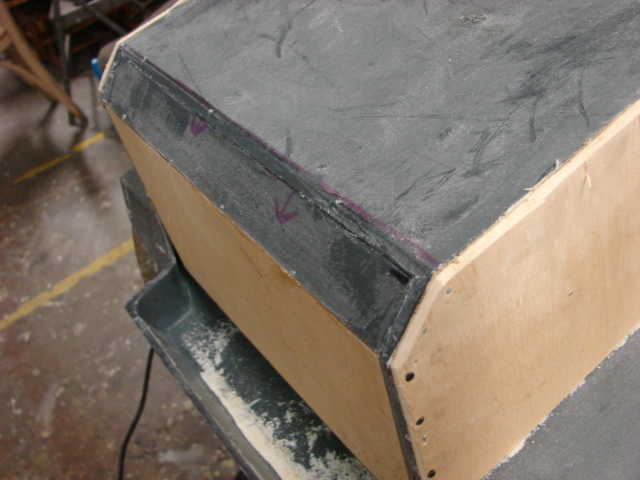
The tank's upper hull roof rear armored plate needed to be extended by about an inch and a quarter. This was done by building up the plate with several layers of plywood. The two corner angled plates also needed to be adjusted to meet up with the new rear wall. This was done by adding two plywood panels that connected the side wall with the new rear armored plate. Doing this leaves a gap between the new armored plate and the tank's hull. These gaps were filed in with body filler.
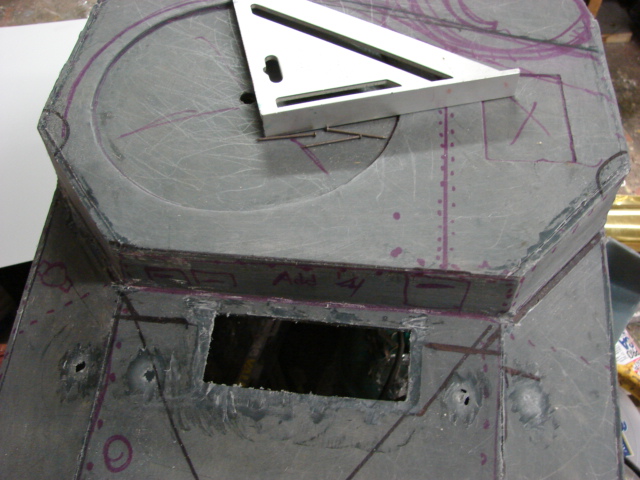
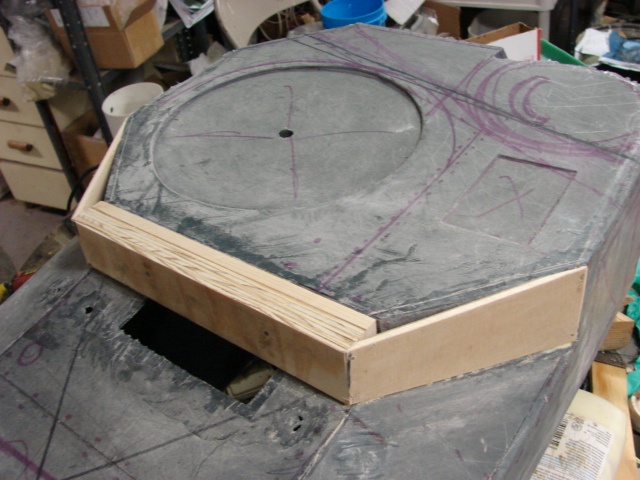
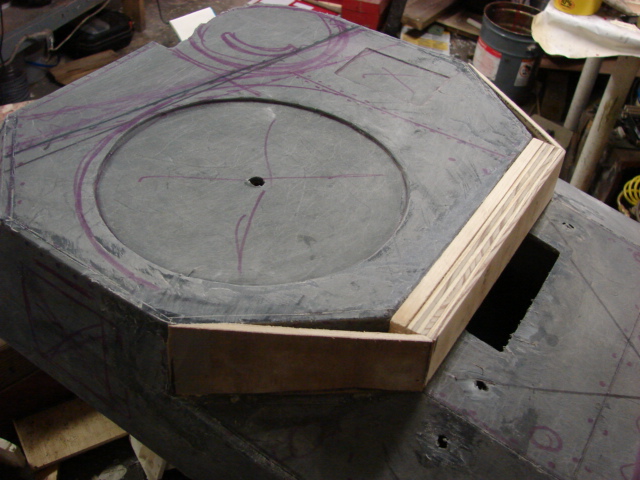
This modification allows the turret to be placed more towards the rear and to the left, giving the tank more room on the roof.
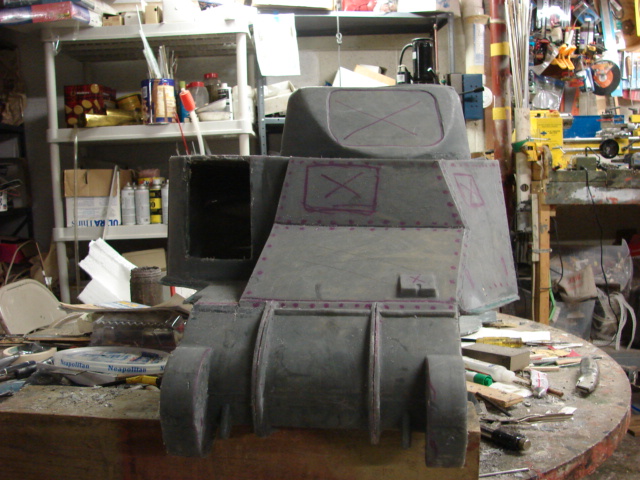
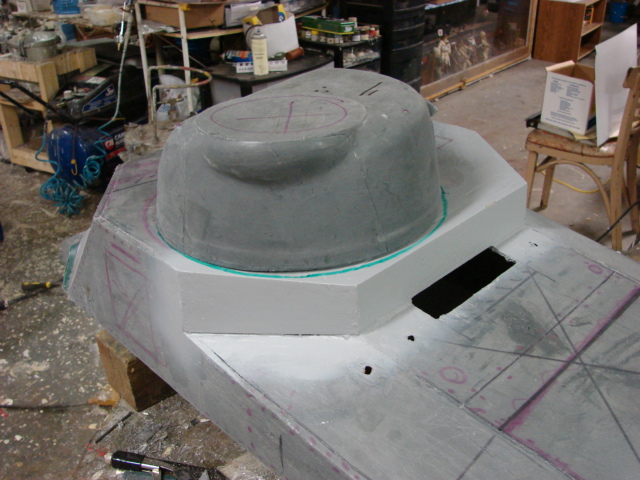
The tank's rear engine deck also needed to be extended by about 3/4 of an inch. This was done by extending the current rear plate with rotomold plastic, and plywood. The tank's engine deck will be re-plated with sheet styrene.
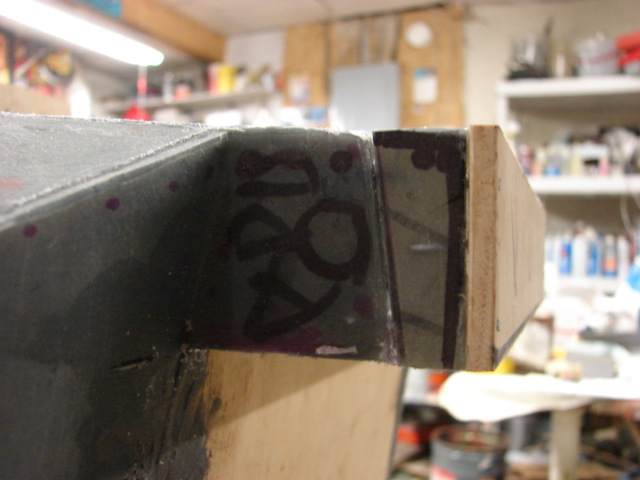
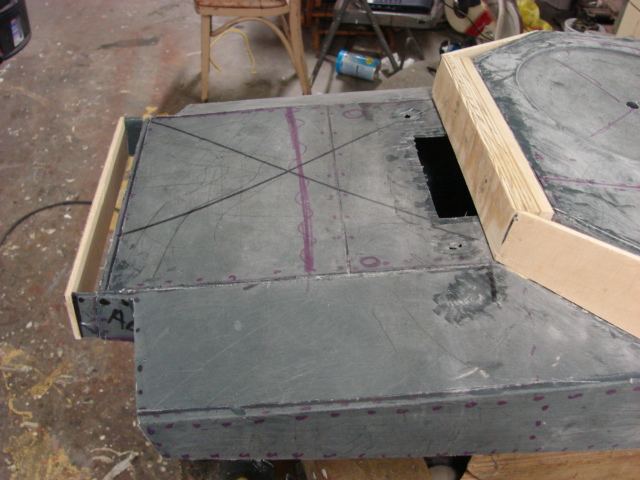
The tanks molded in fenders were removed leaving a hole in the sponson. These gaps were plated with scrap rotomold plastic, then sanded flush. In addition to glues, these parts were installed to the tank's hull with small screws and nuts.
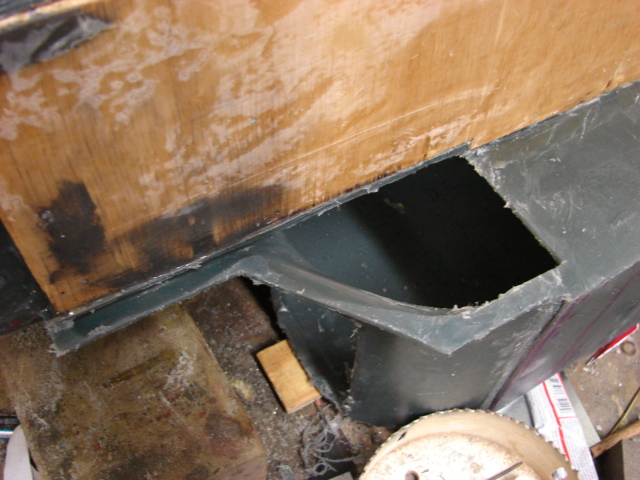
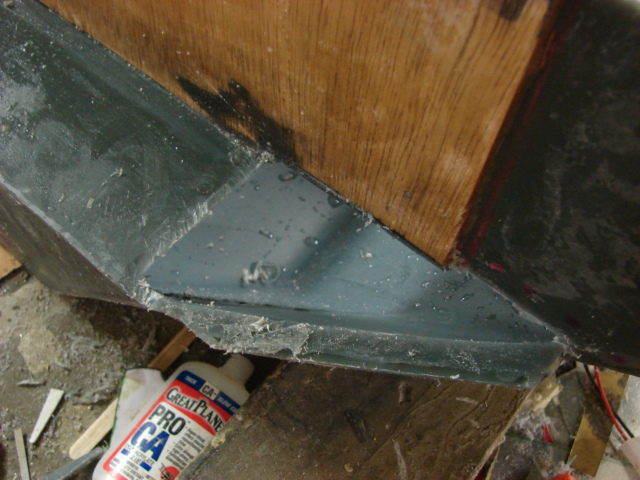
a small strip of the fender was left to act as a mounting point for the new metal fenders that will be fabricated later.
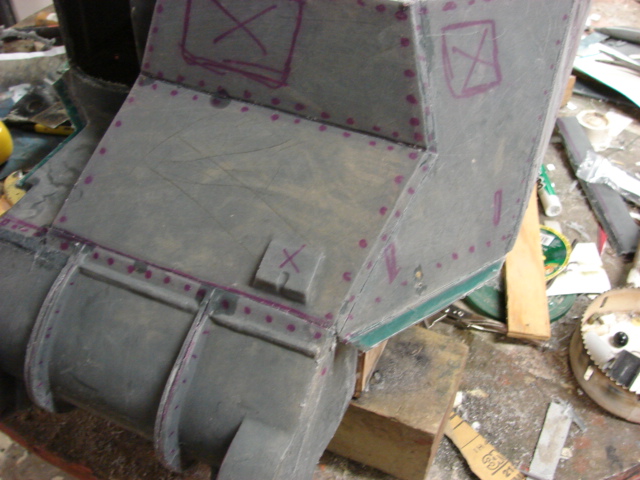
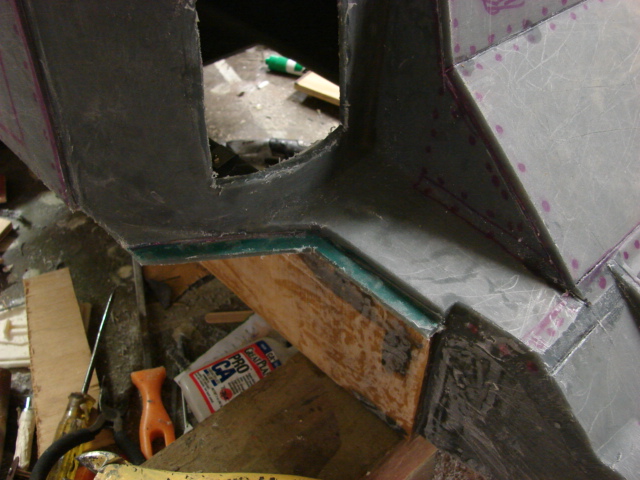
All Plywood that was used on this tank was thoroughly coated with fiberglass resin inside and out transforming the wood into plastic, eliminating the wood grain, and leaving a smooth surface. Now that the major body alterations are complete the next step will be to replace the tank's lower hull plate and the engine deck plate

JOIN OUR COMMUNITY!

Our community is FREE to join. To participate you must either login or register for an account.

SEARCH FORUMS
FREE NEWSLETTER
By signing up you may also receive reader surveys and occasional special offers. We do not sell, rent or trade our email lists. View our Privacy Policy.