Thanks Brad, I should have the tank finished up by next week, but I won't be able to take this one to Mosquitocon, It's too heavy to put in my car and I don't think the NJIPMS brass would appreciate a RC all metal model at a static plastic model show.
I have just about completed the tank's turret detailing.
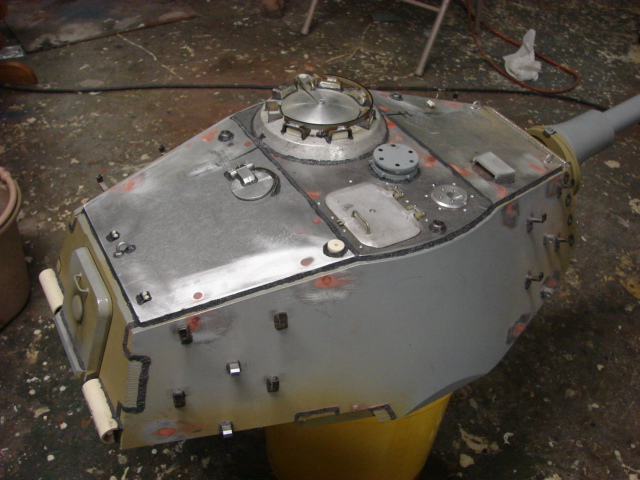
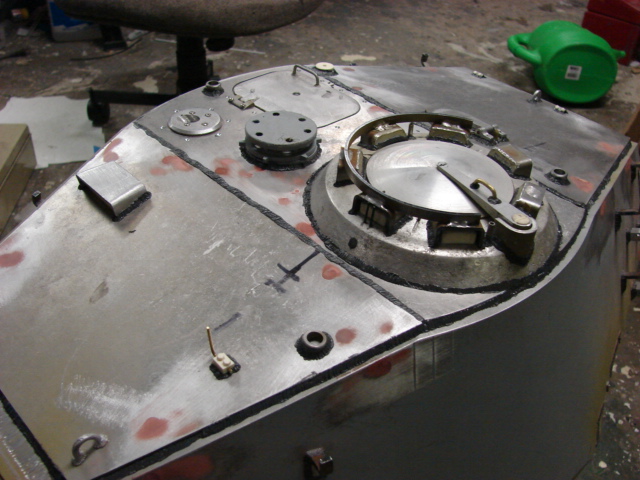
For the tank's loaders hatch the kit supplies you with an armorpax White metal KT loaders hatch kit. The kit is excellent and was built as is OOB with no mods needed.
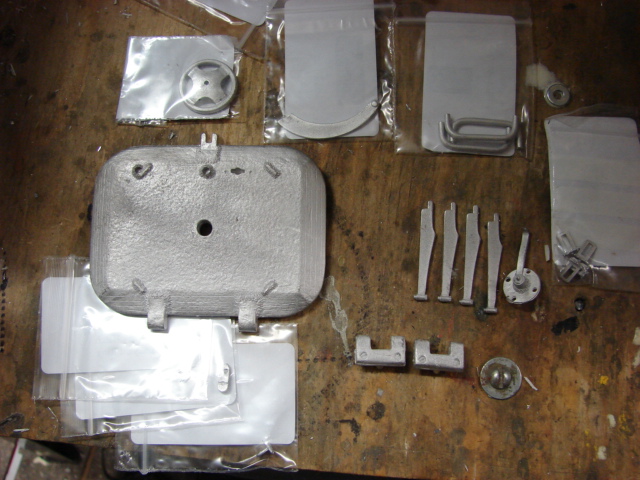
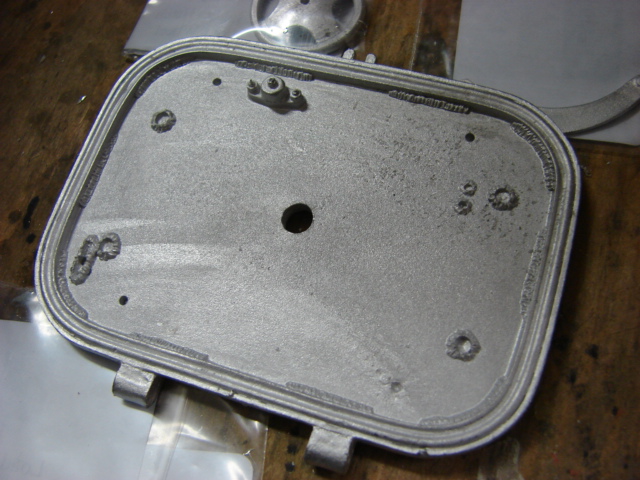
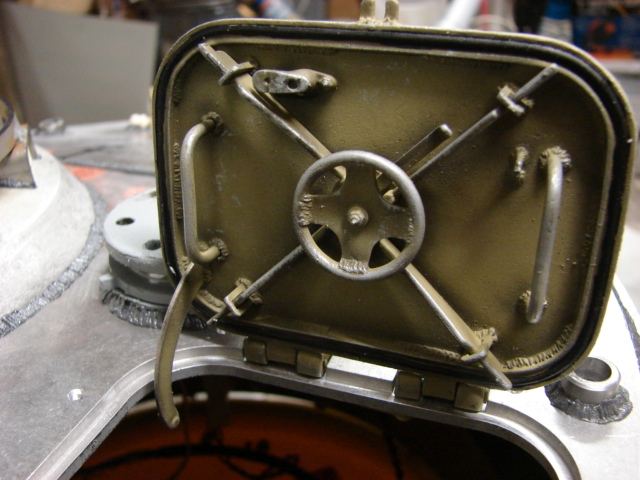
For the spent shell hatch the kit supplies you with an aluminum CNC hatch and hinge.
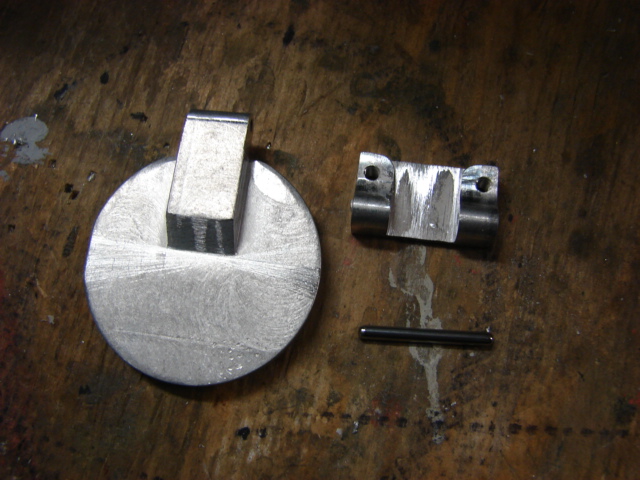
The hatch has no interior detailing and is just flush.
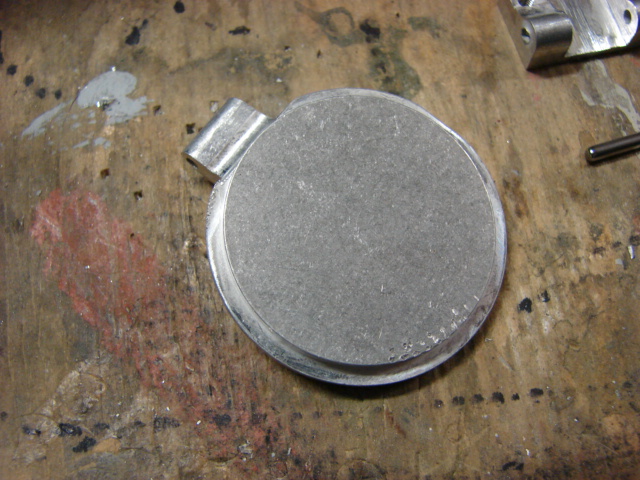
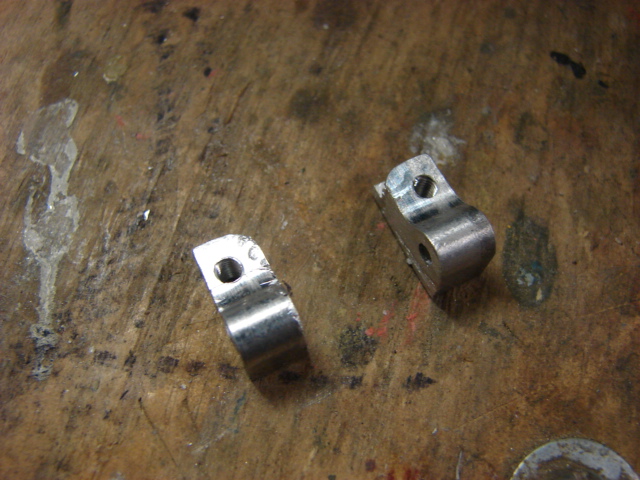
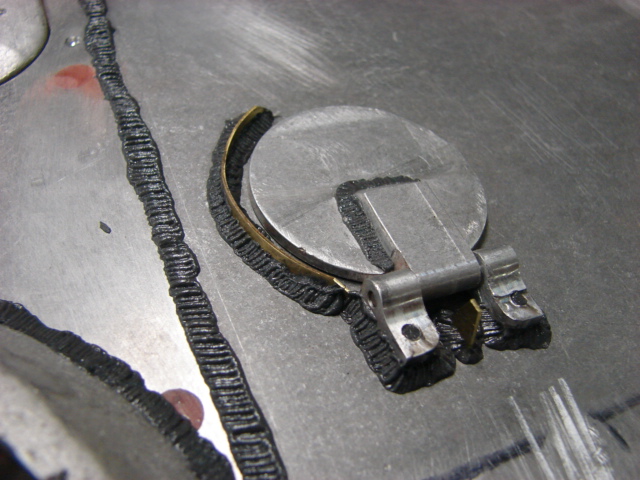
To rework the hatch I first cut the kit hinge freeing the segments. After freeing the segments I scratch built the interior detailing
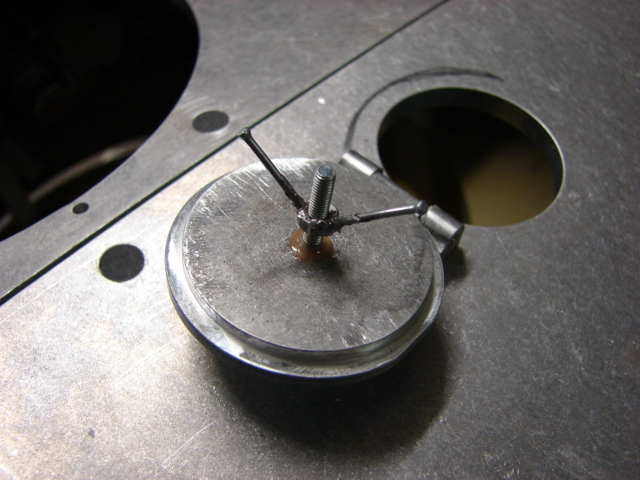
A water deflector was added along with a hatch stop and welds.
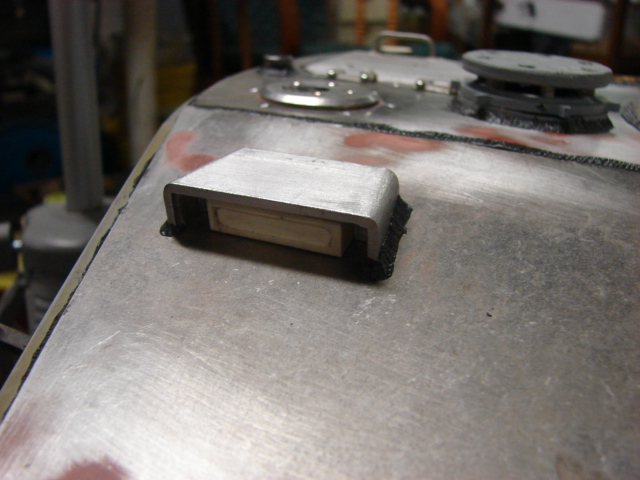
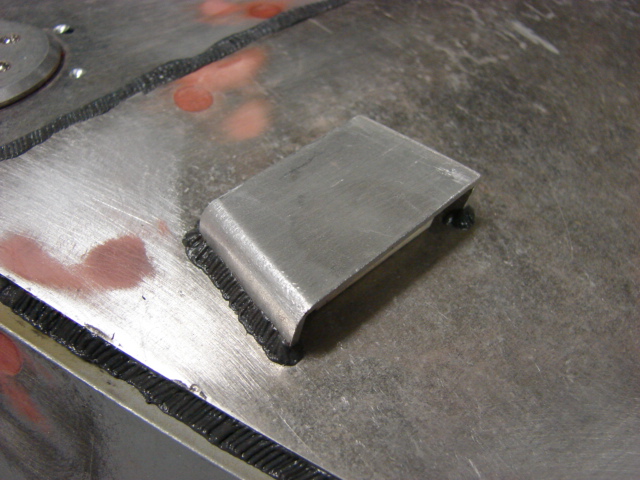
For the gunner's scope the kit supplies you with a basic CNCed aluminum scope box.
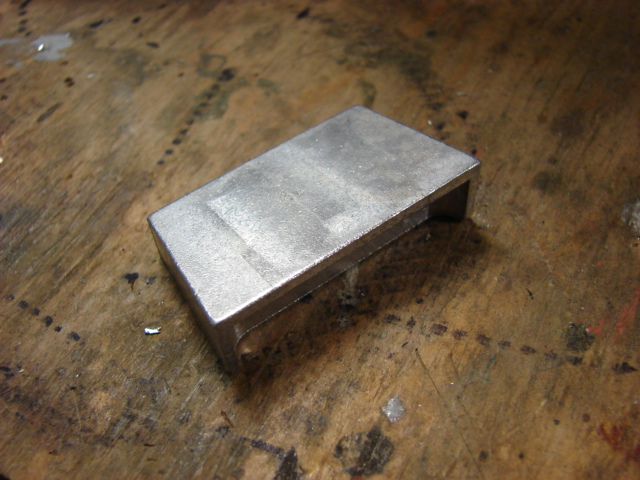
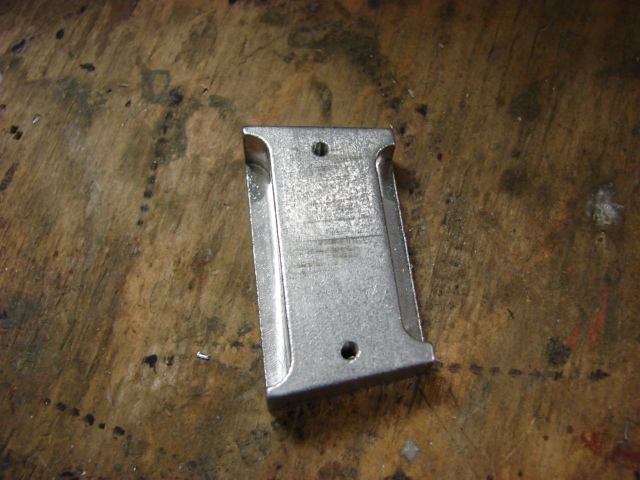
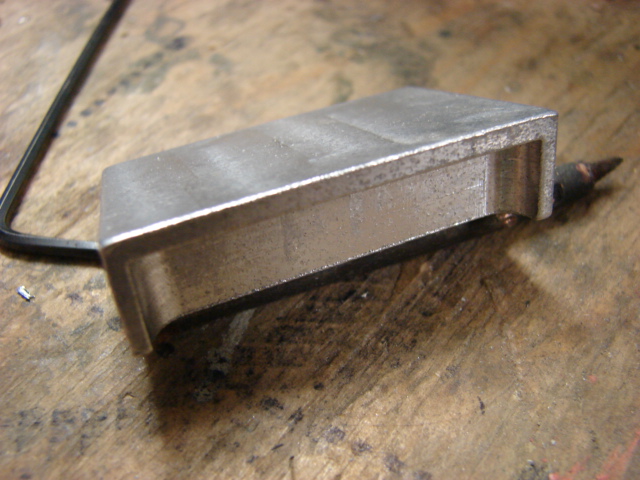
The scope box is missing the periscope, and is too squared off. To re work the box I had to mill out the interior. The periscope was machined out of a block of resin. The corners were rounded off.
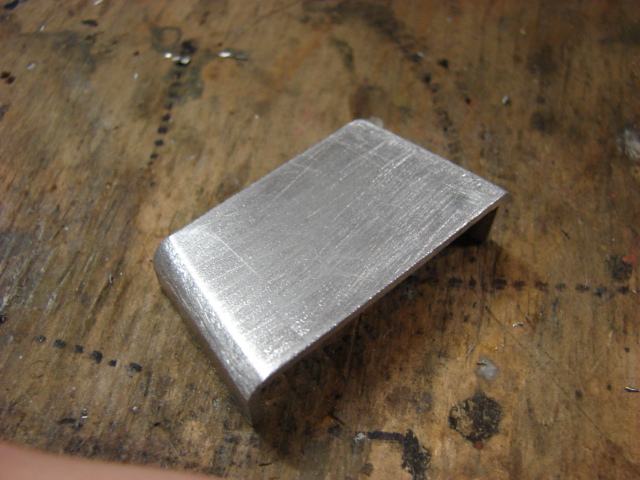
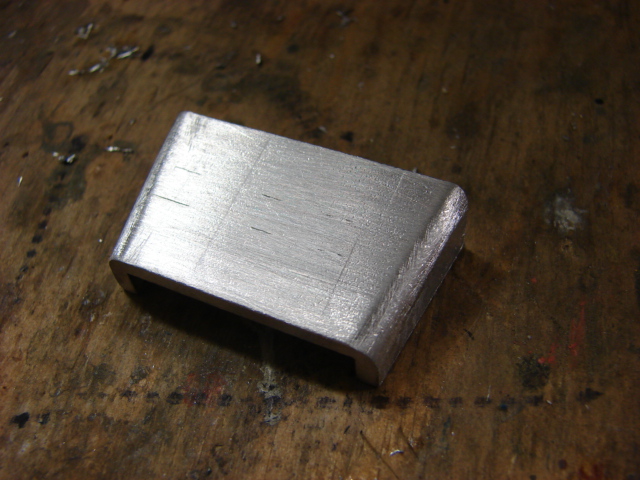
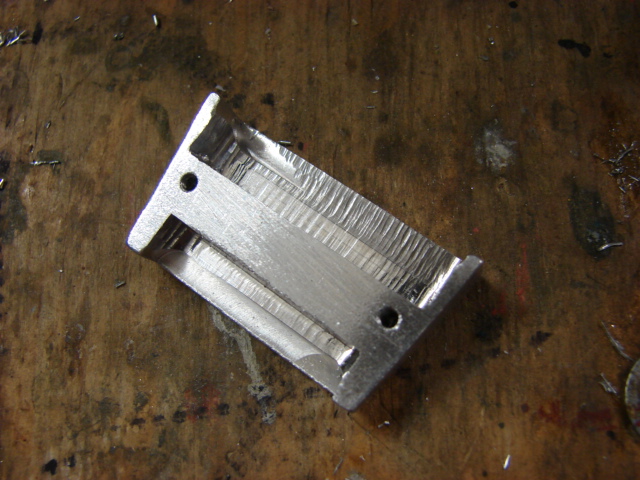
The Kit supplies you with an air filter cover. The kit supplied piece consists of two parts, a laser cut steel lower disc and a CNC Aluminum top lid.
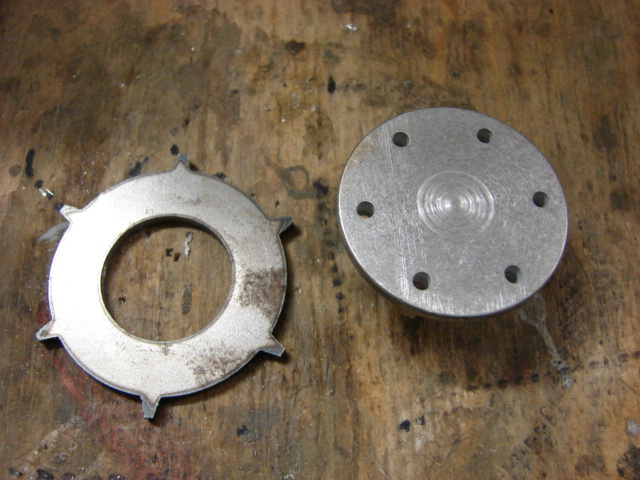
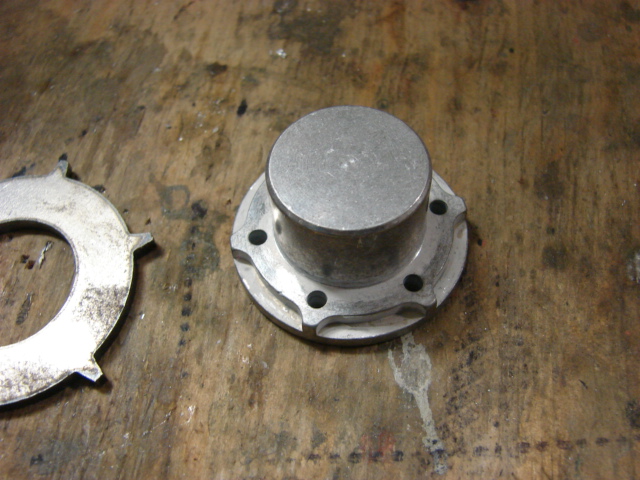
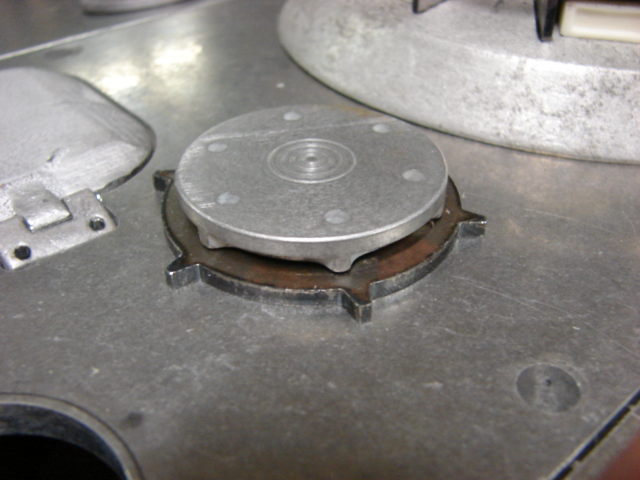
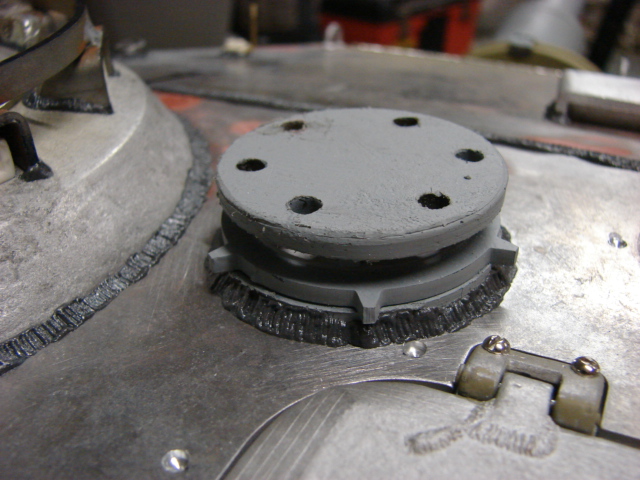
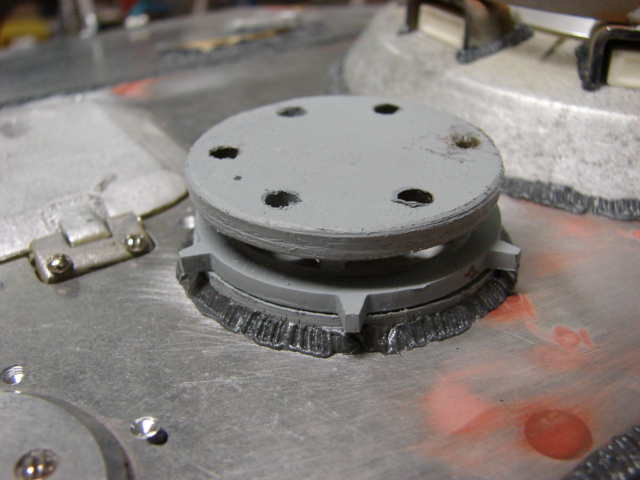
To rework this component I used the laser cut disc, but the top lid was too small and was placed in the spare parts bin. Like the real component I added the ribs that hold up the top lid on the interior portion of the intake. The whole air filter was reworked with parts made from plastic and resin.
for the tank's copula the kit supplies you with a basic copula with components crafted in casted zinc, aluminum, and steel. The copula also comes with a set of resin periscopes.
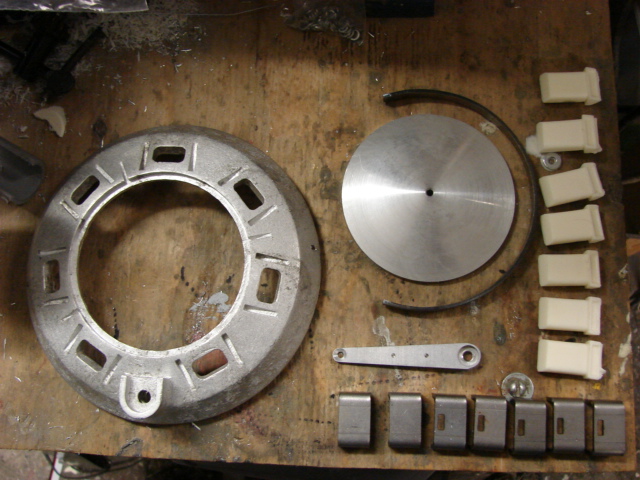
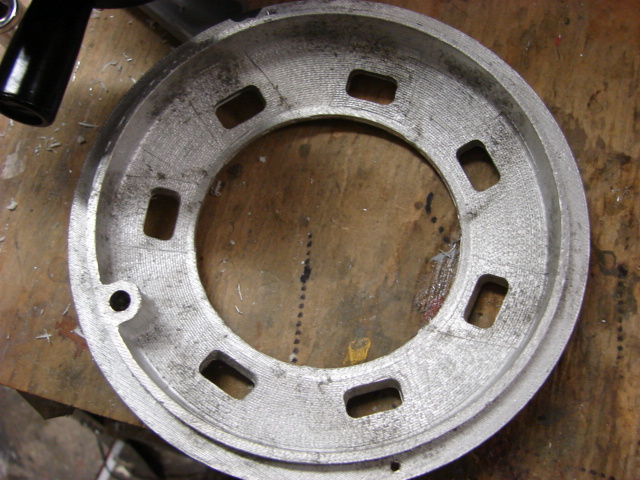
The copula has no interior detailing besides the basic periscopes. All head rest detail and hatch opening spring canister detail was scratch built. out of brass, resin, and plastic.
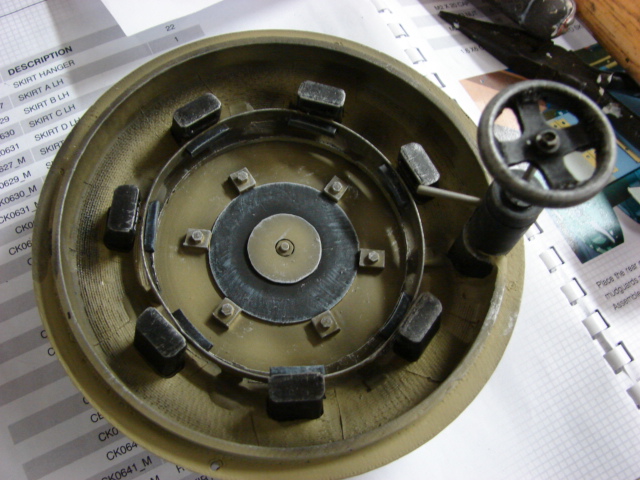
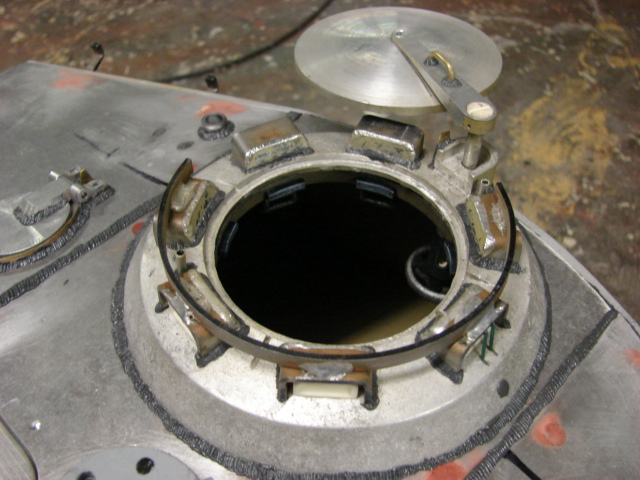
The hatch spring mechanism and handle are functional and actually assist in opening the hatch and swinging it to the open position.
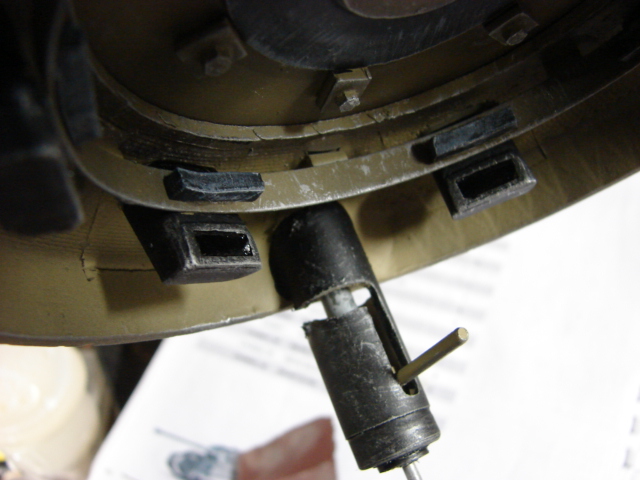
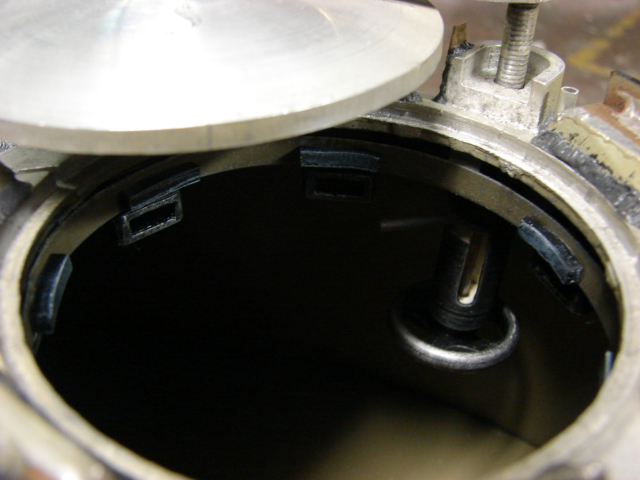
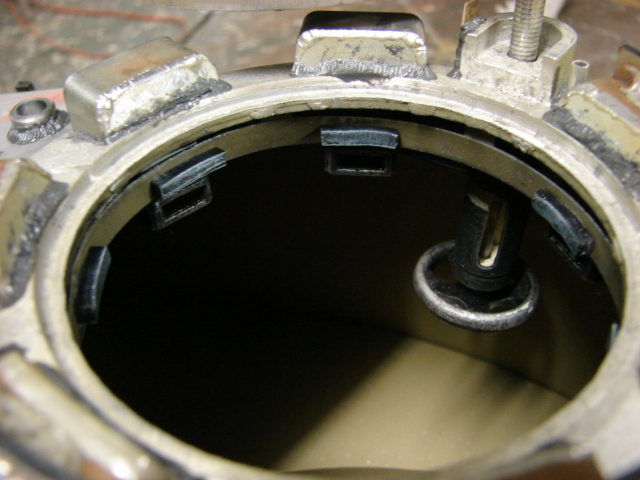
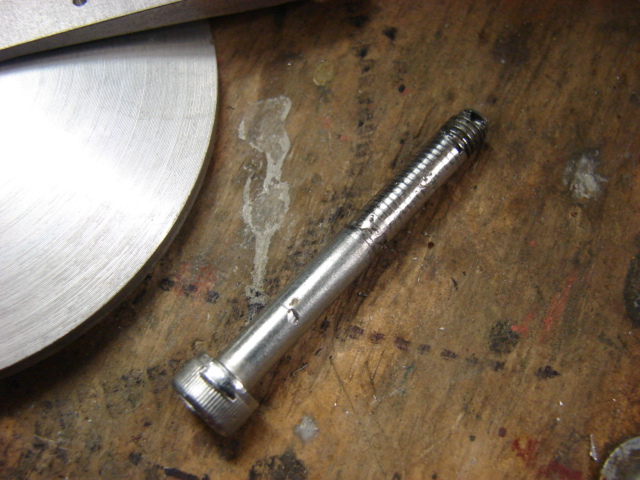
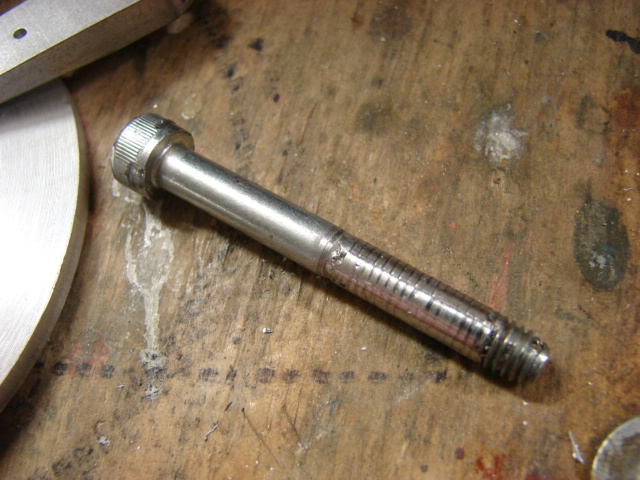
for the copula hatch pivot arm the kit wants you to use a large Allen screw. The problem with using the screw is that the threads show when the hatch is in the open position. To fix this I covered the exposed threads in solder and turned the solder down flush thus removing the threads. To mount the bolt to the hatch I drilled a hole through the hatch arm and the bolt, I then inserted a lock pin to secure the whole unit together.
On the copula's exterior the kit supplied periscope covers were re worked to have backings to them. Before I was able to add the backings I first had to rework the shape of the guards giving them an angle. Once the angle was ground into them I was able to add the backings.
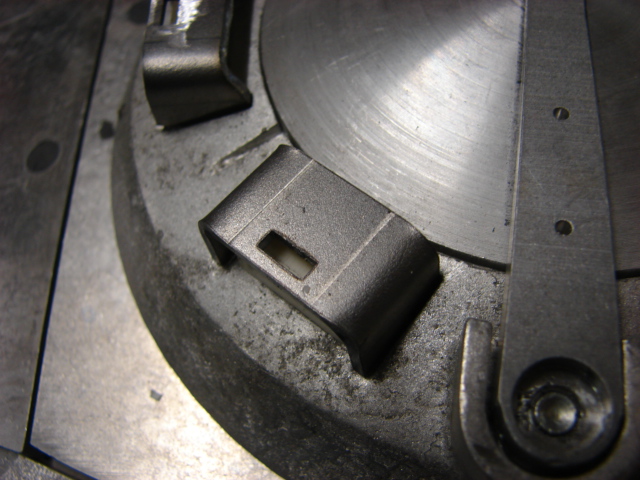
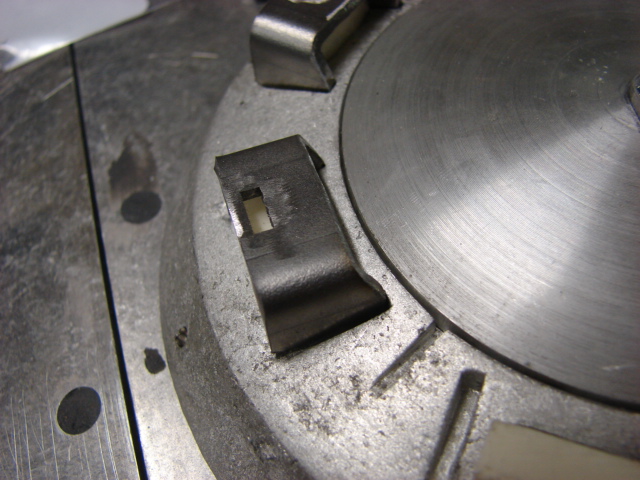
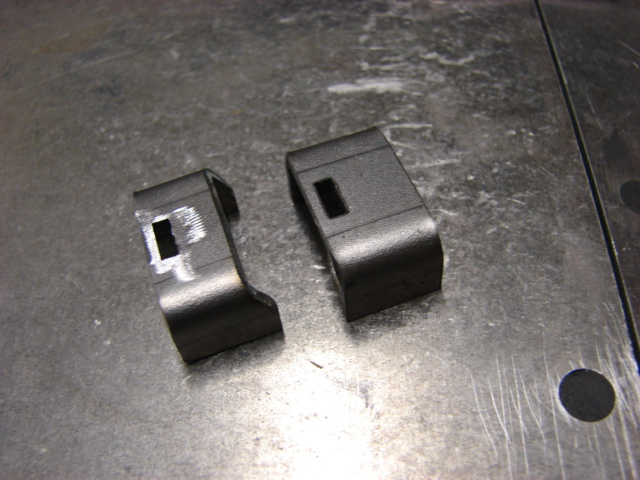
The backings and the MG rail were soldered to the periscope covers. In addition to the backings I also added several other small copula details including hatch aligners, hatch arm details, and a range finder.

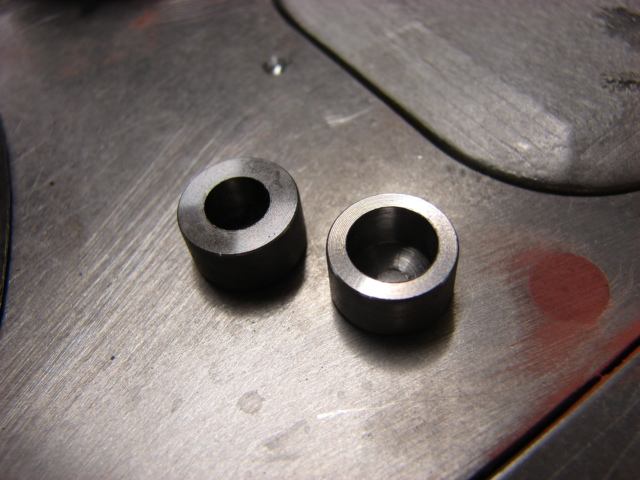
The kit also supplies you with the turret crane bosses. The bosses were made out of CNCed steel. Before I was able to add the bosses I first had to widen the hole of the bosses on my lathe, and I had to grind an angle into two of the bosses so they sit level on the turret's roof.
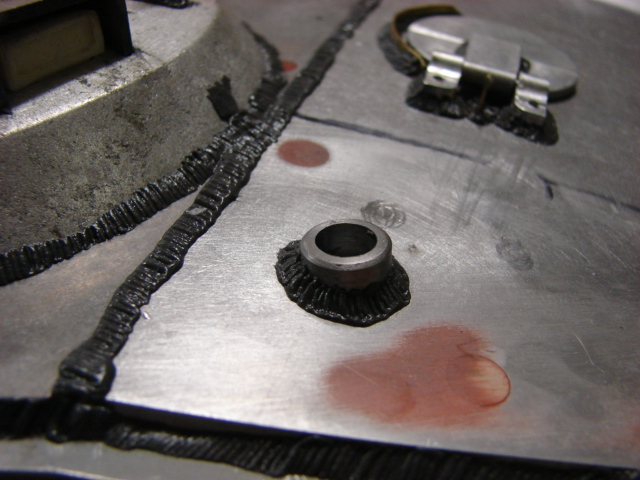
Another piece of detail that I added to the turret front was the addition of the commander folding range finder.
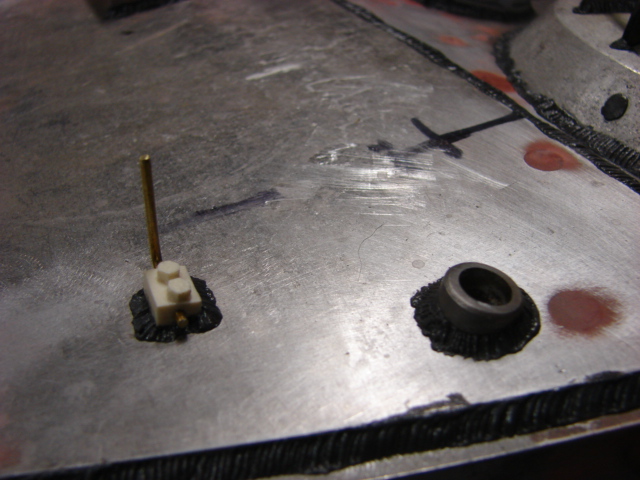
Two barckets were added to the turret's rear along with the kit supplied armorpax D rings.
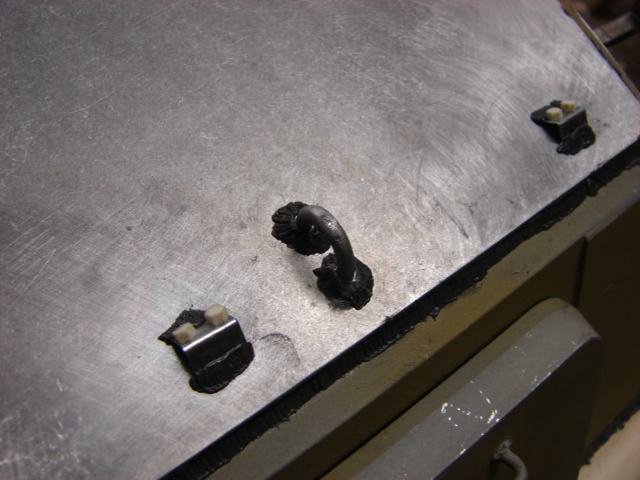
The turret antenna base mount was machined out of resin and mounted to the tank's turret.
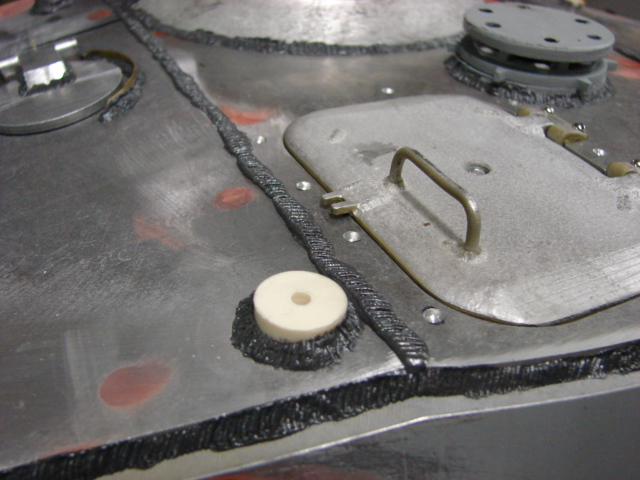
The final bit of detail that was added besides the final turret plate welds was the close quarter defense weapon. The kit supplies you with a CNCed aluminum mount that has some basic details.
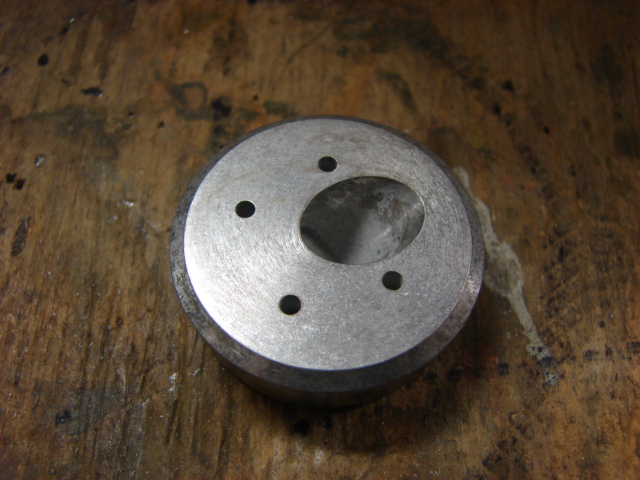
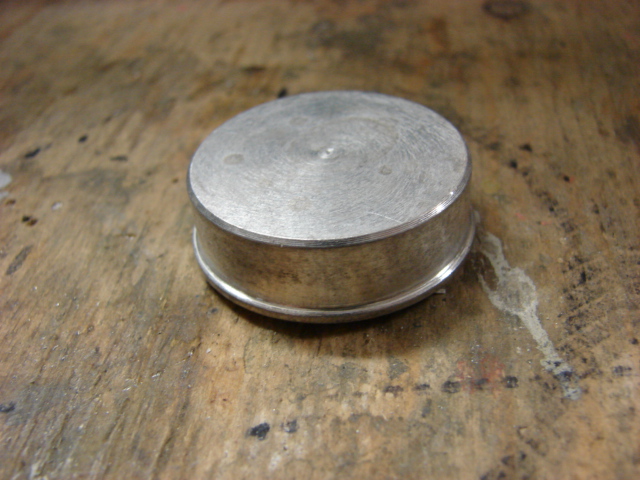
The kit wants you to glue this component into it's place, but I decided to make the part pivot as per the real vehicle. This was done in a similar way as I did the front driver's periscope. After some basic slot screw details I mounted the weapon and it pivots smoothly. Once the tank is complete I will post a you tube video showing the grenade launcher in action.
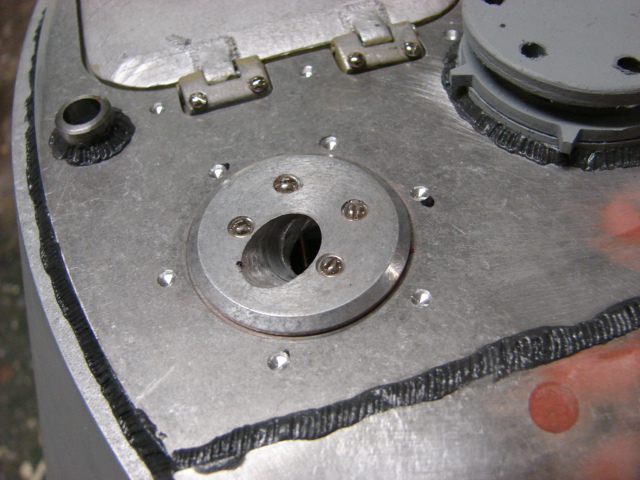
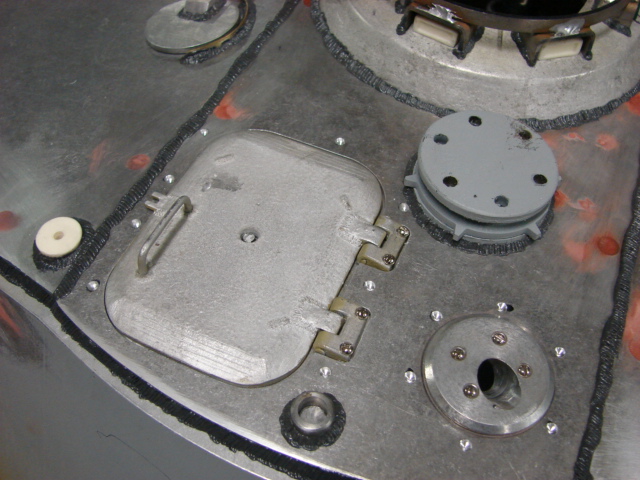
With the turret complete I can now add the finishing touches to the hull and the tank will be ready for painting...hopefully by the end of the week more to follow.