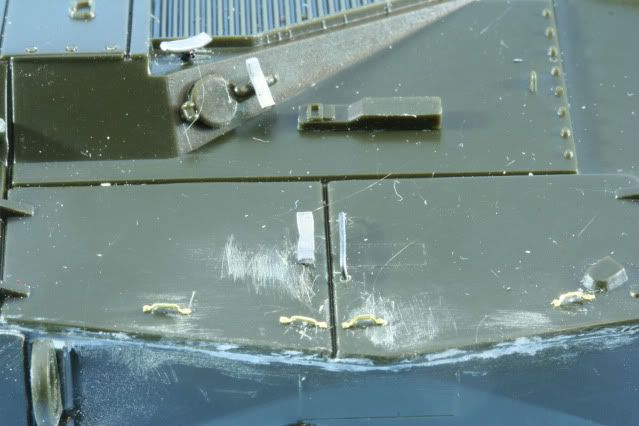
Not a lot of time this week but enough to get some detail work done. First I started on the chassis. I removed all the plastic blobs that were supposed to be handles, tie downs and latches. The hatch handle I made with 26 gauge stainless steel wire. The latch handles are 20 gauge wire for the post and flattened solder then bent to shape and glued on top of the wire. The tie downs are PE leftovers.
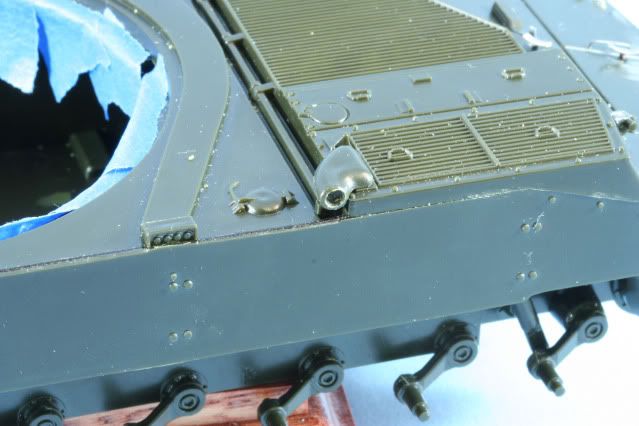
The exhaust is a big blob of plastic. With increasing drill bits, I drilled out the end for exhaust.
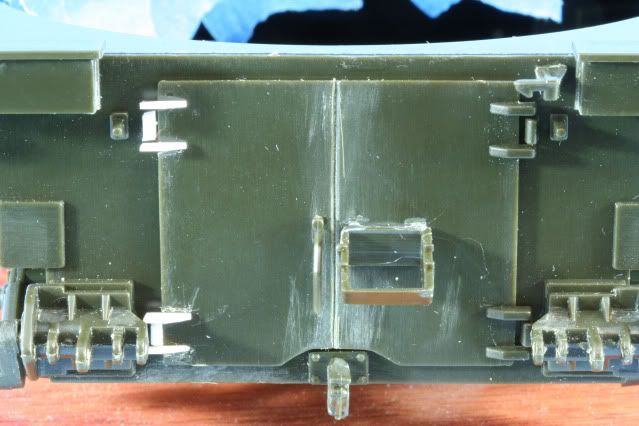
The kit rear door is a one piece door. The M108 had a double door setup. First I used a panel scribe tool to etch in the seam for the two doors. Then using .020 styrene, I created a set of hinges for the left side.
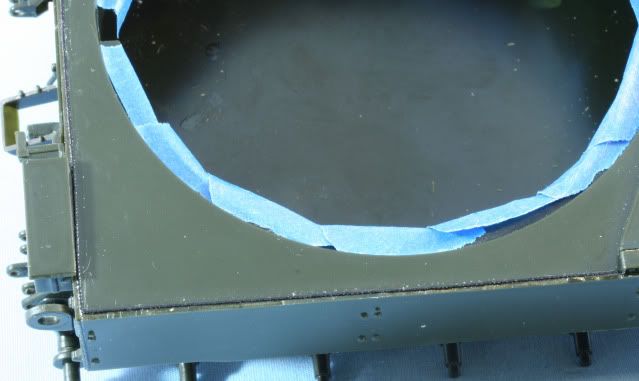
Next, I cleaned up the seam where the side panels meet the decking and install Archer .025 weld bead raised detail.
Now it was on to the turret. The turret has 3 boxes molded onto the roof which are for the M109 and did not exist with the M108. It was time for surgery with the Dremel. Here is the rough cut to remover the boxes
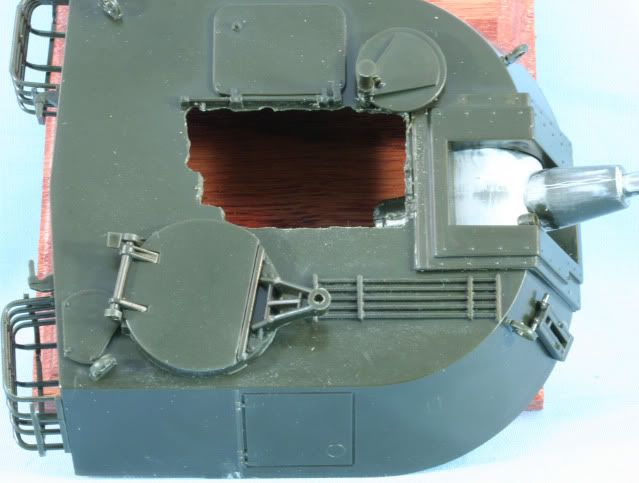
After cleaning up the cut and squaring it off, I used some .040 styrene sheet to fill the hole. After gluing and installing some pop stick cross braces inside the turret, the first coat of putty was installed in the seams
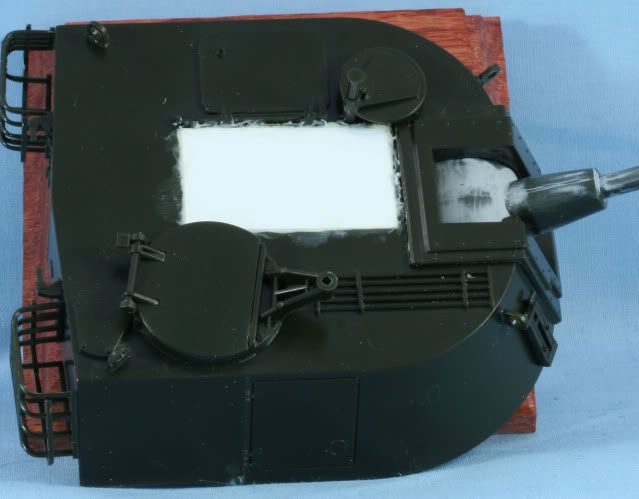
That’s it for now. Next up, some more putty and Mr. Surfacer to dress up the turret roof, then a bunch of tie downs for tools. Getting close to paint!!
As always thanks for stopping by. Your comments good or bad are always appreciated.
Rounds Complete!!