Hello again, strangers!
Well, I'm still "out in the garage", but my boots are aching for some MUD--so I'm dying to do some Armor again, and I figure that I'll start return to the field here again with something off the beaten path--my own concept of the "Tiger (P) Coelian"
As you know, the Coelian was a conceptual Flakpanzer prototype only produced in one wooden mockup in February, 1945. The Tiger (P) chassis was built and used for test trials and then most converted into Ferdinands and Elefants, with a very few made into "one-off" vehicles and rarities like repair tanks, a command version, and a Rammpanzer. Well, here's my take on one more that might've sprung up?
I used two kits; the Dragon Panzerkampwagen Tiger (P) Command tank, and the Flakpanzer Coelian.
As the Tiger kit had once been an "extra", and used for some experimentation with a pyrogravure to make zimmerit, I had ruined the side panel. I had to therefore cut it out and replace it with a new side.

Next, it was quite a bit of trial-and-error guesswork engineering to get the turret race to sit properly on the hull. I finally got it to work though. I also added some engine vents shields, and added spare tracks to the rear, as well as splash shields on the front hull.
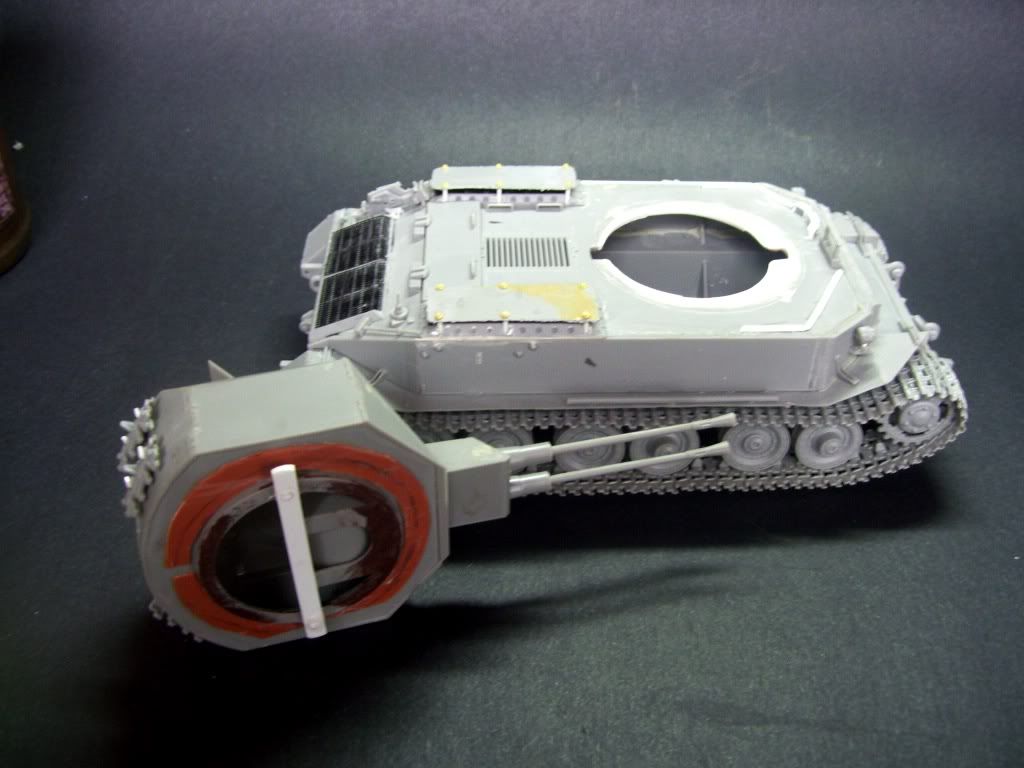
Next, I figured that the hull would have some "field-applied zimmerit"--kinda rough and not-too-neat. I used Squadron's white putty and some Testor's glue to thin it, and applied it with Tamiya's applicators.

Two other mods that I did were to rough up the turret sides with my Dremel using a small metal grinding head bounced along the surface. Also, I added a bunch of foliage loops using small gauge copper wire. I also improved the welds along the turret.
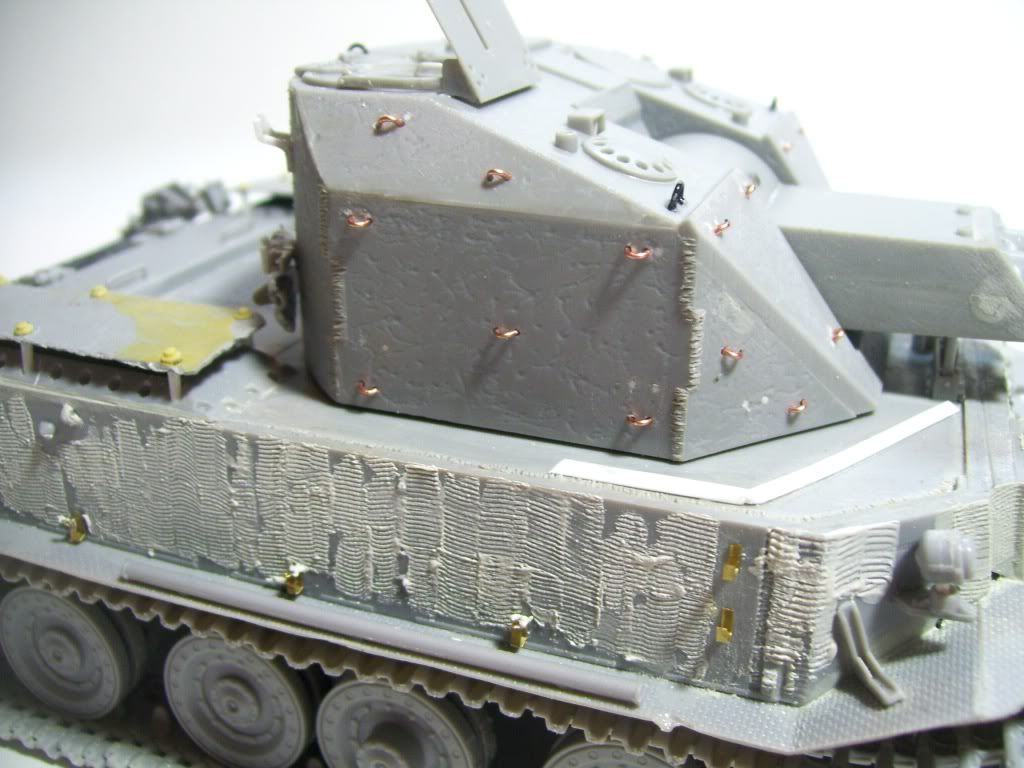
Here's what I had at that point before painting..
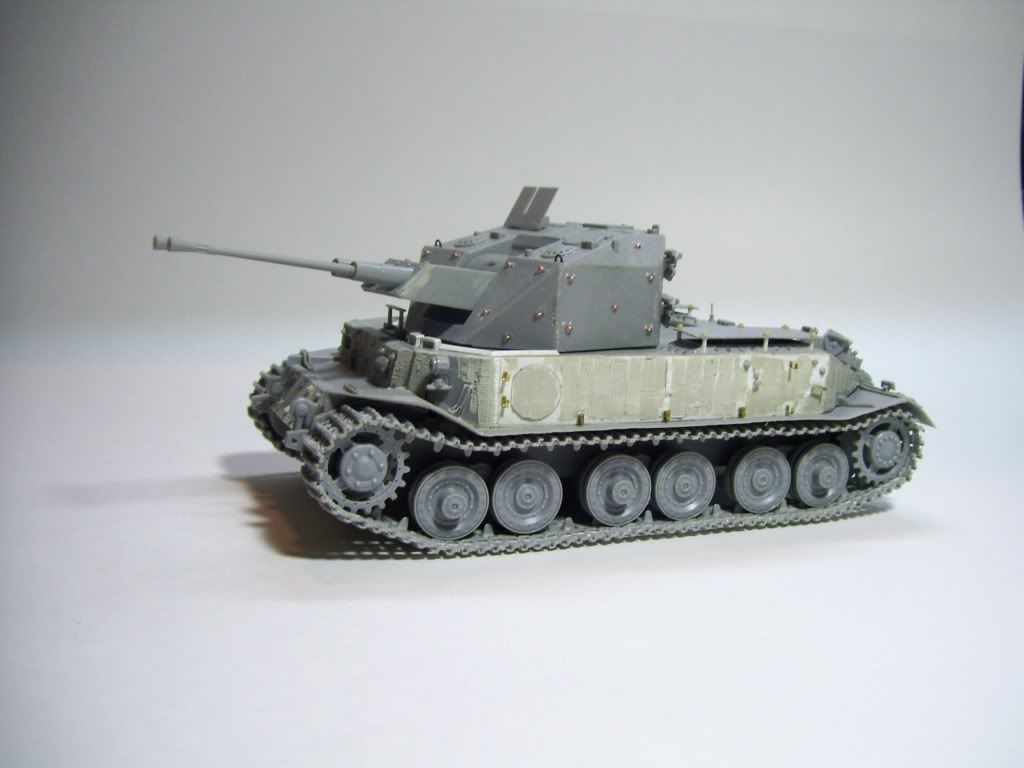

After stripping the wheels and tracks, I primered it with some Tamiya Gray.
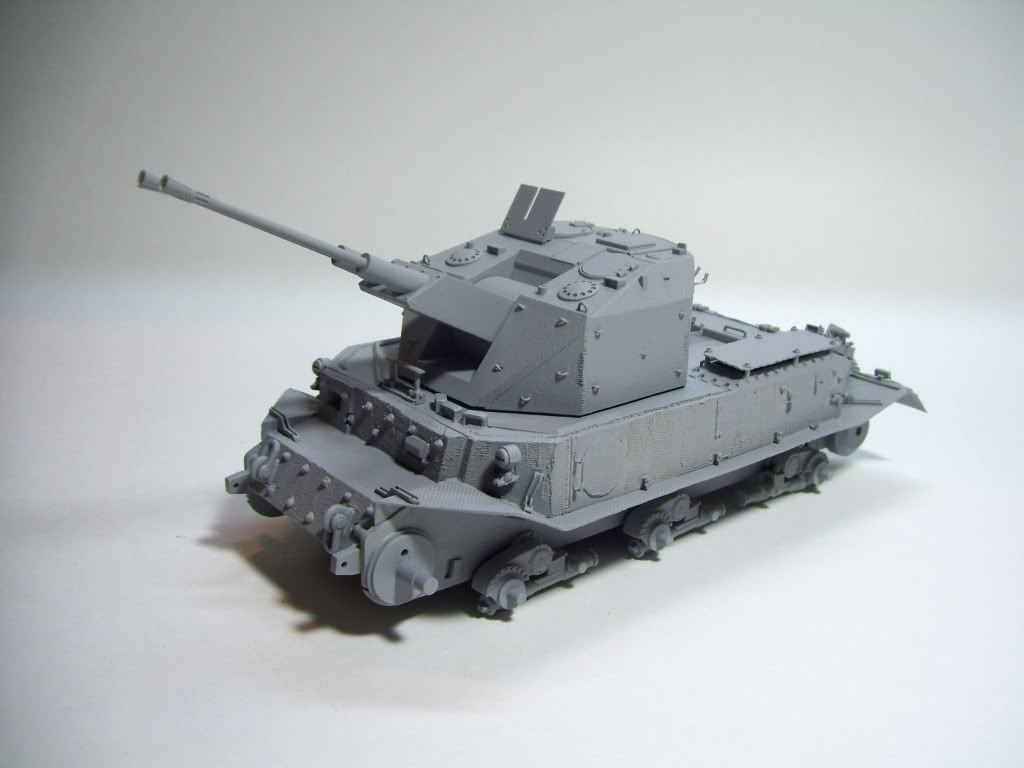
SOOOO--here's my concept for this vehicle!!
I am going to portray this as a brand new turret taken off the line and stuck onto an older hull. The hull will have been an old "command tank" variant, and one that had been sent to the front in Panzer Gray (as had been the original Porsche "VK" Tigers), and overpainted with yellow and green bands. It will be a degraded, faded hull--but the "new" turret will be finished in the newly ordered Dark Green, and will reflect a cleaner appearance. I'm going to try to capture the mood of "just get this to the front any way you can".
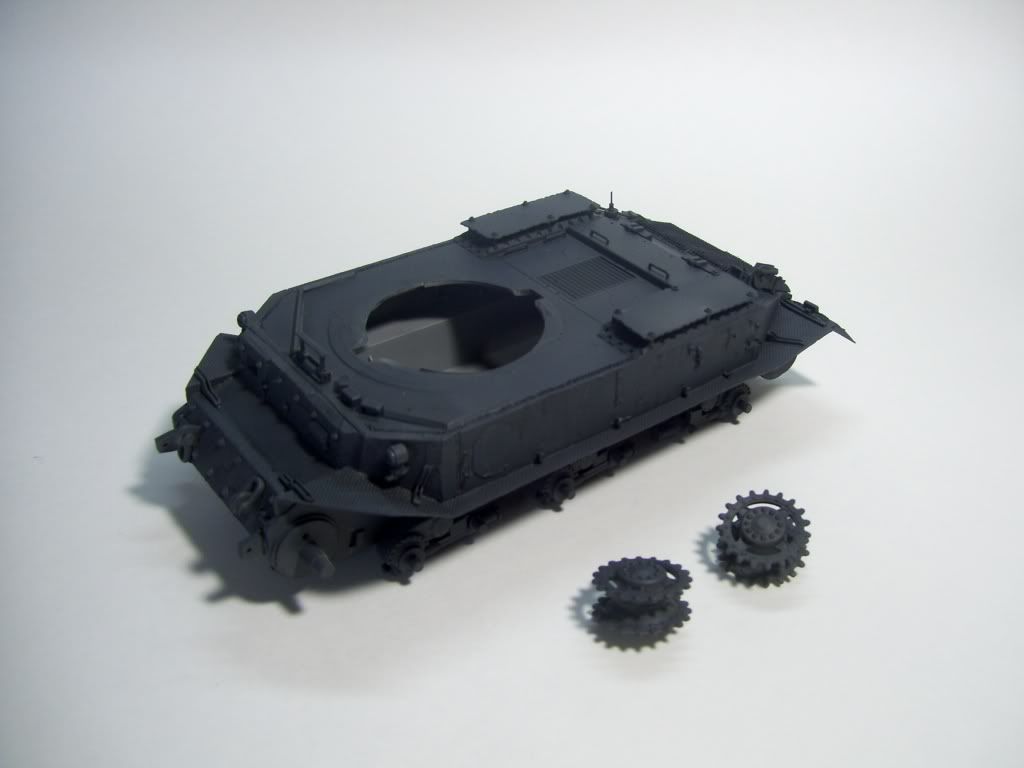
SO here's what I did so far....the hull painted in Tamiya German Grey, first in straight GG, then lightened with Tamiya Buff in the interior panels as is "normal" for my style...
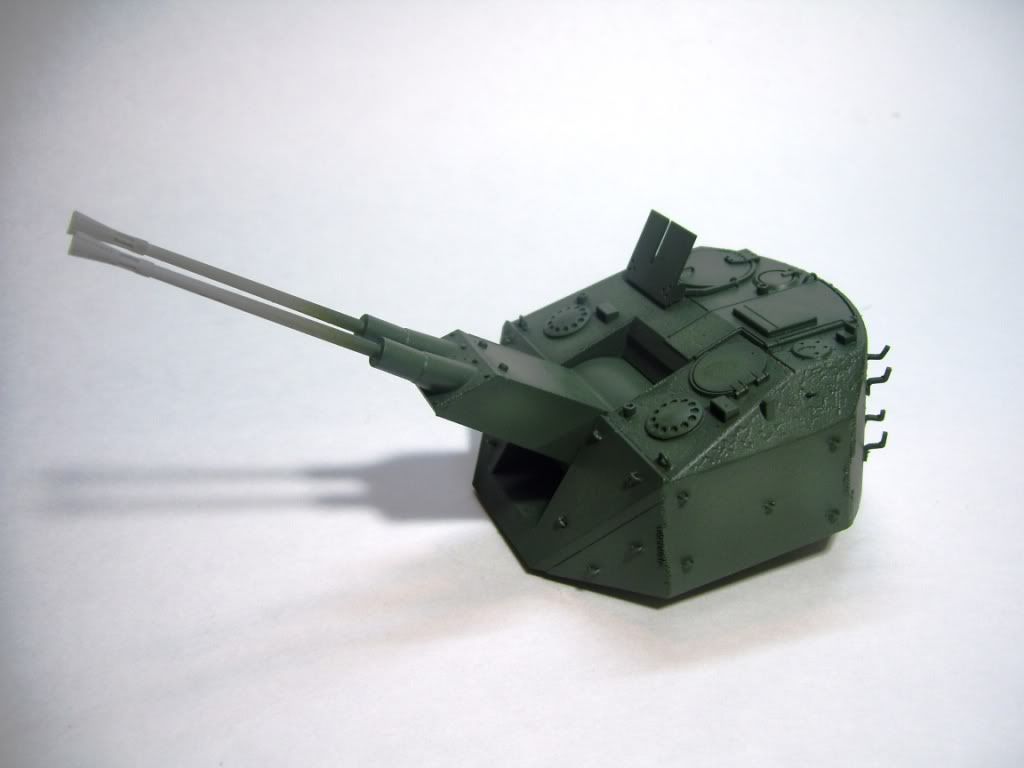
The turret was painted in Tamiya "JA Green", with a very slight over-fading of JA Green + Tamiya "Sky".
Here's the two elements so far....

And together.....keep in mind, the hull is nowhere near "finished". I'm going to be trying some new technique for me on this one, including the "Salt Method" to get a beat-up hull.
So it's off on another Armor adventure! 
Questions and comments always welcomed!
EDIT AND UPDATE!
After careful thought, I decided to try something even more challenging--a full-on "Color Modulation" ala' Adam Wilder. I think I want to try something a little different fro what I normally do--the "inside panel" lightening technique---and go for a "single light source" modulation the way that is becoming popular on some other forums.
I went out to buy some "Simple Green", which I've learned about in Auto Modeling--it works wonders in stripping paint. An hour or two in the "Green Bath" and the paint comes right off. It works for both Tamiya acrylics and spray paints. The only downside is that the stuff ain't cheap--like, $8.00 for 20 oz! And you need about 30 ounces to really make a good sized "bath". I found some in a hardware store for $7.49/bottle, but since I was on my way to Walmart, I decided to see what they had.
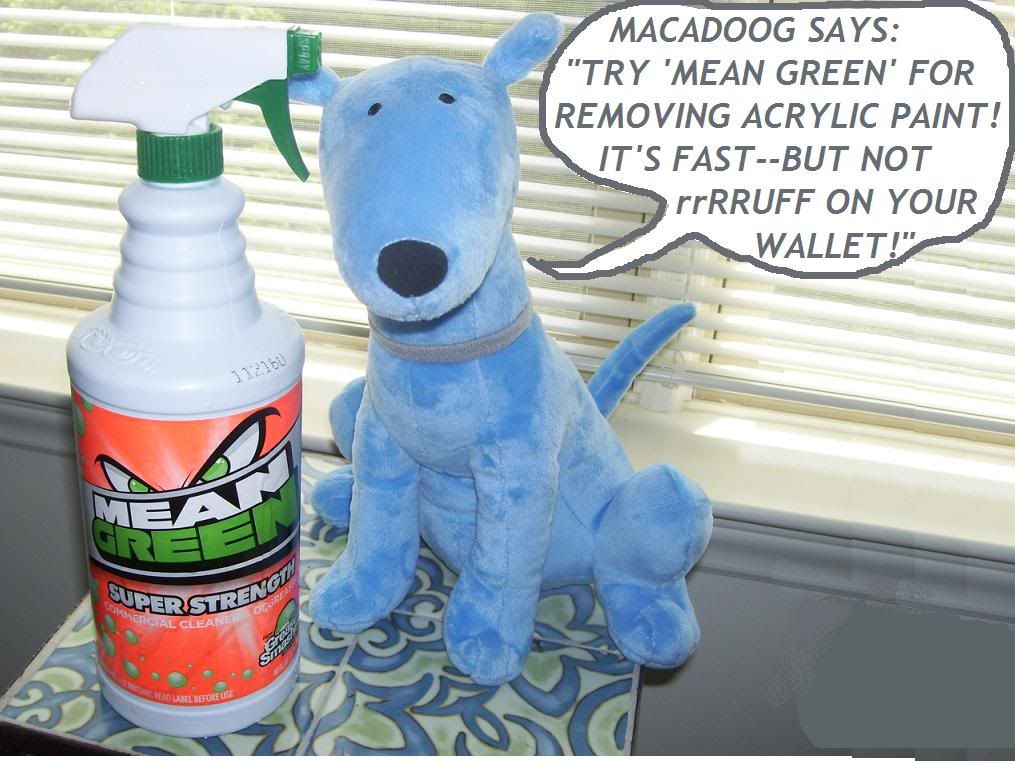
They didn't have any "Simple Green", but they did have "Mean Green". It looked like a similar product to me. On the back it had that warning "Do not use on painted surfaces". HMMM? Could it work the same? Geez. for $1.79 a bottle for 40 ounces, how could I go wrong?!
I got home and put the model in the bin, and started pouring--holy cow!--as soon as I started to pour the stuff on the model (which had been airbrushed with Tamiya acrylics) the paint literally started to wash right off! In the photo, I had Jenn grab the camera and shoot as I was still pouring out the liquid--the hull there has already been taken down to the gray Duplicote primer, and the Coelian turret has already lost most of its green topcoat, exposing the Dark Yellow underneath! The Dark Yellow came off a few minutes later--I easily just brushed it off with a soft brush, no problem! This stuff is AMAZING!--and CHEAP!

Spokesdoog Macadoog tells you what you need to know:
More to come after I get a new coat of paint on--it's going to take some time, so be patient, y'all!
