(Re-posted from my original thread mistakenly placed in the "General Modeling Discussion" part of the forum)
i have wanted to do this for a long long time but just now got around to actually getting the resources to actually give my first kitbashing a whirl. in my attempts to occupy my time during study hall at school i drew up a "what if" fortification destroyer/super heavy tank based on the M1A2 Abrams. i showed it to one of my teachers (also a model builder and military buff) and he suggested that i build it in scale.......... the thought had crossed my mind, but now that somebody else suggested it i had i absolutly HAD to build it lol. I have hinted around to this project for quite some time, but Christmas gave me the opportunity to actually get what i needed to attempt the project. i got the two abrams kits for about $22 each on scalehobbyist.com, they are the trumpeter M1A1/ M1A2 5 in 1 kits (kit no. 01535) and they gave me everything i needed: two hulls (one for chopping the other for building) as well as almost enough road wheels and tracks, and two of the mine plows which wil be mashed into one big one to fit the vehicles wider hull and tracks. i did pick up some Verinden M2 .50 cals though, as the kit supplied ones were a bit soft in detail. I will also be scratching two of the TUSK stye turrets for the top of the main turret. i will be posting this as a WIP. this is my first attempt at a scratch build/kit bash, not sure which one to classify it as. I will post more pics as the build continues...enjoy!
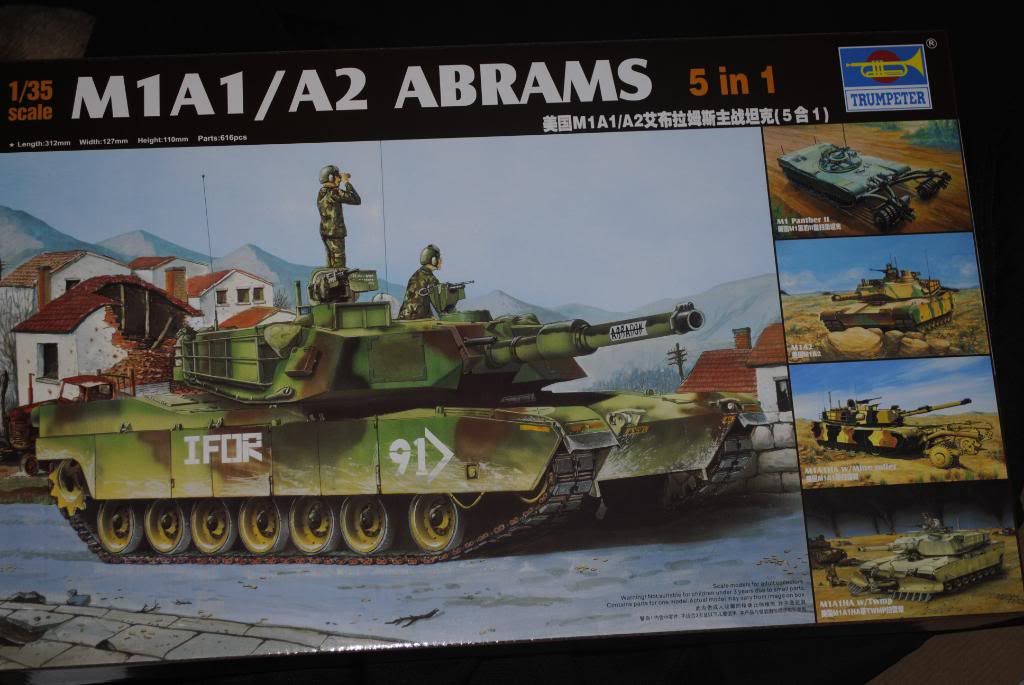
the entire kit has a pebbly finish, not just the non-skid surface area.
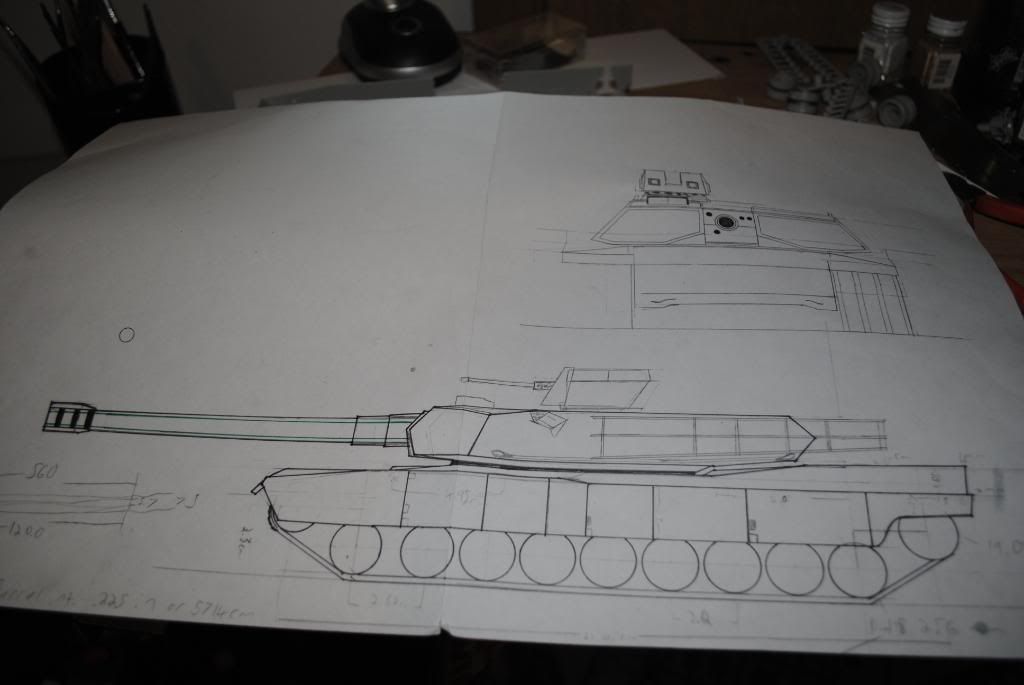
not a great pic, but a basic overview of what i plan to do.
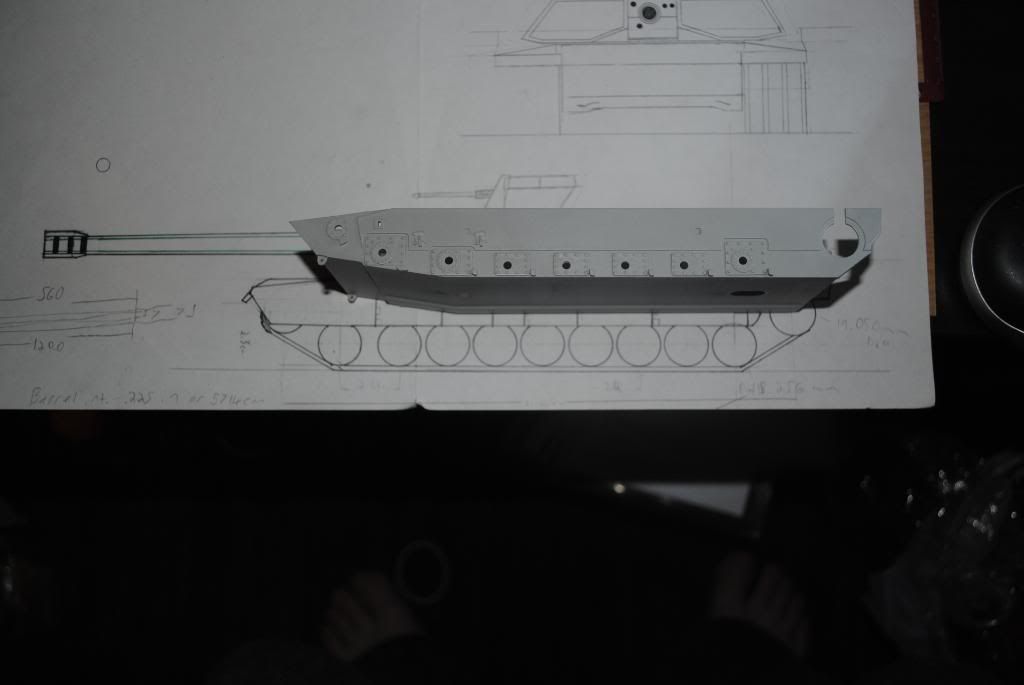
as you can see the hull is a bit to short...
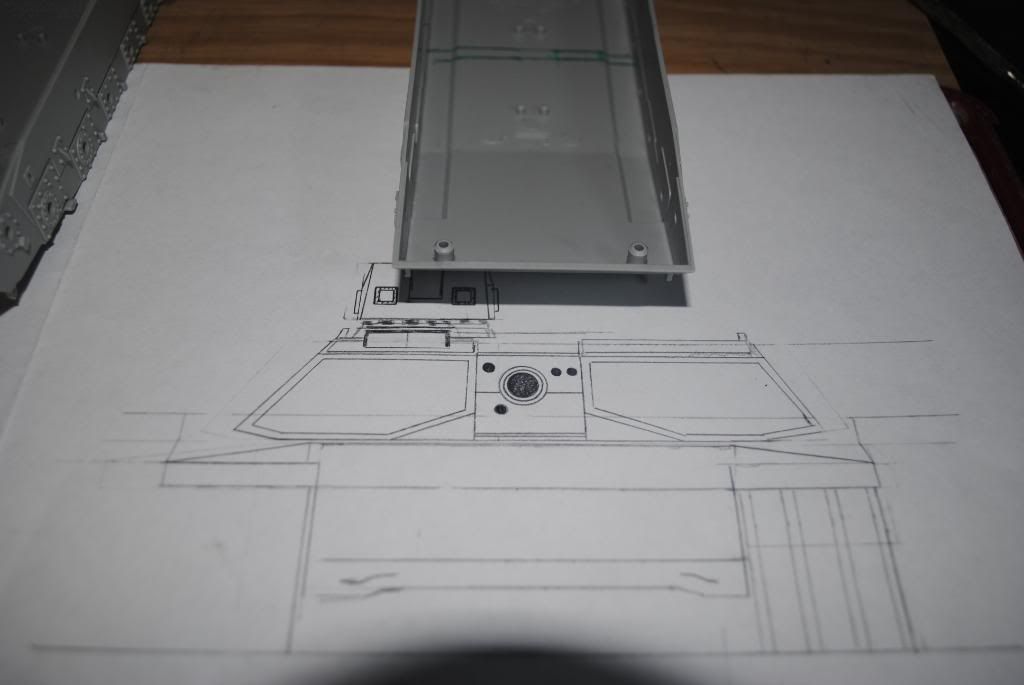
...and a bit too narrow
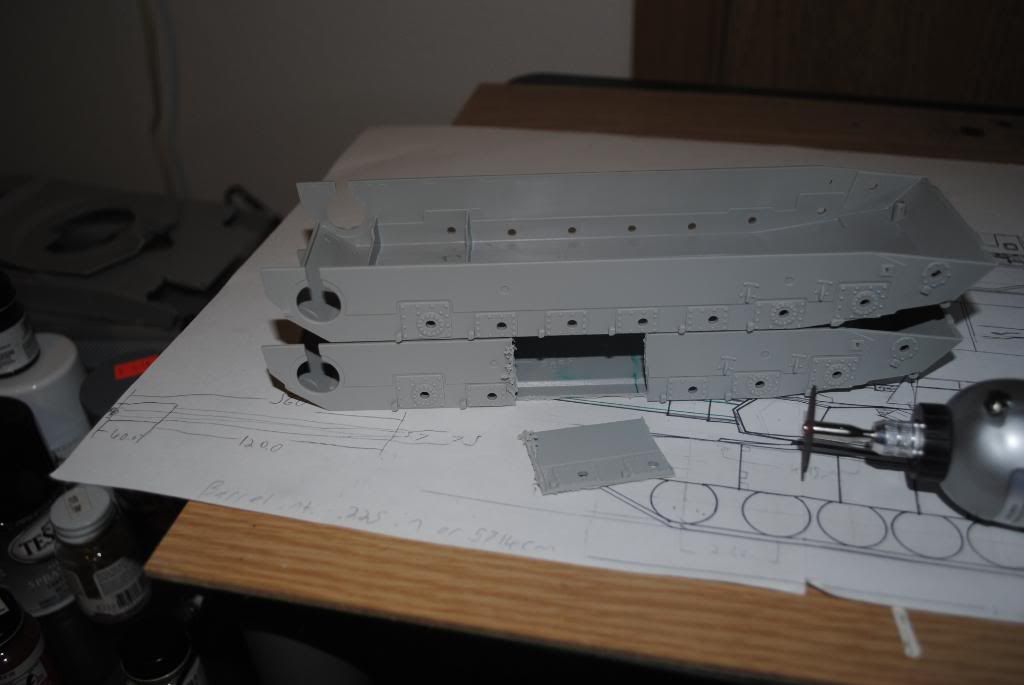
Doner hull is chopped on both sides...
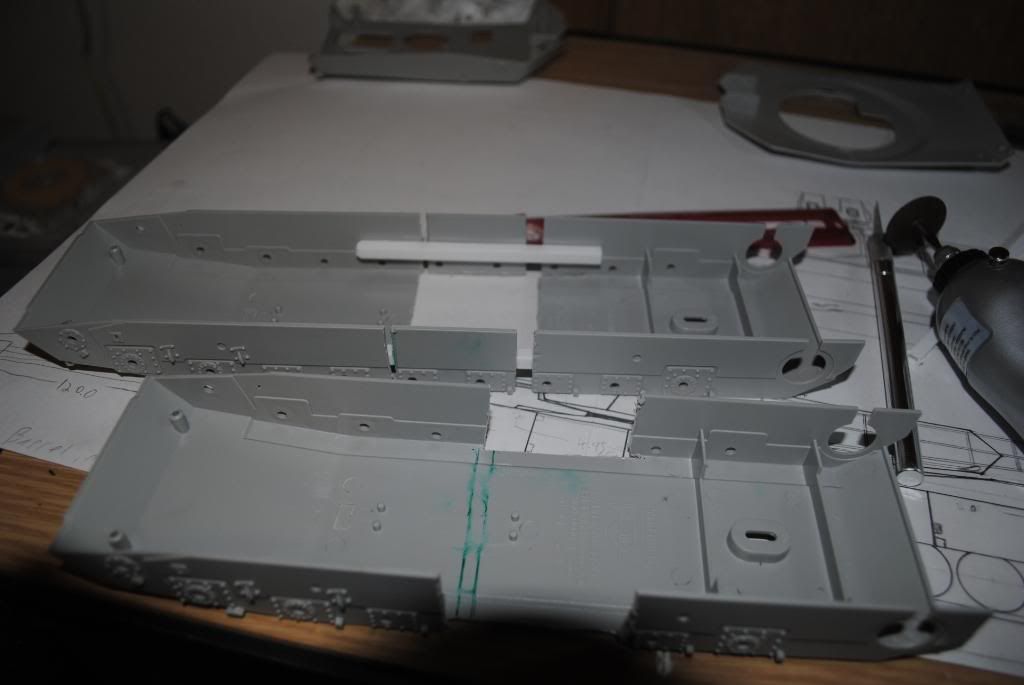
...and the bigger hull begins to take shape. because the suspension is offset slightly on each side i had to cut just a piece of each side out and stretch the hull out and full on the massive gap on the bottom with sheet styrene, its there but hard to see in the pic.
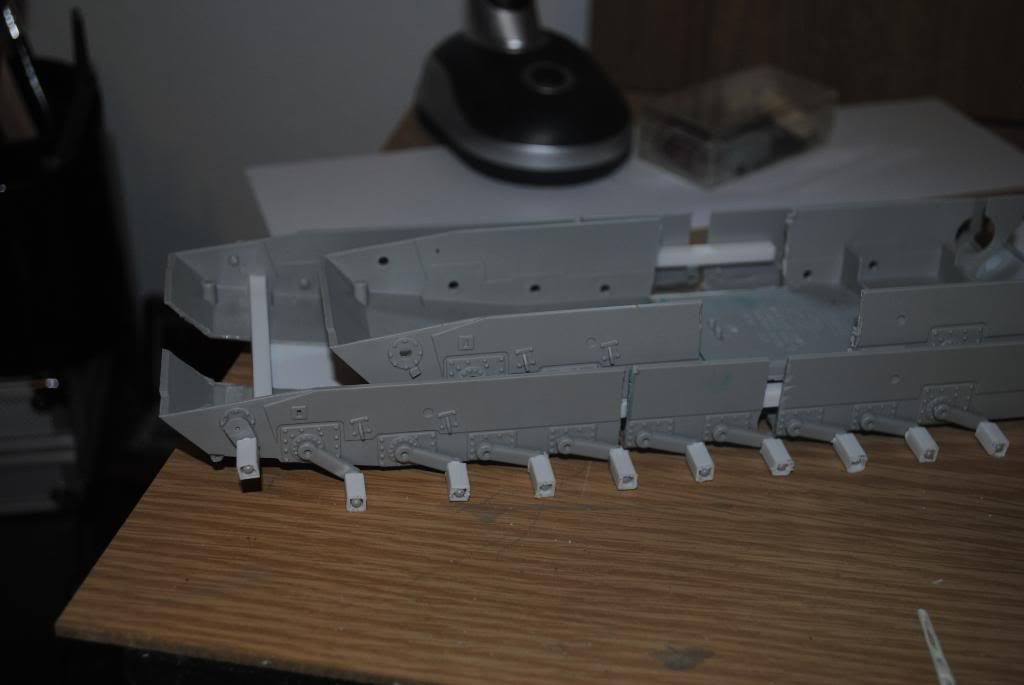
the bigger hull is then widened by 2 cm...at this point the original hull can fairly easily fit inside the bigger one.
for a bigger hull, bigger tracks are needed, so i took the M1's standard track inks, cut one part of them off, leaving the alignment spike attached to the track pad i wanted to keep. i then cut off the outermost pad connector from another piece of length, sanded both edges smooth and eve, and glued them together to make a wider track (thank god there were plastic link-and-length tracks in this kit, because the rubber ones were so warped they looked like a black snake slithering around in the box)
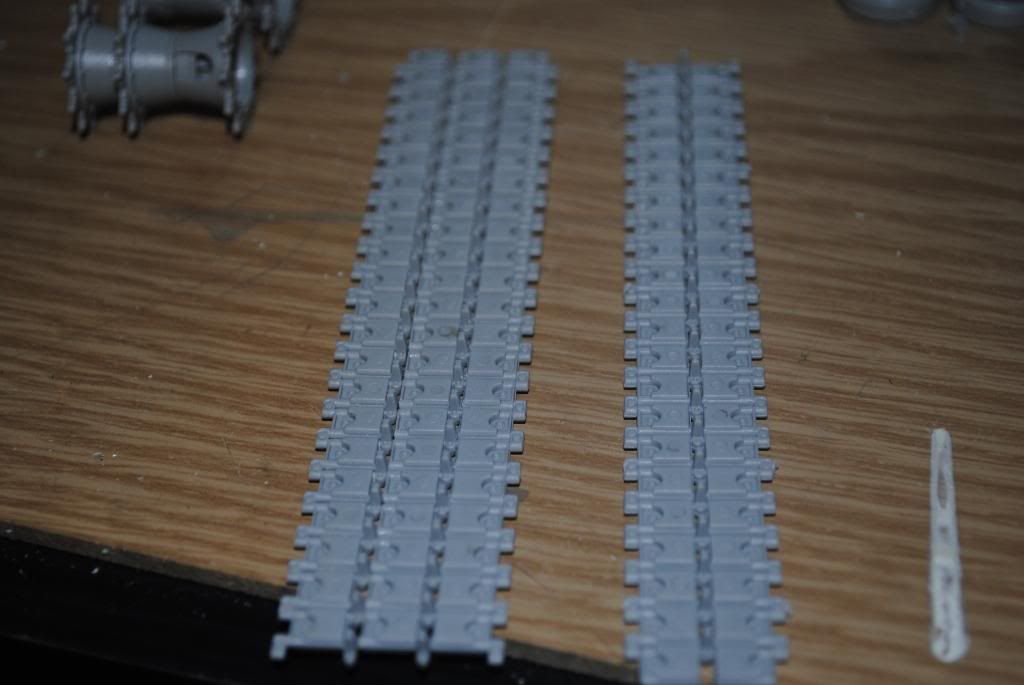
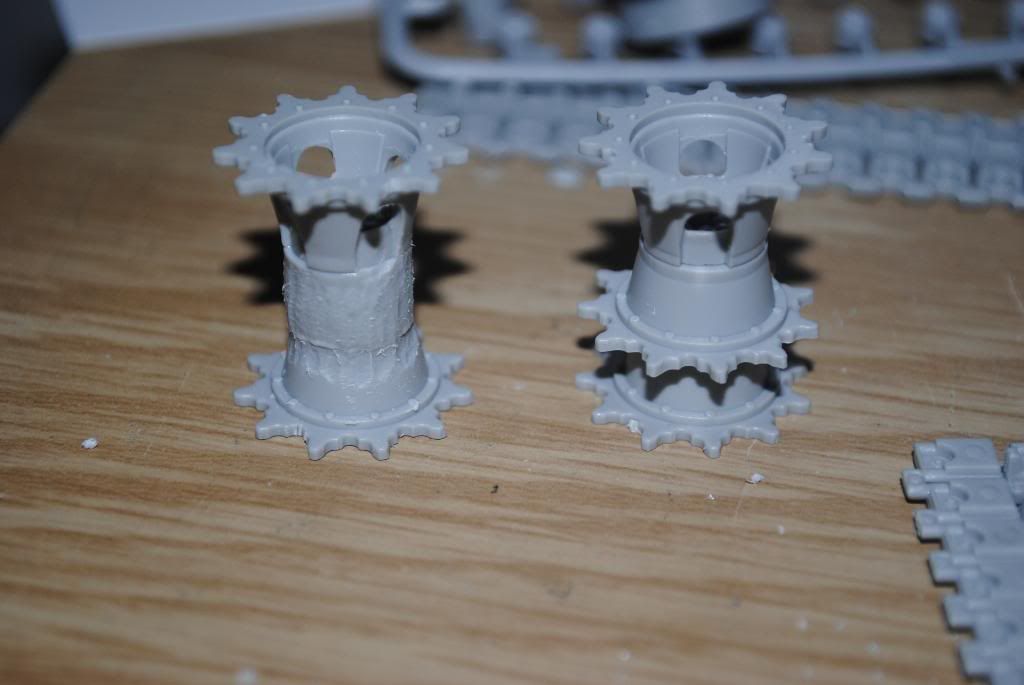
because the tracks were wider, the drive sprocket and road wheels needed to be wider as well. i made the sprocket wider be attaching the inner piece of the drive sprocket from the second kit to the finished sprocket from kit #1. and since i pan on keeping the alignment spikes for both inside joints on the track, the inner tooth ring on the drive sprocket had to go...Mr. Motor Tool is proving very helpful lol.
More to come soon!
1/35 XM77 "Sledgehammer", 1964 Chevy Impala Derby Car
Whats next? Aircraft for Ground Attack Group Build
"I dont just tackle to make a play, I tackle to break your will." -Ray Lewis
"In the end, we're all just chalk lines on the concrete, drawn only to be washed away"- 5 Finger Death Punch
"Ahh, my old enemy.......STAIRS"- Po, Kung Fu Panda