Hello everybody!
As some of you might know, I've been strugling with a 1:35 Duster for a long time now. I used the Tamiya kit as a base. This struggle is described on my web page here: www.vietnam.net.pl/M42moden.htm.
Well this project stalled a little last year, because of a move and other personal things going on and then the Chinese played a nasty trick on me and released their M42, which was announced just ten years ago or so. I couldn't let this go on like this. I ordered the AFV Club product and got it just yesterday. I'm starting to build right now and let me post a WIP for you. As I go, I intend to compare the Tamiya kit to the new one, nitpick on the new one and I'll "transplant" some things I did for my old build onto my new build in order to build the best M42 model you can see on the internet (fortunately there are not so many of them!  )
)
I started with a comparison of the AFV Club lower hull to my old model:
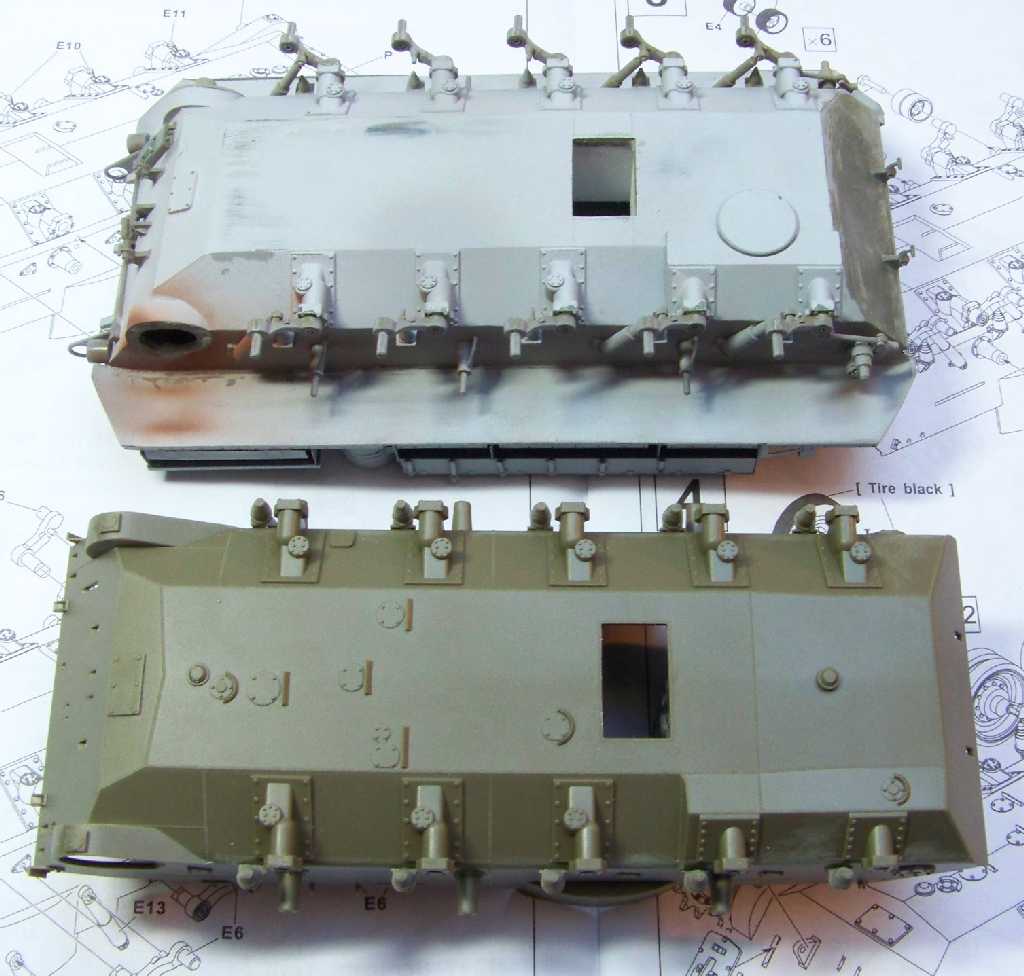
The AFV Club requires only minimal cleanup, is nicely detailed and you don't have to cover any motorization holes as in the old Tamiya kit. This is important for me, as I like my models to be accurate from every direction . The large hole the model does sport, is a spent brass ejection chute, a very distinctive and unusual Duster feature, bravo AFV Club! But most importantly the big problem of the Tamiya kit is visible here - grossly incorrect shape of the front hull. This is the reason I'm not continuing my old model - I noticed the error too late and correcting it would mean starting the hull over anyhow.
So, as per instructions, I started adding the suspension bump stops:

The little parts need a lot of careful cleanup, because they have mold parting lines on them (not very heavy, but still) and there are lots of tiny parts. Pay attention to the bump stops on the last road wheel position, thay are different from the rest, and different parts come on the left and right side (Parts E11 and E12). It would feel really bad making a mistake in Step One of the instructions, wouldn't it?
As the road wheel arms had a sinhole each, I filled them and checked the road wheels themselves. They are not bad, but for my last model I got a M41 Suspension Kit, also from AFV Club, and the wheels from this kit are a lot better. Here they are compared side by side:
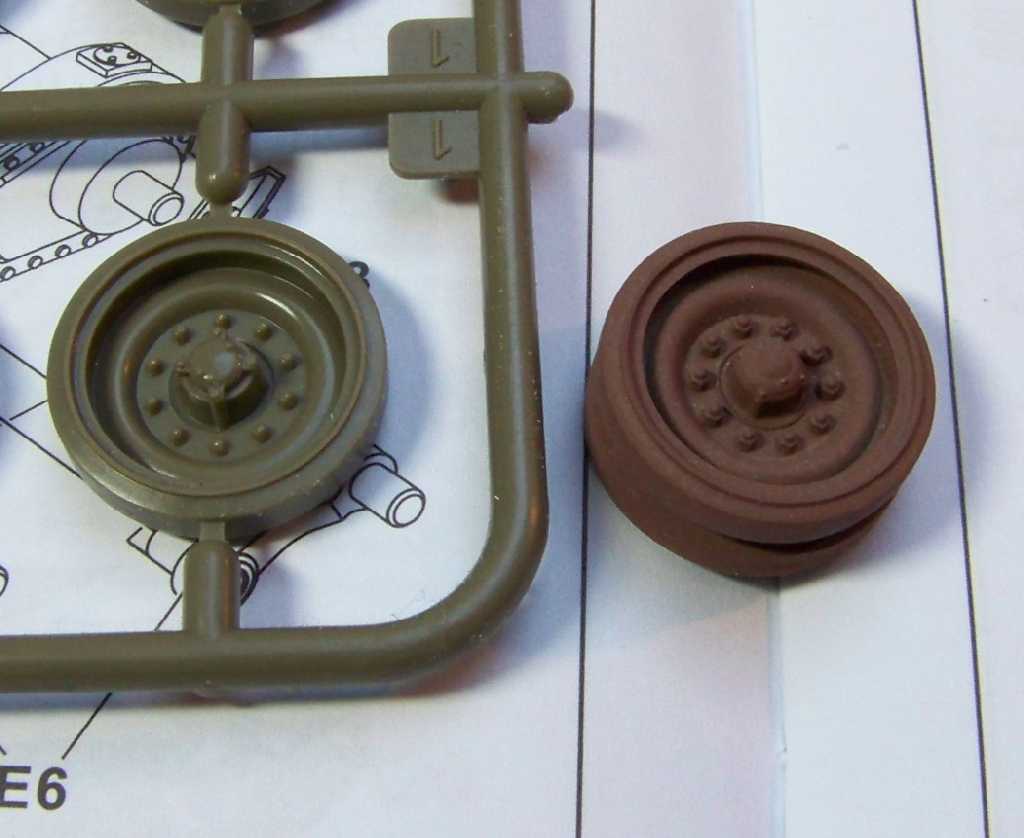
Road wheels: My old wheels have the "lip" inside, the kit wheels lack this feature.
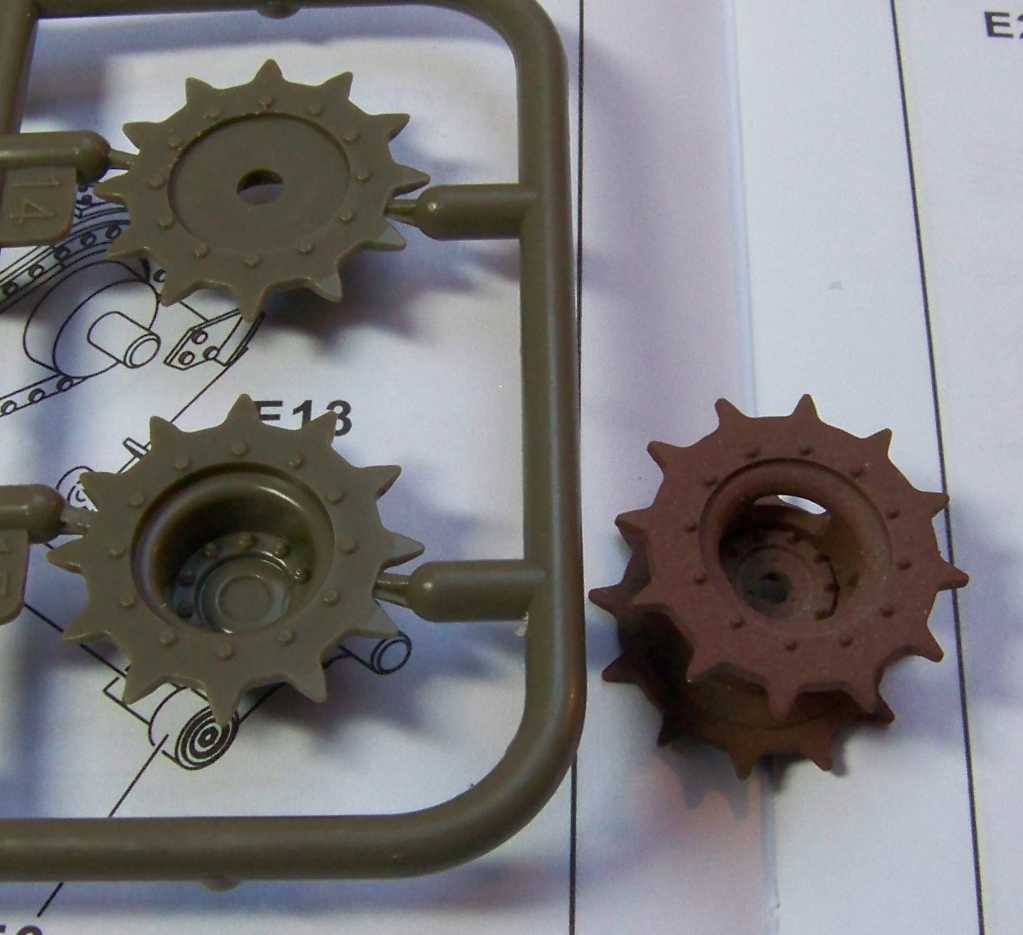
Drive sprockets: My old ones have the mud evacuation holes in them, the kit ones don't.
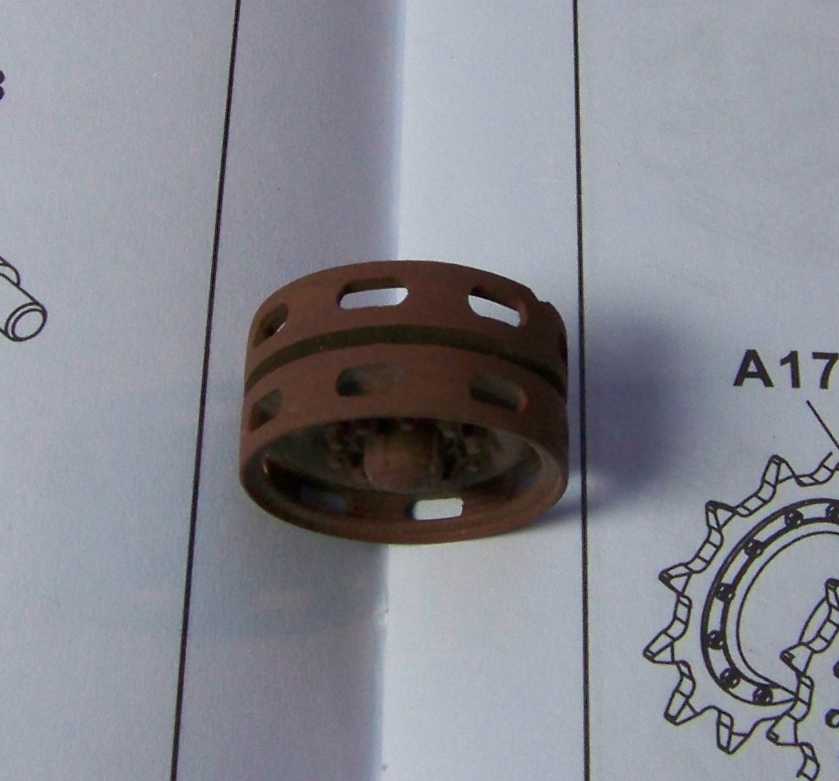
Track tensioning wheel - my old one sports this cool "holey design", kit wheel is similar to the road wheels
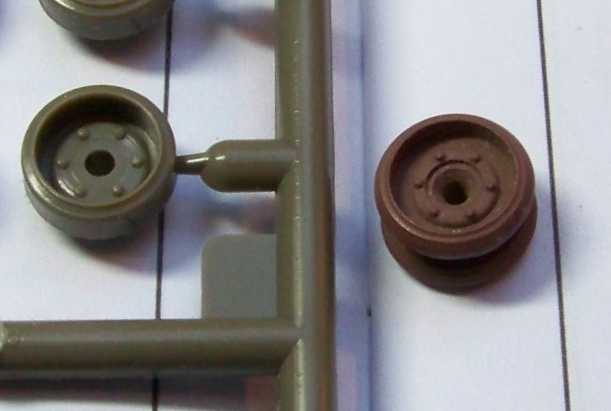
Track return rollers - here the difference is the smallest.
While we're at it, maybe you'd like to see the kit tracks?
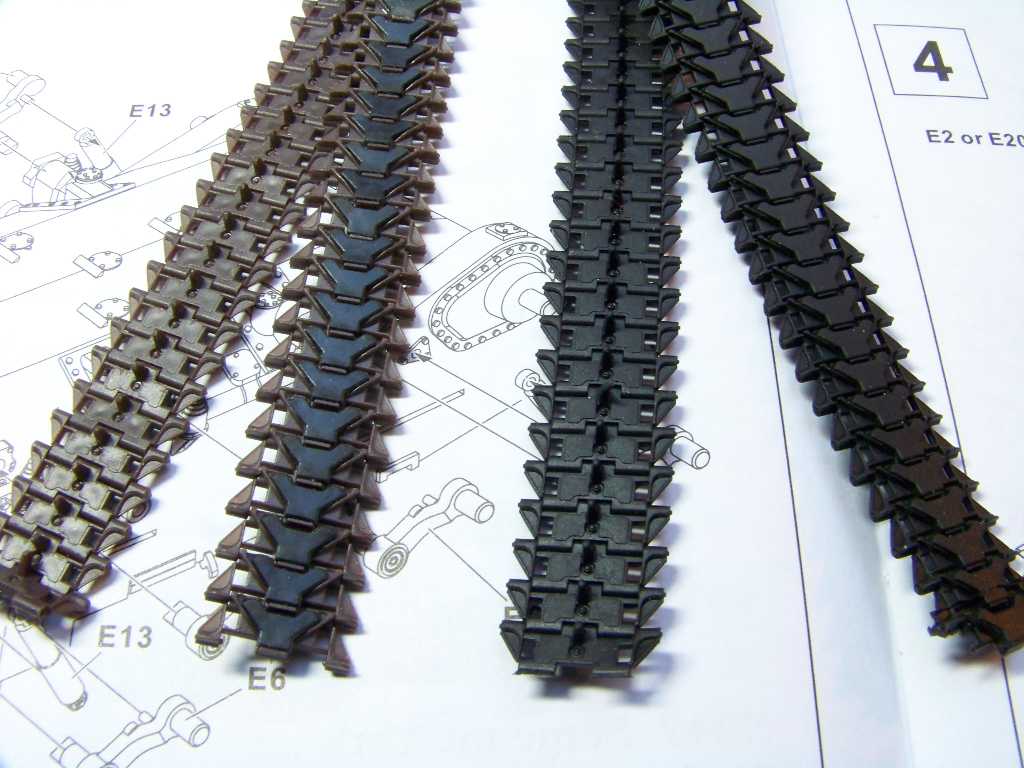
On the left, the tracks from a seprate AFV Club track set. On the right the kit's vinyl track. Also a very nice one.
To sum it up, the new AFV Club kit looks very well at first glance and I didn't have as much fun building for a long time now. Let's see how things develop, thanks for reading and have a nice day
Paweł