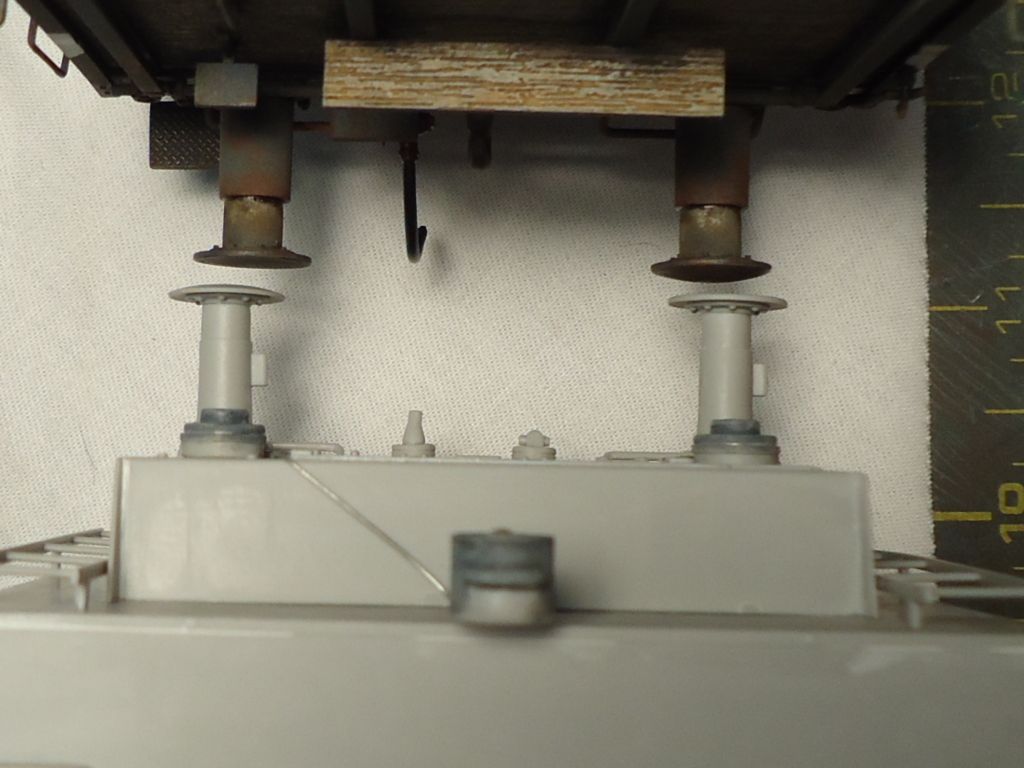
SEARCH FINESCALE.COM

Enter keywords or a search phrase below:

Br 52 WIP

61361 views
192 replies
1 rating 2 rating 3 rating 4 rating 5 rating
  • Member since
    October 2009
Posted by PANZERWAFFE on Sunday, September 16, 2012 12:17 PM

ANDY - Still happy to have you aboard...it's going to be a long ride.   Yes my old booth was the one I had built.  It worked really well and was very durable but just not esy to move and it would not fit through the house doors.  When taking it apart it just tore it up.  Was never intended to come back apart.

The new booth ordered should work just fine and it will be moveable for when that time comes again.  Had ordered the PACE "Peace Keeper Deluxe".  It was requminded by a friend Wink  Will post pics of it when it gets here and let you know what I think of it Yes

BILL - What a great idea for the coal!  I would have used it speacialy since the wife has many fish tanks and lots charcoal for them but not thinking of that I had substituted the kit piece with real coal.  So I now have two bags of real coal ready to go in when the time comes.  Hard to tell in those last photoes posted but if you look closly you can see that had removed the molded in location tab for the kit supplied coal peace.  Thanks for the tip now I know for next time Yes

Rob

  • Member since
    March 2006
  • From: Right Side of a Left State
Posted by Shellback on Sunday, September 16, 2012 3:04 PM

Hey Rob ! Great looking ipdates ............sorry i've been missing them Embarrassed

Really liking the details you are putting into this . Yes

  • Member since
    October 2009
Posted by PANZERWAFFE on Sunday, September 16, 2012 7:56 PM

Thanks Carl and it's good to be back!


Tonights updates........

Looking at reference pics something was missing above the piston and rail.  This is how the kit would have it look.

This will not due so off to the spare part box I went.  First though I grabbed a spare spring for a pistol to use (I keep a lot of these springs spare for things like this) and visited the tackle box. 

Cut the eyes off the tackle then CA them into the spring to get this effect.

Out of the spare parts box I retrieved half of a gun breach, 2 fender mounts for a PZ III, a brass rod, some tube styrene, and 2 sizes of wire.  Then went to work on a few small modifications of the parts.   The parts


Almost there....

and now installed.

There still more work to be done on these parts but it will come a little later when the wheels and push arm has been put on.  On the left side you can see the styrene hole I will use to mount a linkage arm that holds an arm that extends back to the rear of the rail.  Not sure what it is for but have clearly found it in my reference material.  On the inter right side there will be another linkage arm that runs all the way back to and into the cabin.  For now though on to some more work on the frame.

Rob

  • Member since
    September 2005
  • From: beacon falls , Ct.
Posted by treadwell on Sunday, September 16, 2012 7:56 PM

Hi Rob Big Smile

Great progress,manYesBeer...sorry for the delay responding , but every time I sat down to get a post off, something or some body needed my attention this weekend .Crying  The build looks terrific and very clean even with Trumpy's famous ejection pin marks and too short on the feed pipes.Oops....I also checked out your mention of the Pace ' peace keeper  ' booth... looks really nice !..... Keep the updates coming when you can, they certainly are worth waiting for !Toast

treadCool


  • Member since
    October 2009
Posted by PANZERWAFFE on Sunday, September 16, 2012 8:27 PM

Hey there Tread, you sound like a wanted man.  Good to here from you and thanks, glad you like so far.  Going to do my best to keep plugging away at this build and hope not to be gone so long from now on.  Yes

Rob

  • Member since
    March 2006
  • From: Right Side of a Left State
Posted by Shellback on Sunday, September 16, 2012 9:06 PM

I like that scratch building Rob Yes That must be a huge spring on the actual locomotive !

  • Member since
    July 2004
  • From: Texas
Posted by wbill76 on Monday, September 17, 2012 10:48 AM

Now that's some nice "gizmology" going on there Rob! And of course, nothing looks like coal like the real thing so glad you're covered in that department! Big Smile

  • Member since
    August 2007
  • From: back country of SO-CAL, at the birth place of Naval Aviation
Posted by DUSTER on Monday, September 17, 2012 3:57 PM

Very nice job on the spring assy.   This is a fascinating build to watch not only because of you skill but because it's a train engine too.

The coal you are going to use reminded me of a Christmas not too long a go, when my wife got me a lump of coal and I wasn't even building a model then!

 Sure was a funny present, I guess , everyone laughs when they hear about it. 

Ya got me though.

Steve

Building the perfect model---just not quite yet  Confused

  • Member since
    August 2012
  • From: Parker City, IN.
Posted by Rambo on Monday, September 17, 2012 6:21 PM

lol It's a macgyver moment

Clint

  • Member since
    October 2009
Posted by PANZERWAFFE on Monday, September 17, 2012 9:15 PM

CARL - Yes, that spring would have to be massive.  Imagine the poundage that would be behind it.

BILL - Just call me Gizmo, just don't feed me after midnight Devil

STEVE - Funny, when I first pulled this kit out to look it over it was right before Christmas so I had asked for a piece of coal...did not receive it though Gift

RAMBO - Not quite Macgyver, ther's no duct tape.....yet Stick out tongue

Glad you guys like it.  Have done a little more but not enough to show pictures yet.  Taking a little time to figure what and how to make the next pieces for the frame.  Should be just a few pipes to add, a wheel valve and the shaft, and some small chains.  Not much more before moving on to the next section. 

Rob

  • Member since
    October 2009
Posted by PANZERWAFFE on Tuesday, September 18, 2012 7:16 PM

More time was taken then planed for this small update and more work is due on it.  First was adding the long linkage bar (brown styrene rod) for the right side of the spring assembly back to the cabin.  This was not originally in my plans so going back and drilling holes in the boiler support frames for the styrene rod to pass through was a little tedious.

On the left rear section a large pipe needs to be added.  So used a piece of 5/32 styrene tube and carefully heated sections of it with a lighter and bent to shape.  After shaping went back over it sanding any distorted areas from the heat / bend. 

This will be it's position on the train. 

Still some mount brackets to add to the pipe and cut off the proper length on the back but the basis is complete.  After completion of the pipe will add a wheel valve and shaft on the side of the frame where the pipe originates from.

I know it was short but that's it for tonight.  Thanks for looking Beer

Rob

  • Member since
    July 2004
  • From: Texas
Posted by wbill76 on Tuesday, September 18, 2012 7:20 PM

Neat trick with the pipe Rob, will look the part for sure once you've got the brackets on. No snacks for you after 10! Wink

  • Member since
    December 2004
  • From: ohio
Posted by vonryan on Wednesday, September 19, 2012 11:25 AM

WOW Rob just an AMAZING BUILDYes this buds for you buddyBeerBig Smile


Clay

  • Member since
    June 2009
Posted by Guney on Wednesday, September 19, 2012 5:39 PM

Simply amazing Rob....:)

  • Member since
    October 2009
Posted by PANZERWAFFE on Wednesday, September 19, 2012 10:14 PM

BILL, CLAY, GUNEY - Thanks guys for the comments they are very appreciated Beer

Tonight's work was on the valve , shaft and linkage for it.  Once again used some modified parts from the spare parts box, wire, and assorted styrene.  Looking at some of these pics seems theirs still some sanding dust so just look past that for now and it will be cleaned off for the next go around of pics.

Close up of the left side.  Can see the added PE, the strip styrene and hex nuts.  You may also notice the seam line or "gap" on the left, bottom of the picture by the hand wheel, from my references I believe this gap is suppose to be there but it sure bothers the heck out of me and I am tempted to fill it?

Close up right side shows the styrene linkage arm and the added chains.

Extra pic Smile

This is everything dry fit. 

Hope ya like Cool

Rob

  • Member since
    April 2005
  • From: Piscataway, NJ!
Posted by wing_nut on Thursday, September 20, 2012 6:27 AM

WOW!  Have not checked in on this one for a while.  When I saw the last update i went back to look at all the one I missed and just WOW!  And I vote for the zig zag pattern.

Marc  

  • Member since
    December 2004
  • From: ohio
Posted by vonryan on Thursday, September 20, 2012 8:02 AM

OK Rod as I've asked this to some on here i thought i really needed to ask youBig Smile ."do you find it helpful that being TOTALY insane help's your ability to work on kits AHAHAHA. really awesome work RobYesYesBow Down


Clay

  • Member since
    August 2012
  • From: Parker City, IN.
Posted by Rambo on Thursday, September 20, 2012 3:23 PM

looking good! I look forward to seeing new pics of this one

Clint

  • Member since
    April 2009
  • From: Carmel, IN
Posted by deafpanzer on Thursday, September 20, 2012 8:02 PM

Did I ever tell you that you are one real sick man?  Those PE stuff you are doing is absolutely killer!  Glad I get to follow this and learn from you my old friend!  

Andy

  • Member since
    March 2003
  • From: Rain USA, Vancouver WA
Posted by tigerman on Friday, September 21, 2012 2:10 AM

Looks like a complicated build, but your add-ons are sure improving it.

   http://i7.photobucket.com/albums/y269/wing_nut_5o/PANZERJAGERGB.jpg

 Eric 

  • Member since
    October 2009
Posted by PANZERWAFFE on Sunday, September 23, 2012 12:41 PM

Thanks guys Beer

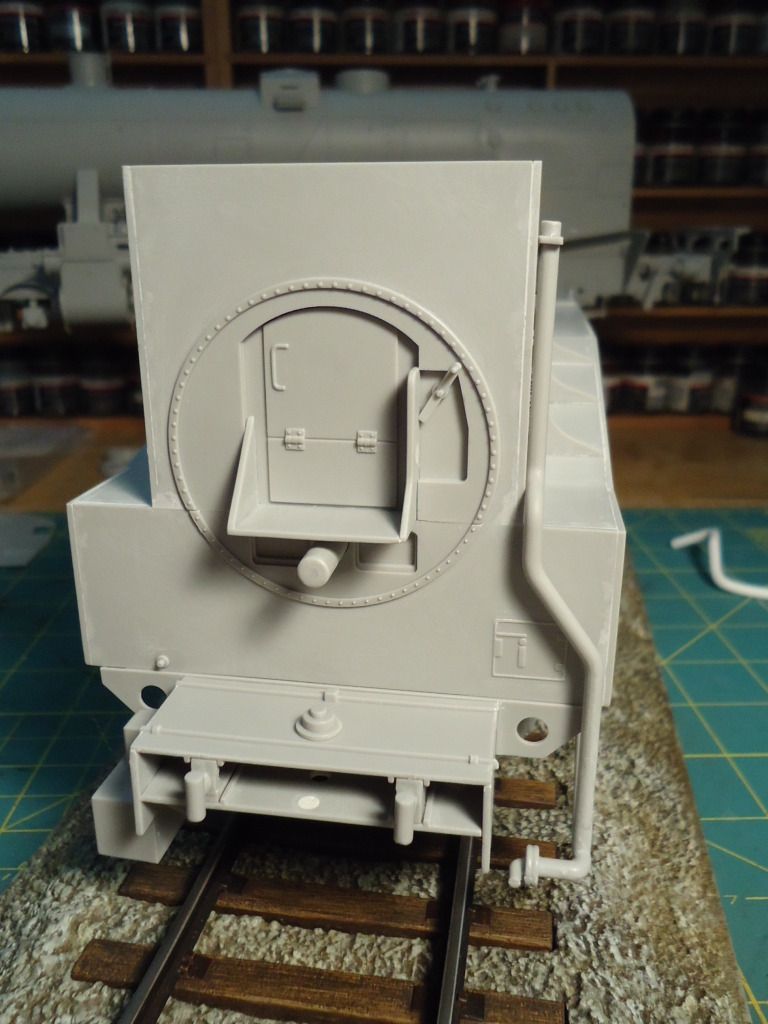
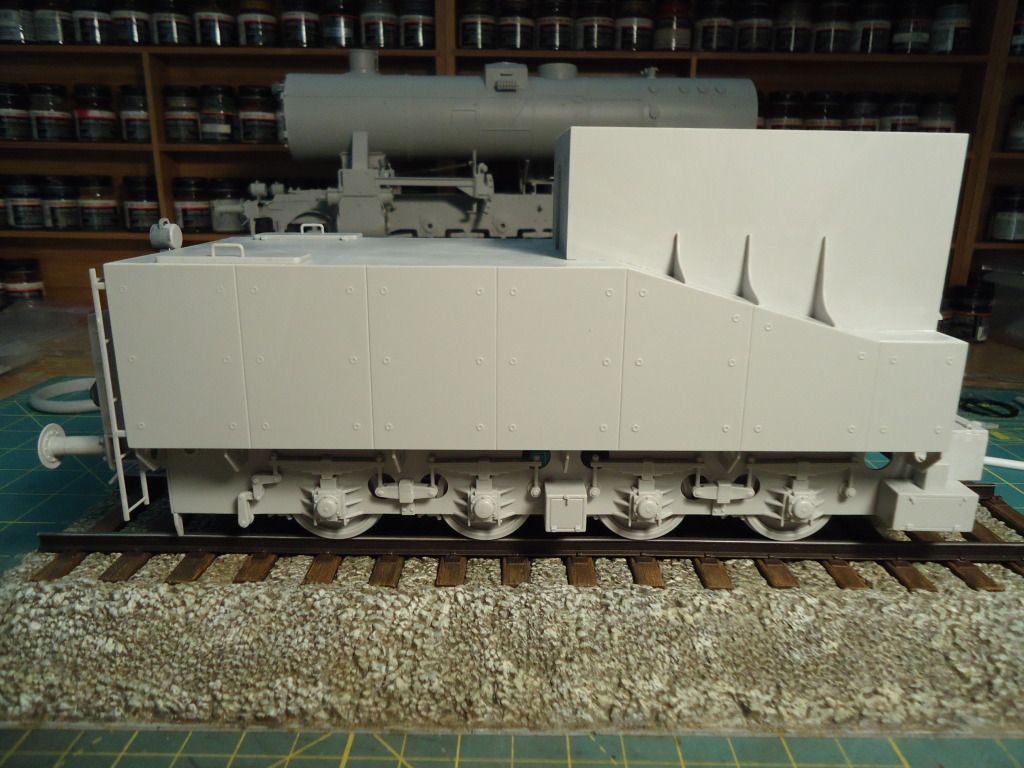
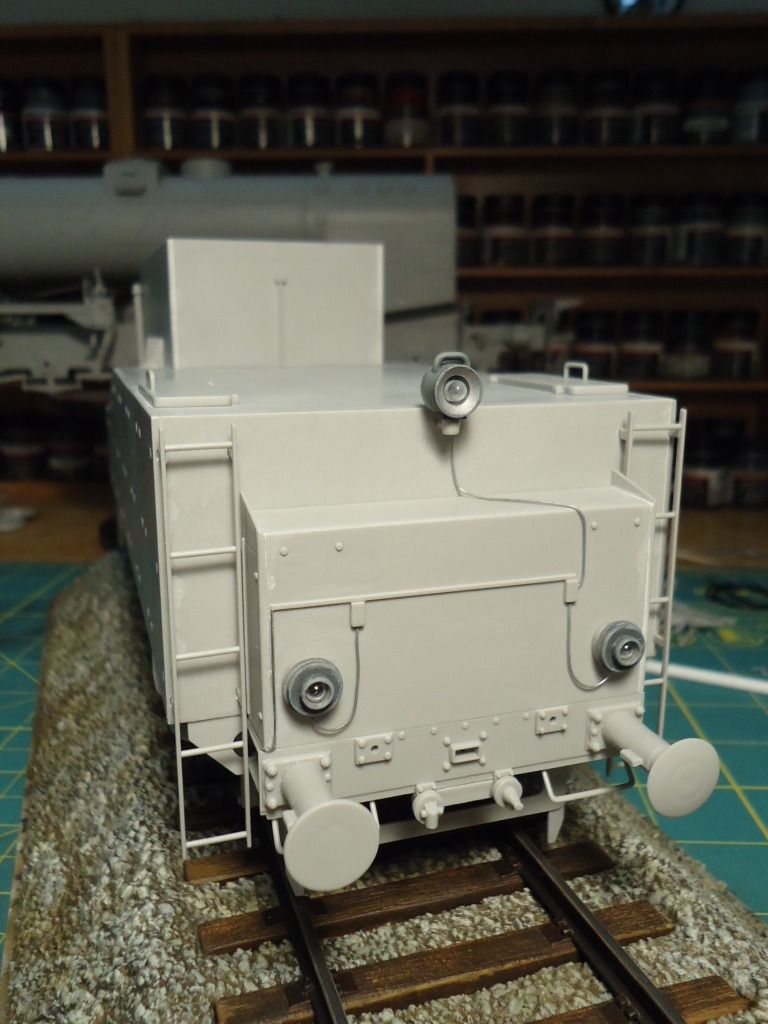
Taken a break from the small stuff turned my attention to the tender. 
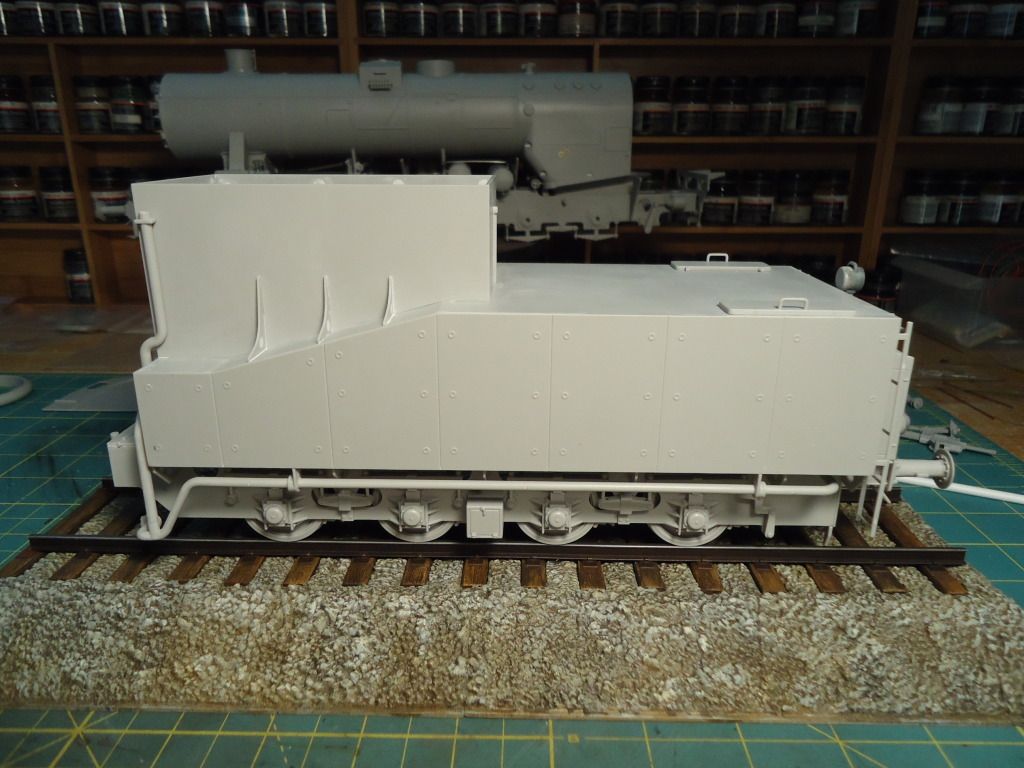
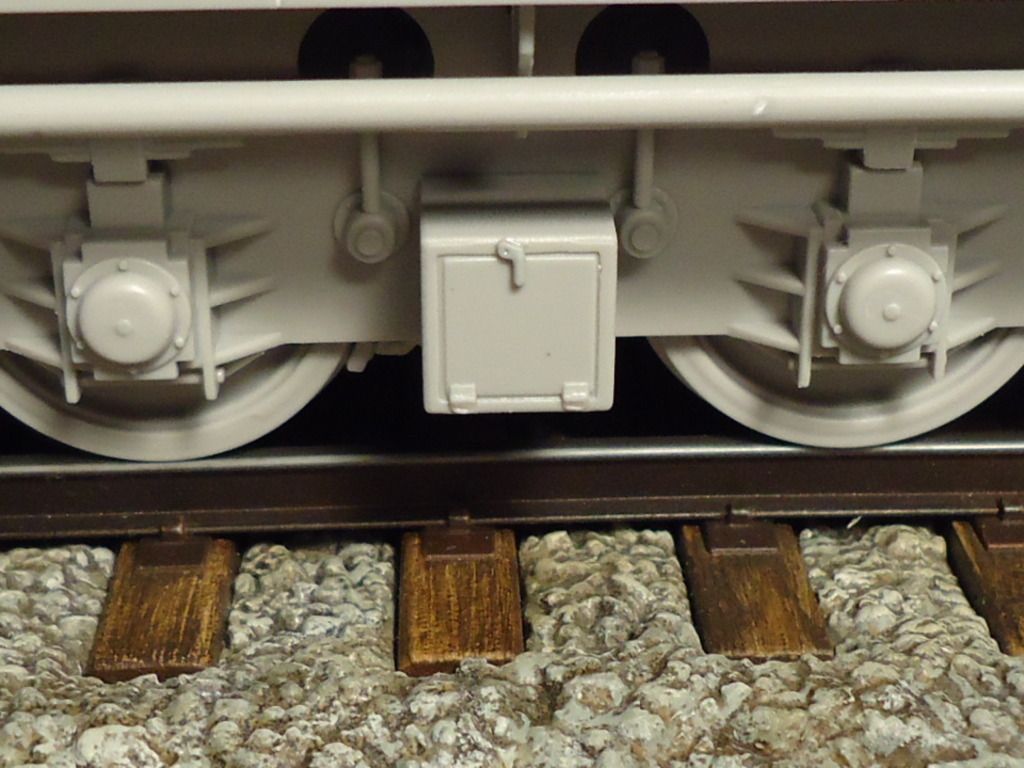
This is all built straight from the box with the exception of the wiring for the lights on the rear and the added handles.  Only thing left to put on it is the ring that connects the tender to the engine, the wood rails that go on top of the open section of the car, and the airlines on the rear.  All with the exception of the airlines will be added after paint.

Does anyone have or able to direct me in the correct place to look for detailed pics of the tender?  Thinking of adding the undercarriage linkage, brakes, and airlines, etc.  Would also like to see if there is anything else that could be added to the body of the tender.  Have not been able to really find anything though Crying  Do know that this tender is a "K4 T30 Steifrahmentender".  From my research there were 15 planed and 14 built variants of this tender with 5 being used during the war: 2'2' T26, 2'2' T30, K4 T30, 3'2' T16, and 2'2' T13.

Here is a sneak peak of things to come
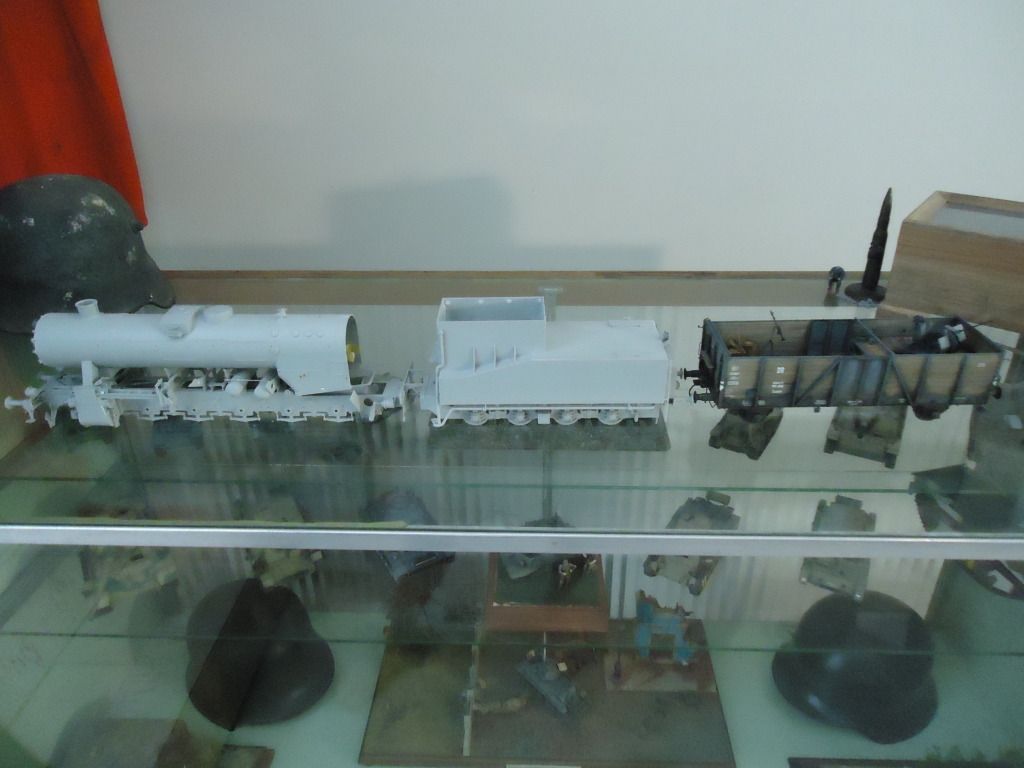
Already going to be difficult to find a place to put this thing and still have 7 more cars to add.  Will have to build a special shelf for it that runs the length of the wall Indifferent  This is a peak at a futer problem.

The Trumpeter kits and Dragon kits don't quit line up correctly with each other.  Will modify the parts of the Dragon kits for the cars that will be connected to the engine and tender......I hope.

Rob

  • Member since
    March 2006
  • From: Right Side of a Left State
Posted by Shellback on Sunday, September 23, 2012 1:07 PM

Looking impressive Rob ! Maybe look into asking the question  on model railroad site ?

  • Member since
    September 2005
  • From: beacon falls , Ct.
Posted by treadwell on Sunday, September 23, 2012 3:40 PM

Great Stuff, RobYes
It is a shame the Trumpeter and Dragon buffers don't line up...which is correct ?
In any case, that is a must fix as it is critical to the European coupling system. The buffers are supposed to be the same width as the gauge of the track, from my understanding. I know you will figure something out.
You have probably seen this picture already, but in case you have not, here it is , Tandem 52s.
keep up the great work, man !

treadCool


  • Member since
    July 2004
  • From: Texas
Posted by wbill76 on Sunday, September 23, 2012 7:05 PM

Nice to see an update Rob, as always sharp work on the details. Yes

  • Member since
    October 2009
Posted by PANZERWAFFE on Sunday, September 23, 2012 7:16 PM

TREAD - That's a cool picture and no, haven't seen it.  Am now using it as my desktop pic for the duration of the build Yes

BILL - Yes

CARL - Might try asking in a train forum like you have mentioned.

Rob

  • Member since
    August 2007
  • From: back country of SO-CAL, at the birth place of Naval Aviation
Posted by DUSTER on Sunday, September 23, 2012 10:06 PM

PANZERWAFFE

  Do know that this tender is a "K4 T30 Steifrahmentender".  


is Steifrahmentender German Rail Road Talk  for ... "LoveMeTender?       

 never mind.


Seriously  Great job, sorry about the bumper mismatch, but I'm confident you'll figure out a solution.

Steve

Building the perfect model---just not quite yet  Confused

  • Member since
    October 2009
Posted by PANZERWAFFE on Friday, September 28, 2012 10:18 PM

   someone here gets it Cool

Thanks for looking in


No progress was made during the week, this thing called work kept getting in the way but the good news is its the weekend !  Some even better news, yesterday the UPS man dropped me a package.

AHHH...my new paint booth.  Spent the night setting it up, just have to run the exhaust out the window and then will be back in action Big Smile

Rob

  • Member since
    April 2009
  • From: Carmel, IN
Posted by deafpanzer on Saturday, September 29, 2012 10:47 PM

Freakin' AWESOME!  If I could do it all over again, I would have ordered the biggest set.  Hope you like it... so easy to set up and clean up too.

Andy

  • Member since
    August 2007
  • From: back country of SO-CAL, at the birth place of Naval Aviation
Posted by DUSTER on Saturday, September 29, 2012 10:50 PM

Cor  'at's  a  luvy bit of  al' rite, govner

only problem I see is............IT'S TOO CLEAN!

 Let us see some paint flying; Here, I'll help 


Seriously: I'm jealous, that booth  looks so much better than any of even the best home built ones.

It should be amaizing and it will make you look 10 years younger, I understand

Steve

Building the perfect model---just not quite yet  Confused

  • Member since
    March 2006
  • From: Right Side of a Left State
Posted by Shellback on Sunday, September 30, 2012 12:01 AM

"Peacemaker" ...thats a good name for it ....keeps the wife happyby her not havin to smell them paint fumes . By the way that thing has enough aluminum in it to remind of another "Peacemaker" ...........

JOIN OUR COMMUNITY!

Our community is FREE to join. To participate you must either login or register for an account.

SEARCH FORUMS
FREE NEWSLETTER
By signing up you may also receive reader surveys and occasional special offers. We do not sell, rent or trade our email lists. View our Privacy Policy.