CARL - The wood technique used was the same as I had used and explained when building the "Typ Ommr Gondola Car" not that long ago. Will do my wood in this method from now on. You can also get many variations of wear, from new to old, using this technique just by using more or less of the colors involved.
As far as not being able to see the interior, that was the main reason I had originally wanted to put lights on this build. Sense that idea was scrapped, I will be using BILL'S idea (looking at his build on his site, thanks Bill) and I will leave the overhead removable for future viewing pleasures.
OH....If your floors look like that....UH...You need to clean them.....Just saying 
GUNEY - Thanks buddy and thanks for following along 
BILL - As always, really appreciate the comments my friend 
FLIRTING WITH DISASTER!
Well I had everything painted, weather and pleased with the results so went in for assembly.......that's when DISASTER struck!
Nothing would fit together, the cab, cap to the boiler, the sides, everything would not go together! After examining found that I had glued the boiler firewall in the wrong place, had glued it flush with the bulkhead it sits on. Here is a modified pic of what I'm talking about. Not a very good one (did not think to take picture in the heat of the moment) but look down in the corner and you can see that the bottom are flush with each other.
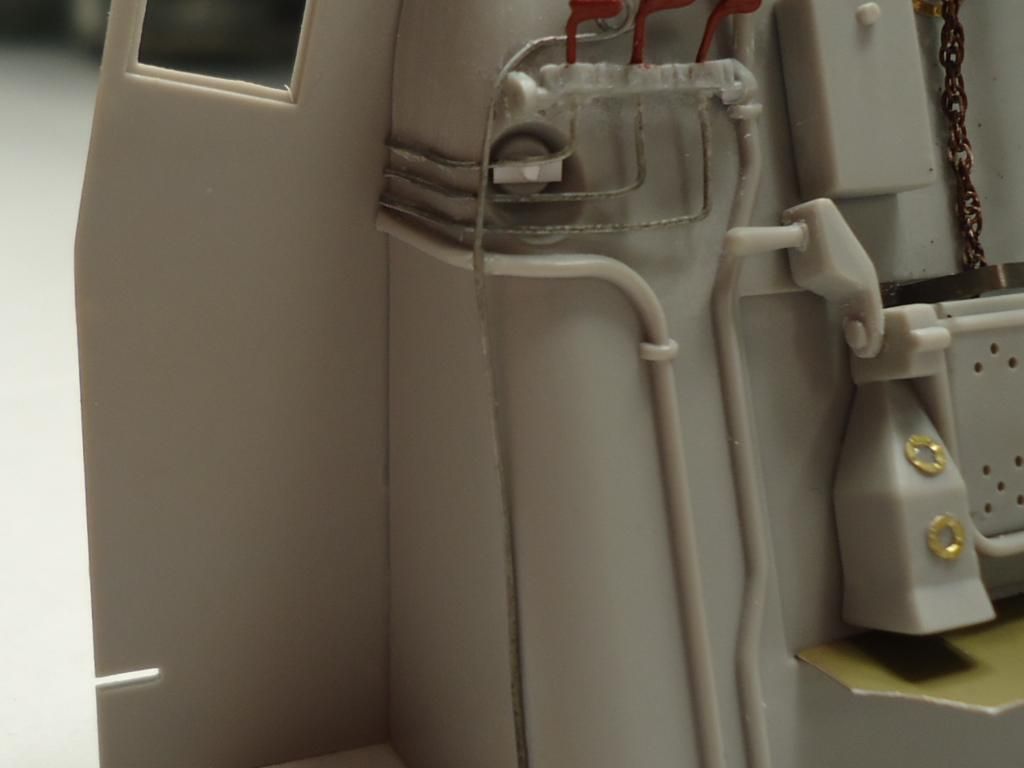
The problem is that the boiler firewall should be raised on that bulkhead about 1/16 and believe it or not, if it isn't nothing will work out!!! OK, the reason this was a big deal to fix, the boiler face was glued to the bulkhead first using MM liquid cement and after drying had went back and more or less poured CA glue inside on the seam. I new I would be handling this a lot doing the scratch work so wanted it to be strong. So probably don't have to say, getting it apart was a  !!! After a few hours, much patience, cutting and prying it finally came apart.
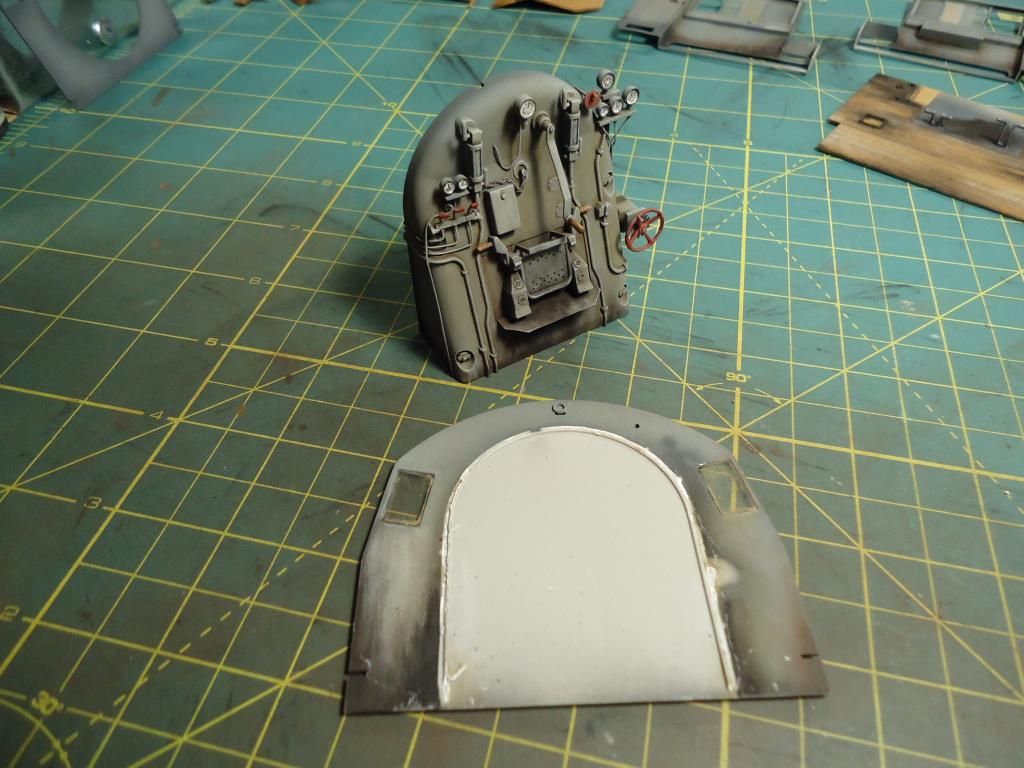
After getting it apart much careful sanding and scraping with knife blades got things back to order. Then the paint repair and construction began  This is now where she's at:
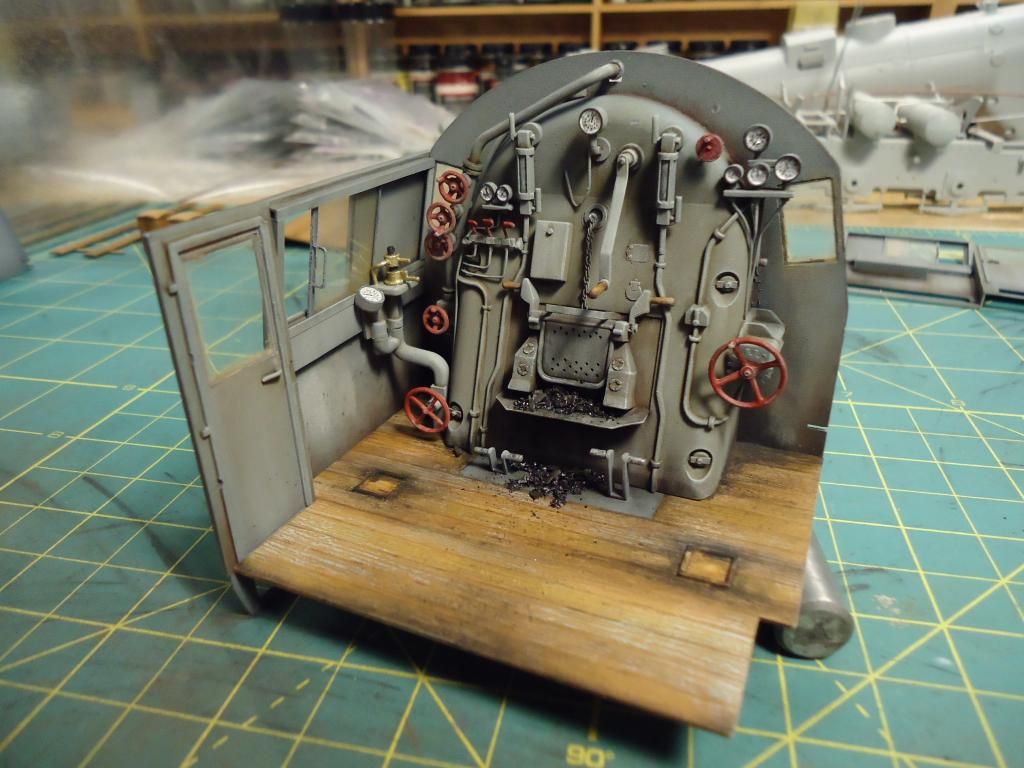
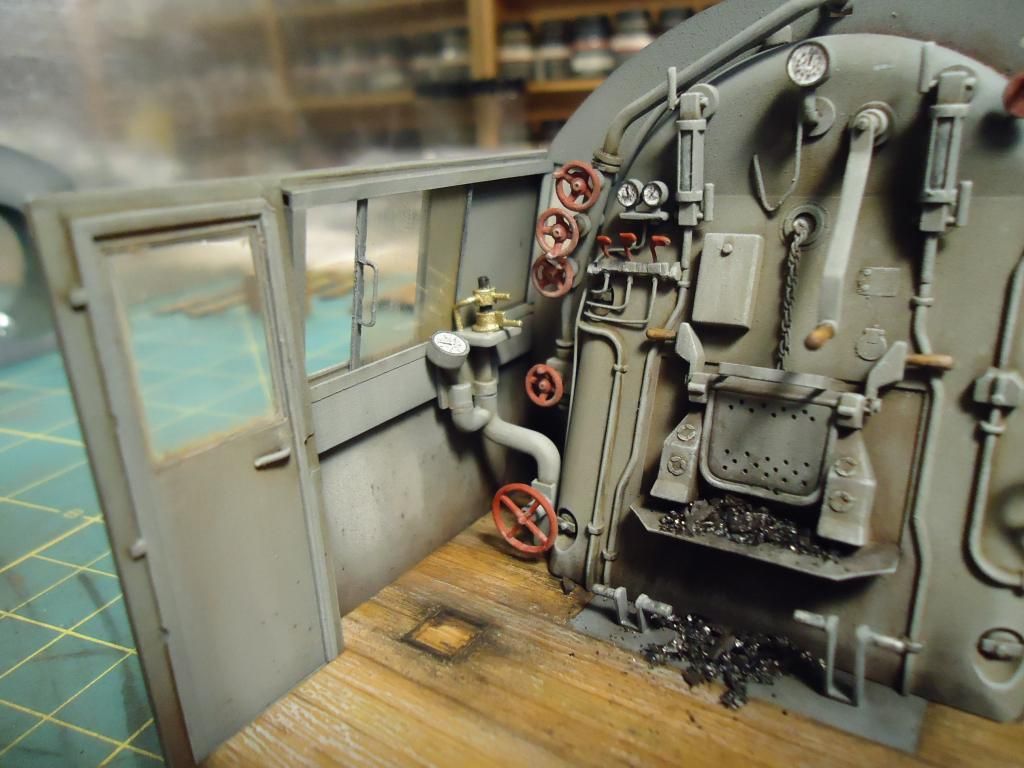
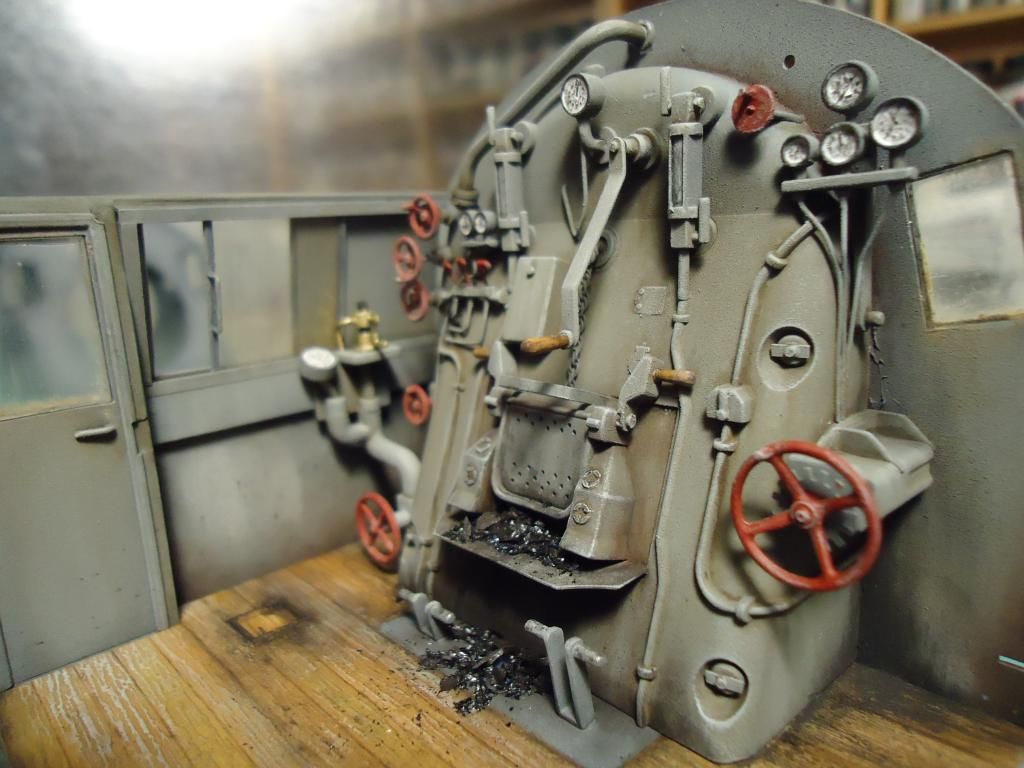
The right bulkhead is not attached yet and will remain off until I can get the seats put in. That may take a little time because I plan on modifying the seat backs. But here are some close ups of the right window.
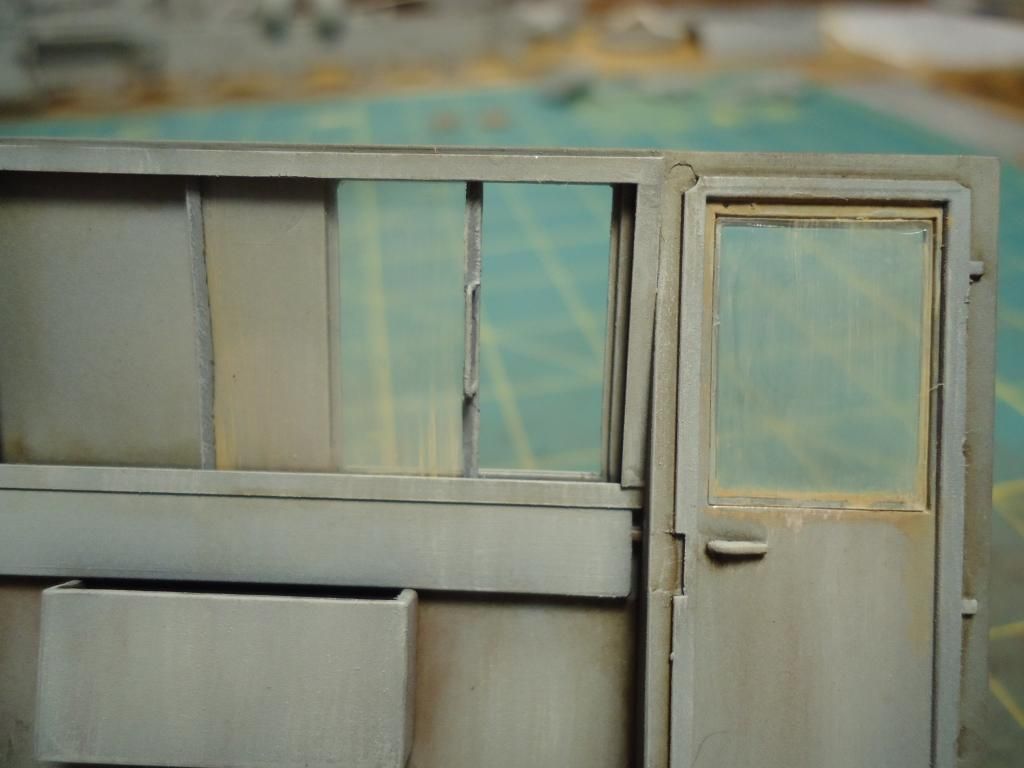
looking at that pic I see a pin mark that I need to go fix 
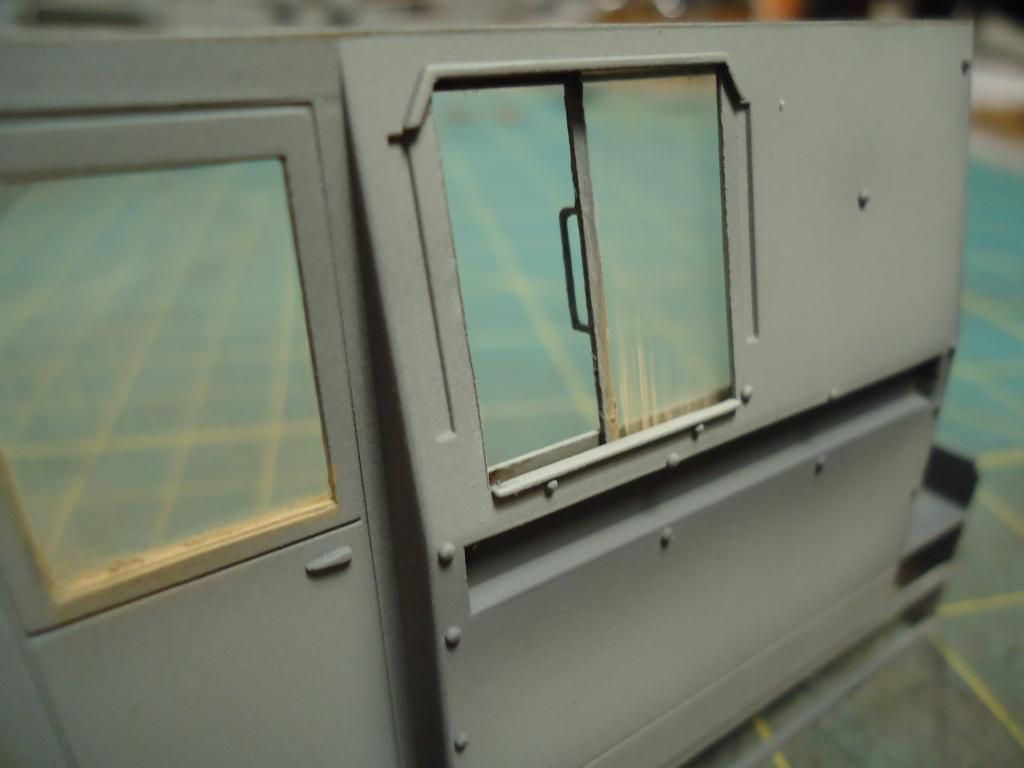
Left window
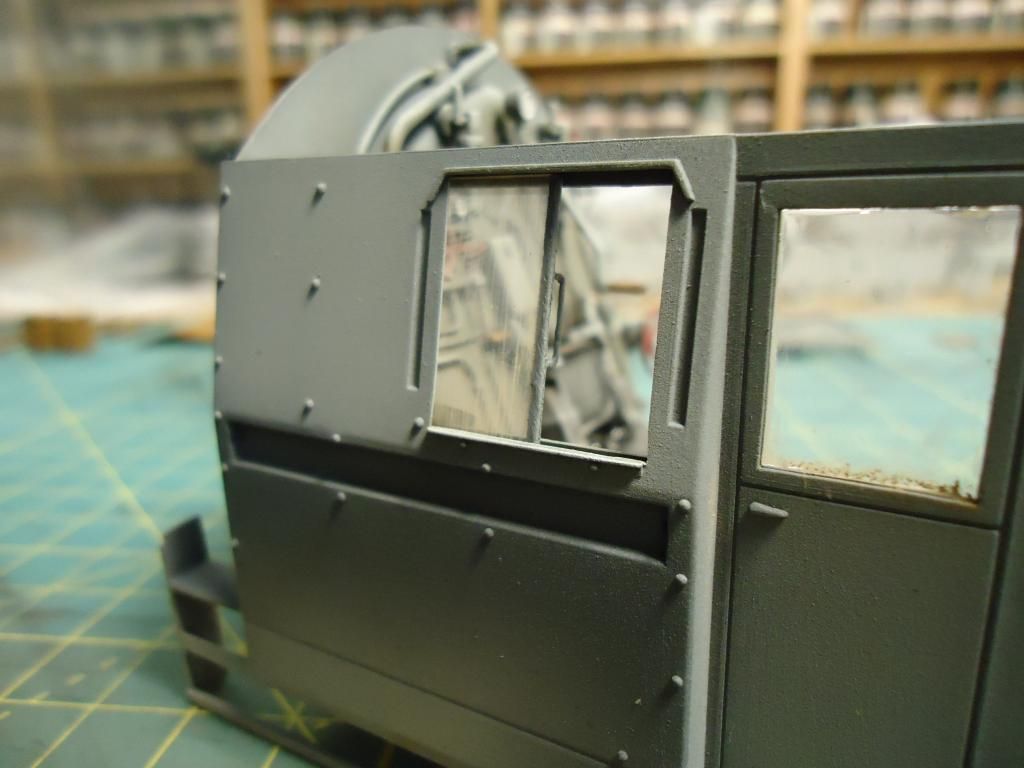
And last few pictures
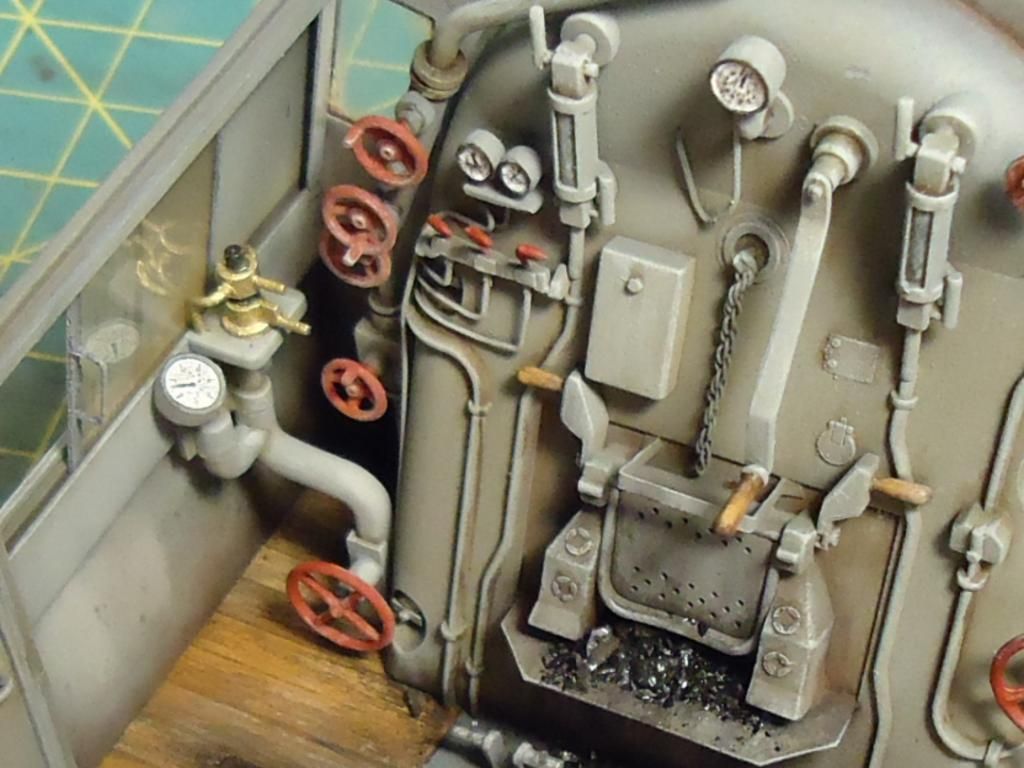
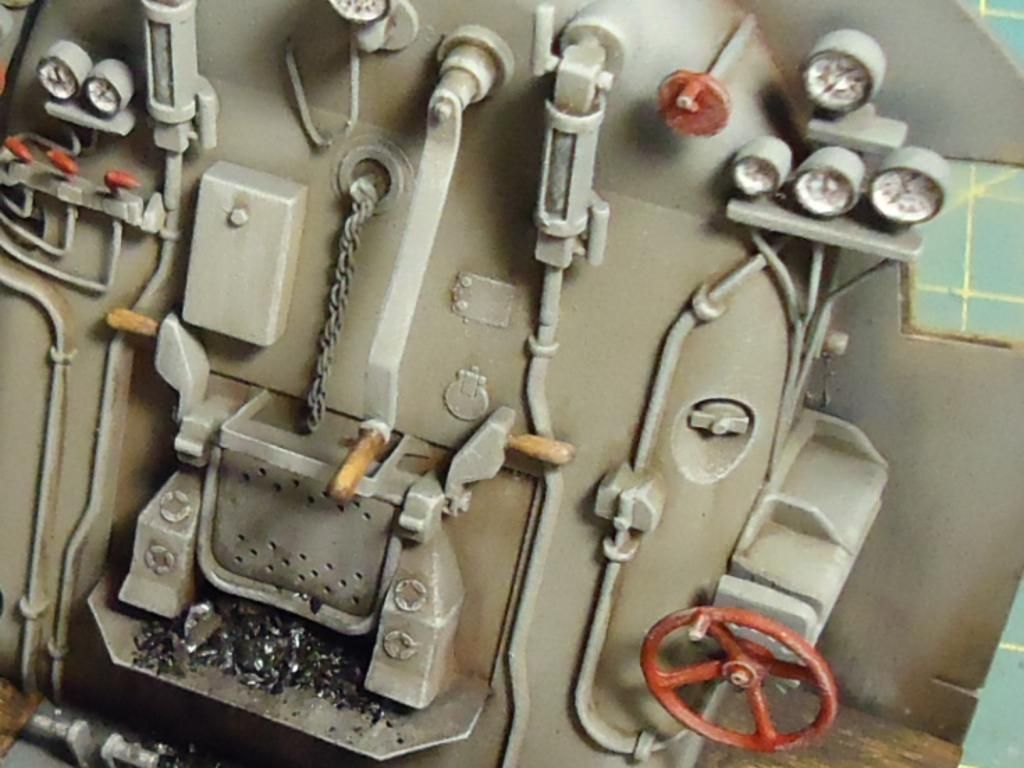
Hope this was not to long but remember if anyone builds this kit, be careful with how that firewall joins together!
Until next time 