A special Merry Christmas update is in order for this project considering it is, after all, a Christmas present build! :)
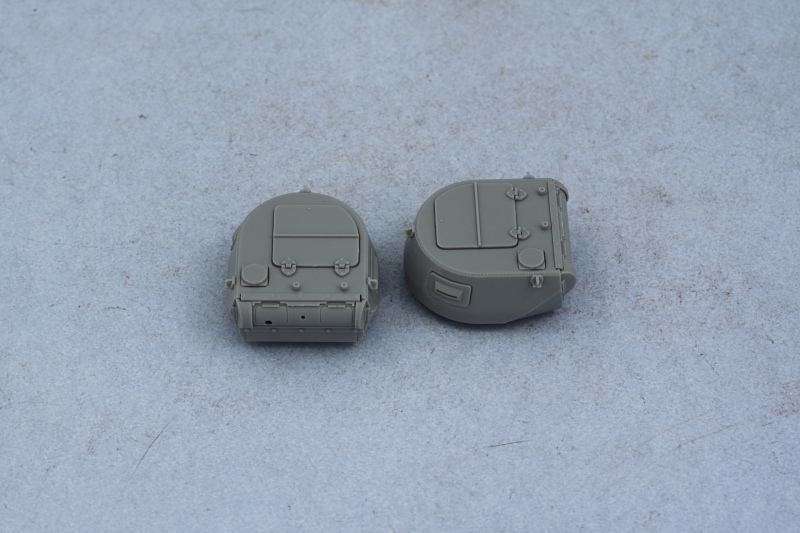
Continuing on with the turrets, Step 11 addresses the twin MG turrets that are cousins of the type seen on the Pz I. I had no desire to display any of the view flaps in the open position so skipped the use of the interior parts and installed them all in the closed position. Curiously DML provides clear armored glass inserts for only the flat side flaps and not the curved flaps...for whatever reason, the curved flaps get an ordinary gray styrene insert. I opted for the hexagonal style of lifting hooks, parts D52, as those are the type commonly seen in the Nr. 3-5 vehicles based on the available reference photos. The MG13s were left off for now and will be installed later after painting. With care during assembly by avoiding getting any glue on part D16, the mantlets can be left movable although their range of movement/positioning is restricted by the turret design.
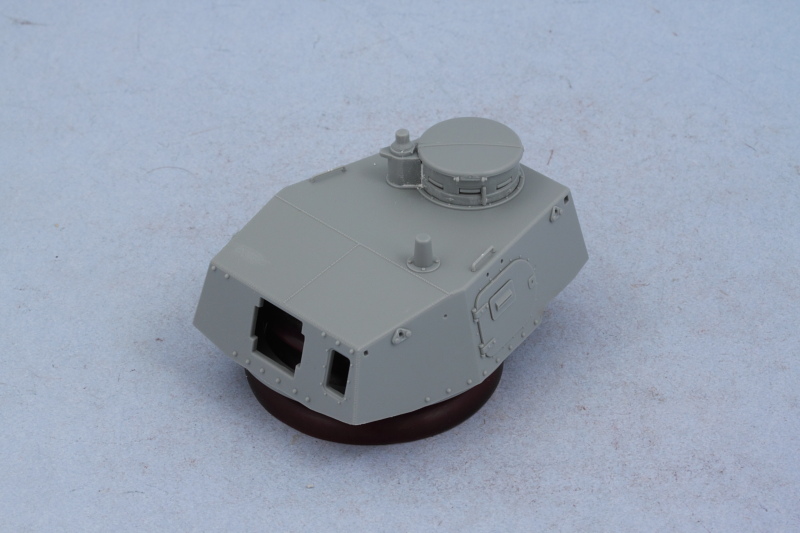
Step 12 begins work on the large main turret and attaches the base of the turret to the top, adds the side hatches, and installs the commander's cupola. The side hatches here also receive ordinary gray styrene vision blocks instead of clear parts and without any kind of interior provided, there's not much point to posing the doors open unless you're going to stuff a figure in there...so mine were closed up. The commander's cupola assembles as a 'stack' of multiple parts and some putty was needed to fill the gap between the cupola and the signal flag port extension that attaches to it.
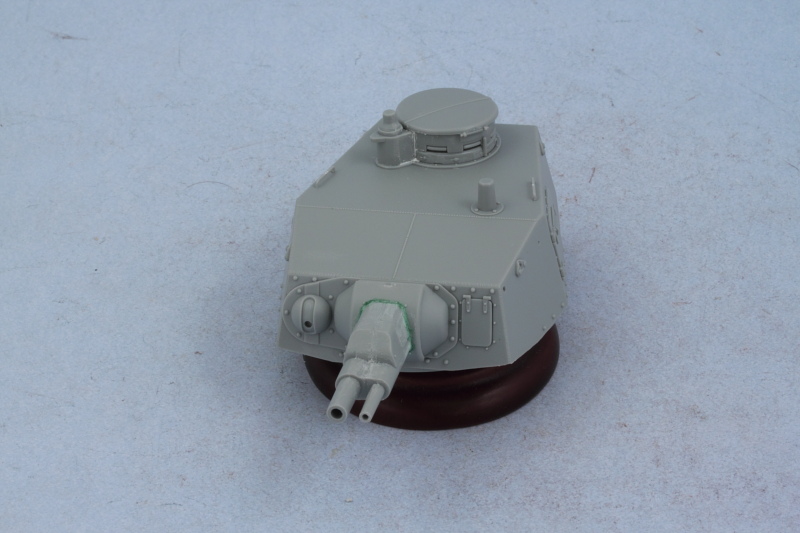
Step 13 adds a lot of delicate detail to the turret side so I bypassed it momentarily to work on Step 14 which assembles and adds the side-by-side main armament. The smaller 3.7cm antitank gun barrel was drilled out slightly to give the barrel a more in-scale diameter and thickness for the muzzle opening. The two guns are paired up in the mantlet as halves, so the resulting join seam needed to be carefully sanded away to create a seamless part. The base of the mantlet is a separate part and shouldn't have a gap, so some Squadron Green putty thinned with liquid glue was used to correct that issue. While the instructions don't indicate it, if you're careful with the assembly and get the alignment of the mantlet base plate and the swivel hub that attaches to it (part B4) correct, it will 'trap' the part sufficiently to allow the main armament to elevate and hold it's position.
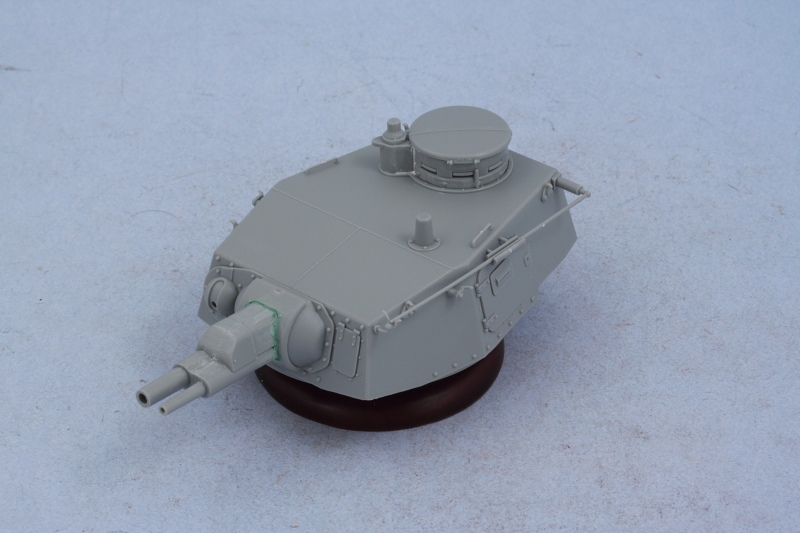
Returning to Step 13, I added the lifting eyes, the antenna and holding tray, and the turret hatch latches. Two different styles of latch are offered and parts B45/44 are the correct style for Nr. 3-5 so those were installed accordingly.
Last but not least, Step 15 adds the turrets to the hull so a sample shot of them in place was called for!
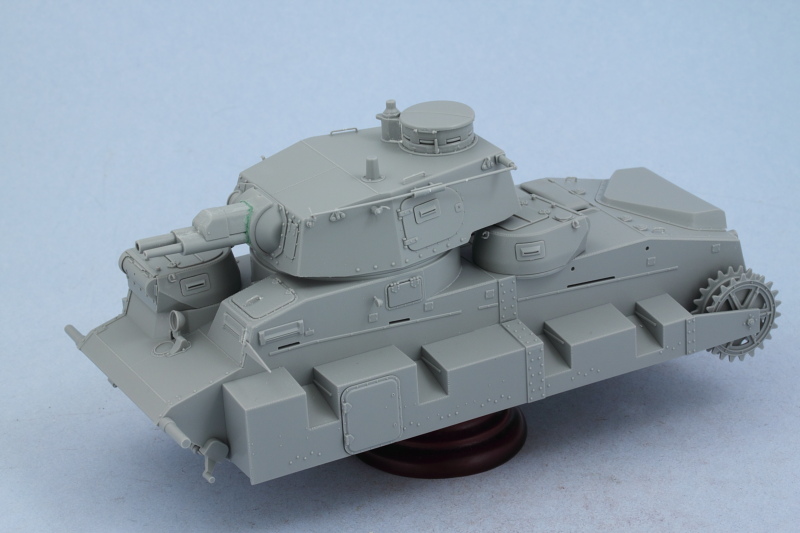
That concludes all the major construction so paint work will be up next!