Finally found some bench time with some snow on the ground this weekend.
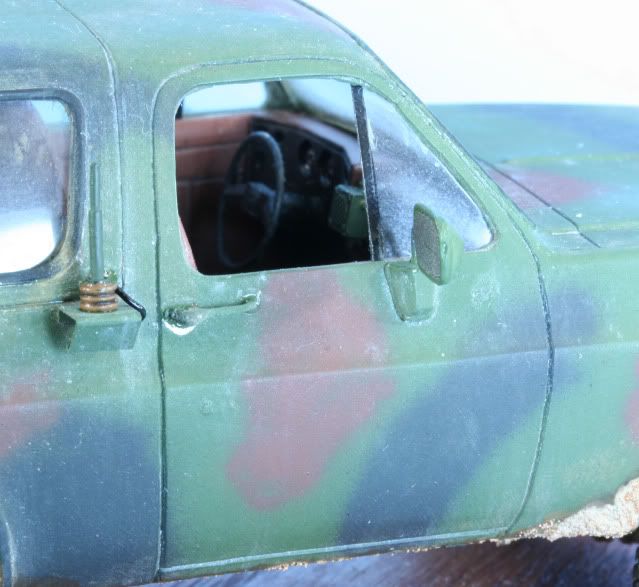
First I put the windows in the body. The kit calls for the door windows to be one solid window while the M1009 had a main window and a wing window. In order to allow view of the inside, I cut the window to create the wing window. Then I used a .010 strip painted black to create the window bar/gasket. With the windows in place I then installed the dashboard assembly.
Next was the assembly of the chassis to the body. This kit is well made but assembling the two halves is a PITA. After some sanding to relieve some tight fit, repairs after attempts would break loose one of the internal parts, and lots of colorful metaphors, the mating was complete!!
With that out of the way, I weathered the wheel wells first by using acrylic ceramic stucco mixed with burnt umber paint to create that chunky stuff stuck in the wells. After it dried I coated it with AK NATO Wash and then used MIG Dried Mud pigment to finish. The same was done to the wheel treads and the backside of the tires. With everything dry I then attached the tires.

Working now on some small details. The antenna base for the RT 524 is on the back and I used a resin base from the Pro Art Radio set. The antenna for the R442 is the short mast type from the Verlinden lights and antenna set. I used 24 gauge black wire to create the antenna wires for each of the antenna bases.
The rear light lenses were coated with Tamiya Clear Red. I masked off a small box on each lens for the reverse light. To create the reflective rear markers I coated decal paper with thin coats of Tamiya Clear Black, Alclad Chrome and Tamiya Clear Red. I then cut strips and applied to the rear tailgate.

Next I installed the mirrors using some bent SS 24 gauge wire for the mounting band. This picture shows the mirror, the front R442 antenna & base and shows the completed wing window in the door.

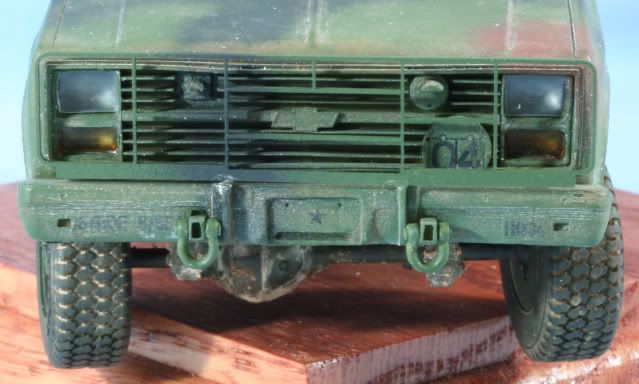
In the front the headlight and turn signal sockets were painted Black and then Alclad Polished Aluminum. The headlight lenses were installed. The turn lenses were painted on the inside with Tamiya Clear Orange and then installed. Then I installed the brush guard and the tow hooks. Here is the completed front view.

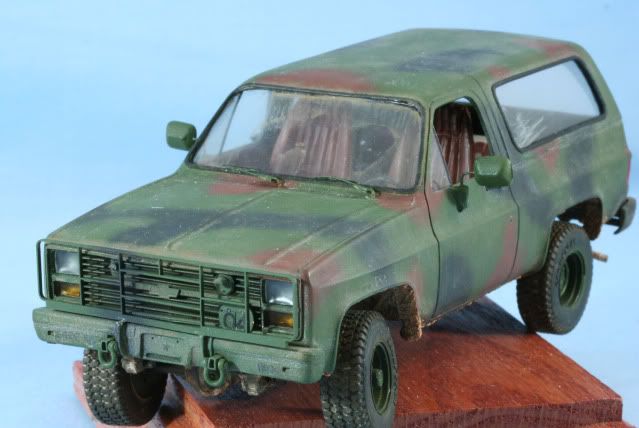
After installing the windshield wipers, I worked the model with AK NATO rainmarks to attain the “chalky” look. I have begun weathering the widows. Here is a look at the M1009 before final weathering.

And from the rear

I have also spent some time in the wood shop and started getting the base together. Next up is finishing the base and weathering on the M1009.
As always feel free to leave a comment either positive or negative
Rounds Complete!!