Well guys (and girl  )-- time to jump into another project here before the road takes me away again in March.
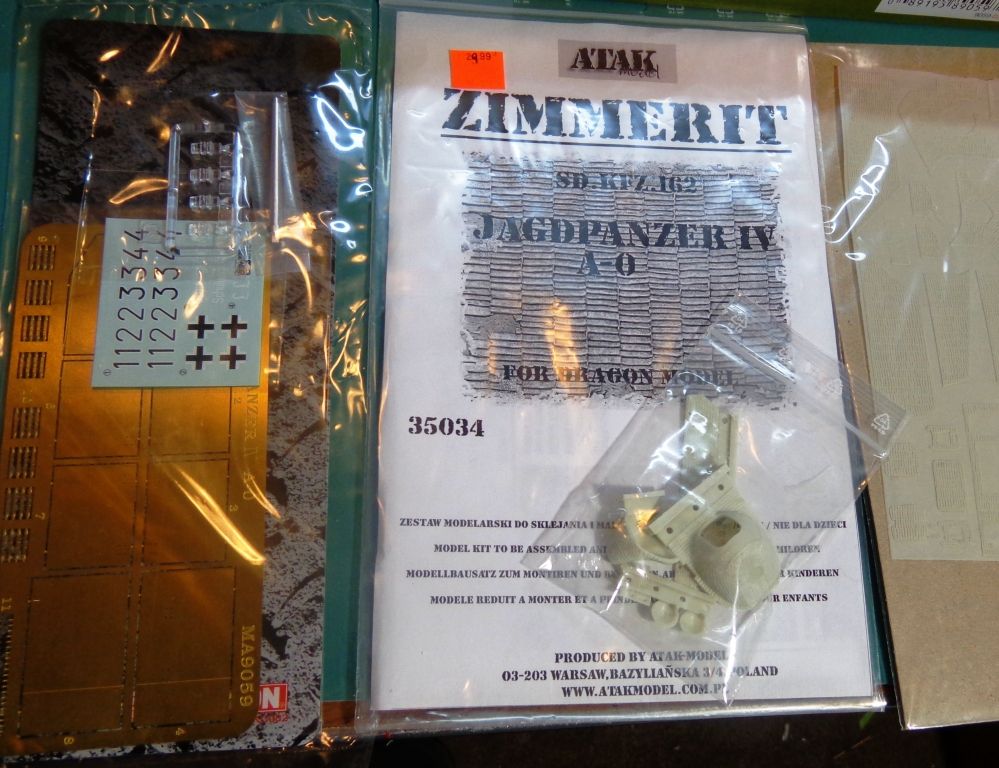
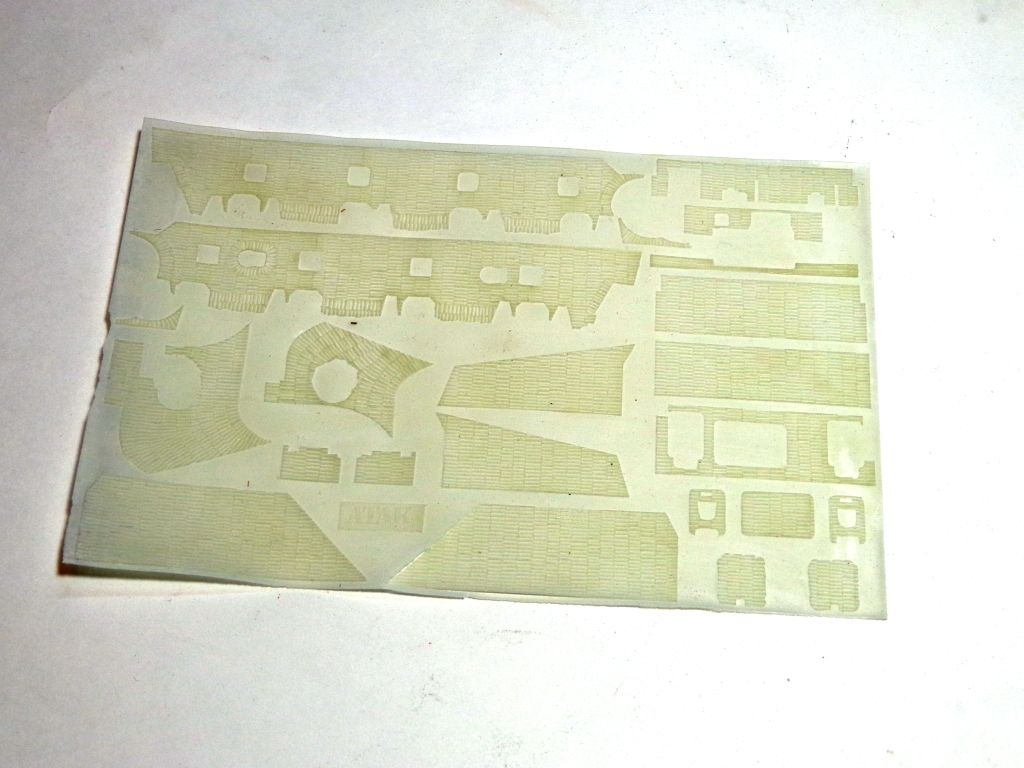
This is the Dragon Jagpanzer IV A-O. It's the "curved hull" one. It's a surprisingly nice kit, with PE skirts and a metal barrel if you want to use that. The only thing that it really needed was some zimmerit, and I've acquired some ATAK resin-sheet zimm for that.This kit also comes with a resin mantlet, gun housing, rear panel, and MG shields. Cool beans. 
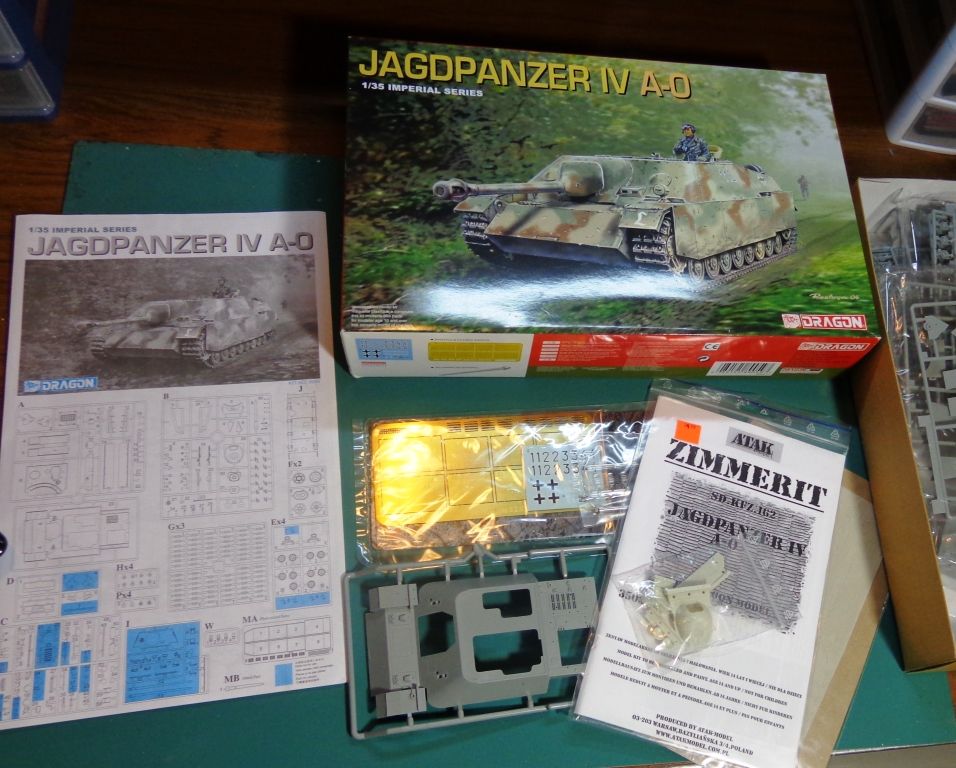
In detail:
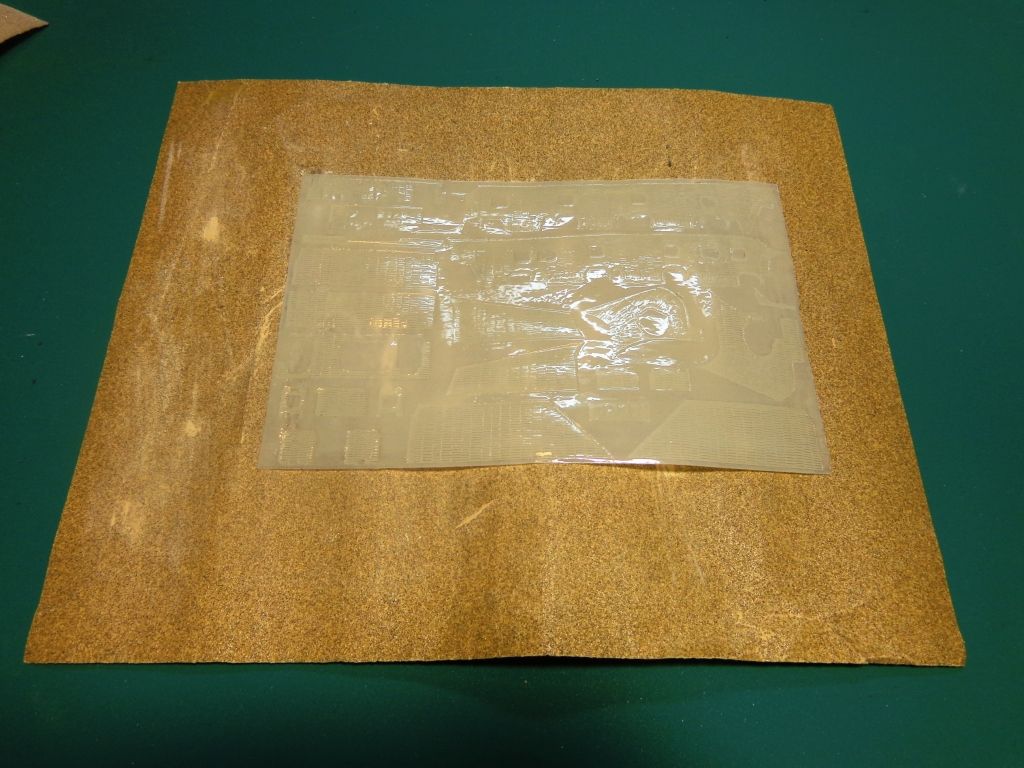
For those of you who have never used this kind of SM zimm before, the first thing to do after assembling some of the hull is to sand down the zimmerit and get it ready for application by roughing up the back of it; otherwise, you might have a hard time getting glue to "grab" it. Here, I use a piece of coarse sandpaper to hold the resin sheet "zimm-side down"....
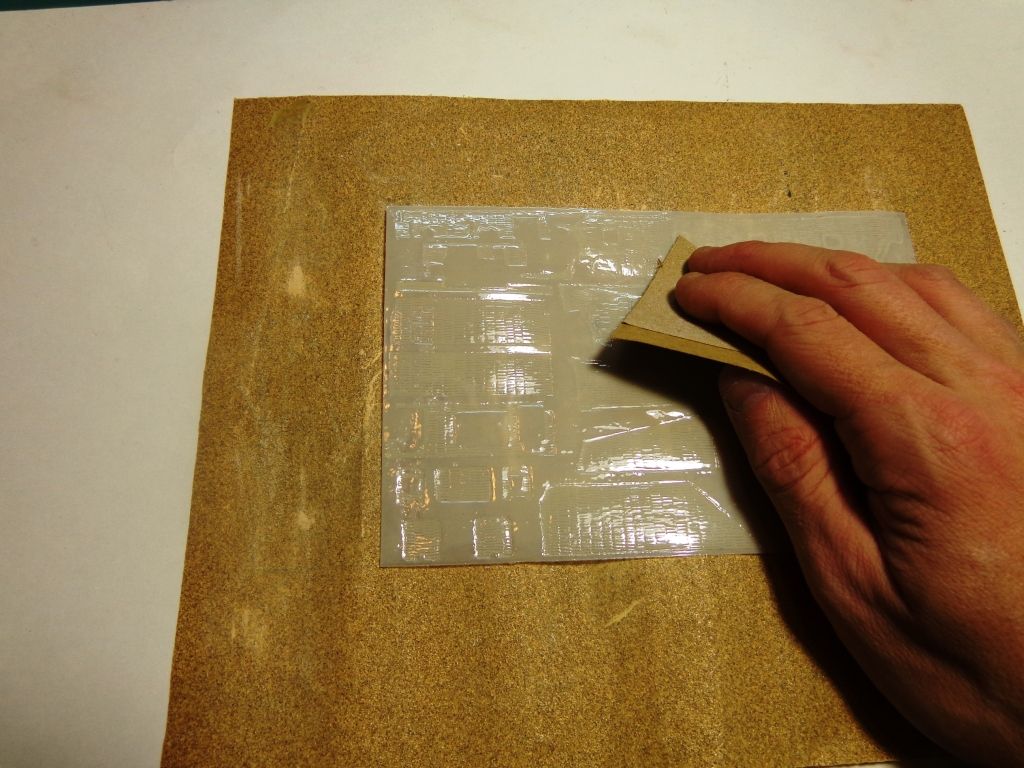
Then take another piece and sand the back of it. Don't go nuts with pressure, but try to remove the gloss sheen from it.
Here's the front of it---a lot of little pieces to put in place.
The zimm was applied with 5-minute epoxy putty, and later, the gaps filled with superglue using a precision tip. You can tell where there is no glue by the lighter color. You don't need to thoroughly darken EVERY minute spot, but be prudent about getting the edges, where it may accidentally chip off. The curved hull required that I dip the resin zimmerit in some hot water) a coffee cup heated in the microwave for two minutes)to form the bend. Use tweezers, natch....
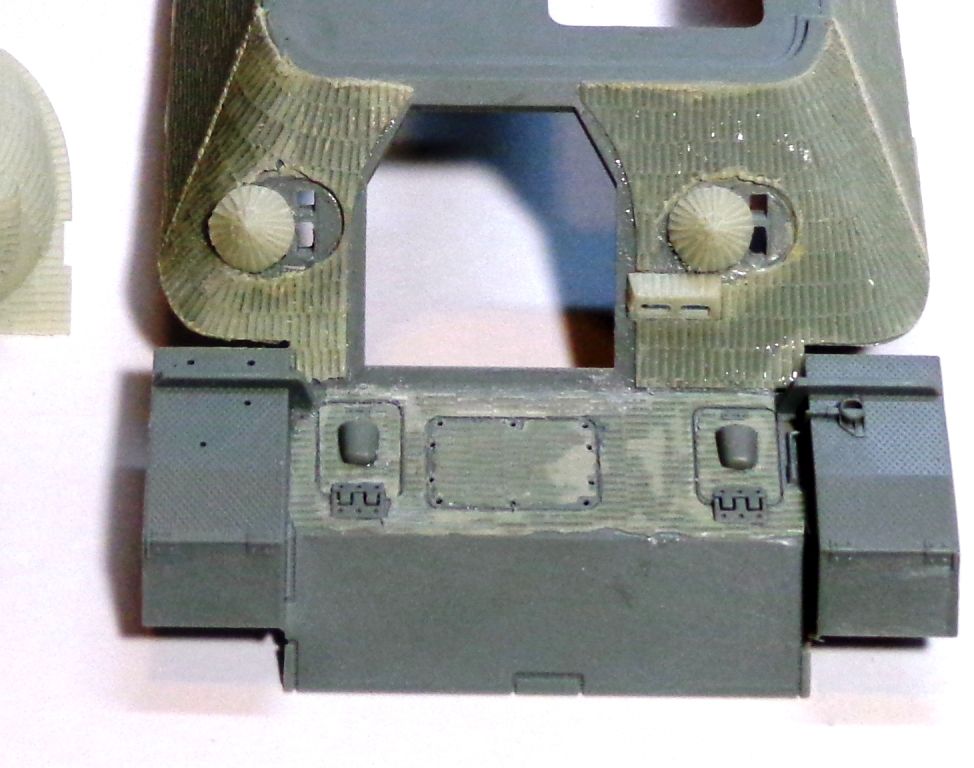
The problem of the curved sides holding a long piece of bent delicate resin zimmerit has been handled by giving you two smaller pieces of zimm to wrap around. The problem with this, however, is that it leaves a large gap. Hmmm... what to do?
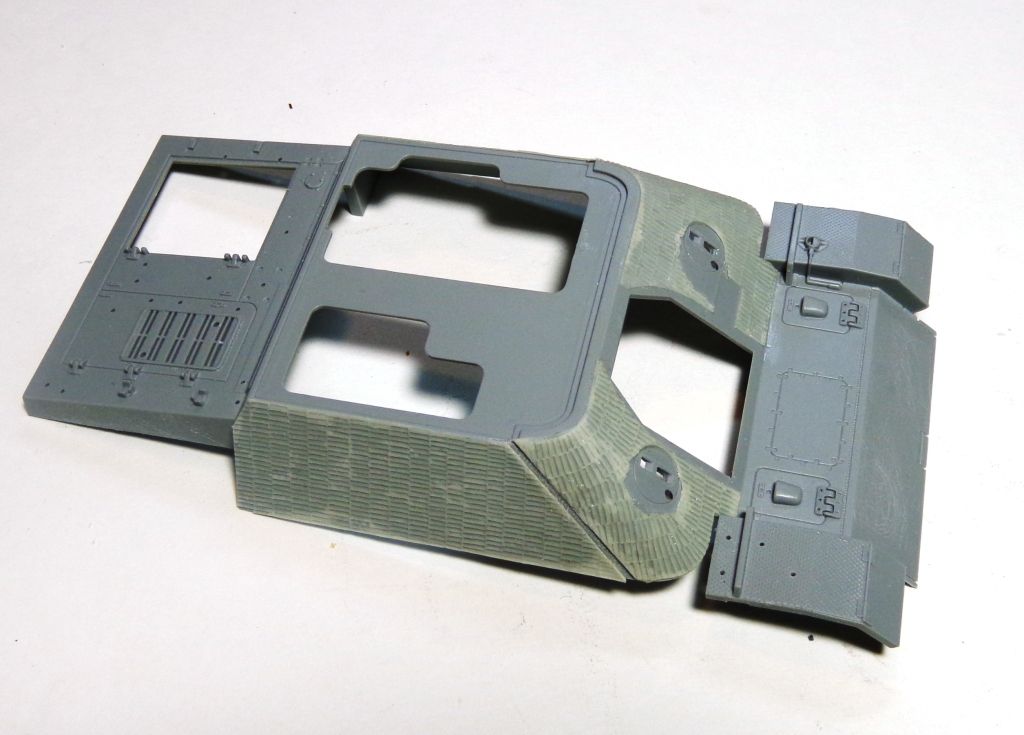
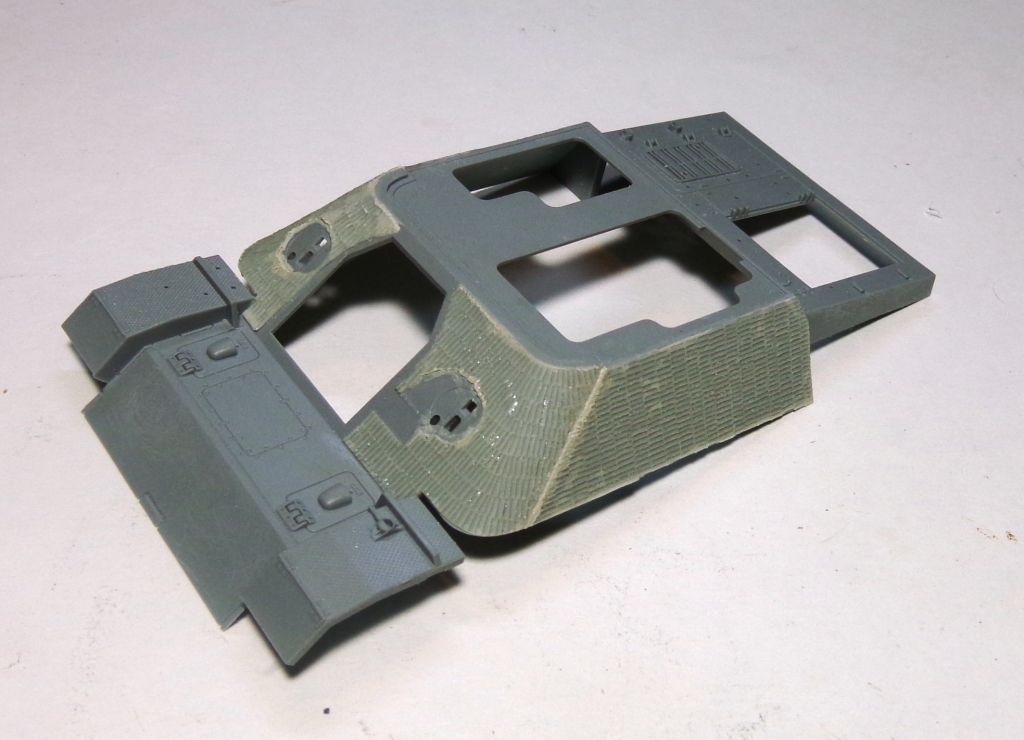
Conveniently, this seam occurs right over the weld seam. I took some .040 styrene rod, ran a #11 blade over half of it a few times to give me a half-round, and used it to plug the seam. By slopping some liquid glue on it, I was able to then etch weld marks in it and simulate the weld seam. Not the optimal rendition of it, as I would have preferred the zimm without the seam, but in fitting the piece, it was either to fix it here or be 2mm short of zimm on the rear hull--and still a pesky seam to deal with (albeit not as large perhaps?)--and that would have been much more annoying to fix. At least, in a way, this makes the zimmerit coat look appropriately-thin with the weld seam "showing through".
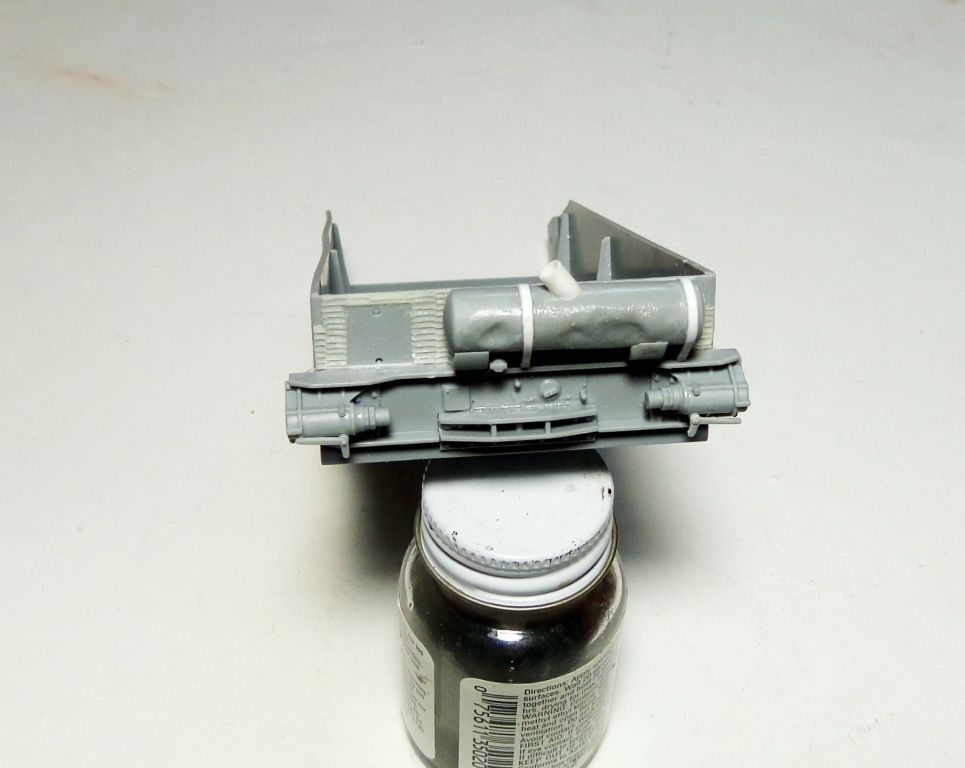
The muffler was dinged up a bit by holding it next to a flame. (SO old-school!  ). In doing so, the straps and outlet got a little deformed, so I replaced them with strip and rod.
Next, the rear panel was super-glued on.
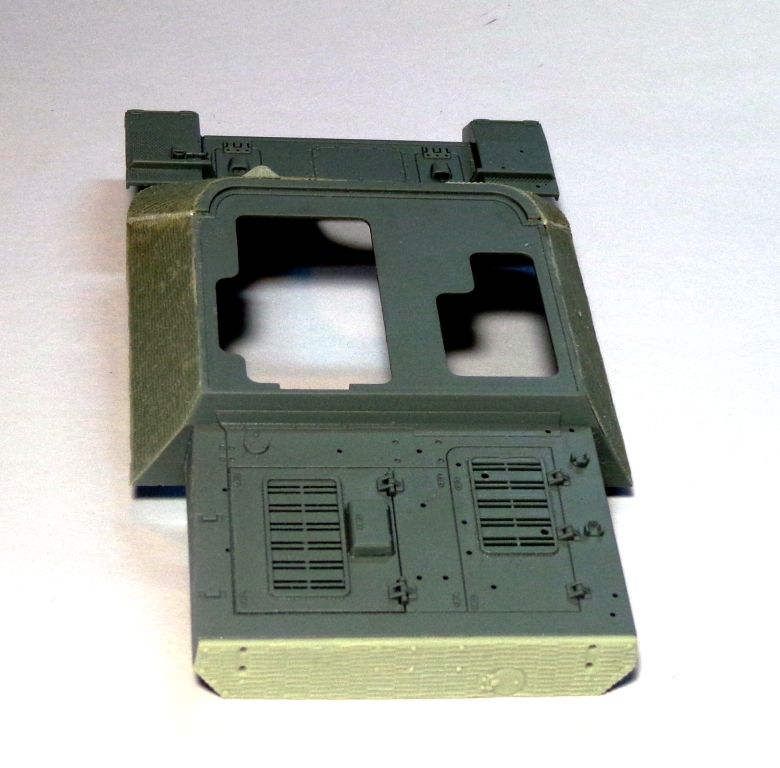
The front has a lot of little pieces that you have to carefully trim and apply, I spent a good hour test-fitting and trimming and chipping the zimm pieces to good effect, in order to let the hatch outlines show up. They wouldn't have zimmeritted over the hatch outlines-nor covered up the screw holes that provided access to the interior transmission housing. I drilled them out from the rear and then cleaned them up from front. I'll later put in a plate behind this to make a proper "screw hole".
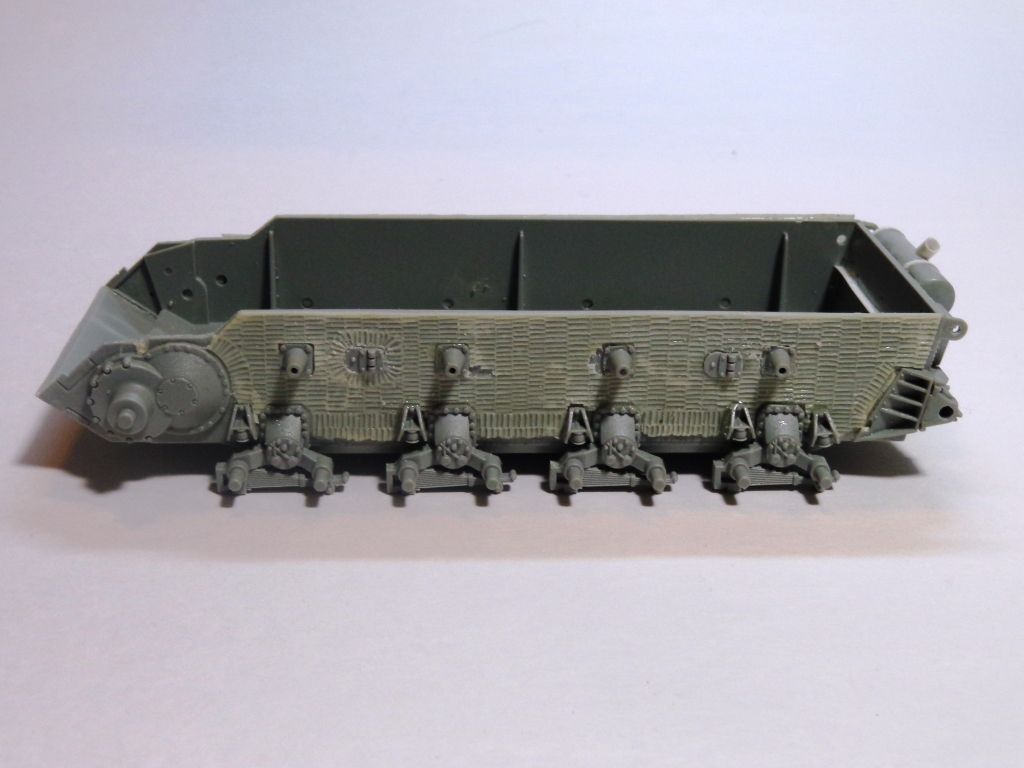
And lastly for now, the sides of the hull--again, a nice job on the zimmerit covering by ATAK here.
Well, that's it so far---I should make deent progress on this today, as most of the zzimm-work is done, and what is left is fairly simple. Should have an update by tomorrow or so. 