OOOOkay. Been working on this sucka all week, and finally I think I'm ready for paint. Here's where I've been, and what I got! 
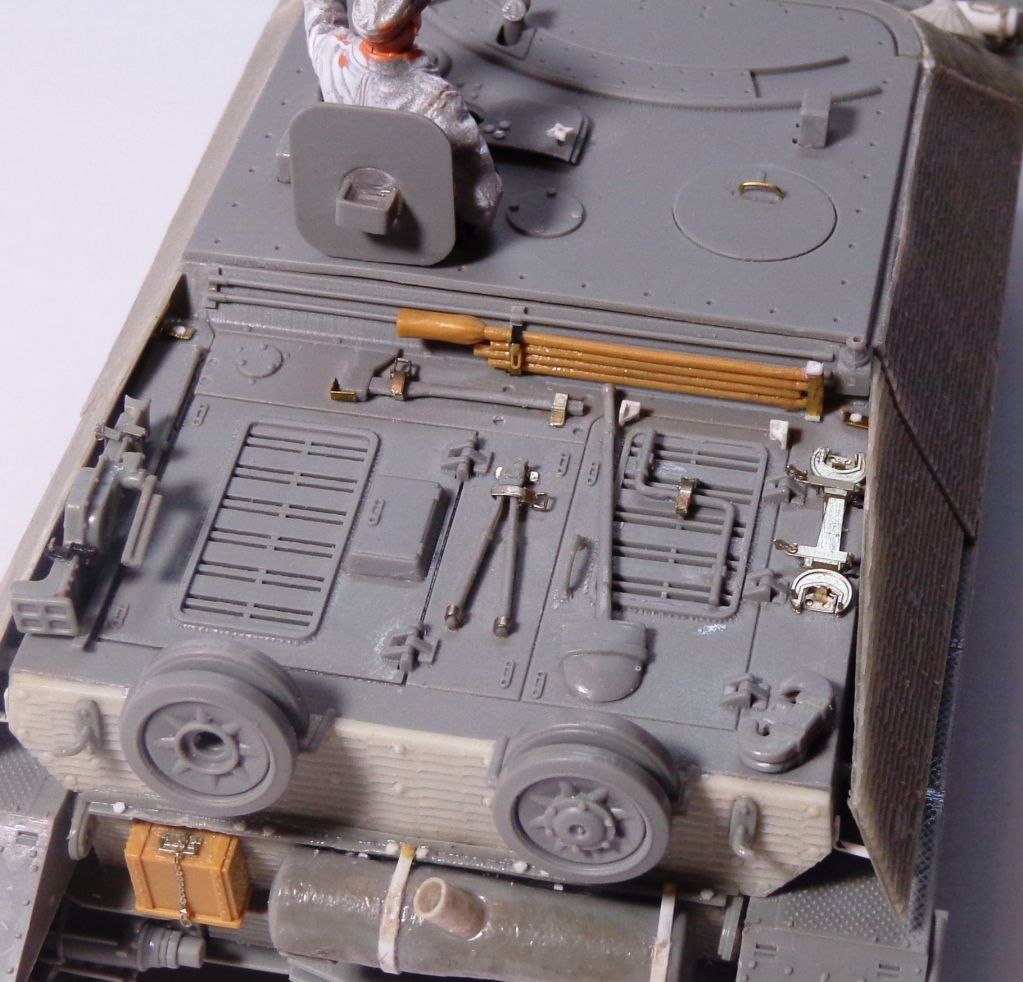
Well, I committed myself to doing some PE tool holders on the rear, so I had to plug all the holes, natch--so I planted a stretched-sprue forest in the holes. A little candle and some old sprue, and you can have beautiful sprue shoots blooming in your model too!  You can also see some of the new details that I've added to the small hatch there--the star-shaped knob to open it, the three bolts, and then the handle to the gunner's hatch.
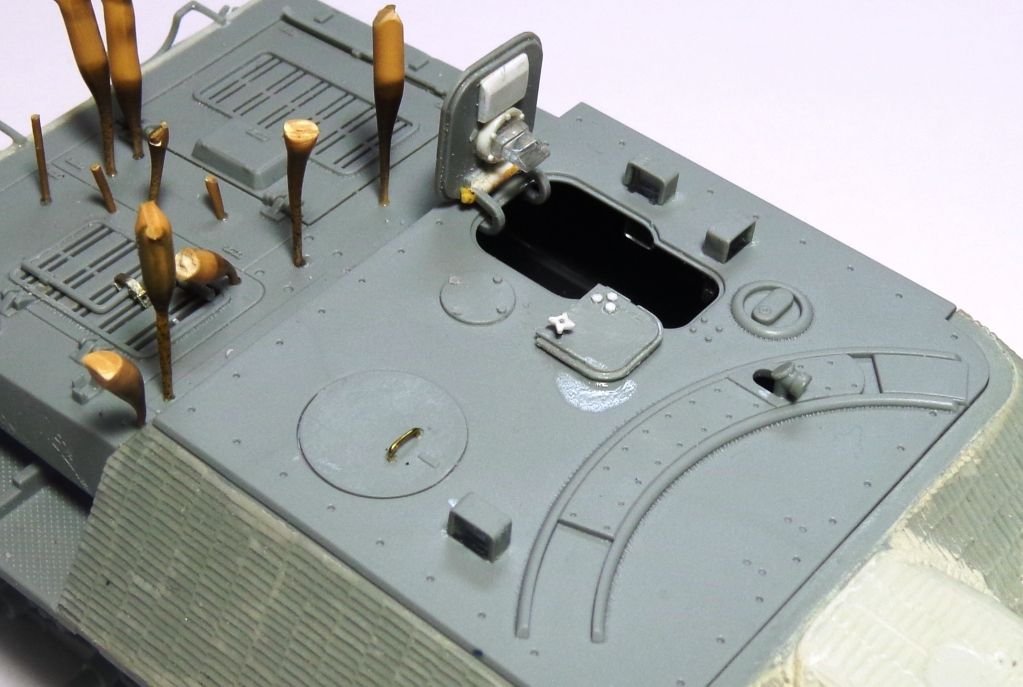
And after cutting out harvesting the sprue shoots, the garden is nicely bare. Notice that I haven't glued the roof on yet--I want to be able to paint the periscopes inside.and the interior dark at least.
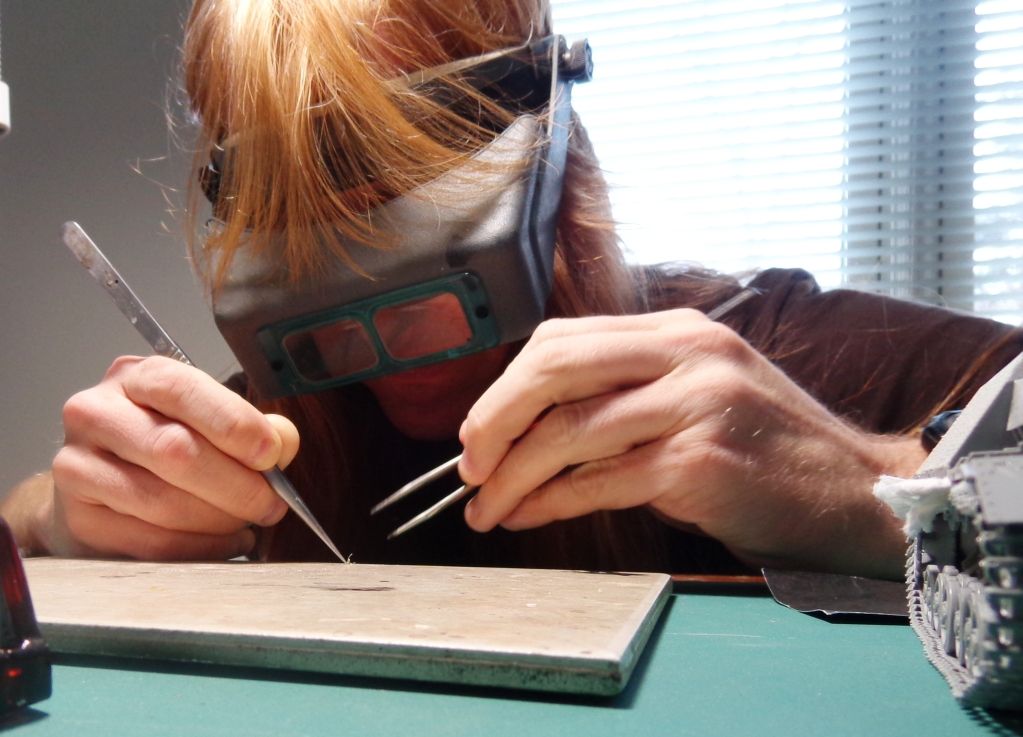
Handling those @#&%#! tool clamps!  I've found that if I superglue the base of the clamp onto a piece of tile, I can use my two hand to maneuver the two other pieces onto the little pins that hold both the lever and the top of the clamp in place: I've got 5x reading glasses on here plus my Optivisor!
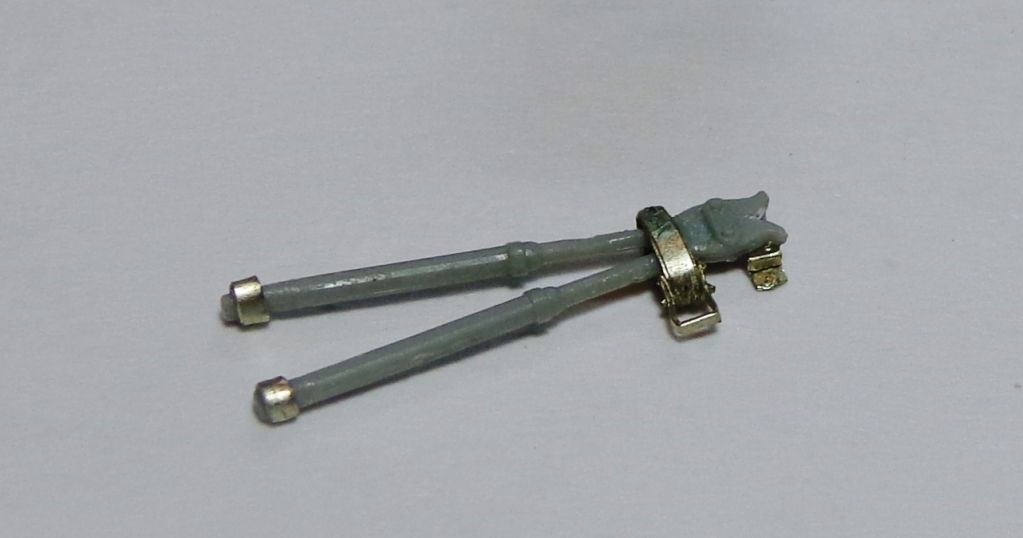
And here's the clamp! SUCCESS!!! I had to make 5 of these buggers!
I'm sure that most of you know my track method, so I won't bore you with it here:
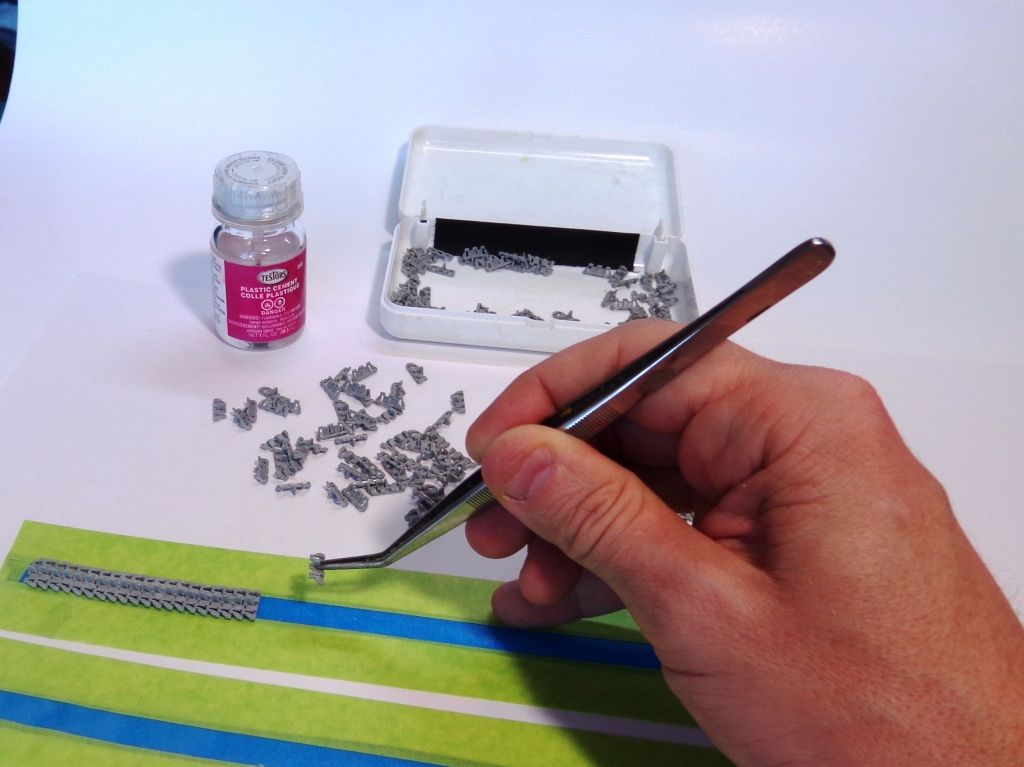
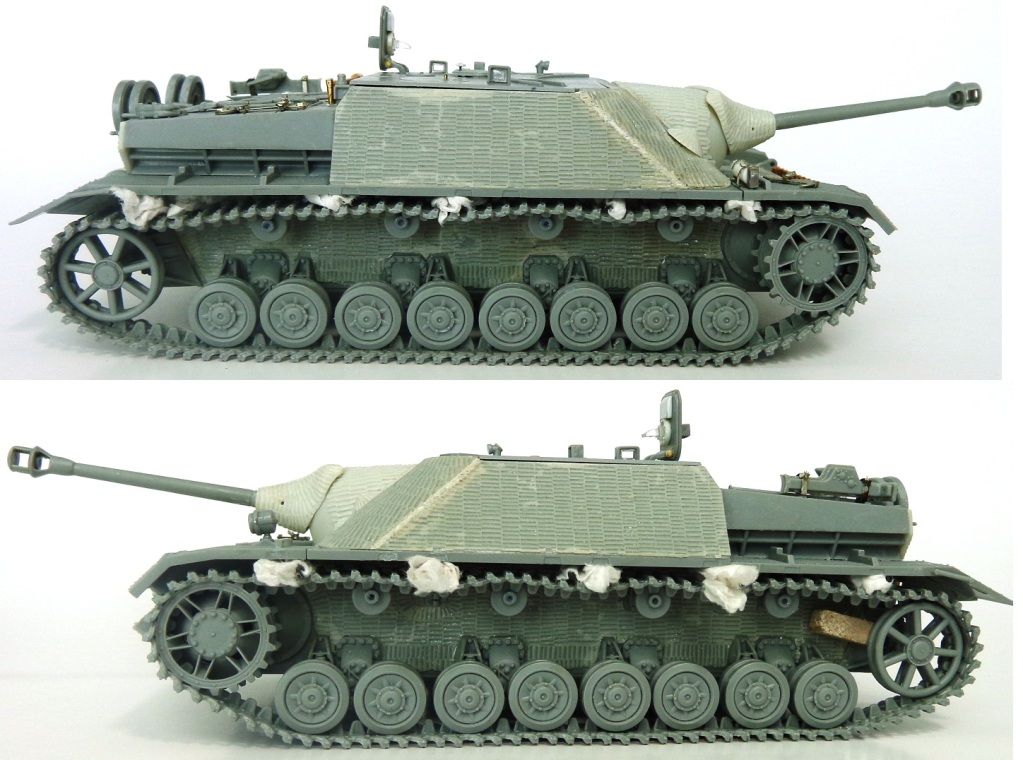
I wanted to keep a relatively tight track, as the vehicle was only used sparingly. I set only a little bit of sag. The wood block is keeping a lazy idler wheel in place....
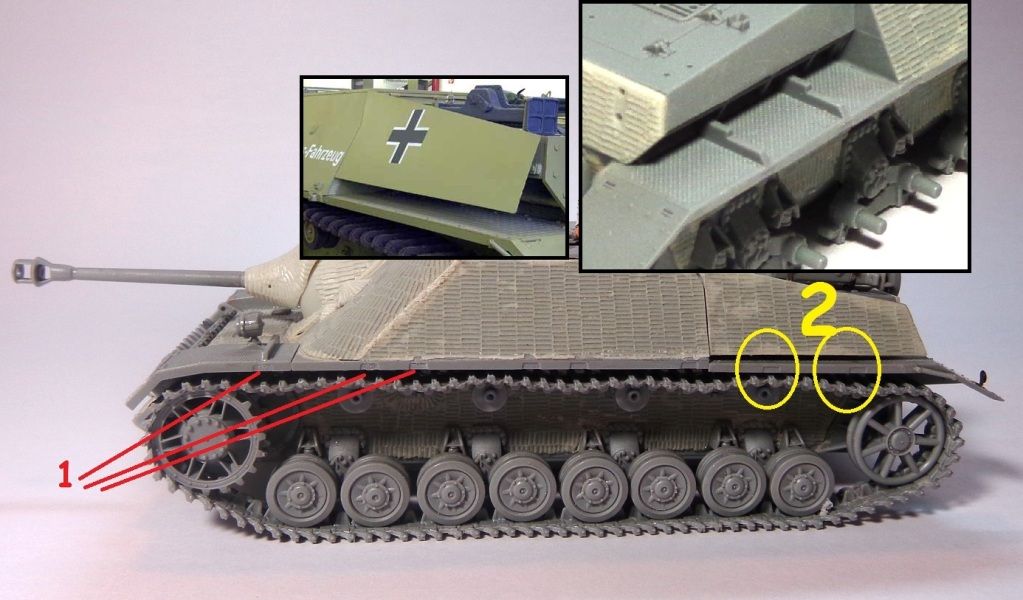
Here's some other details I should address. The #1 shows the cutouts for the schurzen hangers; I can't put them on yet because I wouldn't be able to get the tracks on or off for painting. #2 shows where I removed the supports that lie on the rear fenders--the real vehicle didn't have these, apparently?
More details were added: #1 shows the cleaning rods that I added, and racks that I made from spare PE. The right rack has a cloth strap and buckle made from lead foil and a buckle shaved off from a kit piece--I forget which. #2 These projections are on the rear of the original vehicle; not sure what they housed, but it's gone now, even as they remain. #3 shows the tail reflector that I made from spare PE and some 1/24 "side dot reflectors" PE from a Dodge Charger detail set. #4 the detail added to the wood block, which was taken from the excellent Tamiya On-Vehicle tools set. #5 shows the new supports which I had to fabricate in order to support the rear schurzen. These are more in line with the original vehicle's configuration. #6 I never realized this before, but the muffler bolts onto the rear rail which runs along the rear of the hull. So I corrected my own repair job there, adding some resin Verlinden bolts.
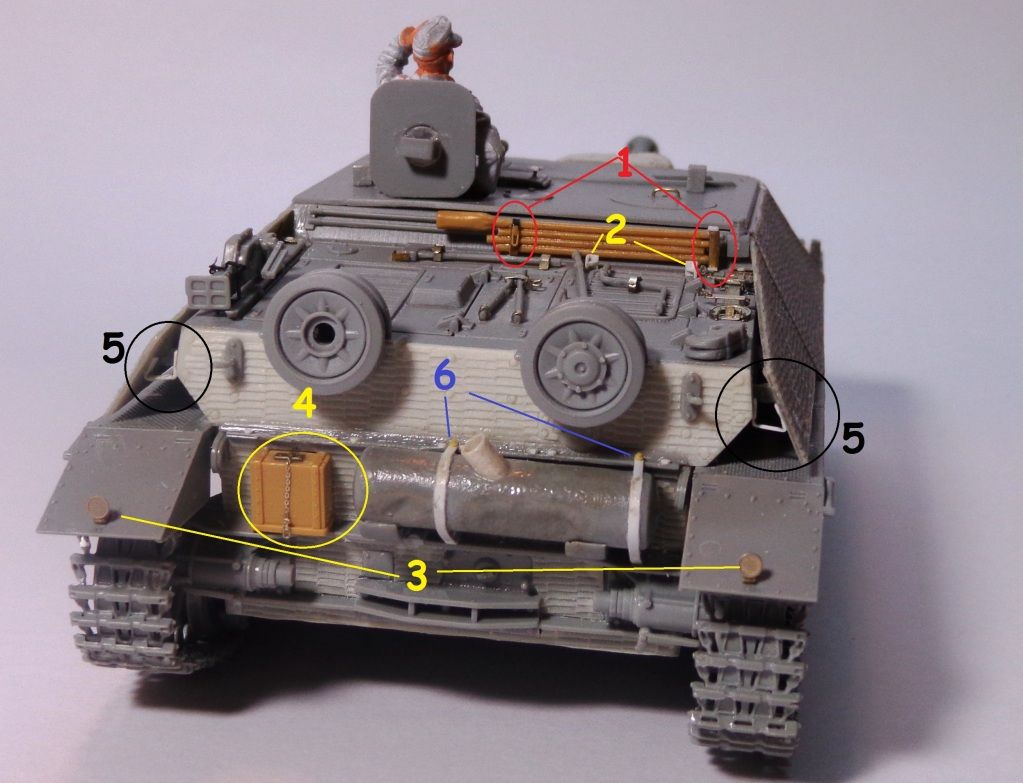
A little closer on the rear deck:
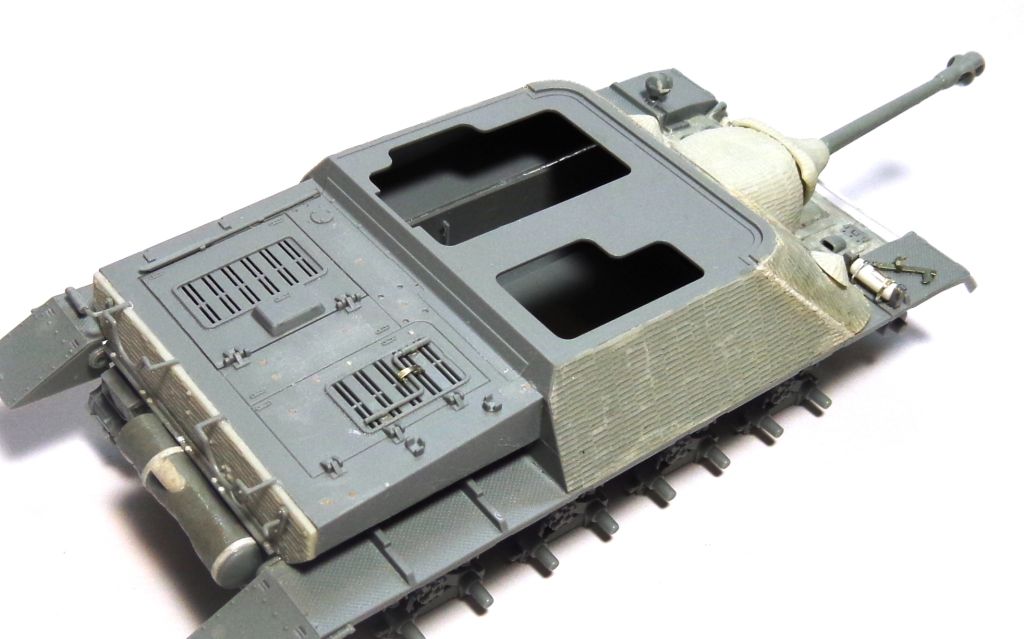
And here's where I am so far. I have a figure that I'll be putting in as well. I believe I"m ready for paint tomorrow!
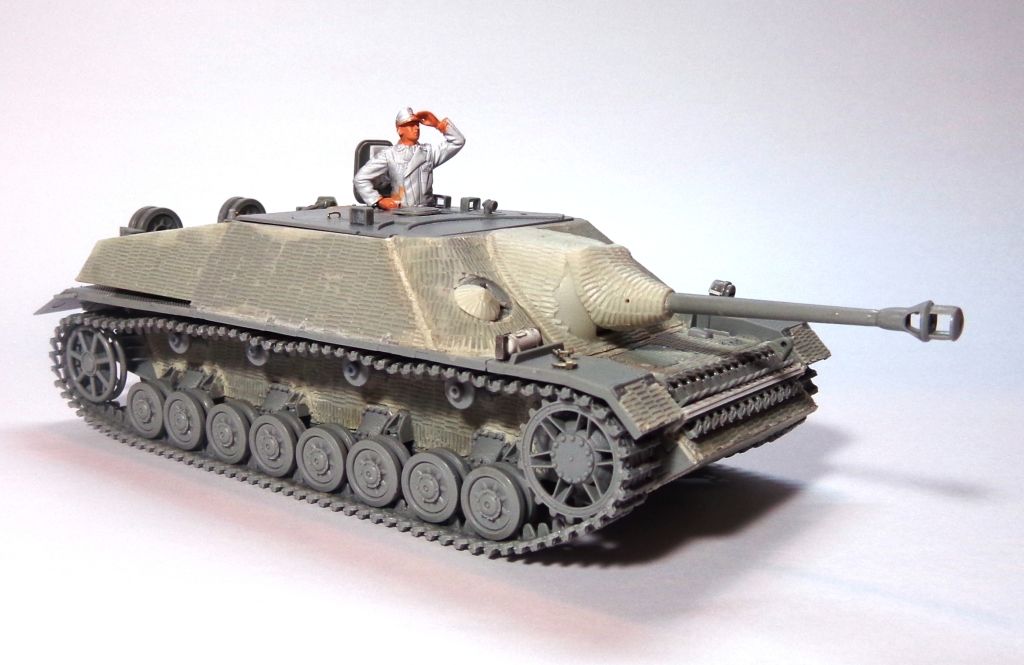
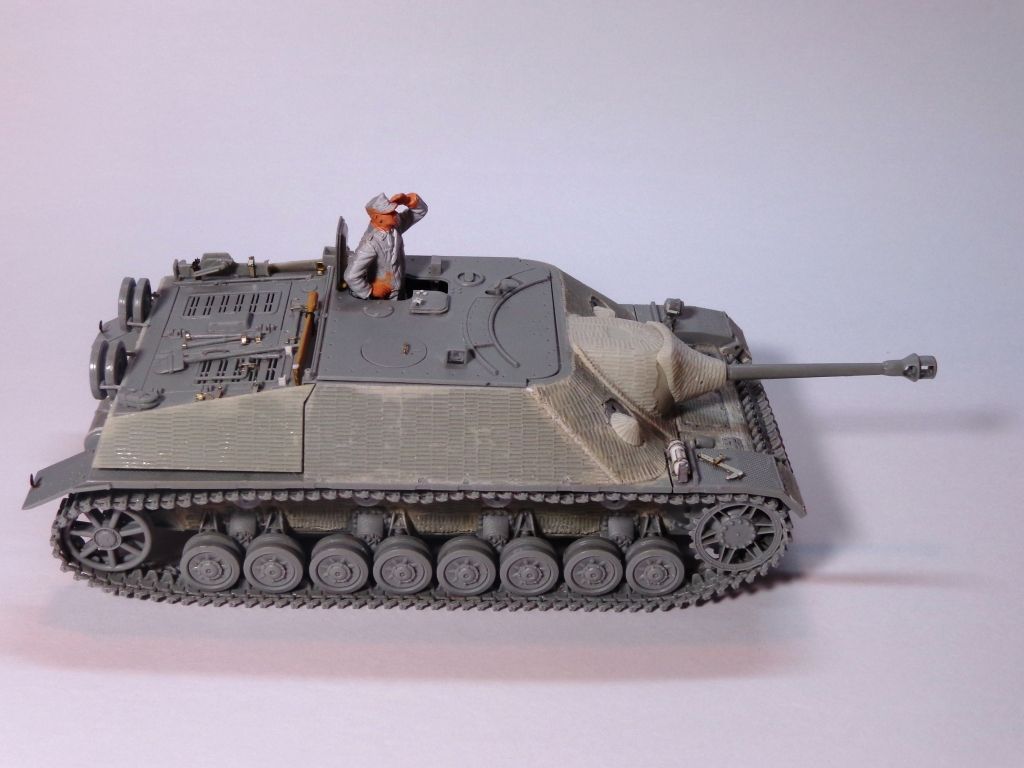
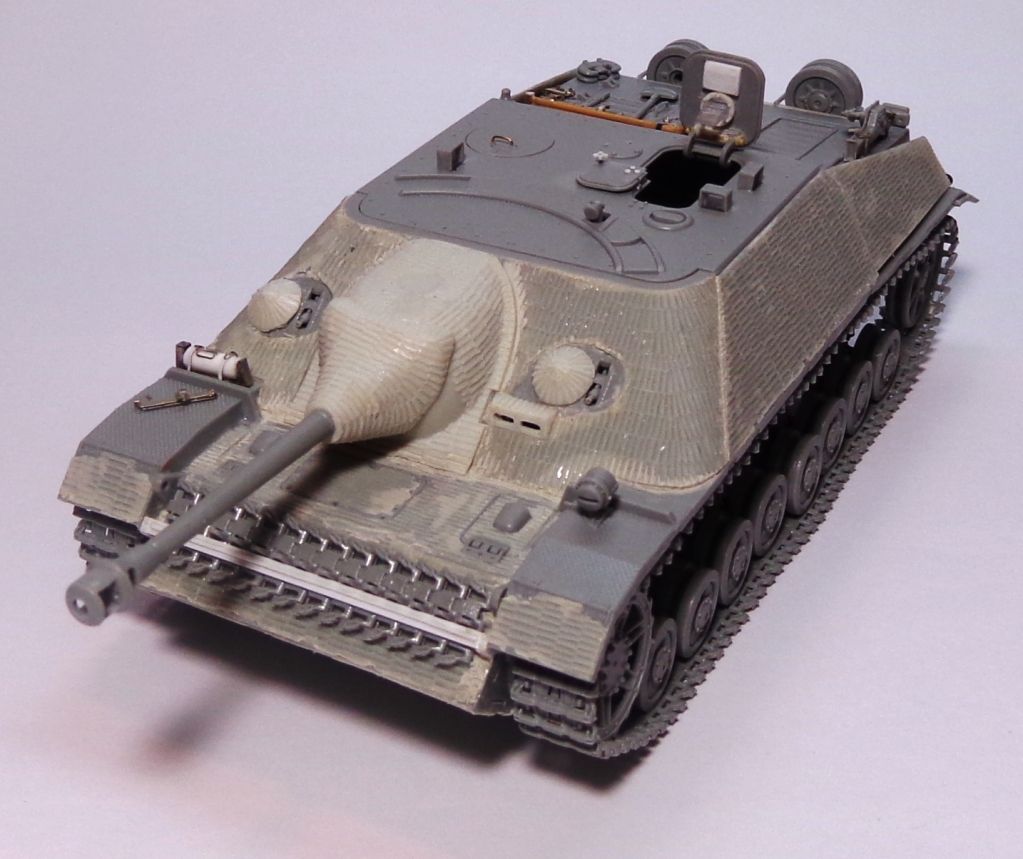
If you see anything weird or left undone, call it out, guys! Comments and suggestions always welcomed! 