Thank you all for your patience. Took me a while to get to creating a photobucket account and getting the pics loaded. I had a very busy couple of weeks, but I have made a little progress.
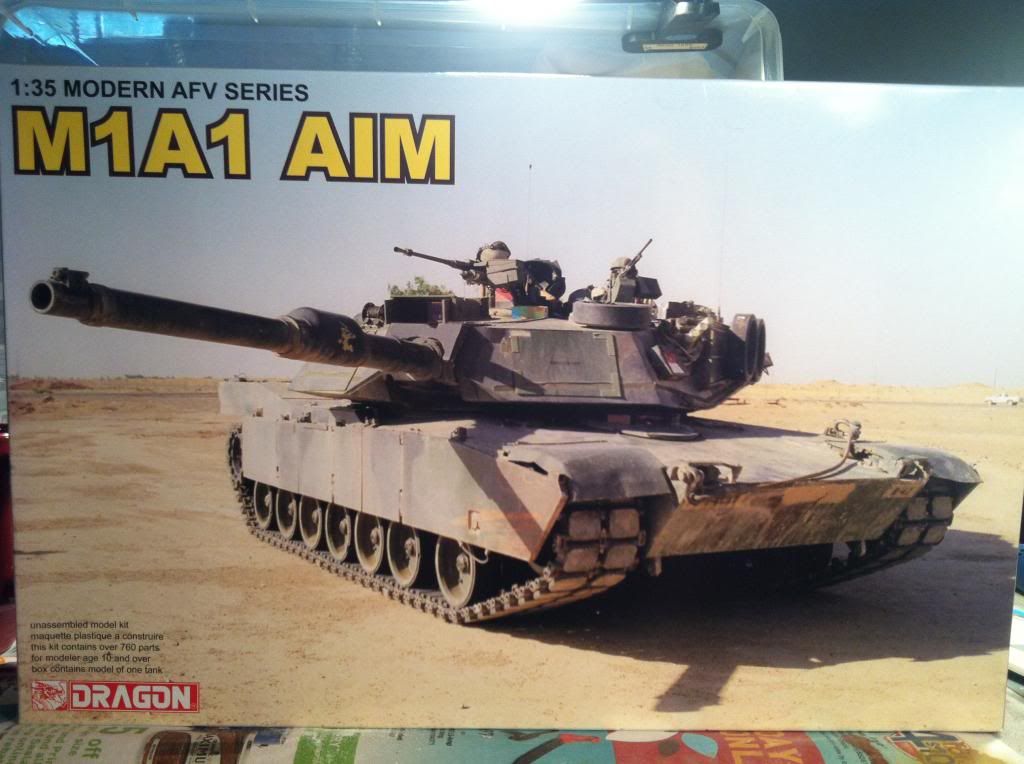
Box Art (I think this is the traditional start)
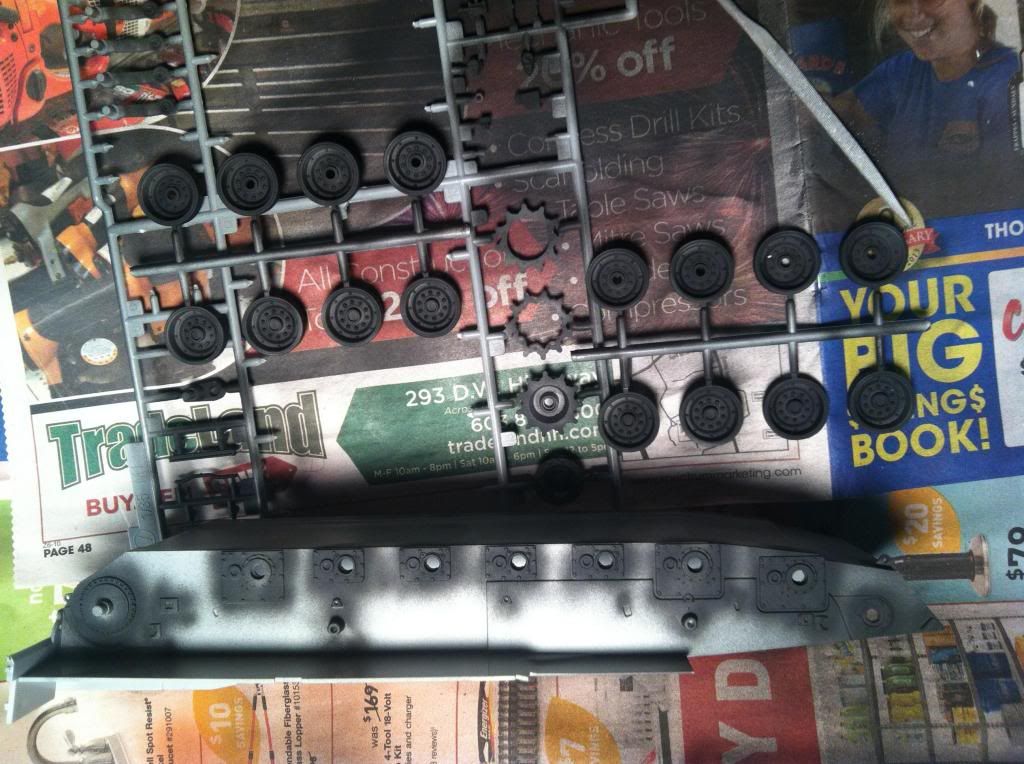
Here is the beginnings of some pre-shading on the hull underside and road wheels/arms:
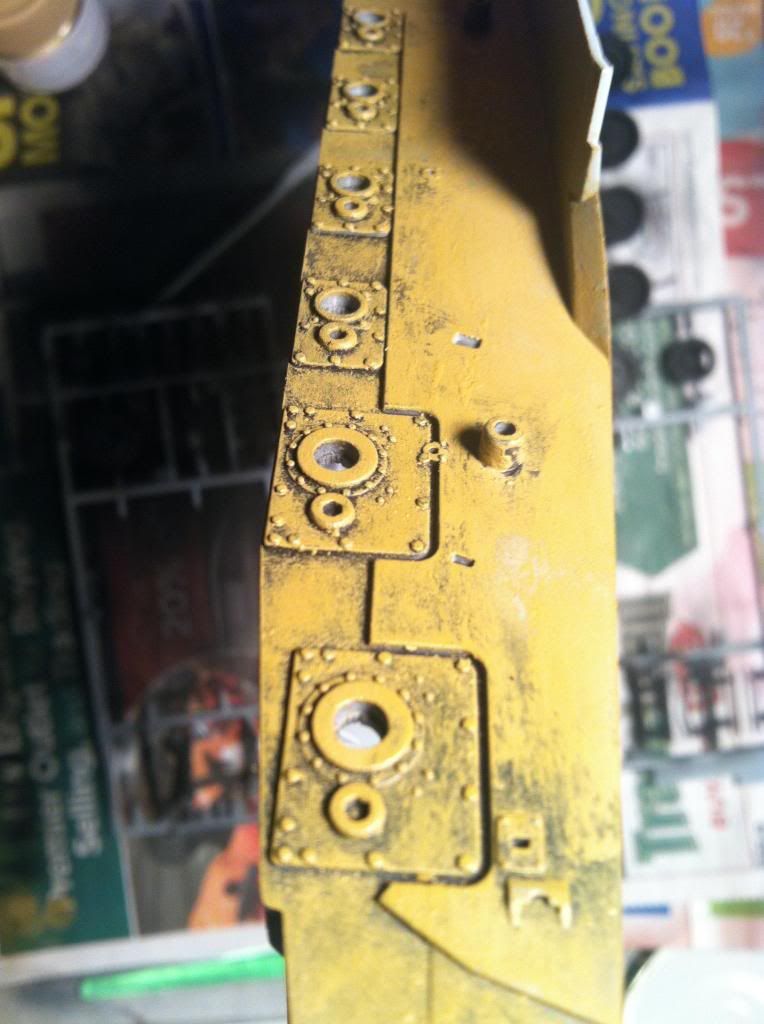
After preshading, I tried some dry brushing and then filled in with the airbrush. I wanted to accent the seams and bolts, but also give it a dirty appearance. I am not sure yet if this was necessary, as I intend to do some additional weathering later, but it definitely gave me the base effect I wanted (for the most part J ). Also, I found that dry-brushing with the Tamaya acrylics was very difficult (I’ve seen many threads on this) without some thinning. Even then it was difficult.
A little over-spray toned it down so that this effect wasn't too over-pronounced.
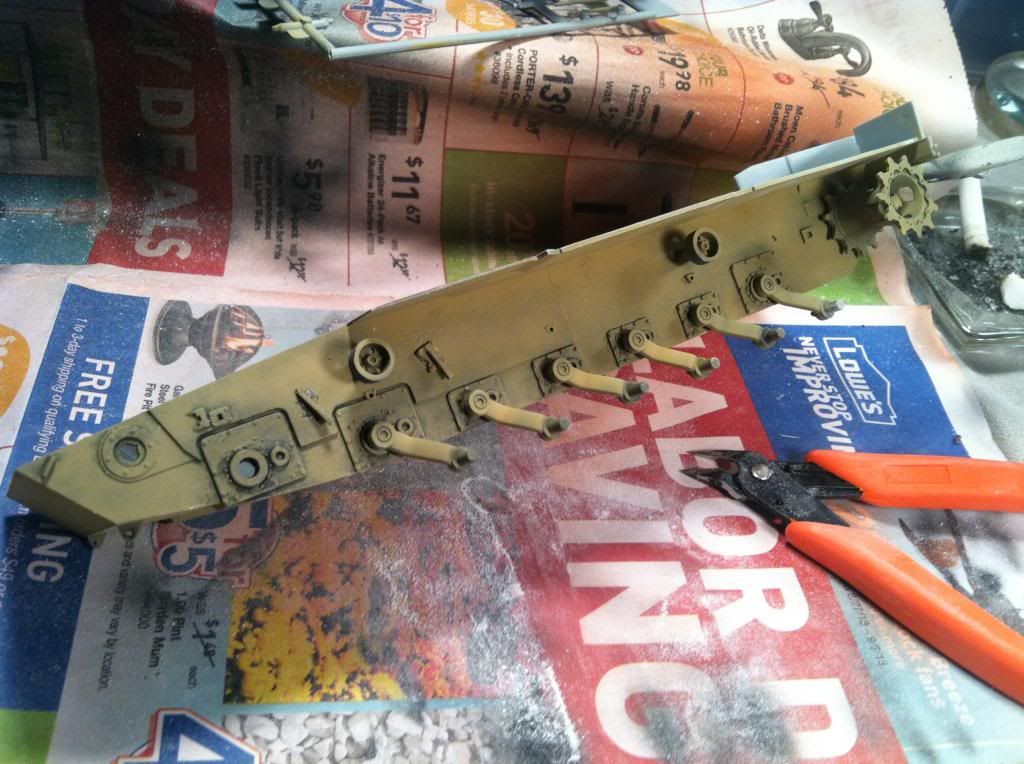
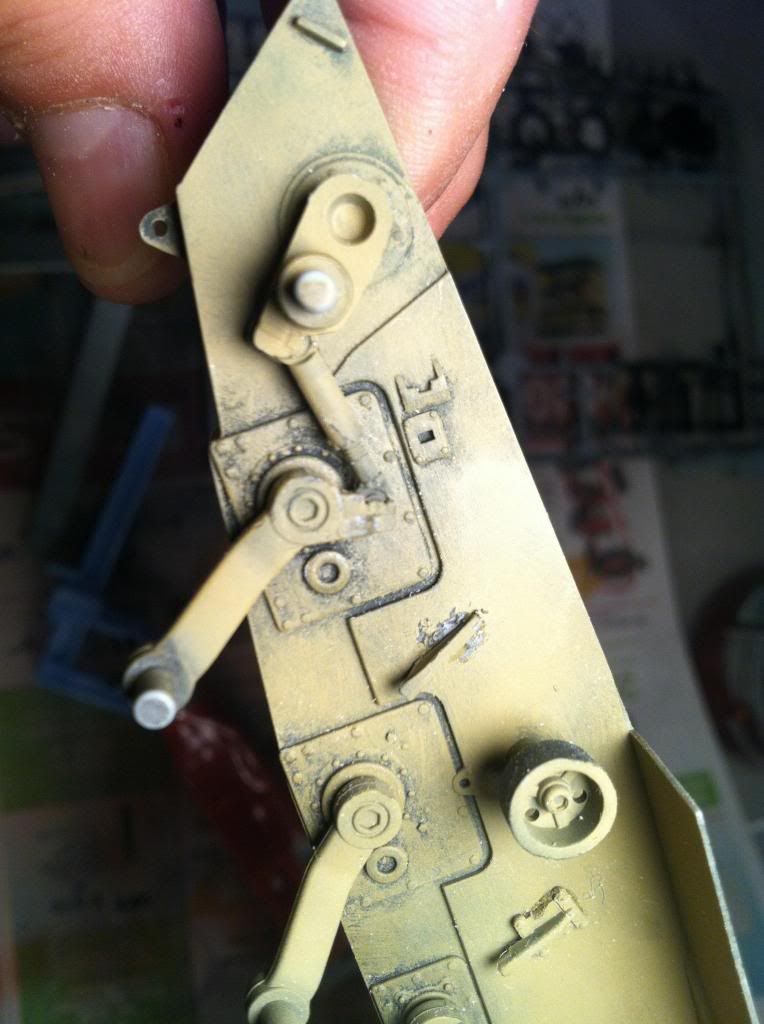
YES. The tension adjustment arm moves! These pieces were very small and difficult to glue without freezing the adjustable arm in place. The instruction sheet offers nothing in regard to this part of the assembly.
At this point, before going any further on the road wheels and track assembly, I wanted to get the engine compartment fitted and set, so I am departing from the instructions to the customization of the lower hull. I am quickly learning new things with custom resin pieces. Maybe some of you can relate, but because of the additional cost of things like this, and never having departed from the box instructions in the past, I was really nervous at first, however, I decided to shake the fear of the unknown and plow forward, good or bad.
I found some fit issues, of course and started chipping away to get the engine compartment down into the hull and get the deck plates to sit correctly.
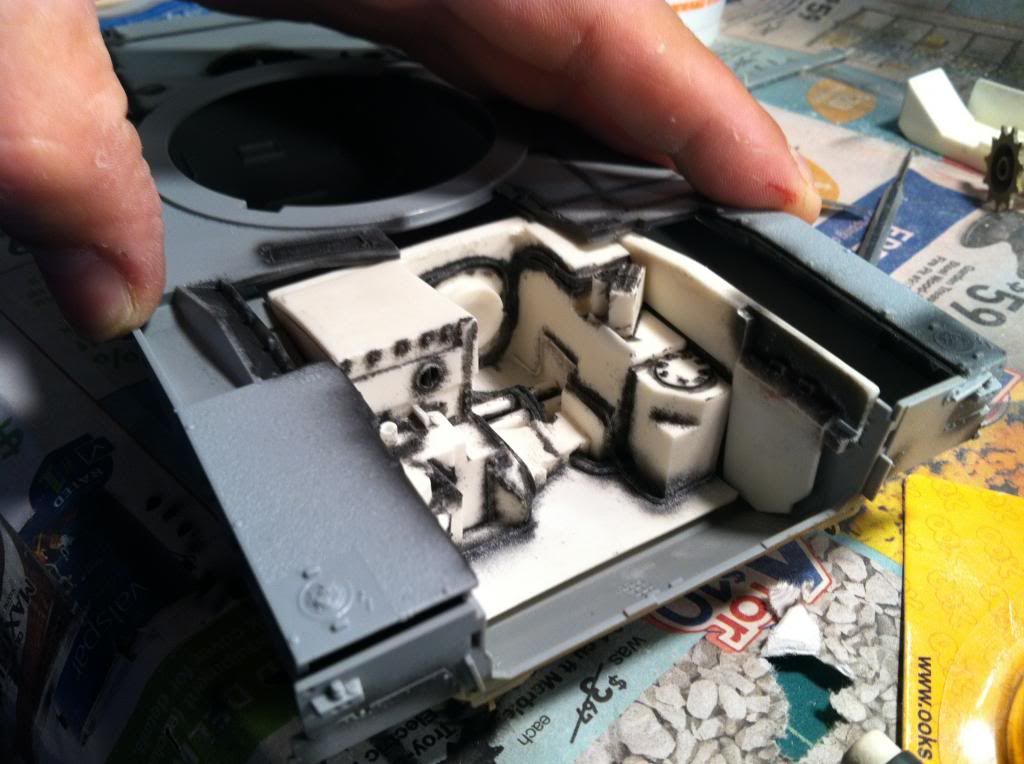
Note the gap on the left back deck.
I had to shave the engine base paper thin, and still had to shave/angle down the top left and right of this piece to get the right fit. I also cut out the right side wall and replaced it with the resin piece that came with the engine kit.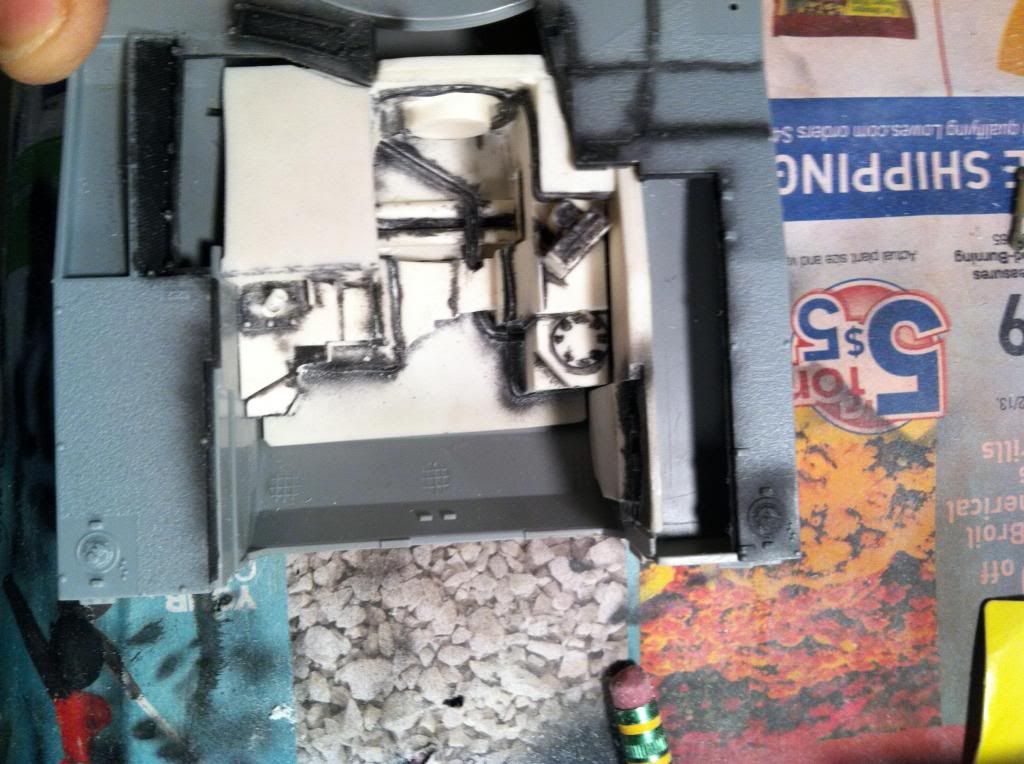
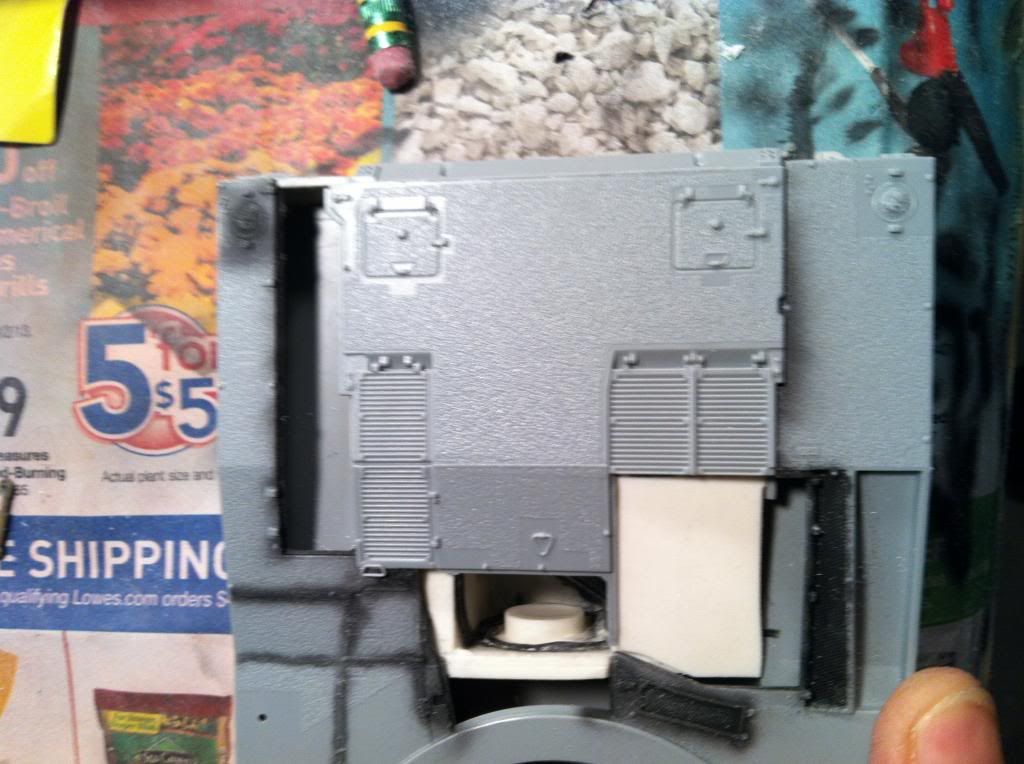
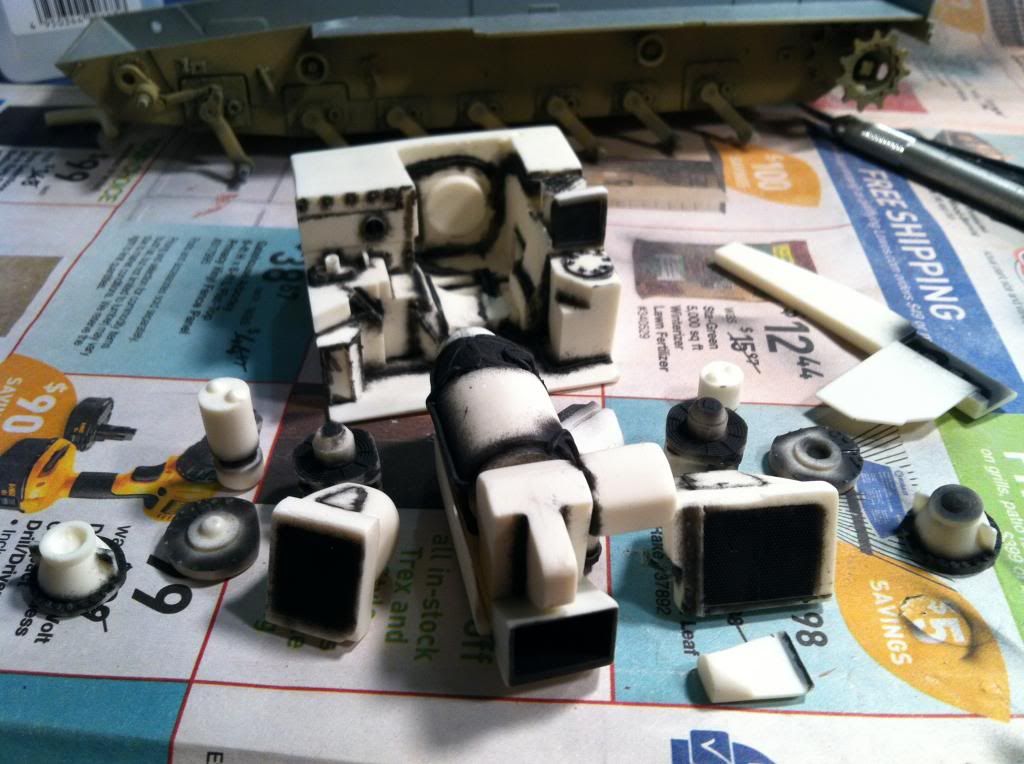
I also started pre-shading the engine components and hope to glue and detail very soon.
Stay tuned!!!