SEARCH FINESCALE.COM

Enter keywords or a search phrase below:

Dragon 5cm PaK 38 auf Zugkraftwagen 1t *Finished*

14891 views
65 replies
1 rating 2 rating 3 rating 4 rating 5 rating
  • Member since
    January 2007
Posted by the doog on Monday, September 23, 2013 9:52 AM

Eric,

I love the look of this vehicle---wow, the detail is amazing if you compare it to the old Tamiya halftracks we were used to! It's looking pretty nice so far.

Could those holes be some kind of water drainage holes?

  • Member since
    March 2013
  • From: Puebla, Mexico
Posted by garzonh on Monday, September 23, 2013 7:35 AM

Ooohhh, that gearbox and the interior are already coming to life..can't wait for future updates and finished product.

  • Member since
    December 2006
  • From: N. Georgia
Posted by Jester75 on Sunday, September 22, 2013 9:53 PM

Thanks and it sure will Johan. There are provisions to open up the engine compartment completely including the srping loaded latches but I've decided to keep it all closed up.

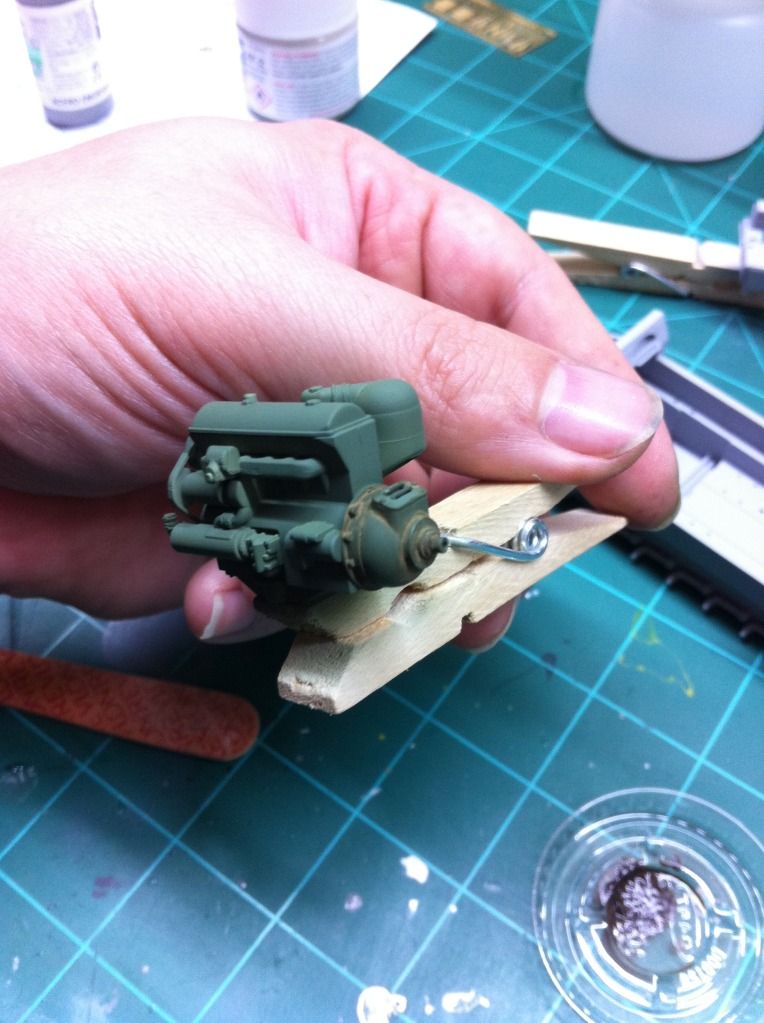
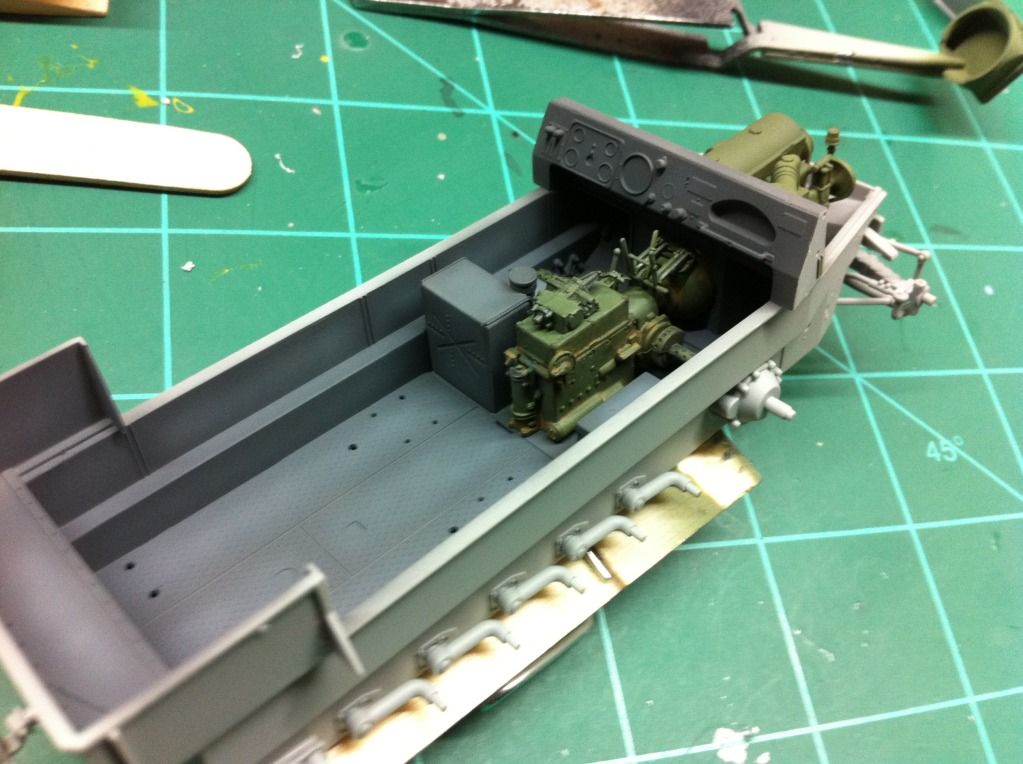
Got some priming and painting done on some of the interior sub assemblies tonight. I have started using Mr. Finisher Surfacer 1500 for primer and I really like how it sprays and lays down. Very very good coverage with a small amount of primer.
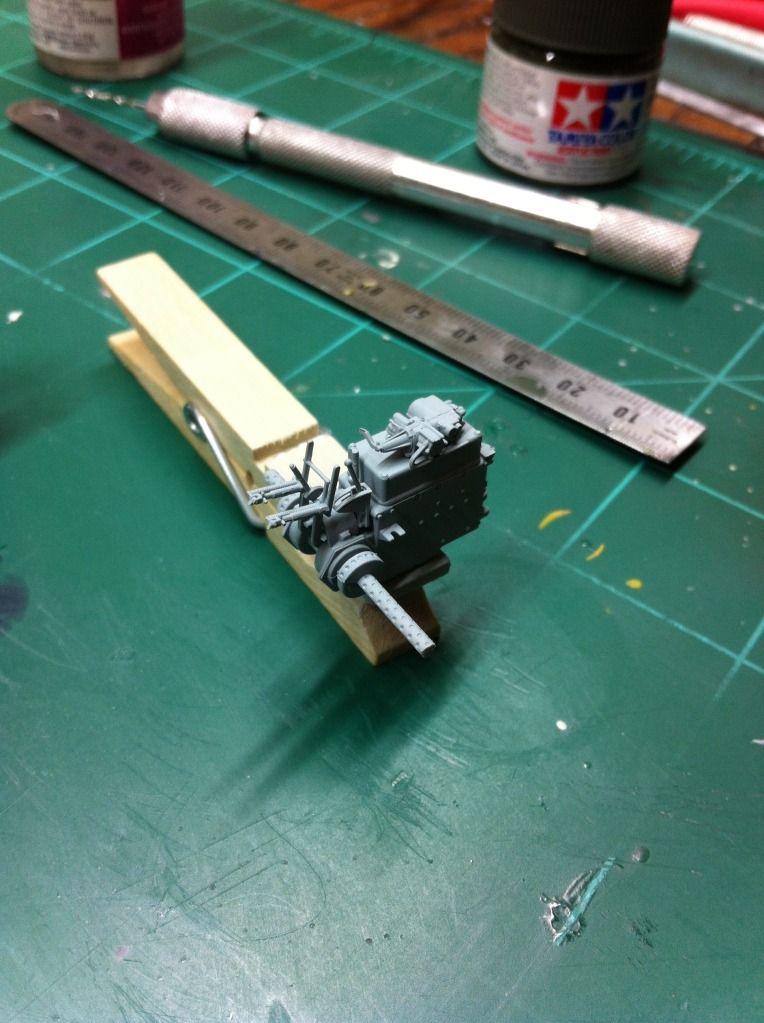
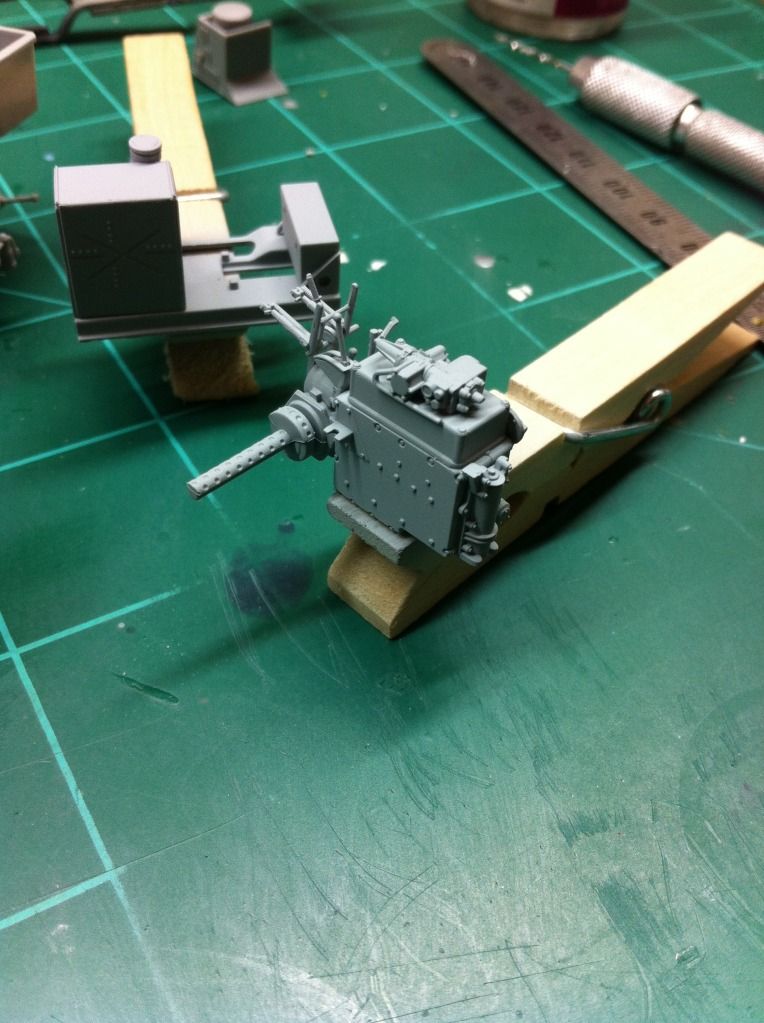
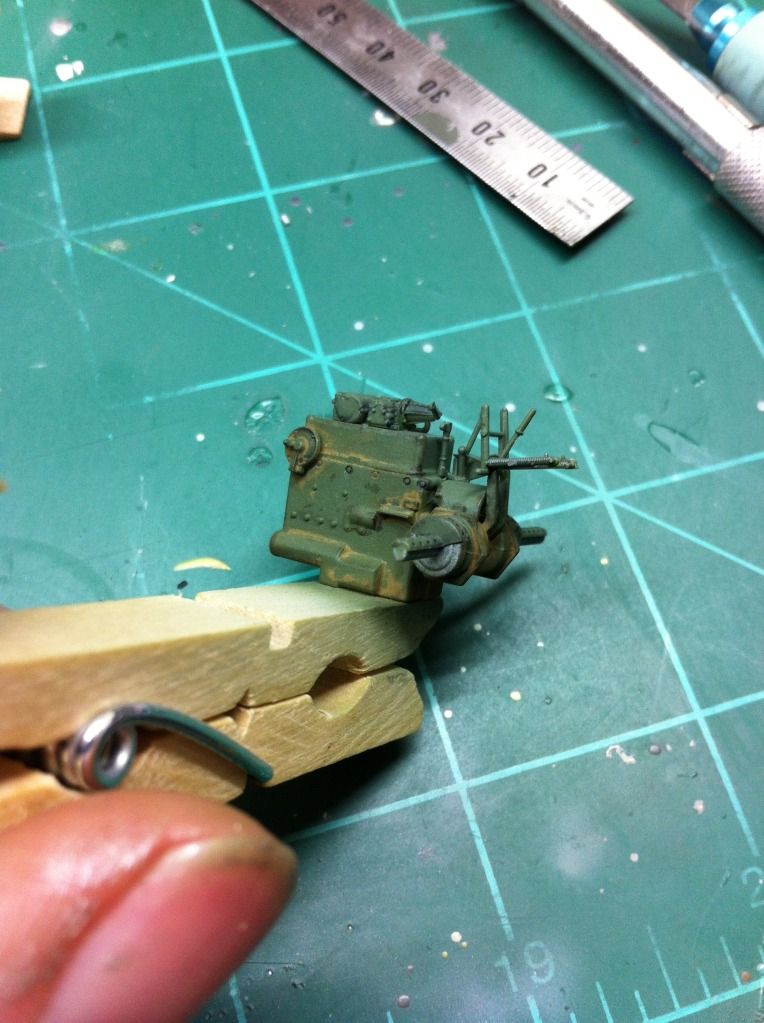
Painted the engine and transmission Field Gray. I am really only paying attention to the rear housing on the engine since it is the only thing what will be showing once everything is assembled. A pin wash with some black and a dirt wash with some raw umber oils. 
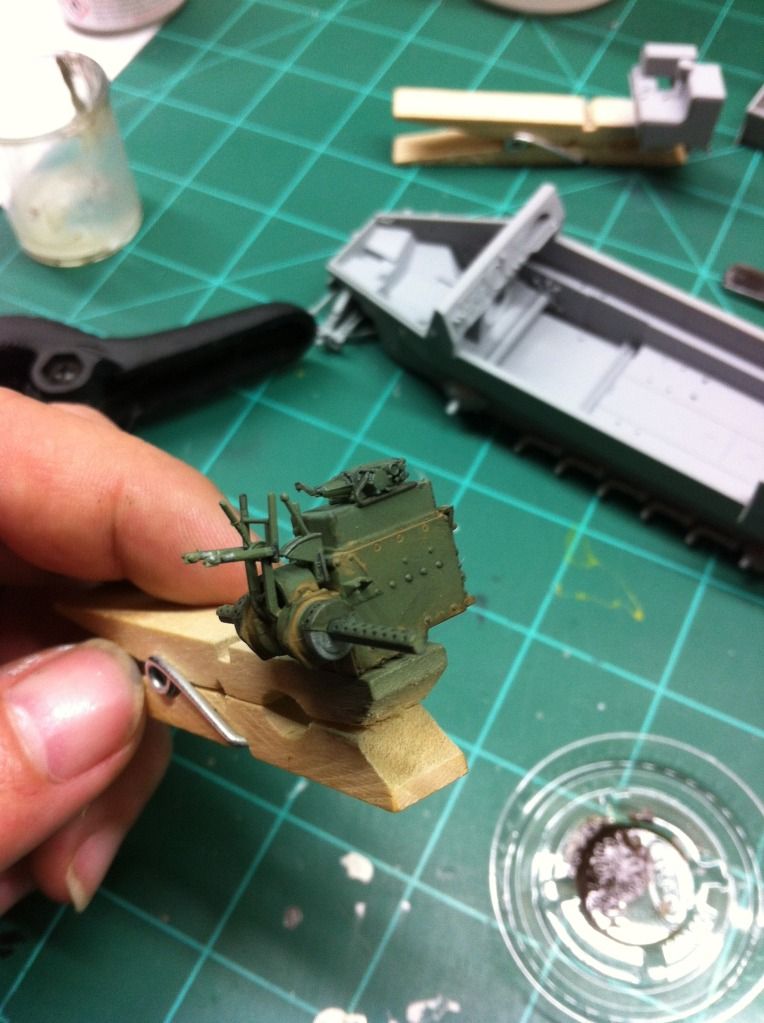
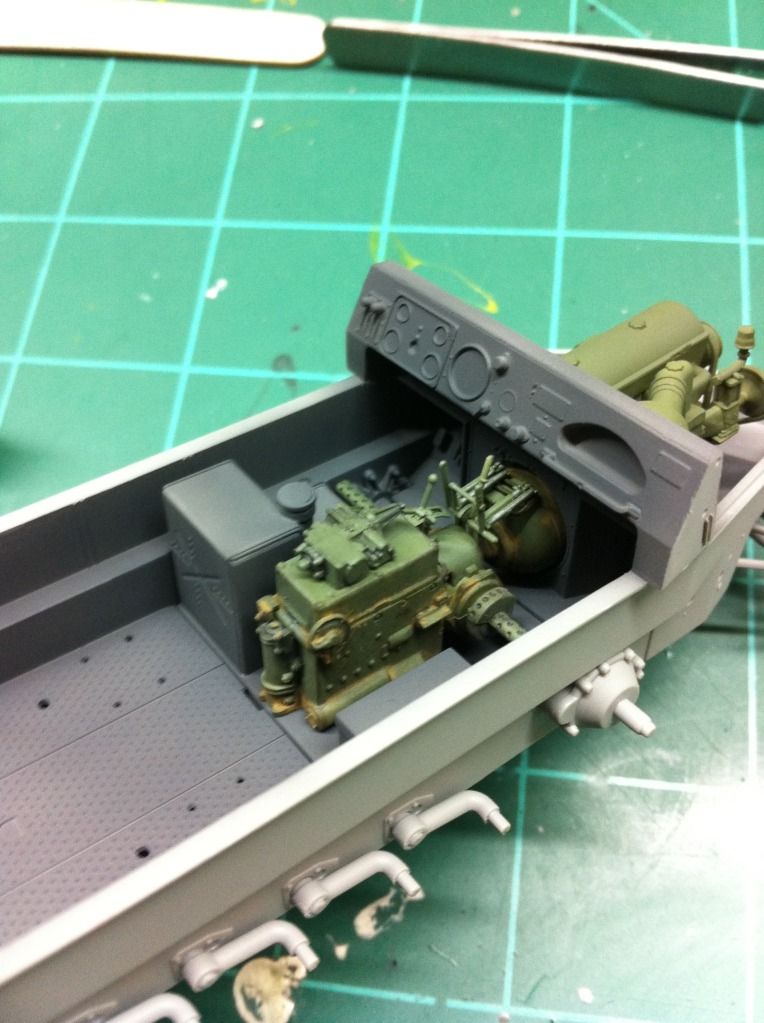
Moved on to painting the interior tub panzer grey. Painted the base straight from a bottle of Tamiya paint, then came back with some lightened pg and highlighted some panels. Hoping to start weathering this part a bit tomorrow.
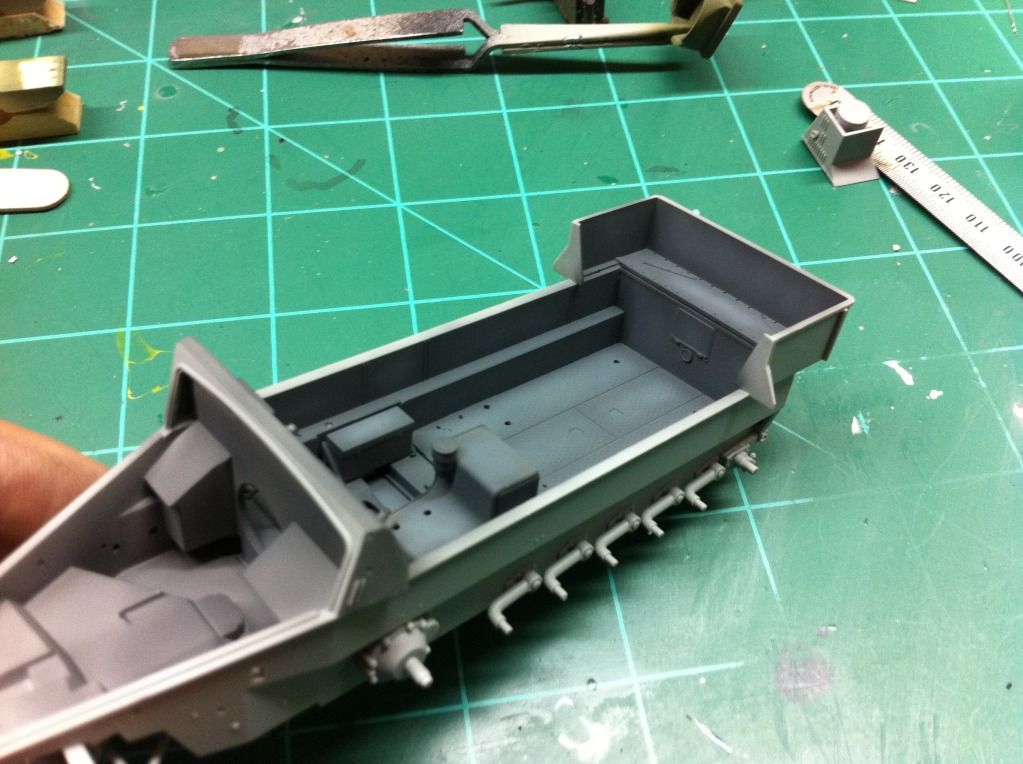
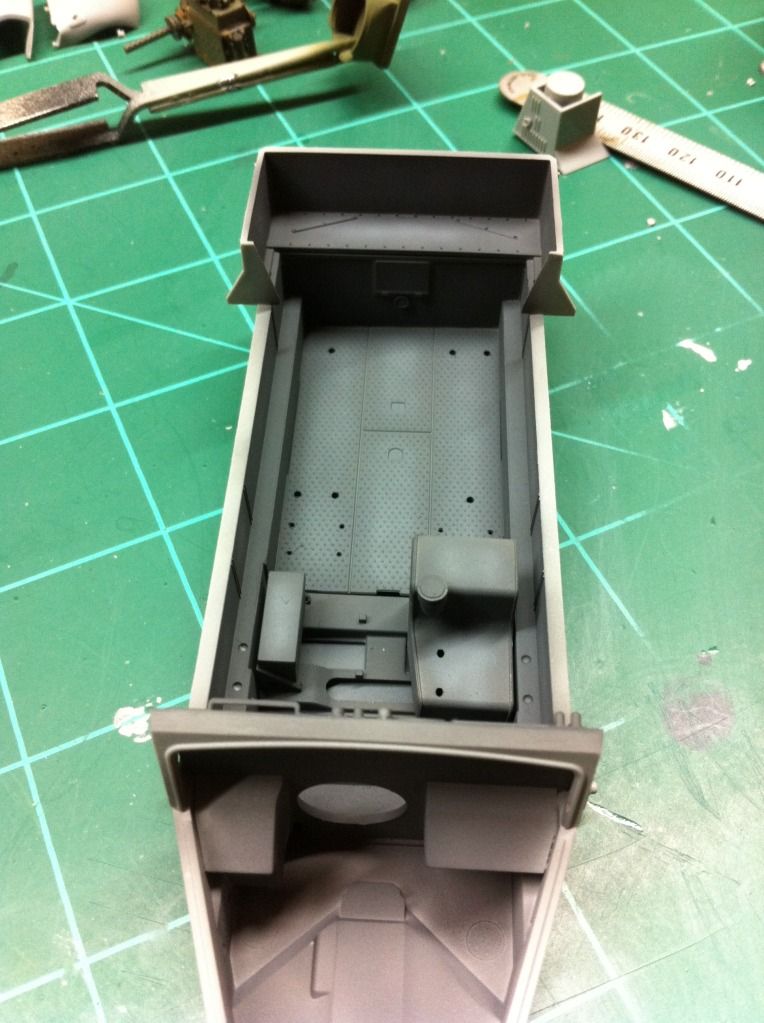
A look-see with the engine and tranny just sitting in...
On another note, I think I may have found a few more errors in the instructions. The first part has you drill out these holes in the floor plate. 
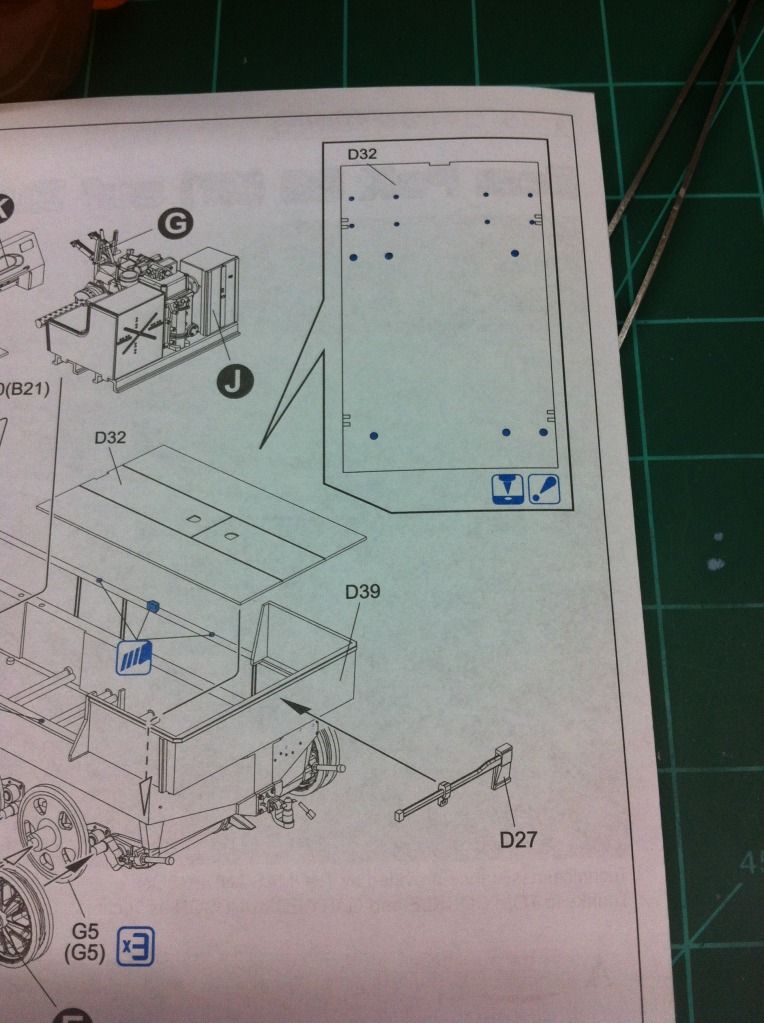
Looking forward through the pages, I can find absolutely nothing that will utilize them. I am not sure if this is meant to show the removal of something to accomodate the PaK or if its leftover from another build of the halftrack. Either way, mine are drilled and will stay. I will weather them and hopefully they will pass off as where some previous equipment was mounted.

The other is with the dash board assembly. Its not an error so to speak, but it can make assembly a little bit more difficult.
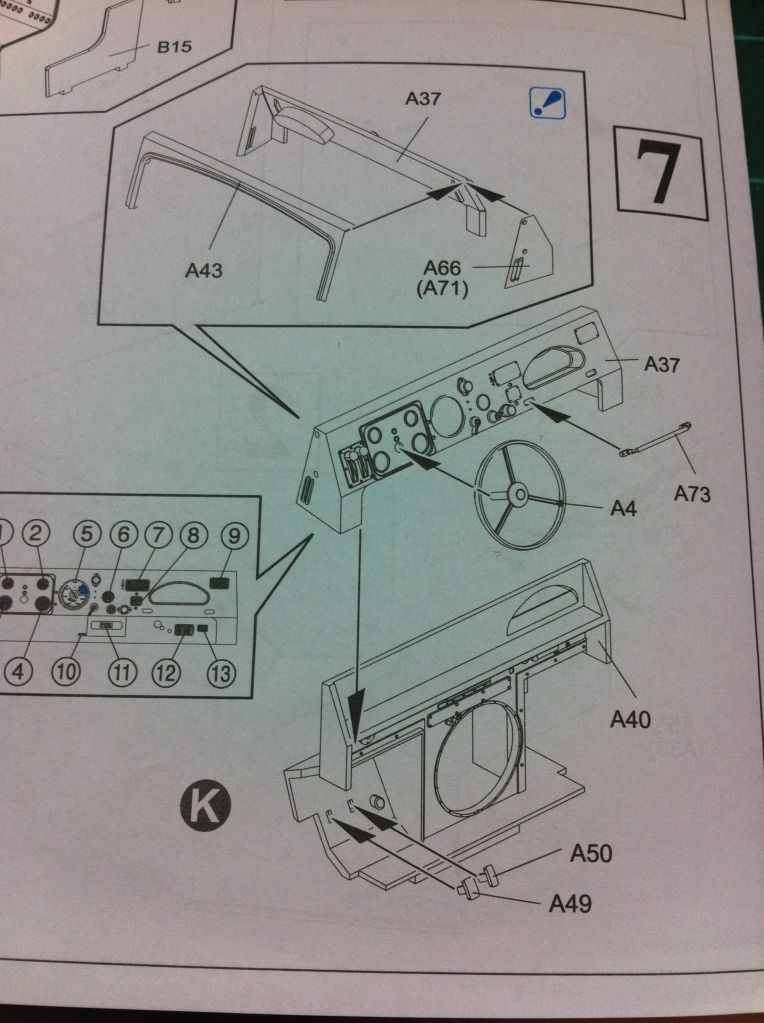
If you follow the insert, the protrusion on the back of part A37 has to sit in the hole in part A40. Part A43 makes this difficult to fit if you add it to the dash before you sit it on top of A40. I hope that made sense??Tongue Tied  I was able to force mine down over it but it opened up a small seem on top where A43 and A37 join.

Eric


  • Member since
    April 2005
  • From: Gothenburg
Posted by JohanT on Saturday, September 21, 2013 11:44 AM

Hi Eric,

This looks very good, I guess that nice little engine will be hidden away in the finished model?

Very Best Regards

Johan

  • Member since
    December 2006
  • From: N. Georgia
Posted by Jester75 on Saturday, September 21, 2013 1:35 AM

Actually I have garzonh, I am thinking of pazner grey with whitewash camo similar to the this pic...

(for discussion purposes only)

Some more work finished up tonight. Got the suspension mounted to the chassis. 

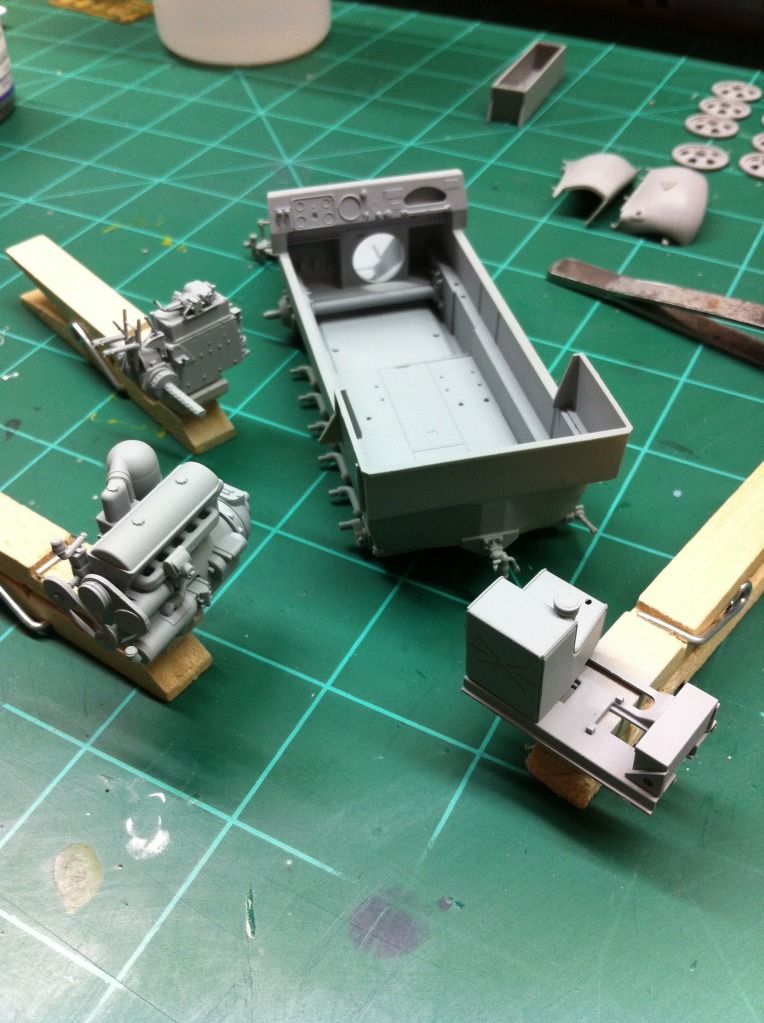
Also started working on the engine and transmission. The kit comes with a pretty nicely detailed engine if anyone wanted to pose the armor off and the hood open on the vehicle. With a little wiring, it would look great.

This vehicle will be closed up and nothing will be seen so I am not spending much time on the engine.

Still scratching my head as to the design of the drive belt system. It was comprised of the following...

way way too complicated for such a simple thing.

Next up came the gearbox and man what detail was crammed into such a tiny unit. They really had to be pushing the limits of injection molding with some of this stuff!

A dry run of the engine and gearbox with the firewall inserted into the tub. I really like the detail in this kit!!!

Some stowage boxes added to each side.

Eric


  • Member since
    March 2013
  • From: Puebla, Mexico
Posted by garzonh on Friday, September 20, 2013 1:26 PM

Eager to see it finished!

Starting to come up..

Have you thought of the painting scheme?

  • Member since
    December 2006
  • From: N. Georgia
Dragon 5cm PaK 38 auf Zugkraftwagen 1t *Finished*
Posted by Jester75 on Friday, September 20, 2013 10:55 AM

Welp, I've been away from armor for quite some time now. Got stuck in the a/c forum particularly in a couple of group builds.

I landed this kit

shortly after it came out and have been dying to get a start on it as it's a cool looking little vehicle. As they always do, everything begins with wheels wheels wheels and suspension. Lots of detail in this little drive sprocket!!

I used the layered set of tires as I liked the sidewall detail that is not on the other set. I'm not sold on it yet and will have to see how they look when painted and weathered.

The dainty front suspension parts. The contact point between the leaf spring and the axle is pretty small and seems kind of fragile.

And the parts for the rear bulkhead. 

There are two different types and I chose the more complex one. I have no references on this vehicle so I can't say for sure but Dragon would have you mount part D4 on the complex assembly as well as the simpler version of it. The destructions show it being mounted in the wrong place. There is a provision for it on the simple rear plate inside the area of the green box. This provision is not there on the more complex piece so I assume it is not used.

Seems to be a lot of detail in the rear idler adjustment mechanism which looks pretty good. The arms for the road wheels are the kind that have the torsion bars attached and they are keyed so hopefully there will be no floaters in the end!! (These aren't glued in here, just inserted)

Looking for some more benchtime this weekend hopefully. With the cooler weather approaching, perhaps the yard work can be replaced with benchtime!! All advise is welcome here as like I said, I have no refs for this little fella and we all know how Dragon's instructions are...

Eric


JOIN OUR COMMUNITY!

Our community is FREE to join. To participate you must either login or register for an account.

SEARCH FORUMS
FREE NEWSLETTER
By signing up you may also receive reader surveys and occasional special offers. We do not sell, rent or trade our email lists. View our Privacy Policy.