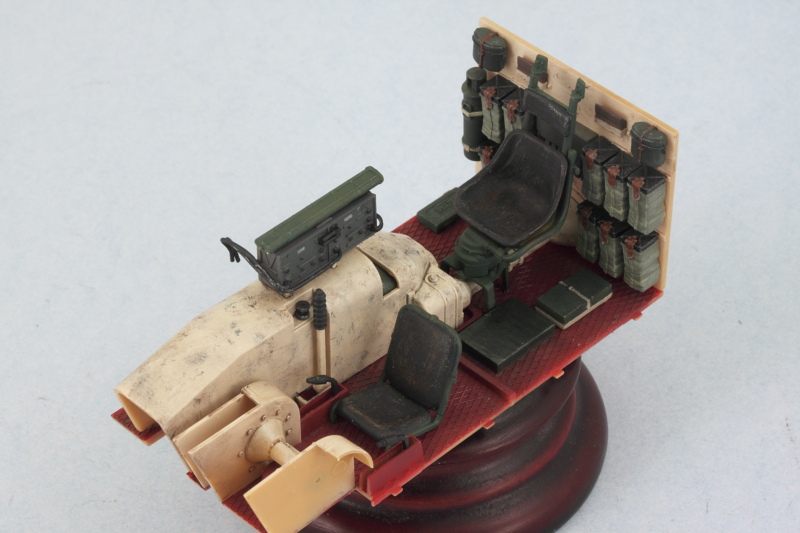
Work continued on the pocket Tiger by virtue of getting the interior weathering completed and the components ready for final assembly into the hull. I stippled some Burnt Umber to simulate scuffs/scrapes on the Panzer Interior Buff surfaces then applied a light wash of Raw Umber over that for general grime/dirt. Once that had dried, I dry-brushed more of the Panzer Interior Buff to blend things back in a bit and then joined the transmission housing and rear bulkhead with the floor and installed the commander's seat in position.
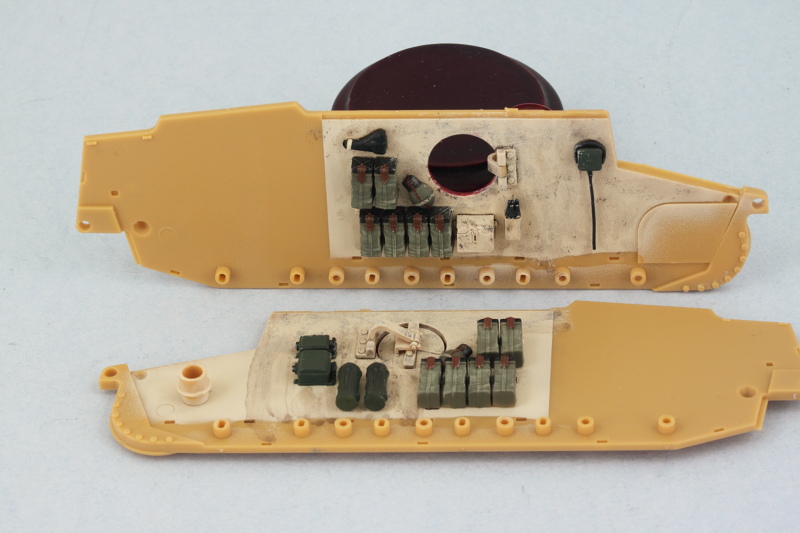
The hull sides got the same weathering treatment and I hand painted some of the primer red for the escape hatch opening rims as reference shots show a marked color contrast here which makes sense when you consider how the hatches closed.
Getting all the hull components together requires some careful thought due to the way the suspension installs. Each swing arm has its own torsion bar that has to fit into a socket on the opposing hull side, so I decided to install the fighting compartment floor and interior first so that it would help hold the hull sides together, then installed the torsion bars while I could still access them from the underside.
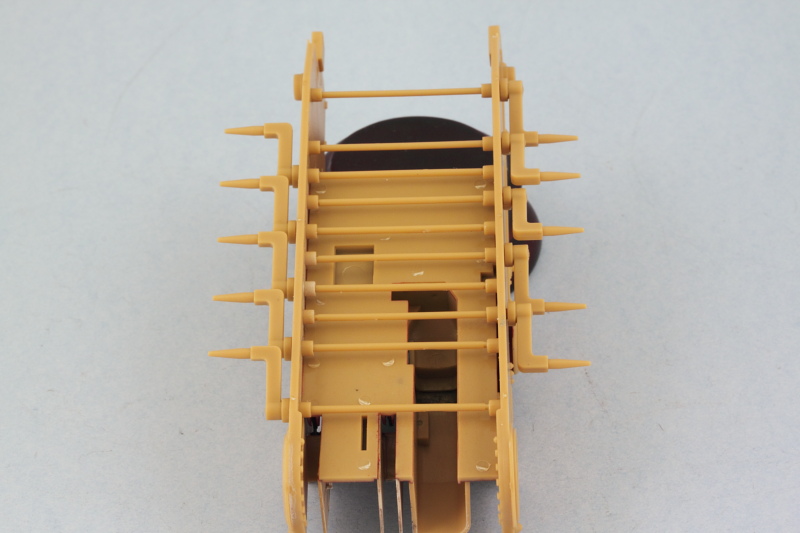
While the hull still had some flexibility to it, I added the hull bottom and rear plates, carefully slipping their tabs into position on one side and then gently flexing the other side until they slid into place.
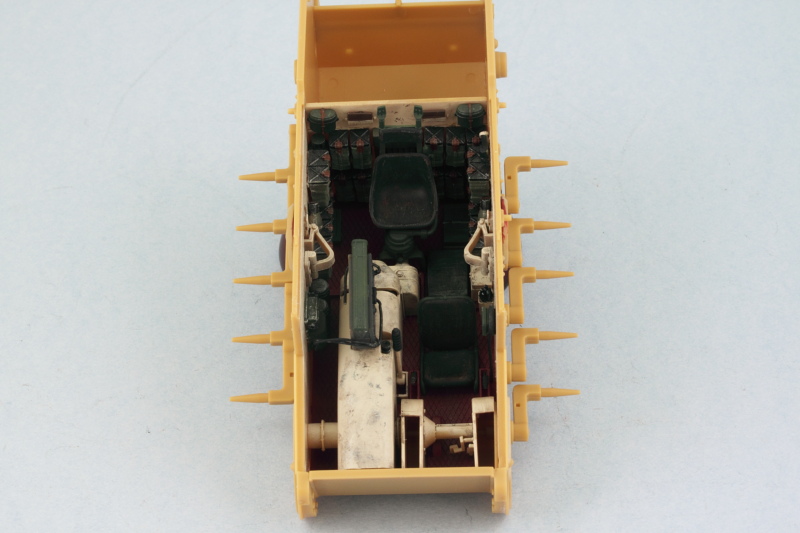
Not exactly spacious accommodations by any stretch!
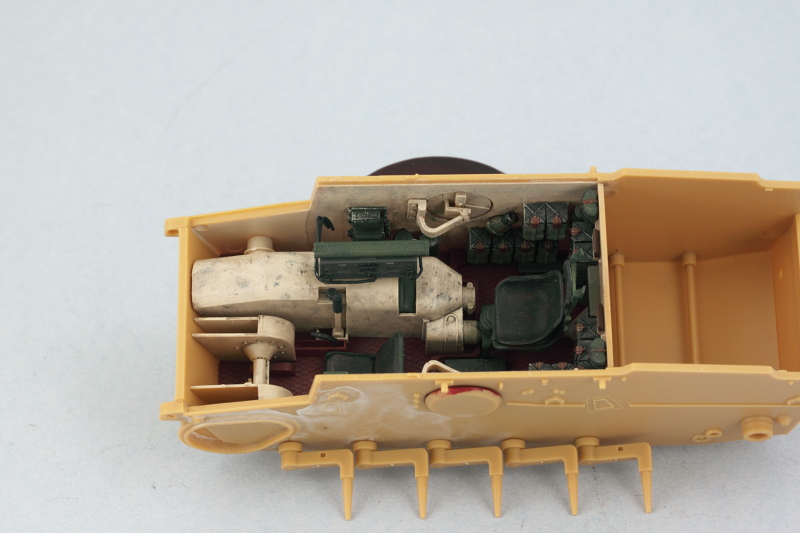
And just for grins, I tested out the side escape hatch and it works flawlessly.
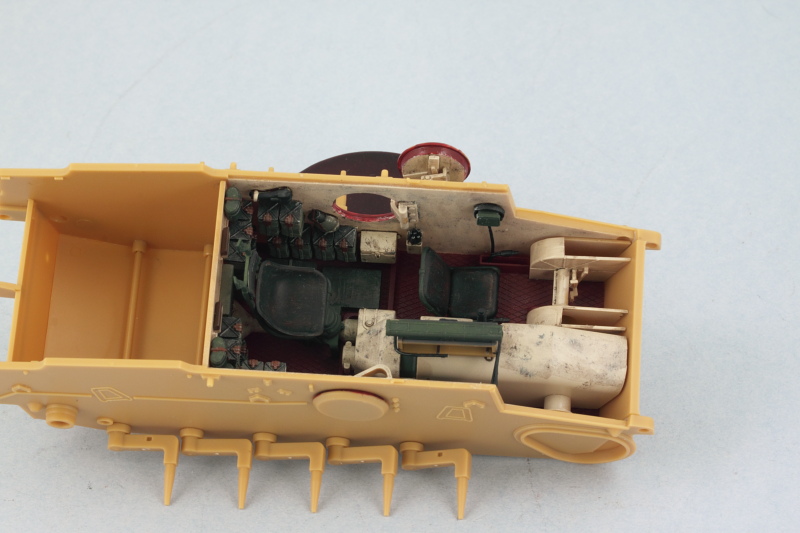
One key element of the working suspension is to ensure that they sit at the right height. Working quickly before the glue set from the previous effort, I added the shock absorbers and used the already assembled road wheels to ensure everything was playing nice in this department. I let that set up overnight to be sure there wouldn't be problems down the road.

Returning back to the remaining interior bits, some test fits with the front compartment panel showed that the Bronco engineered tolerances were very tight. The added wiring on the radio that I put in interfered with the little side gauge on the driver's panel, so I had to sand it down a mm or two to adjust. The main instrument panel was also installed at this point and the compartment roof received the driver's head crash pad and side-facing periscope.
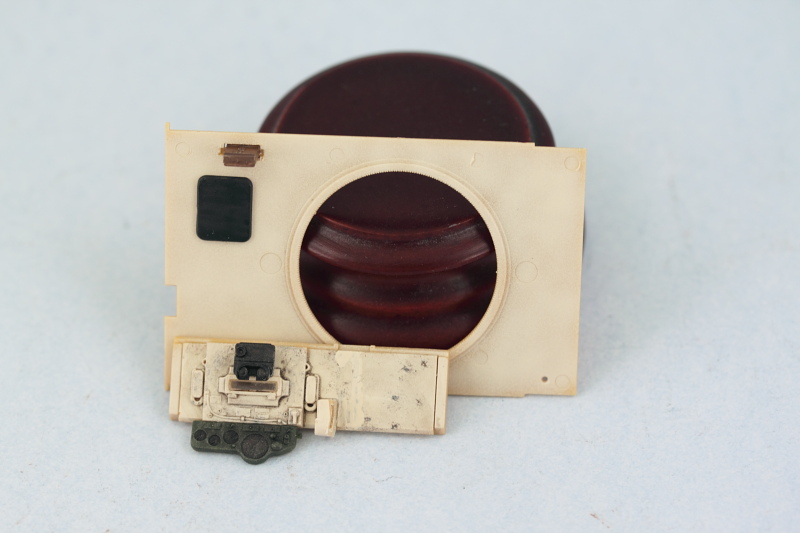
Then the moment of truth, the glacis, compartment front panel, and compartment roof were all installed. The rear part of the hull had a tendency to flex out a bit at the top so a rubber band was used to ensure that all set up nice and square.
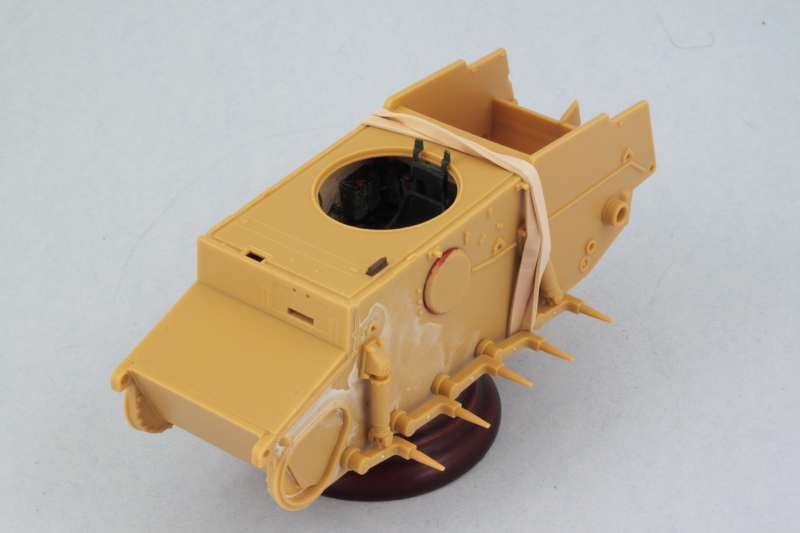
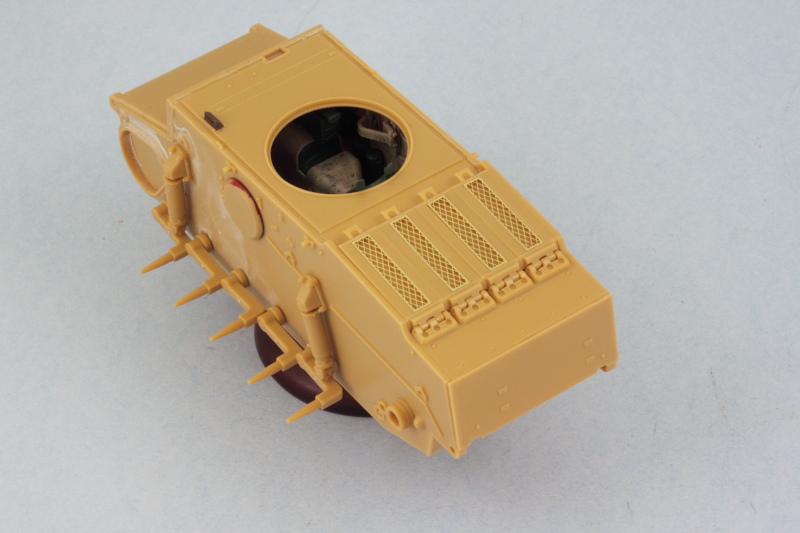
Once that had set up, I added the engine compartment access panels and rear hull top plate. I found it easiest to install the hinge plate part first so that it met up squarely with the rear hull plate and then added the 4 access hatches afterward. These all have to line up just so with each other between the hull sides with no gaps and again Bronco has this down pat with the engineering. The PE screens were installed using liquid glue around their edges to soften the kit plastic and give them something to grip onto.
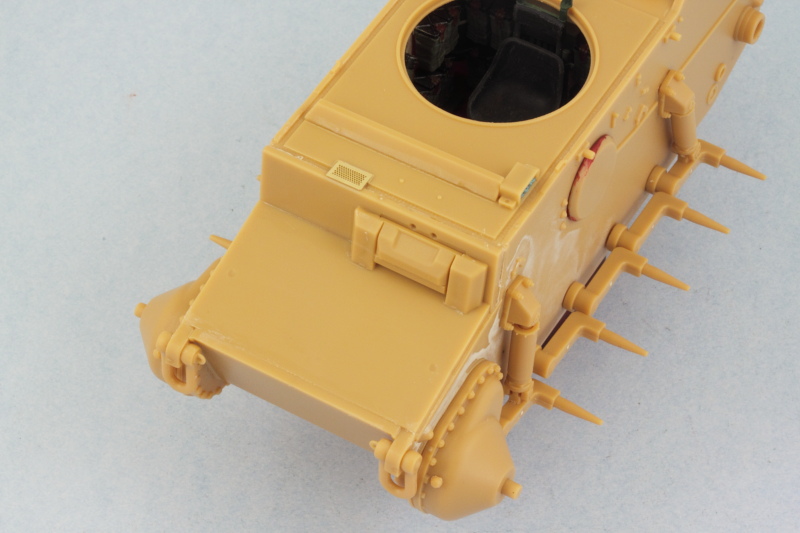
Rounding out this session, I returned to the hull front and added the tow shackles, final drive housings, and the armored visor for the driver's view port. The visor is shown here in the closed position but remains workable which will be handy for painting later on. I also added the little PE vent screen and the turret splash guard as well as the periscope guard for the driver's side periscope. The periscope itself received some blue-tack poster putty masking to protect its face later on in the painting stages.
