Bronco Pzkpfw I Ausf. F VK 18.01
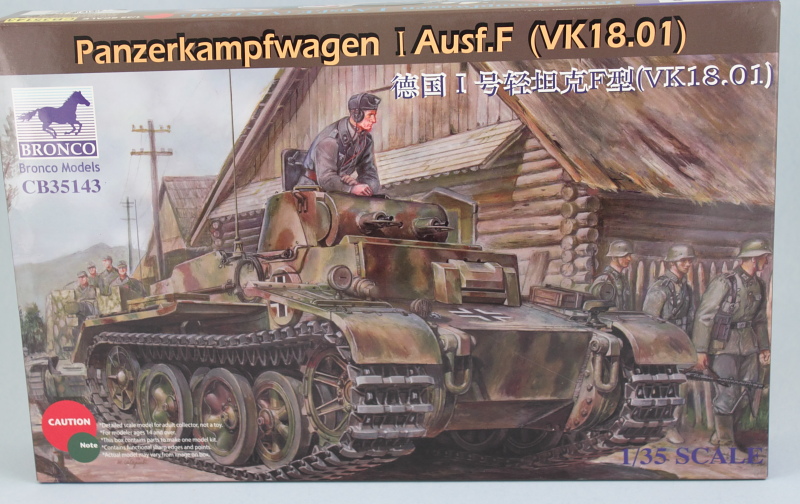
It's been a while since I've built an armor project, kept getting side-tracked by different things but have finally gotten back to it with a project I've been wanting to do for a while, Bronco's Pzkpfw I Ausf. F (VK 18.01).
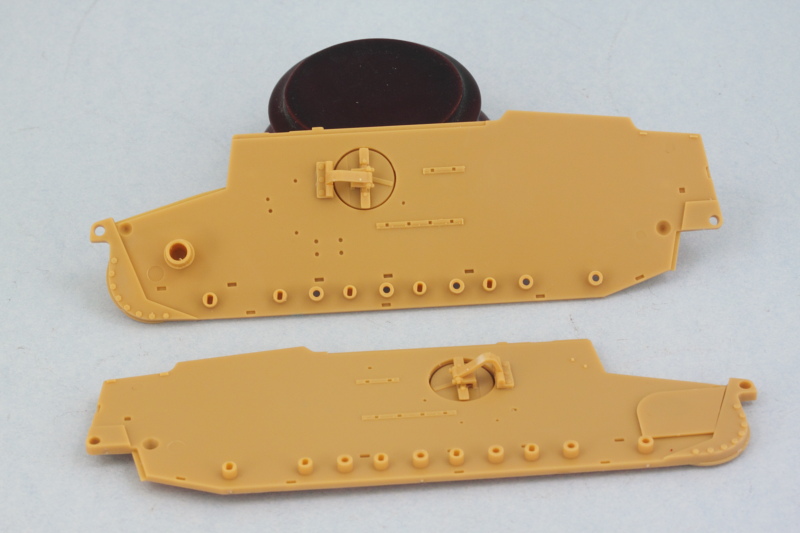
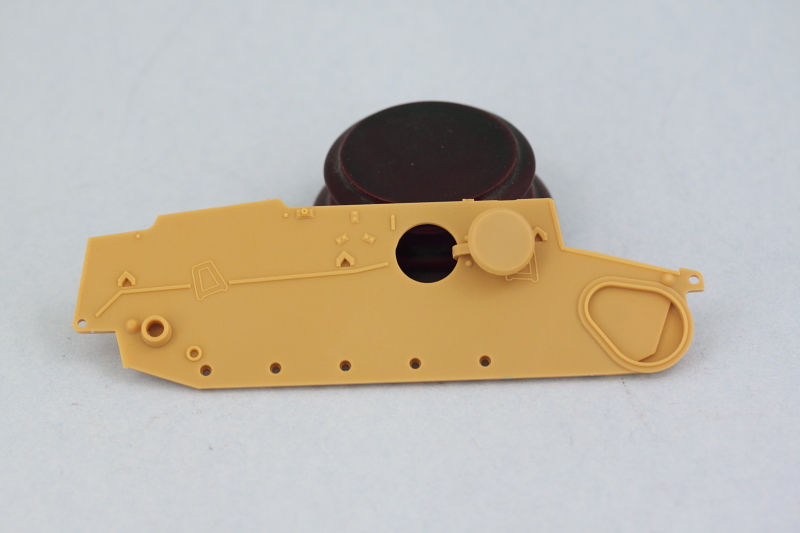
Got things off and rolling on this build by doing things a little differently. Bronco includes a lot of detail for the fighting compartment interior and also constructs the hull out of multiple panels vs. providing a single 'tub'. Ordinarily I wouldn't be that big of a fan of this approach but with all the interior detail and how tiny this vehicle is, this is actually a plus on this particular build as it lets you work with each panel separately. So, the first order of business was to prep all the major hull panels and the compartment floor and do a mock-up using masking tape to hold things together to ensure there weren't going to be any surprises along the way.
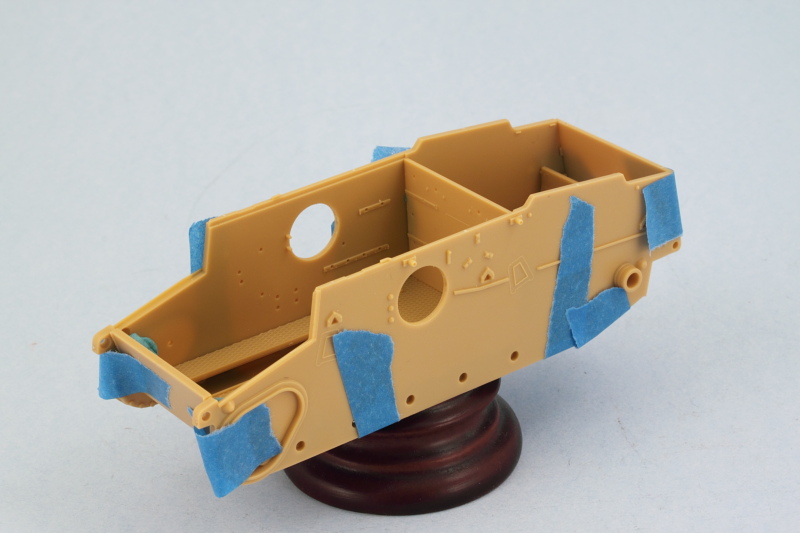
No major issues to report but it will be fun installing all the suspension torsion bars and getting all these elements together permanently once the detailing and paint work is finished, but we'll cross that bridge much later on! Because many of the interior components are made up of multiple parts, some tiny, some that require fit with other small parts, etc., I bounced around between various steps while glue set up to try to make the most of my available time.
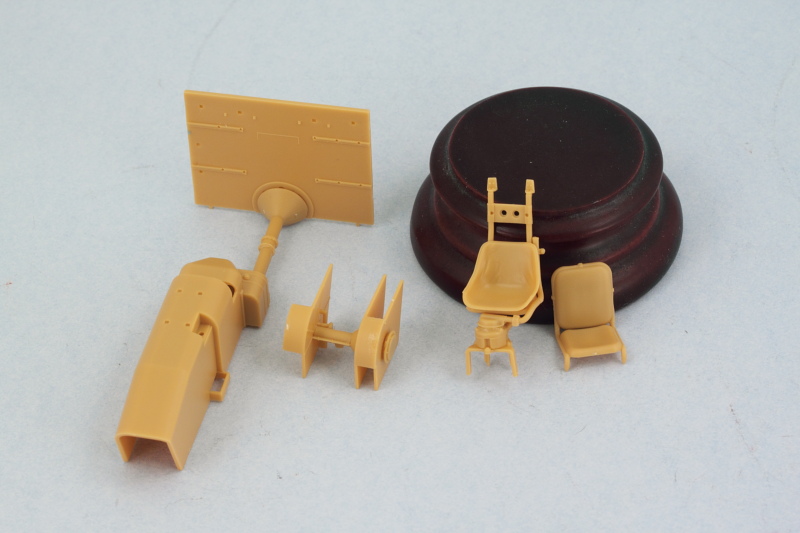
Taking advantage of the hull mock-up situation, I assembled the various transmission and drive-shaft components and also connected the firewall to the large transmission cover housing since those are initially separate pieces. The alignment here is key as it drives (no pun intended!) not only how the firewall sits but also where the commander's seat lines up and how everything interacts at the front of the hull. No real margin for error here either given how tightly packed everything is on the inside.
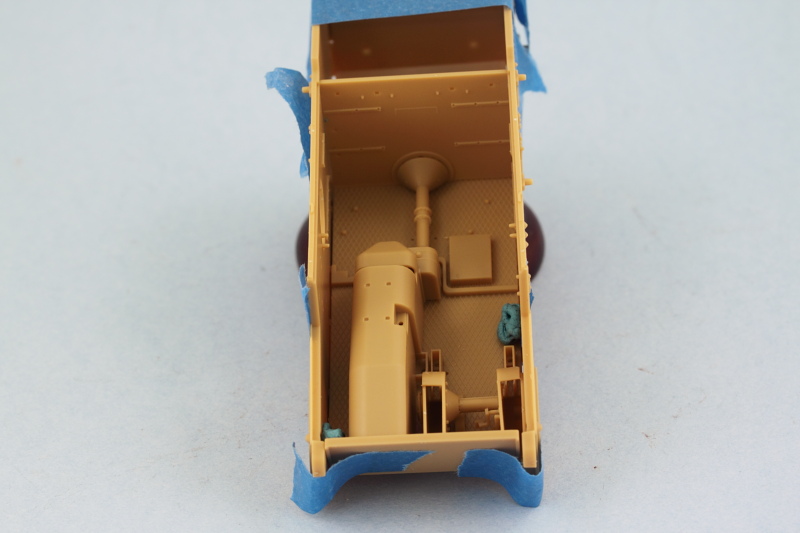
Once the glue had set on the transmission and firewall combo, I undid the mock-up and restored everything back to its panel parts for easier handling. The tiny driver's pedals were added and the driver's and commander's seats assembled. The commander's seat is a multi-part and very delicate 'free standing' assembly...so lots of care needed here to get it all together and aligned correctly. I left the headrest and main seat cushion separate for now to make it easier to paint them and will add them later.
One of the really nice features of the kit IMHO is the inclusion of workable crew side escape hatches. Yes, that's right, fully workable...but you do have to be very careful with the assembly and where you put the glue, but in the end if you do it right, they will work just like on the actual vehicle. Only downside is that they tend to want to swing open all the time, so once the glue had set on the hinge arms, I'm using small blobs of blue-tack poster putty on the inside surfaces to keep them 'closed' while work continues.
Next up will be devoting some attention to the rest of the gear details that go in this area like the radios, numerous ammo sacks for the turret MGs, crew equipment, etc.